
The first time I tried to organize my whole apartment, I bought $140 worth of bins before I’d thrown a single thing away. I lined them up in the hallway, felt very productive, and then realized I had nothing to put in most of them and nowhere to put the ones I didn’t need.
Three weeks later they were still in the hallway, stacked, like a very expensive monument to my good intentions.
If you’re looking at your home right now and wondering where to start, home organization for beginners really comes down to one idea: start small, start with a specific annoyance, and don’t buy anything until you know what you’re storing. That’s it. The rest is details.
This post walks through how I’d approach it if I were starting from scratch, including what order to tackle things in, what to buy (and what to skip), how to handle different living situations, and how to keep the results from unraveling in a month.
Why Most Beginners Get Stuck
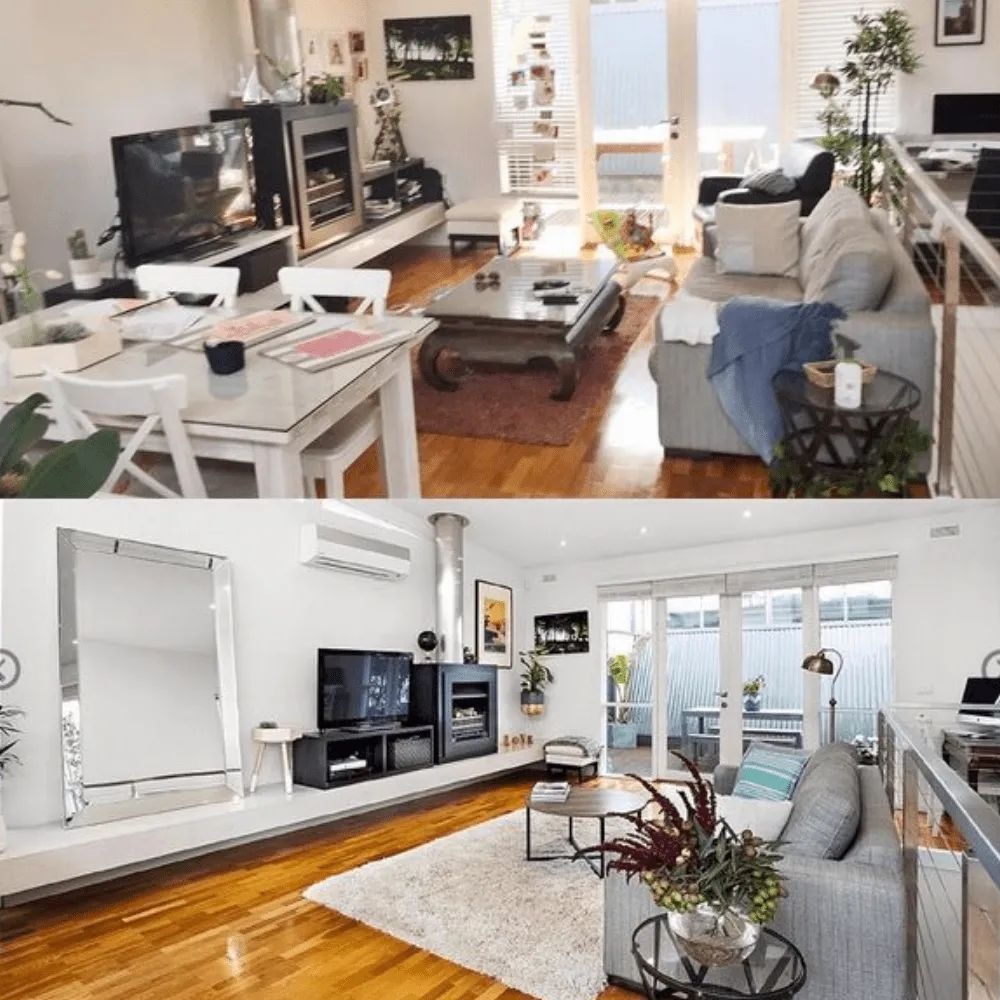
Most people don’t fail at organizing because they lack discipline. They fail because the usual advice skips a step. It jumps to “get containers” or “declutter everything” without helping you figure out where to actually begin, and “everything” is paralyzing.
Here’s what I see go wrong most often:
- Starting too big. Deciding to organize the whole house in a weekend usually ends with every room half-finished.
- Buying storage first. Containers are a solution, and you can’t pick one until you know the problem.
- Starting with the hardest stuff. Sentimental items and paperwork are exhausting. Beginning there burns you out on day one.
- Organizing without a place for things to go. If an item doesn’t have a home, it will end up on the counter.
Step 1: Pick One Small Starting Point
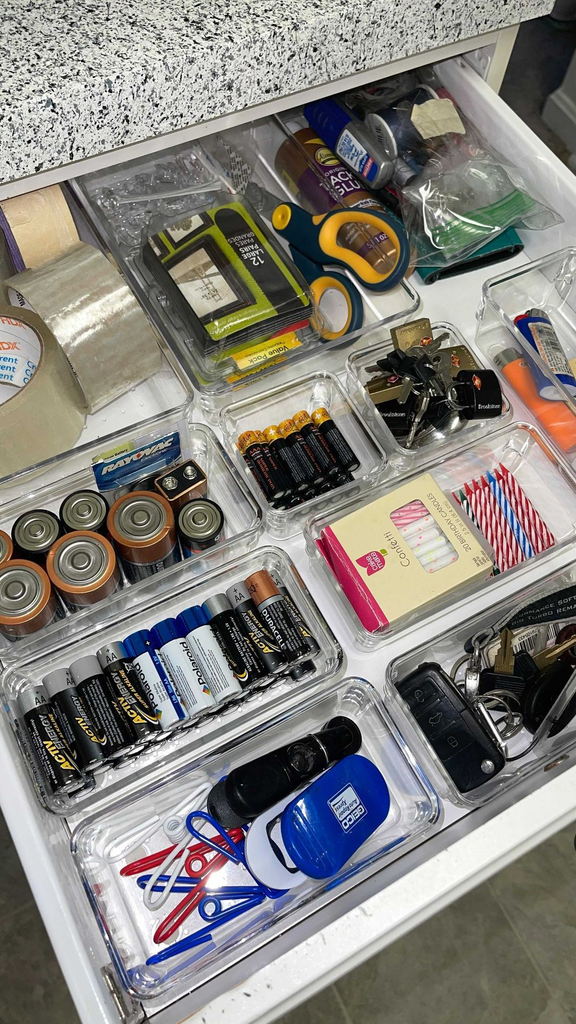
Skip the whole-house plan. Look for the spot that annoys you every single day, and start there. For me it was the shoe pile by the door. For a coworker of mine, Renata, it was the drawer in her kitchen where she couldn’t find a can opener without a small excavation.
Good beginner starting points are small, visible, and low-emotion:
- A single junk drawer
- The entryway or the spot where bags and shoes land
- The bathroom counter or one vanity drawer
- The top shelf of one closet
- The fridge, which is honestly the easiest quick win because the “keep, toss” decisions are so clear
The goal for the first session is a fast, visible win. Give yourself 15 to 30 minutes and one small area, and stop when the timer’s up. That momentum is worth more than a marathon session you dread.
Pro tip: Take a “before” photo. It feels silly, but when you look at it a week later, it’s a surprisingly effective reminder that you actually changed something.
Step 2: Learn the Basic Sort
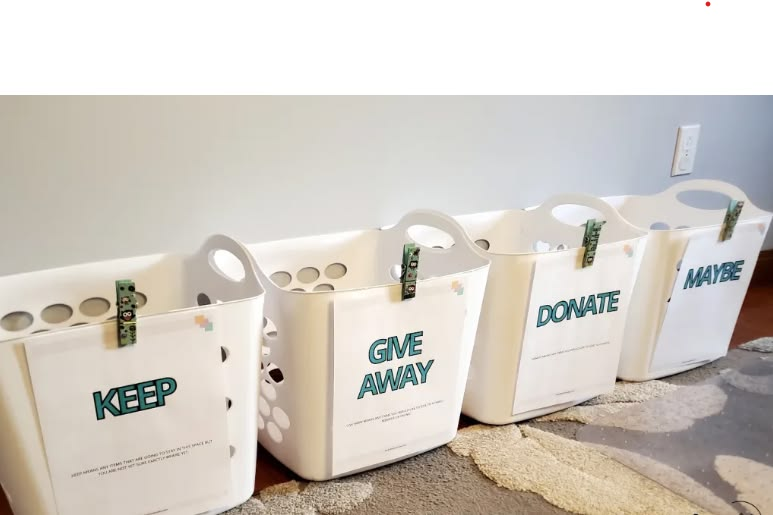
Once you’ve picked a spot, empty it completely and sort everything into a few categories. I use five:
- Keep: things you use and that belong here
- Relocate: things that are useful but belong in another room
- Donate or sell: things in good condition you don’t need
- Trash or recycle: broken, expired, or unusable
- Maybe: things you can’t decide on right now
The “maybe” box is the secret weapon for beginners. Put it in a closet with a date on it. If you haven’t opened it in three months, you don’t need what’s inside, and you can donate it without looking.
This removes the pressure to make perfect decisions in the moment, which is what stalls most people.
A useful question when you’re stuck: “If I were shopping right now, would I buy this again?” It won’t work for sentimental items, but it works on almost everything else.
Step 3: Decide What Order to Tackle Rooms In
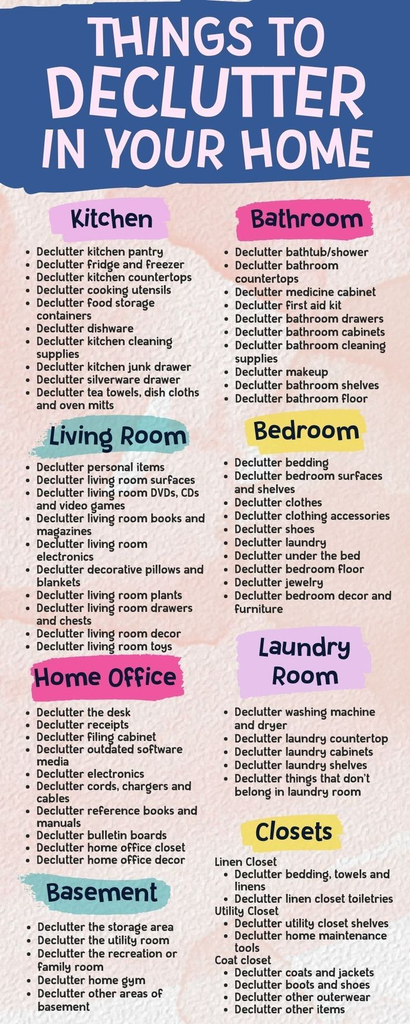
Once you’ve had a few small wins, you’ll want a sequence. There’s no single right order, but this is the one I’d recommend for most beginners, moving from easy and practical to harder and more emotional:
- Entryway. Small, high-traffic, and it changes how your whole day starts.
- Kitchen counters and one cabinet at a time. Practical decisions, obvious duplicates.
- Bathroom. Lots of expired products and easy toss decisions.
- Bedroom and closet. More personal, but still mostly clothing you either wear or don’t.
- Living areas. Surfaces, media, books.
- Paperwork and storage areas. Tedious but usually not emotional.
- Sentimental items. Last, when you’ve built up your decision-making muscle.
Here’s how I’d adjust the starting point depending on your situation:
| Your situation | Best place to start | Why |
|---|---|---|
| Small apartment or studio | Entryway or the closet | Clutter here affects every other space |
| Dorm room | Desk and under-bed storage | Limited space means vertical zones matter most |
| Family house | Kitchen or mudroom | High traffic, and everyone benefits |
| Recently moved | Kitchen, then bathroom | You’ll use these daily and can unpack with intention |
| Overwhelmed and not sure | One junk drawer | Lowest stakes, fastest win |
Step 4: Give Everything a Home Before You Buy Storage
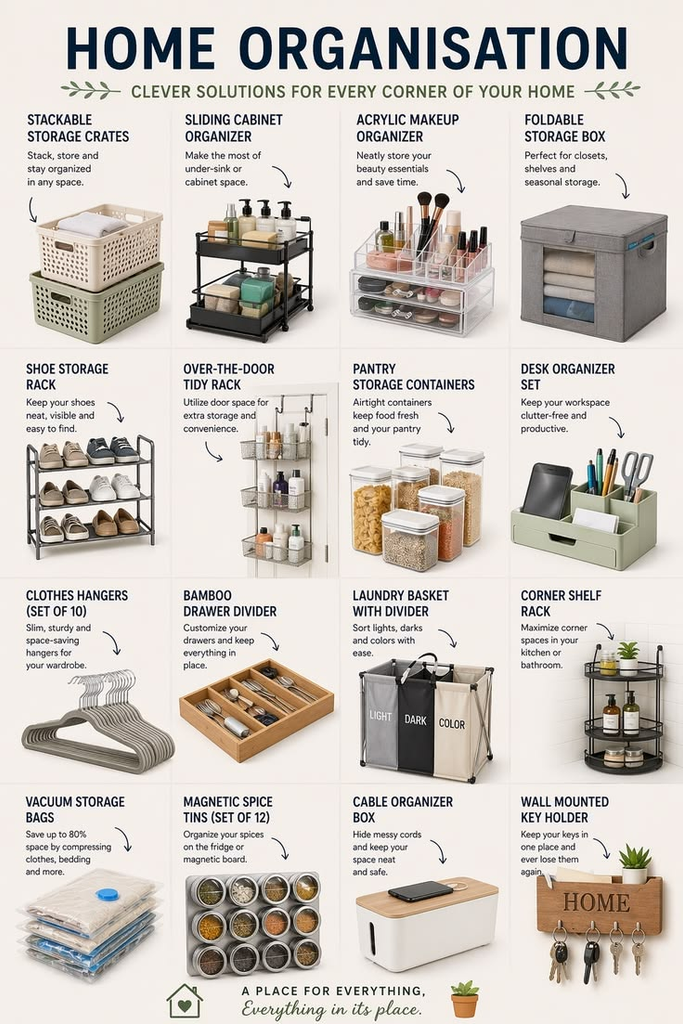
This is the rule I wish I’d learned before that hallway of bins. Each thing you’re keeping needs a specific place, ideally near where you use it. Keys go by the door. Scissors go in the kitchen drawer nearest the counter you actually use them on. Chargers live where the devices live.
Once you’ve sorted and decided where each category goes, then you’ll know what kind of storage you need and how much. Before buying anything:
- Measure the space where it’ll go
- Count or estimate what needs to fit
- Decide whether you can use something you already own (shoeboxes, jars, baskets from a gift)
This is also where you avoid the biggest trap in home organization for beginners, which is confusing “organized” with “matching containers.” A drawer full of cheap mismatched bins that work is better than a shelf of beautiful ones that don’t fit your stuff.
What to Buy When You’re Just Starting Out
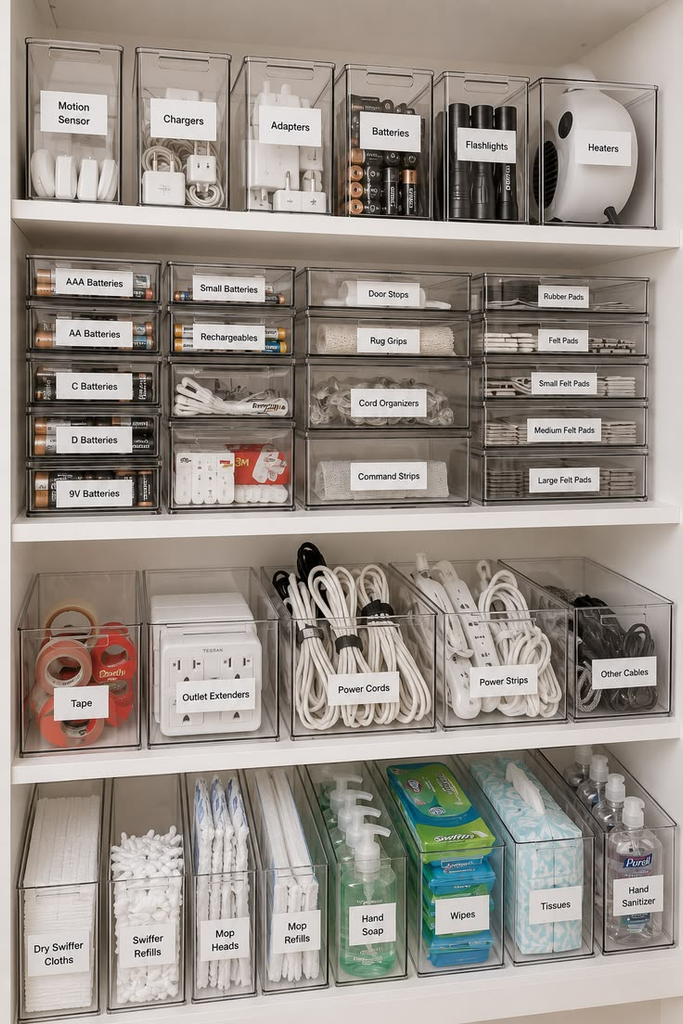
You don’t need much. Here’s what I’d actually buy for a first round, and roughly what it costs.
| Budget | What to get | Approx. cost | Notes |
|---|---|---|---|
| Under $20 | Drawer dividers, a few clear bins, label tape or masking tape and a marker | $10–20 | Covers most first projects |
| $20–$60 | Add over-the-door hooks or a slim shelf, a few baskets | $30–60 | Good for entryways and closets |
| $60–$150 | Add a shoe rack, stackable shelving, or a small storage cart | $80–150 | Only after you know what you need |
I’d skip these until later:
- Large sets of matching containers bought all at once
- Specialty organizers (spice tiers, pan lids racks) before you’ve decided if you need them
- Anything that only works if you never buy another item that goes in it
Clear containers are great for things you need to see, like snacks or craft supplies. Opaque baskets are better for things that look messy, like cables or toiletries. That one rule covers most decisions.
Pro tip: Dollar stores and thrift shops are underrated for organizing. A set of small trays for drawers costs a few dollars, and you can often find sturdy baskets for less than half the price of a big-box store.
How to Handle Common Problem Areas
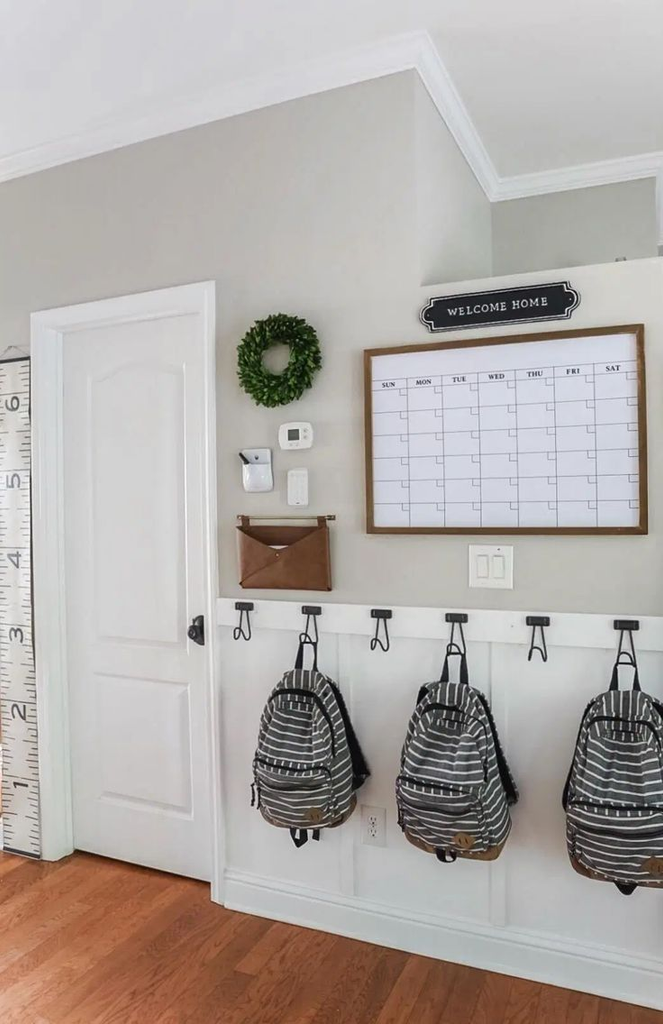
The entryway. Give it three things: a hook or a spot for bags, a spot for shoes, and a small surface or bowl for keys. If you don’t have a table, a wall-mounted shelf with hooks works in even very tight spaces.
The kitchen. Group by task, not by type: baking things together, coffee things together. Store what you use daily at hand height and rarely used items higher or lower. If a cabinet is so full you have to move things to reach things, it’s too full.
The closet. Do a full pull-out and try things on if you can. Keep what fits and what you actually wear, and be honest about the rest. Use uniform hangers if you can. It’s a small change that makes the closet look and function better right away.
Paper. Sort it into “action needed,” “keep for records,” and “recycle.” A single folder or tray for action items keeps things from spreading across the counter.
Sentimental items. Wait until the end. Then pick a single container per person or per category, and let that be your limit.
Keeping It Organized After the First Round
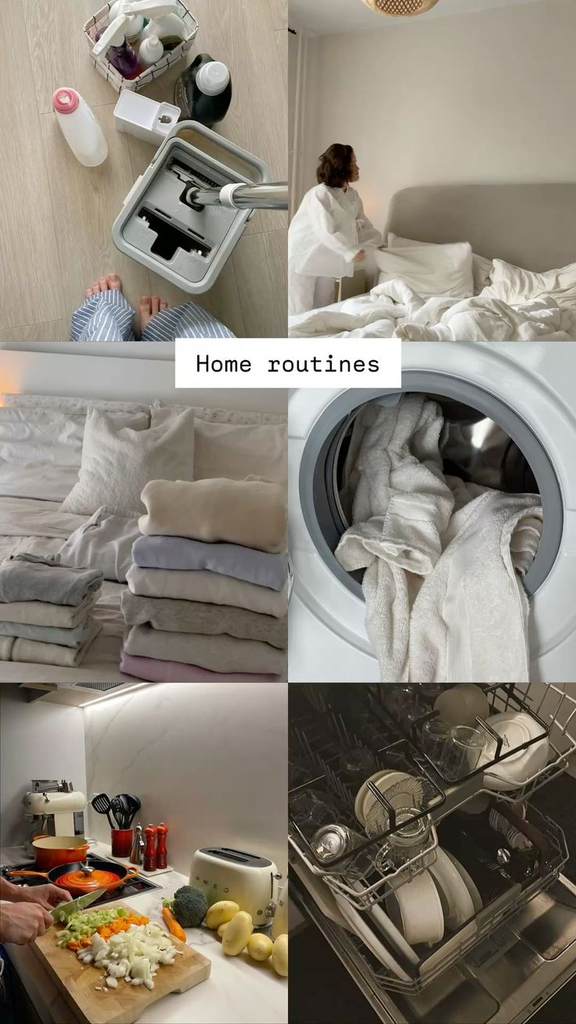
Sorting is the easy part. What keeps it working is small routines:
- A five-minute nightly reset. Put things back where they live before bed.
- One-in, one-out. When something new comes in, something old goes out, especially with clothes and kitchen gadgets.
- A donation bag. Keep one somewhere accessible and drop things into it as you notice them.
- A monthly check-in. Spend ten minutes looking at one area that’s drifting.
If a system isn’t working, don’t take it as a personal failing. It usually means the item’s home is inconvenient, and moving it a few inches often fixes it.
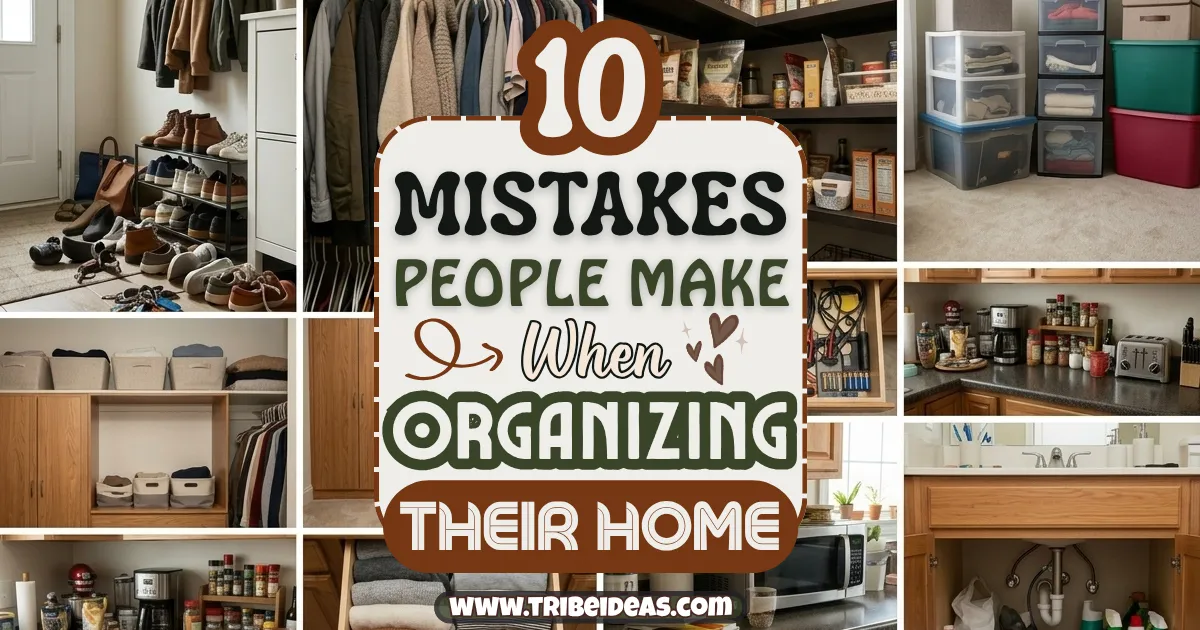
Beginner Mistakes to Avoid
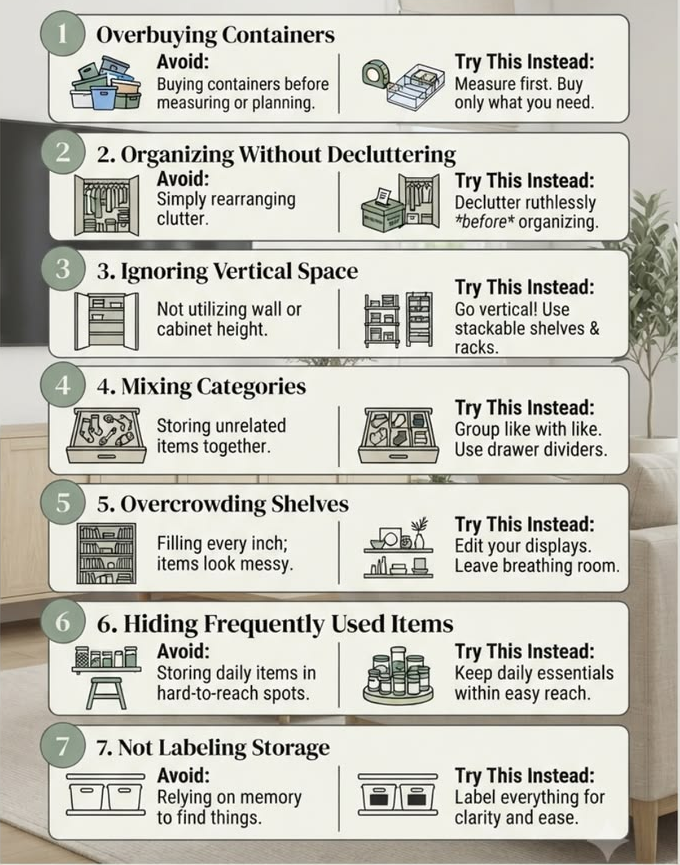
- Trying to do everything in one weekend
- Buying storage before sorting
- Starting with sentimental items or the most overwhelming room
- Copying someone else’s system without checking if it suits how you live
- Aiming for magazine-perfect instead of functional
If I Were Starting Over
I’d pick one thing that annoyed me, probably the shoe pile, and give it a Saturday morning. I’d sort it, decide where each thing lived, and only then buy the two or three things I still needed. I’d skip the hallway of bins completely.
Everything else I’ve done since has been a version of that first small win, repeated, and it’s a lot easier than trying to fix everything at once.



Leave a Reply