
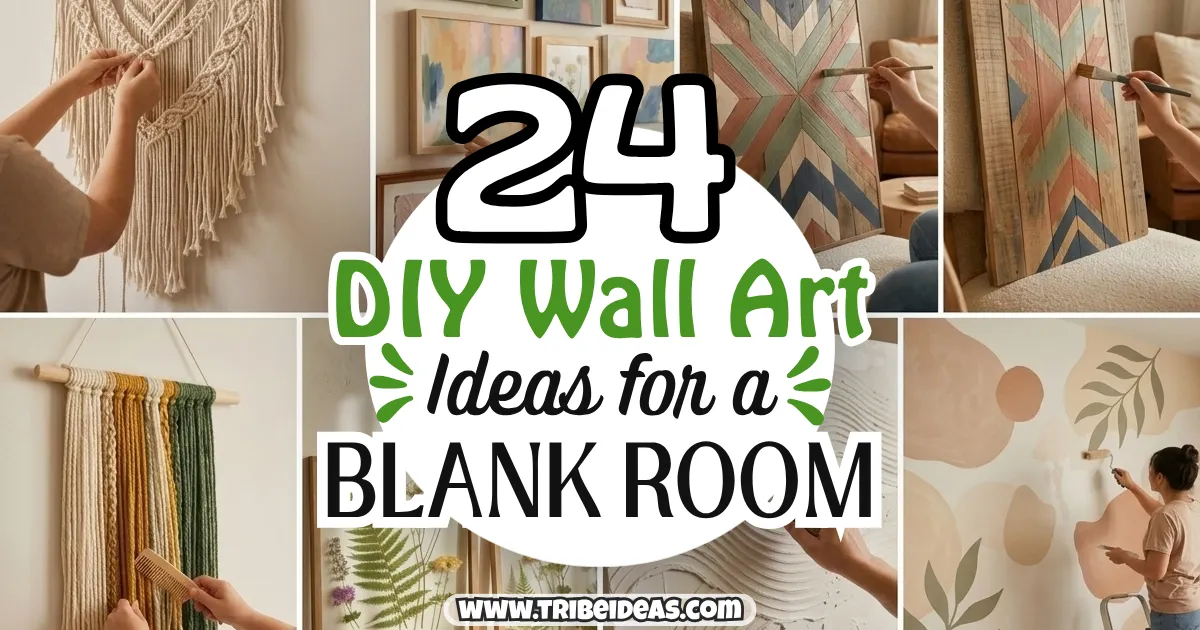
I stared at one genuinely blank wall in my first apartment for almost a year before I finally admitted the real reason nothing was up there: I kept assuming real wall art meant buying something, and buying something meant spending money I didn’t have yet. The piece that actually broke that wall’s blank streak cost me about $4 in acrylic paint and an afternoon, and it’s still the piece people ask about most when they see photos of that apartment, years later.
DIY wall art ideas solve a specific problem that buying decor doesn’t: they let you fill a wall with something that’s actually yours, at a fraction of the cost of comparable store-bought art, and honestly, the slightly imperfect, handmade quality of most DIY pieces is exactly what makes them feel more personal than something mass-produced ever could. That imperfection isn’t a downside here — it’s the whole point.
I’m grouping these 24 ideas by medium — paint and canvas, fabric and textile, paper and print, natural and found materials, photography and personal mementos, and a couple of dimensional pieces — because your comfort level and the materials you already have on hand probably steer you toward one category more than the others, and it’s worth starting there rather than forcing yourself into a technique that doesn’t suit you.
Paint and Canvas Projects for Any Skill Level
1. Abstract acrylic pour canvas
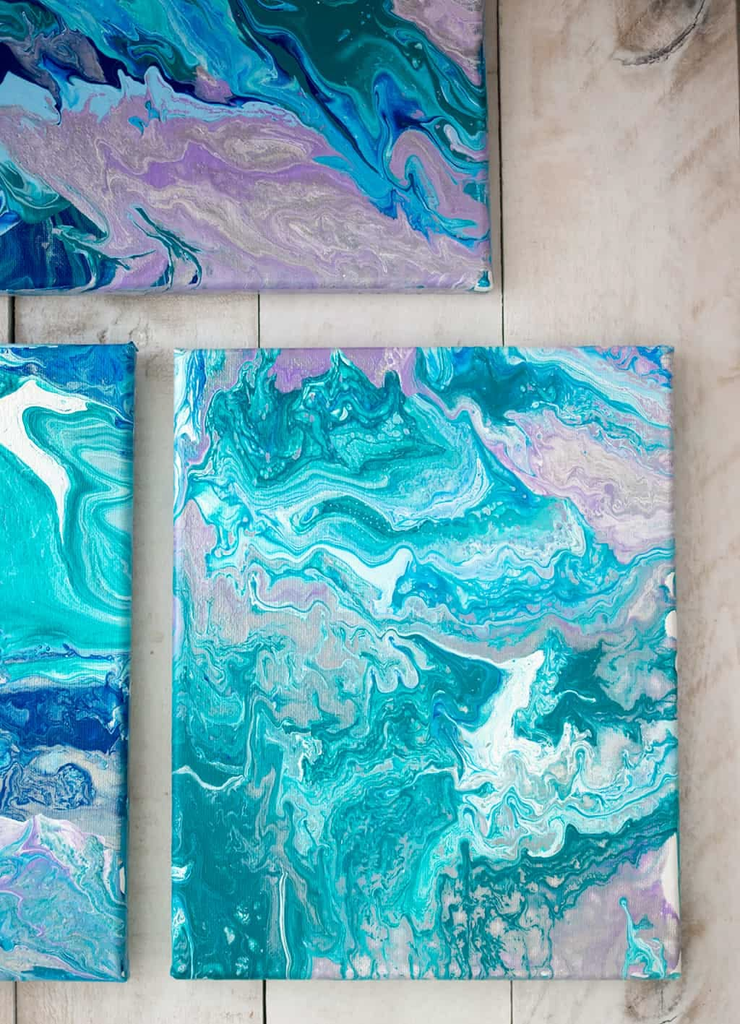
Acrylic pouring — mixing thinned paint and letting it flow and blend across a canvas somewhat on its own — produces genuinely striking, organic patterns without requiring any actual painting skill, since the technique relies more on color choice and pouring method than a steady hand.
This is the exact project that finally filled my blank wall, and the unpredictability of how the colors move is honestly part of the appeal.
Pro tip: Tilt your canvas slowly and in multiple directions rather than all at once — a slow, deliberate tilt gives the paint time to create the organic cell patterns that make pour art look intentional, while a fast tilt just spreads the colors flat without much visual texture.
2. Taped geometric shape painting
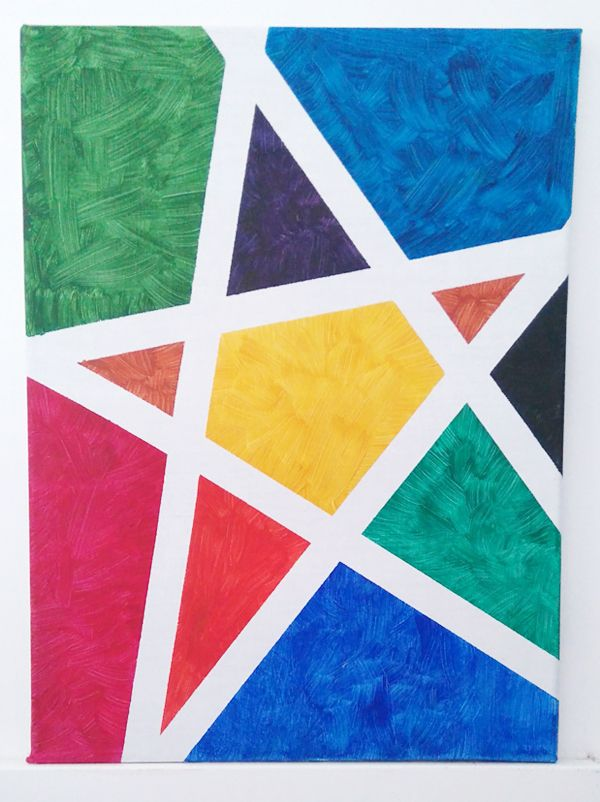
Using painter’s tape to mask off clean geometric shapes before painting gives you crisp, professional-looking lines even if freehand painting isn’t your strength at all.
A simple triangle, a set of overlapping circles, or a basic color-blocked pattern all read as intentional and modern once the tape comes off.
Pro tip: Press the tape edges down firmly with a credit card or similar flat tool before painting — this single step is what prevents paint from bleeding under the tape edge, which is the most common reason a taped painting project ends up looking messy instead of crisp.
3. Ombre gradient wash canvas
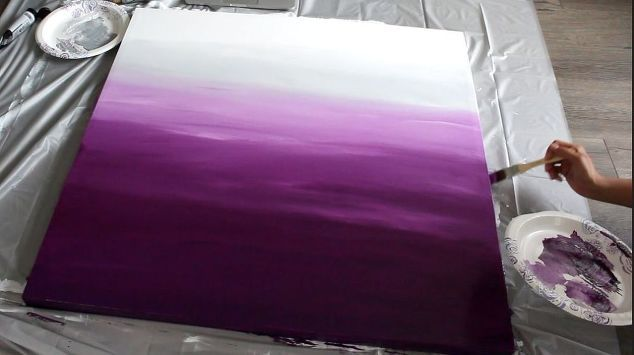
Blending a single color from dark to light across a canvas, using progressively more water or medium mixed into the paint as you move, creates a soft, sophisticated gradient effect that works well as a calming piece in a bedroom specifically.
4. Ink blot symmetrical art
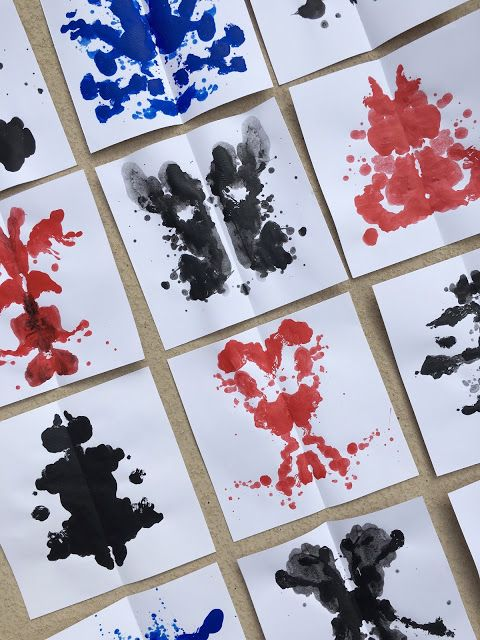
Dripping ink or thinned paint onto one half of a folded piece of heavy paper, then pressing the two halves together, creates a symmetrical, Rorschach-style pattern that’s genuinely striking once framed, and the process itself takes only a few minutes per piece.
5. Sponge-texture abstract canvas
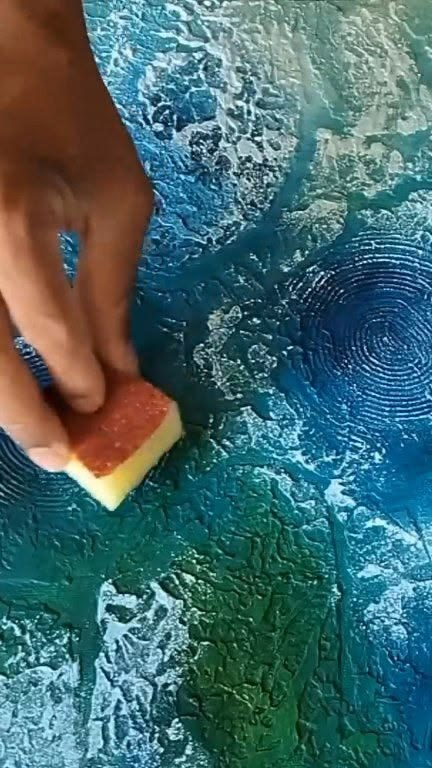
Dabbing a natural sea sponge loaded with paint across a canvas builds up an organic, textured abstract background that looks far more complex than the actual technique required to make it, and layering two or three colors this way adds real depth.
| DIY Category | Skill Level Needed | Typical Cost | Time Investment |
|---|---|---|---|
| Paint and canvas | Low to moderate | $10-$30 | 30 min-2 hours |
| Fabric and textile | Low to moderate | $10-$40 | 1-3 hours |
| Paper and print | Very low | $0-$20 | 15 min-1 hour |
| Natural and found materials | Very low | $0-$15 | 15-45 min |
| Photography and mementos | Low | $10-$30 (printing/framing) | 30 min-1 hour |
| 3D and sculptural | Moderate | $10-$25 | 1-3 hours |
Fabric and Textile Art That Adds Real Texture
6. Fabric-wrapped canvas panels
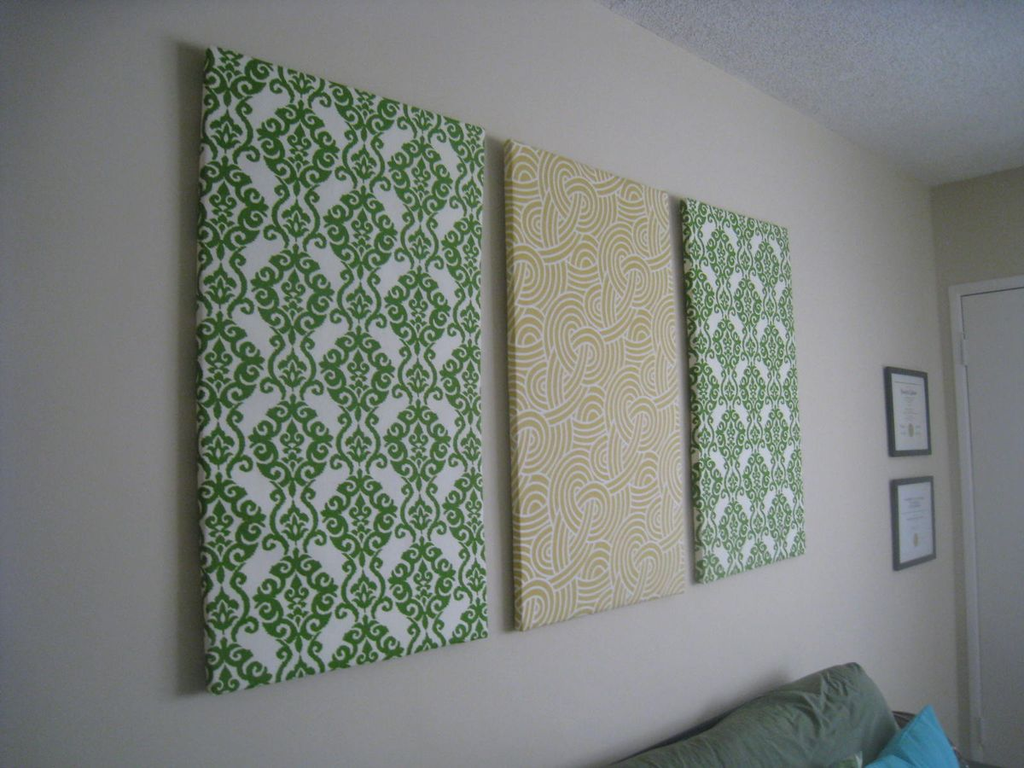
Rather than painting a canvas at all, wrapping it tightly in a patterned fabric of your choice and securing the edges on the back gives you a genuinely finished piece of textile wall art in under thirty minutes, using fabric you might already have on hand.
7. A DIY macrame wall hanging
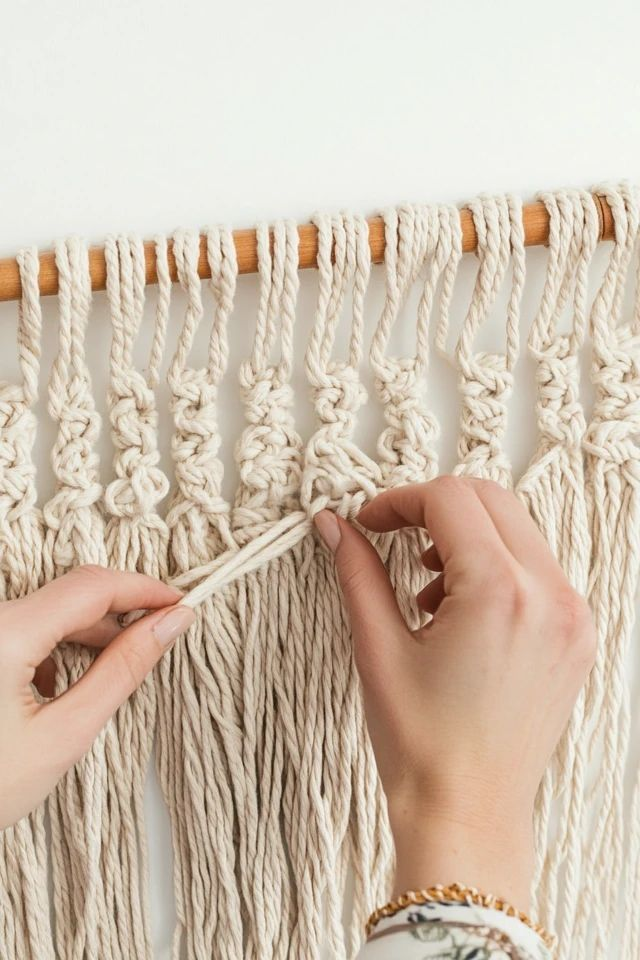
Basic macrame knots — even just a handful of simple ones repeated in a pattern — create a genuinely impressive-looking woven wall hanging, and there are enough beginner tutorials specifically for simple patterns that this is far more approachable than it looks finished.
My friend Callie made her first macrame piece using nothing but a single online tutorial and a $12 cotton cord kit, and she said the biggest surprise was how repetitive and almost meditative the actual knot-tying process turned out to be, rather than the fiddly, frustrating project she expected going in.
Pro tip: Practice your chosen knot pattern on a small scrap piece of cord before starting your actual wall hanging — the muscle memory for a new knot takes a few repetitions to feel natural, and it’s much less frustrating to work out the kinks on a throwaway practice piece.
8. Embroidery hoop art
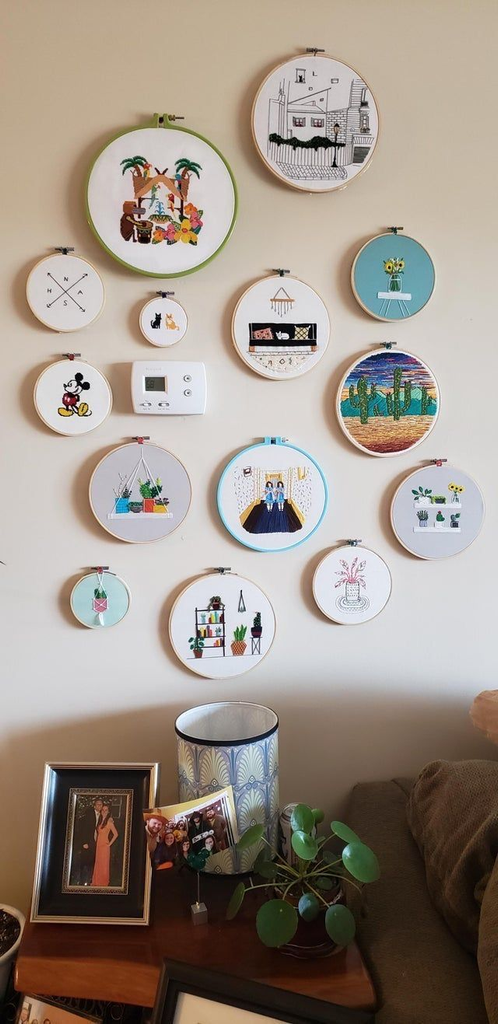
A simple embroidery hoop with a piece of fabric stretched across it — patterned fabric alone, or with hand-stitched details added — makes for an easy, low-commitment textile piece, and hanging a cluster of several different hoop sizes together creates a fuller wall display from a genuinely simple technique.
9. Dip-dyed fabric panel
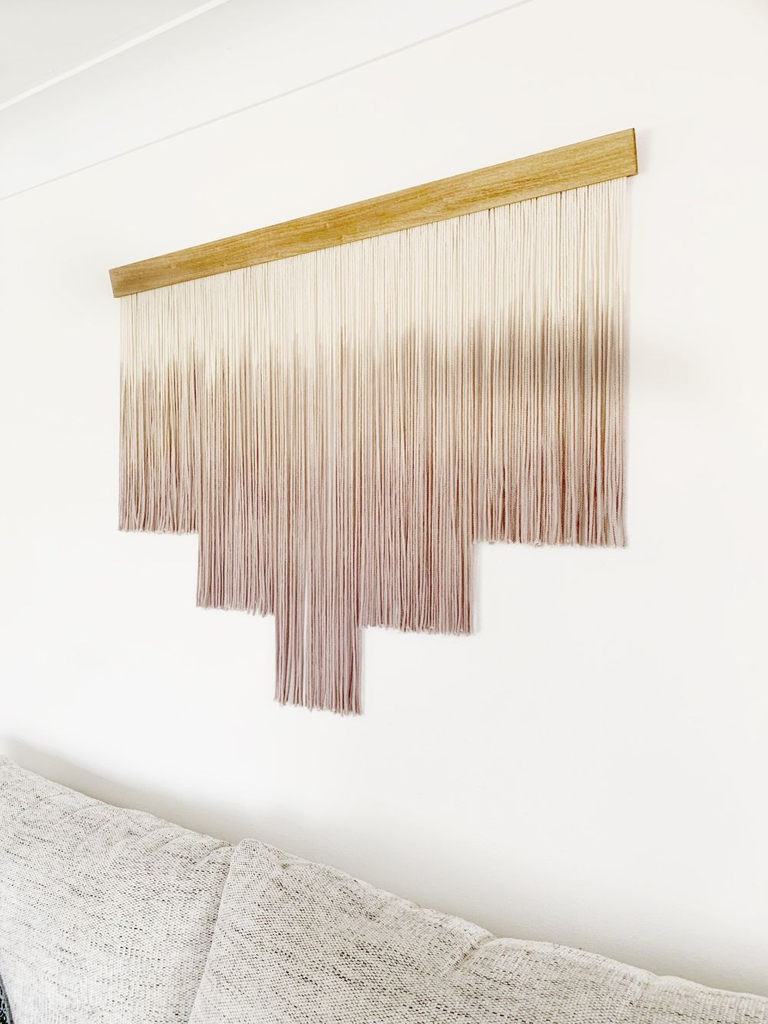
Dipping the bottom portion of a plain fabric panel into fabric dye, then hanging it to dry vertically so the color continues to bleed slightly upward, creates a soft ombre effect on fabric that mounts easily onto a simple wood dowel for hanging.
10. A tassel garland wall hanging
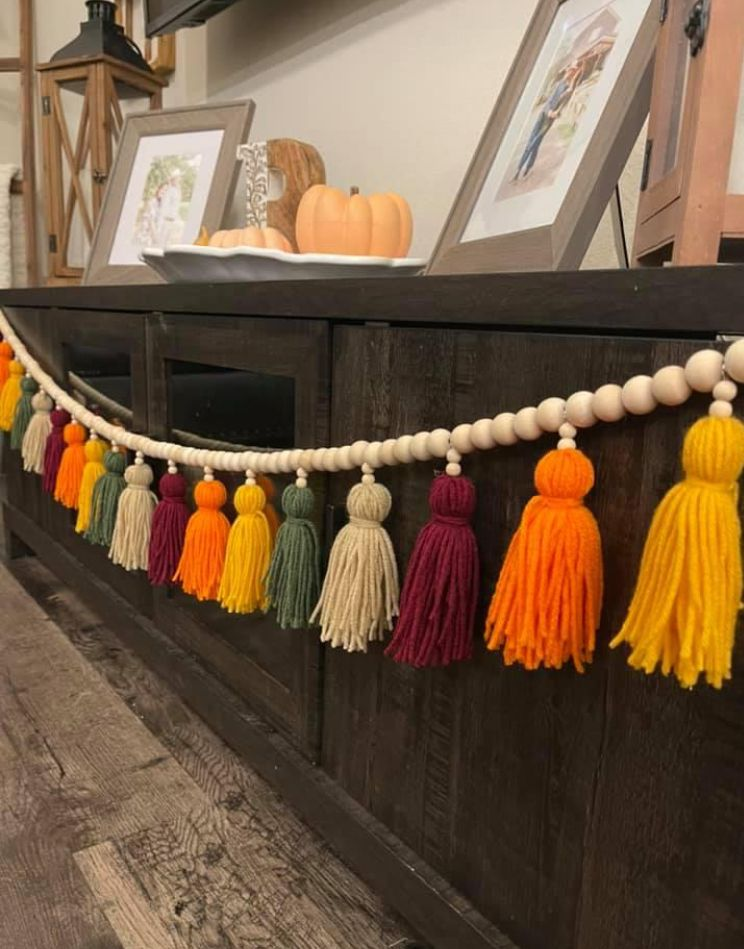
Making a series of yarn or fabric tassels and stringing them together into a horizontal garland gives you a playful, textured piece that works particularly well in a kid’s room or a more casual, bohemian-styled space.
Paper and Print Projects for a Fast, Low-Cost Wall Fix
11. Free printable art, professionally framed
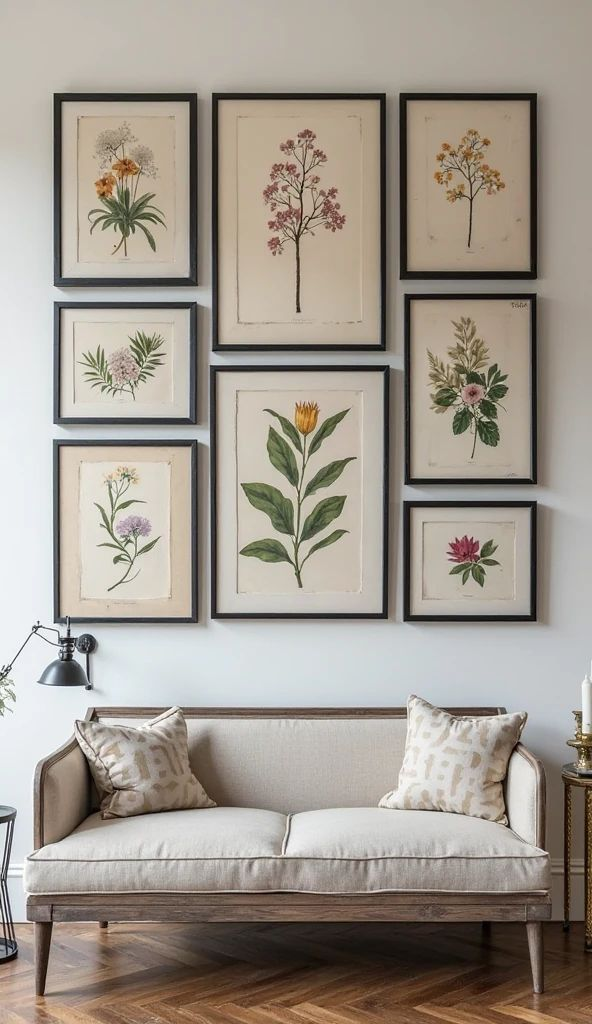
Downloading free printable art — botanical illustrations, typography quotes, abstract shapes — and putting it in a genuinely nice frame is one of the fastest and cheapest ways to fill a wall, and a good frame does far more visual heavy lifting than people expect, elevating even a simple free print into something that looks intentional.
Pro tip: Spend your actual budget on the frame rather than the print itself when using free printables — a high-quality frame around a free print reads as far more expensive than a cheap frame around paid art, since the frame is what your eye registers first.
12. A pressed flower frame display
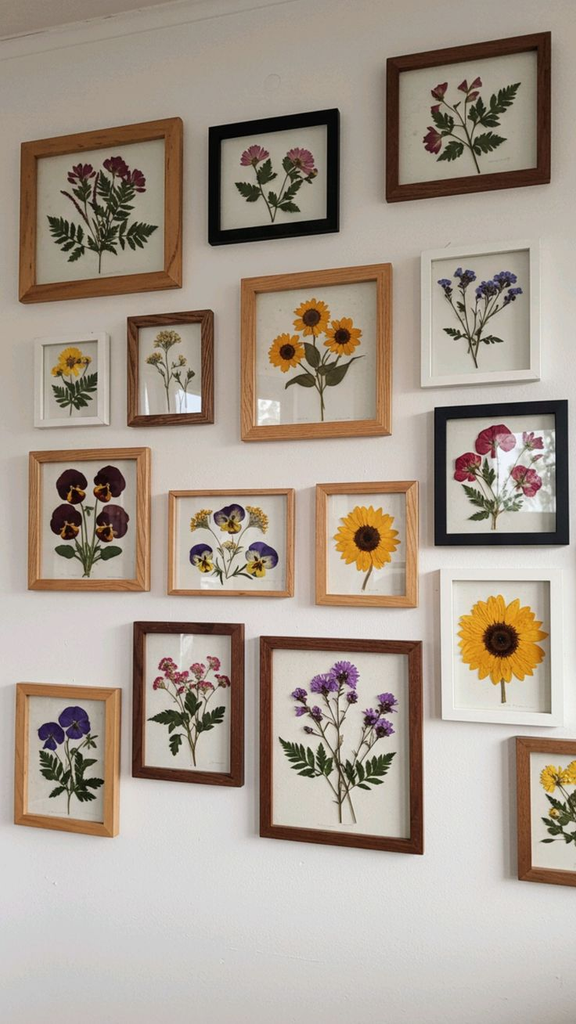
Pressing flowers between heavy books for a couple of weeks and then arranging them in a simple glass frame creates a delicate, genuinely one-of-a-kind piece, and it’s a great use for flowers from a special occasion you’d otherwise just throw away once they wilt.
13. Paper quilling art
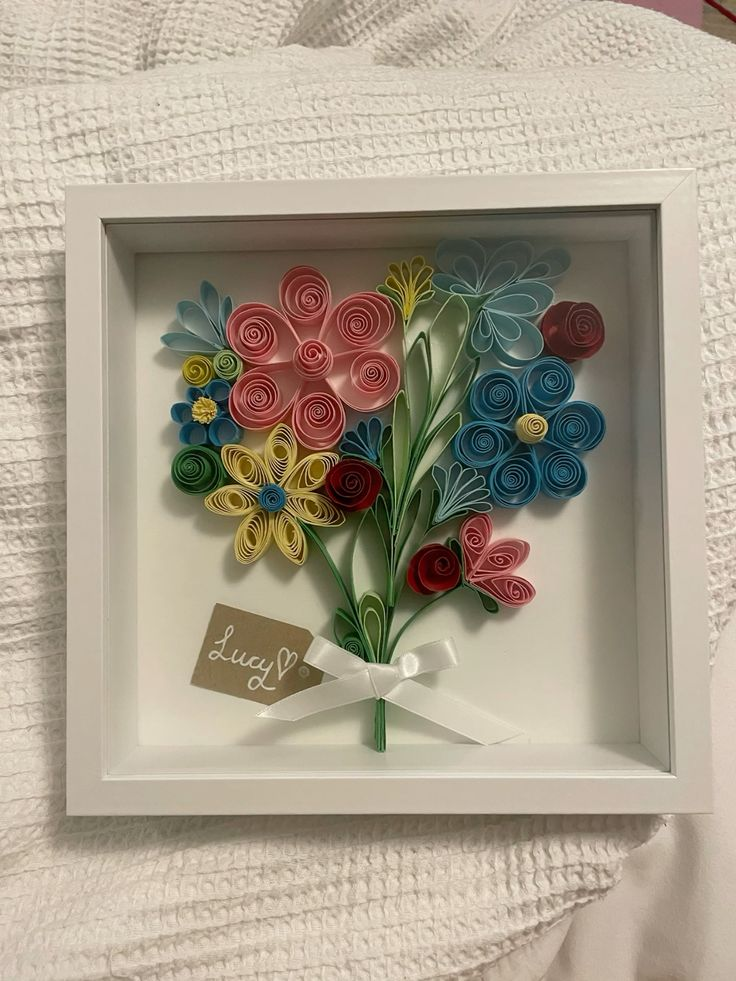
Rolling and shaping thin strips of paper into coiled designs, then arranging them into a pattern or image and mounting the finished piece in a shadow box frame, produces a genuinely intricate-looking result from a technique that’s more about patience than skill.
14. Cut-paper silhouette art
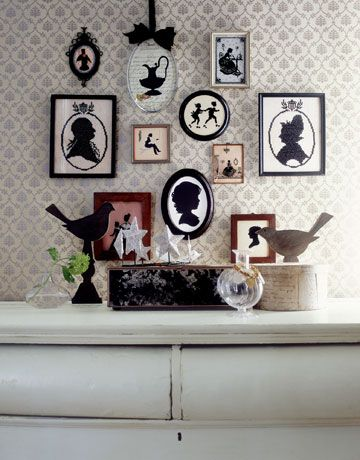
A simple black silhouette shape, cut from paper and mounted against a contrasting background, creates bold, graphic wall art with minimal materials — this works especially well for a recognizable shape meaningful to you, like a favorite plant, an animal, or a skyline.
15. An origami shadow-box display
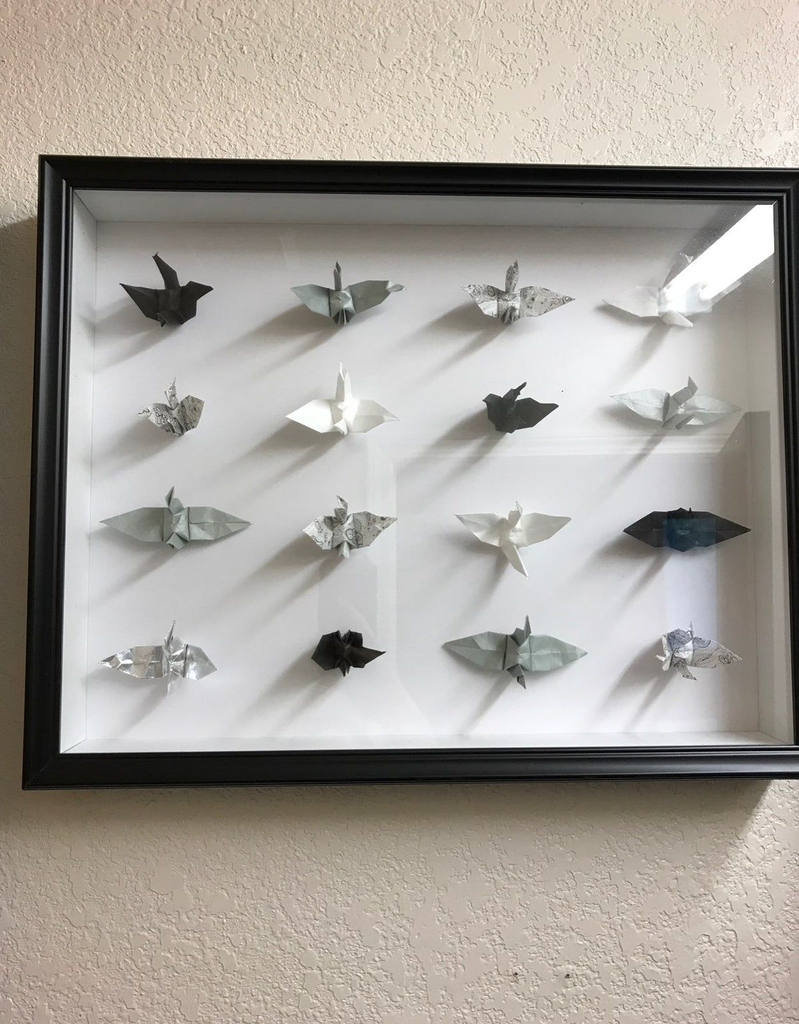
A cluster of folded origami shapes, mounted at varying depths inside a shadow box frame, adds genuine three-dimensional interest to what would otherwise be a flat paper craft, and it’s a good option for anyone who already enjoys origami as a hobby and wants a way to actually display finished pieces rather than storing them in a drawer.
Natural and Found Material Pieces
16. A dried botanical wall arrangement
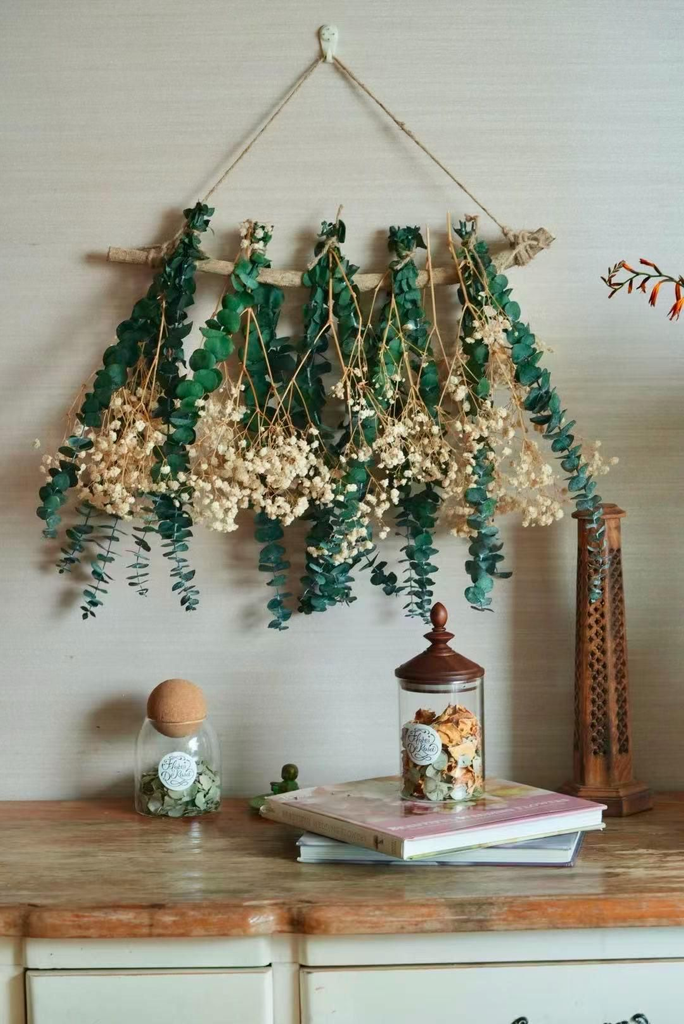
Arranging dried flowers, grasses, or eucalyptus in a simple wall-mounted holder or tied into a bundle and hung upside down brings genuine texture and an organic feel to a wall, and dried arrangements last considerably longer than fresh ones without any ongoing care required.
17. A driftwood wall sculpture
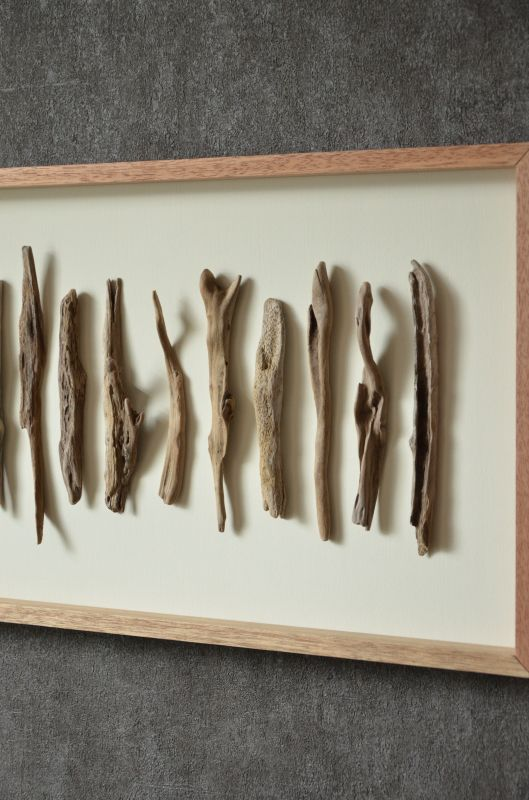
A single interesting piece of driftwood, or a small cluster of pieces arranged together, mounted directly to the wall creates a sculptural, natural-material accent that costs nothing beyond the time spent finding a piece you like.
Pro tip: Seal any found driftwood or natural wood pieces with a clear varnish before mounting them indoors — untreated wood from outside can carry small pests or continue slowly drying and shifting shape over time, and a simple seal coat prevents both issues.
18. A pebble or rock arrangement piece
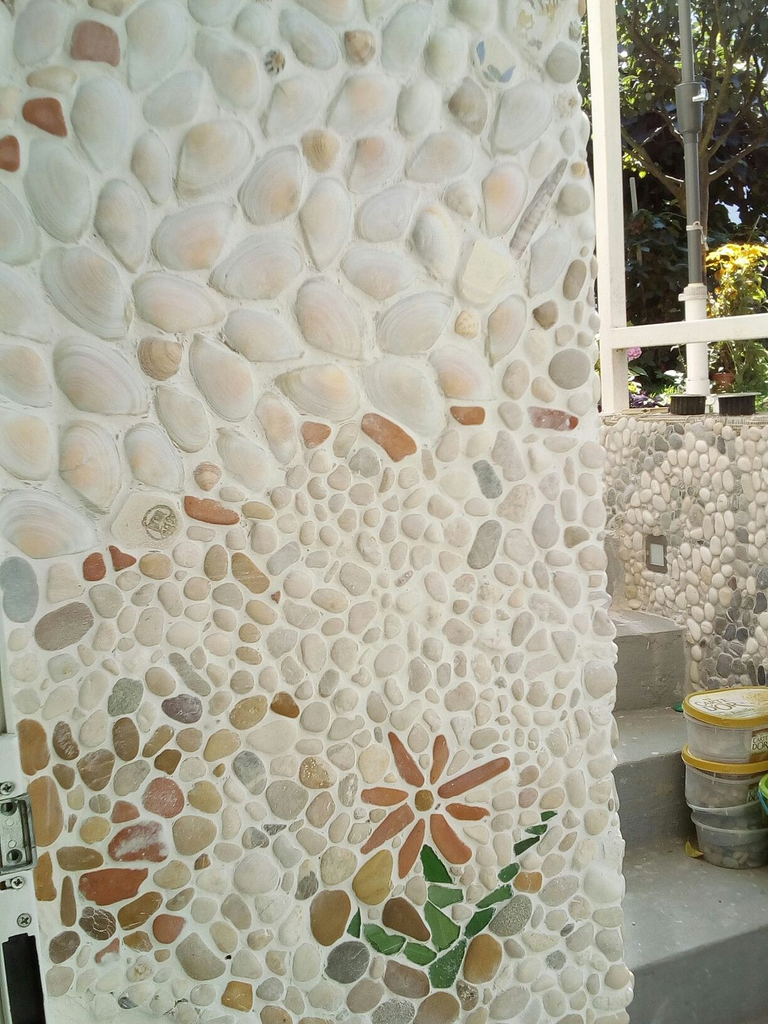
Small, flat stones arranged in a deliberate pattern and mounted on a simple wood backing panel creates a minimal, calming piece that works particularly well in a bathroom or bedroom going for a natural, spa-like feel.
19. A branch and twine wall hanging
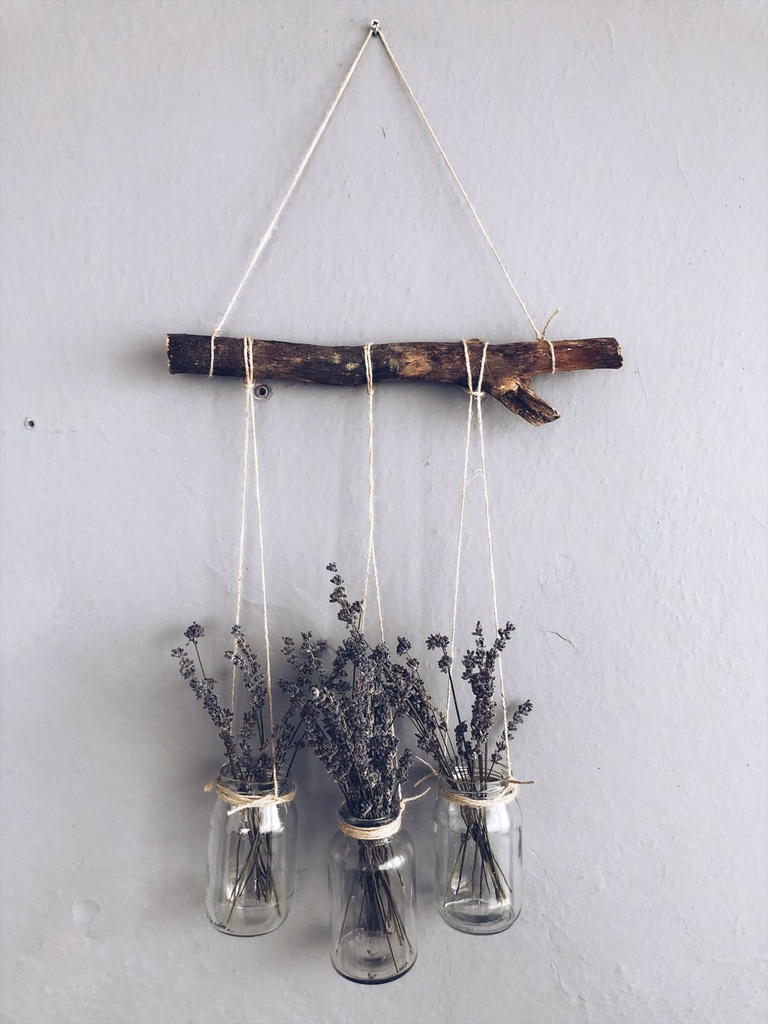
A single sturdy branch, with fabric strips, dried flowers, or small woven elements tied along its length using twine, functions as a rustic alternative to a traditional macrame dowel and requires zero specialized materials beyond something you can often find outside for free.
Photography and Personal Memento Displays
20. A DIY black-and-white photo grid
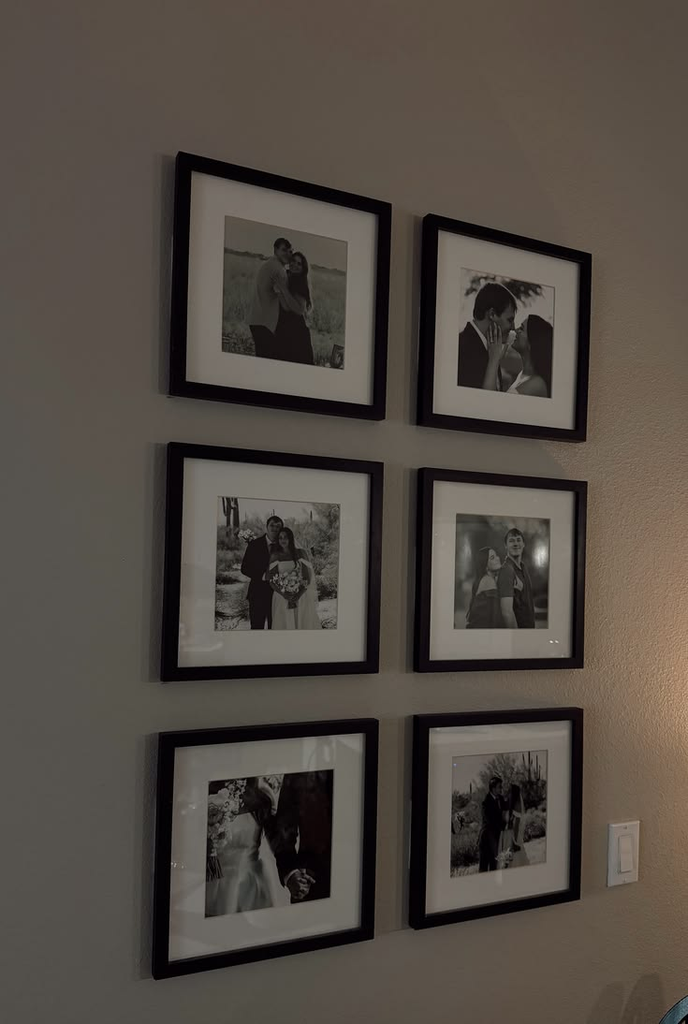
Printing a set of your own photos in black and white and arranging them in a tight, uniform grid creates a cohesive gallery piece using photos you already have, and converting everything to black and white specifically is what keeps a mix of different photos looking unified rather than visually chaotic.
21. A vintage postcard or map collage
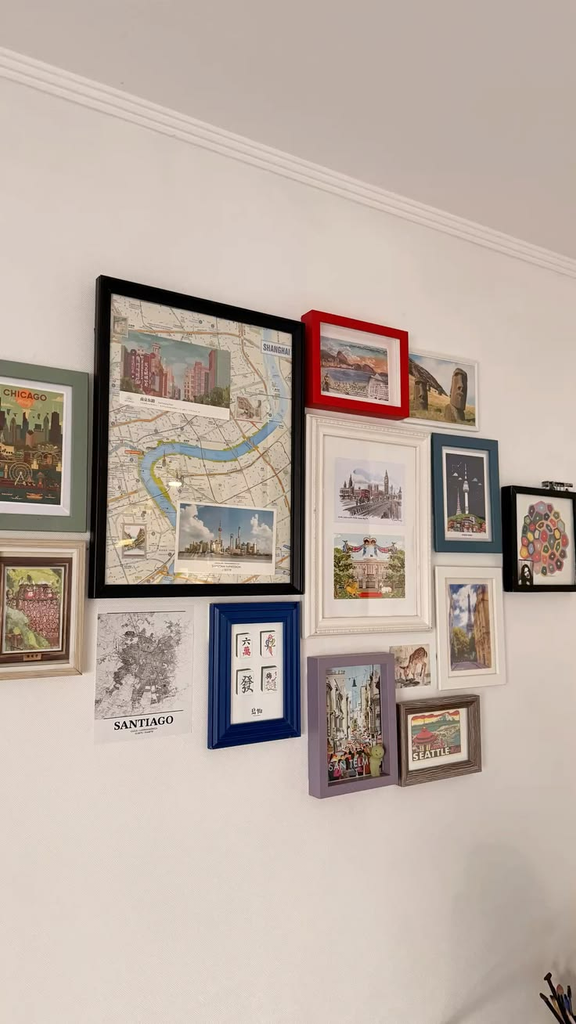
Arranging a collection of postcards, vintage maps, or ticket stubs from places you’ve traveled into a collage, mounted under a single large piece of glass or in a multi-opening frame, turns travel memorabilia that would otherwise sit in a drawer into a genuinely personal wall piece.
22. A polaroid string display
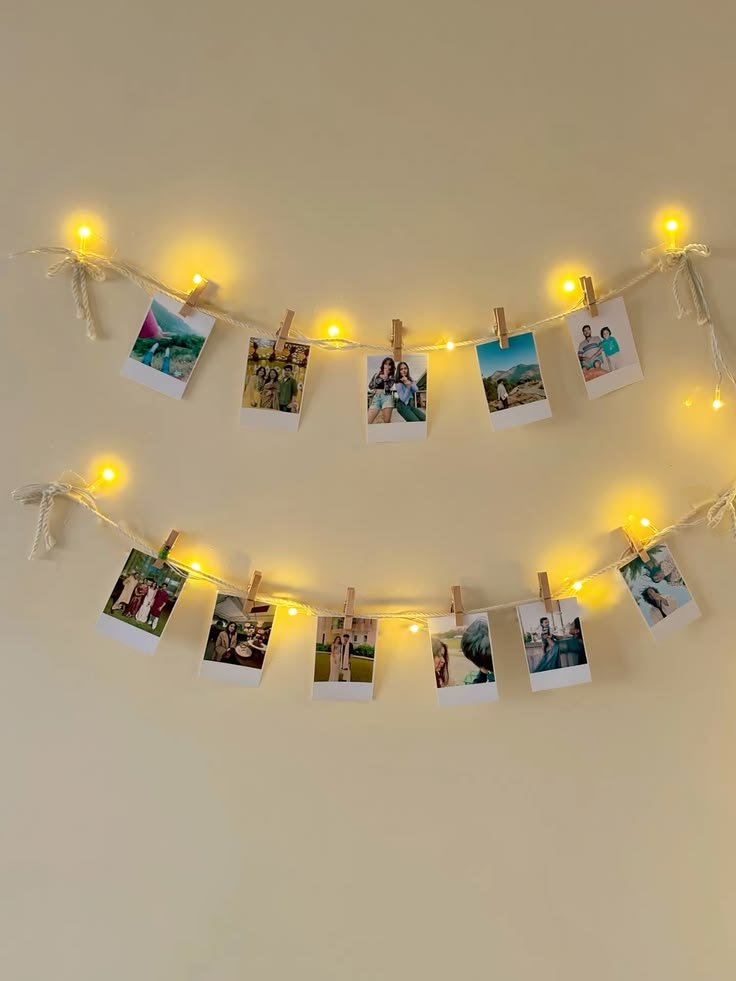
Clipping instant photos to a string or twine run across a section of wall, using small wood clothespins, creates a casual, easily updatable photo display that’s simple to add new photos to over time rather than committing to a single fixed arrangement.
Dimensional and Sculptural Pieces
23. Yarn-wrapped wall art
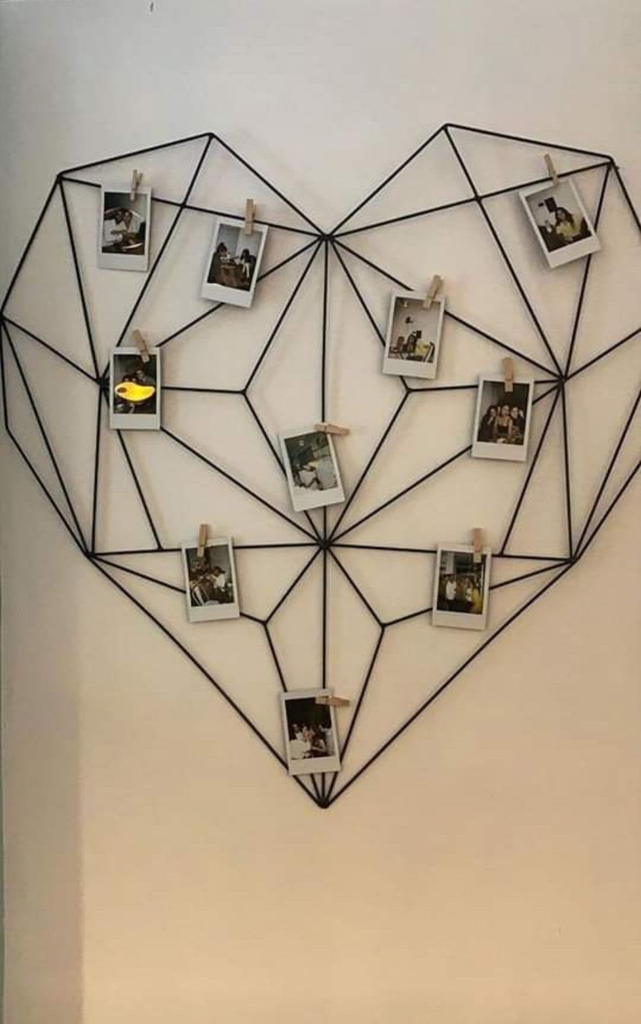
Hammering a pattern of small nails into a wood board and then wrapping colored yarn between them in a geometric or abstract design creates a genuinely striking dimensional piece, and the string-art technique is far more forgiving of small mistakes than it looks in a finished photo, since a slightly uneven wrap is barely noticeable once the full pattern comes together.
Pro tip: Sketch your nail pattern on the board in pencil first, and space nails slightly further apart than your instinct suggests — nails placed too close together make the yarn wrapping process genuinely fiddly, while a bit of extra spacing makes the whole project faster and the finished pattern easier to see clearly.
24. A paper mache sculptural wall piece
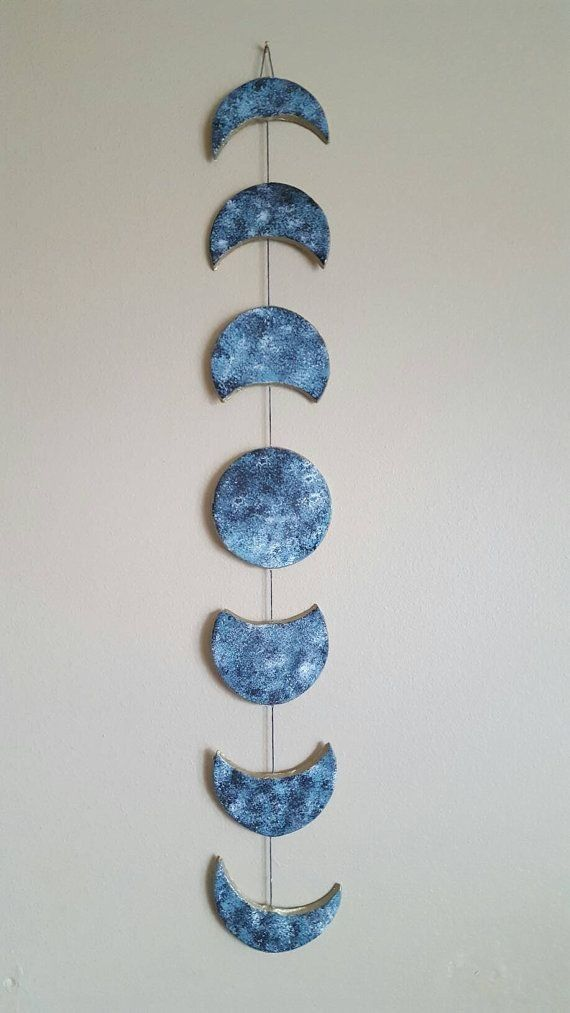
Building a simple raised shape — a moon phase, a mountain silhouette, an abstract form — over a wire or cardboard armature using paper mache technique creates a lightweight, dimensional wall piece that can then be painted in any color scheme once it’s fully dry.
What I’d Try First If I Were Facing a Blank Wall Again
If I had another completely blank wall to fill tomorrow, I’d go straight back to the acrylic pour canvas, since it’s still the lowest-skill, highest-payoff project on this entire list, and there’s something genuinely satisfying about a technique where you can’t really predict the exact final result until it’s done.
After that, I’d add a small cluster of embroidery hoop pieces, since they’re fast enough to make a few in an evening and build into a fuller wall display gradually.
That first $4 acrylic pour canvas taught me something I still believe: a slightly imperfect piece you made yourself does more for a room than a perfect piece you bought, and it costs a fraction of the price to find out whether that’s true for your own blank wall too.


Leave a Reply