
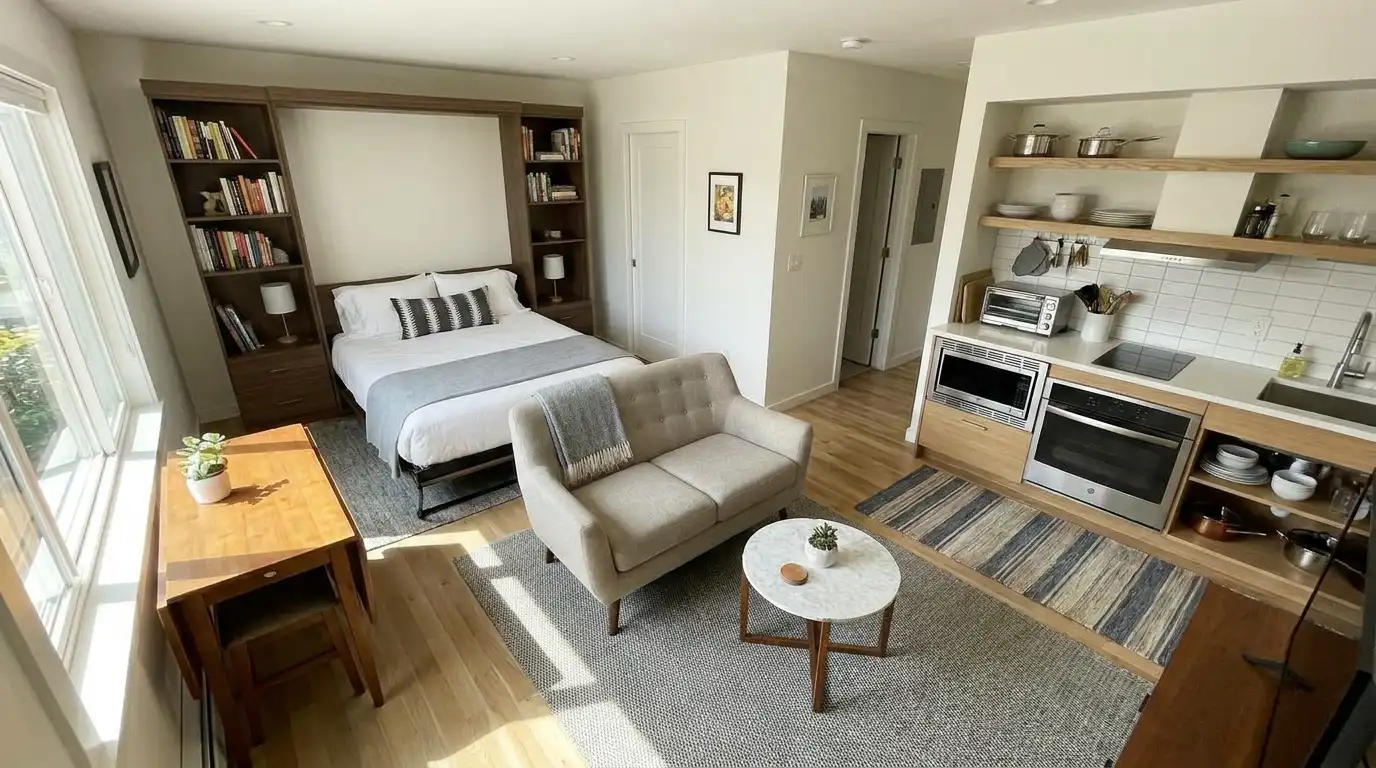
I lived in a 340-square-foot studio for two years before I figured out that the problem was never my stuff — it was that I’d arranged my bed, desk, and couch like I was still living in a two-bedroom.
Same furniture, same instincts, completely wrong space. It took me almost eight months (and one very bad Facebook Marketplace loveseat purchase) to actually understand that a studio isn’t a small apartment, it’s a different kind of apartment, and it needs to be planned like one.
If you’re moving into a studio, or you’ve been in one for a while and it still feels like everything is fighting for the same six feet of floor, this is the post I wish someone had handed me on move-in day.
I’m not going to give you a generic “zone your space!” pep talk. I’m going to walk through studio apartment layout ideas broken out by actual square footage, because what works in a 260-square-foot micro-studio in a converted brownstone is genuinely bad advice for someone with 650 square feet and an alcove. Size changes the whole strategy, so that’s how we’re doing this.
Quick note before we start: I’m using square footage ranges because that’s the number that actually predicts what layout moves are possible, not “studio” as one category.
If you don’t know your square footage, it’s usually on your lease — go check, because it’ll save you from copying a Pinterest layout that assumes you have 200 more square feet than you do.

Why Studio Layout Fails Most People (the actual reason, not the vibes reason)
Here’s the thing almost every studio-layout post skips: the problem usually isn’t furniture size, it’s furniture function overlap. In a studio, your bed does bed things, but it’s also fifteen feet from your desk, which means your desk chair is basically in your bedroom.
Your couch faces your TV, but your TV stand is also your dresser, so getting dressed happens in your living room. When every zone bleeds into every other zone, your brain never fully lands in “sleep mode” or “work mode” or “relax mode” — you’re just in “apartment mode” all day, which is exhausting in a way that’s hard to name.
The fix isn’t more storage (though we’ll get to that) or a cuter rug. It’s creating actual sightline and function breaks between zones, even in 250 square feet. That’s the thread running through every idea below.
Pro tip: Before you buy anything, stand in your studio and count how many activities happen within eyeshot of your bed. If it’s more than two, that’s your real layout problem — not the size of the room.
Under 300 Square Feet: Micro-Studio Layouts
This is the range where most generic apartment content just… doesn’t apply. You don’t have room for a “reading nook” and a “workspace” and a “dining area” as separate zones — you have room for maybe two real zones and a lot of dual-purpose furniture.
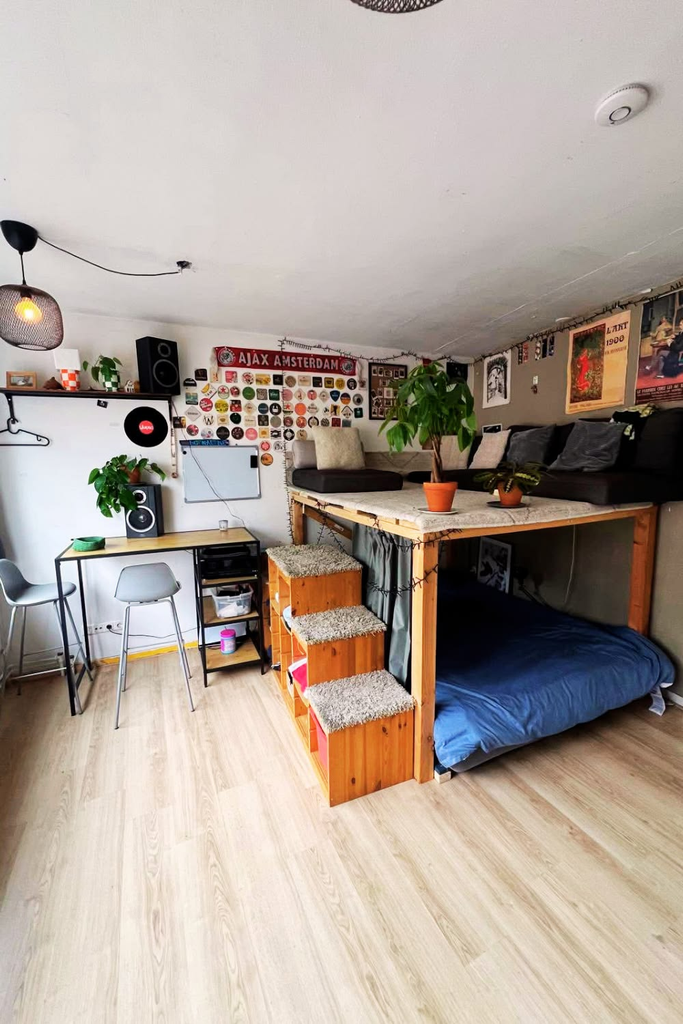
Prioritize vertical zoning over floor zoning. In a micro-studio, you don’t have the floor space to separate “sleep” from “everything else,” so you separate them with height and visual weight instead.
A loft bed (even a low one, 4-5 feet up) puts your sleeping area on a different plane entirely, which does more psychological heavy lifting than a room divider ever could in this size range.
My friend Priya did this in her 275-square-foot studio in Chicago — she got a platform loft bed built by a local carpenter for about $650 instead of buying a pre-made one, because pre-made lofts rated for adult weight started at $900+ and she wanted storage drawers built into the base anyway.
One piece of furniture, minimum two jobs. This isn’t optional at this size — it’s the whole game. A storage ottoman that’s coffee table, footrest, and blanket storage. A daybed that’s couch by day, bed by night (skip the pull-out sofa bed here specifically — more on that below).
A dining table that folds flat against the wall when you’re not using it, so the 3×3 foot footprint it eats up during meals gives itself back the other 20 hours a day.
Skip the pull-out sofa bed under 300 square feet — get a daybed or Murphy setup instead. I made this mistake in my first studio. A queen pull-out sofa needs almost 3 feet of clearance in front of it to open, which in a micro-studio means the couch becomes unusable as a couch every single night because you can’t fully close it back up without also putting away everything you set down that day.
A daybed with a trundle, or an actual wall-mounted Murphy bed, doesn’t need that clearance ritual.
Pro tip: If you’re renting and can’t install a Murphy bed, look for a “cabinet bed” — it’s a freestanding wardrobe-looking unit that folds out into a full or queen bed and doesn’t require wall mounting or drilling. They run $700-1,400 depending on size, which is more than a daybed but solves the clearance problem without landlord approval.
300-450 Square Feet: The Most Common Studio Size
This is where most city studios actually land, and it’s genuinely the trickiest range in my opinion — you have just enough room to think you can fit a real living room setup, but not enough to do it without the whole apartment feeling like a furniture showroom floor.
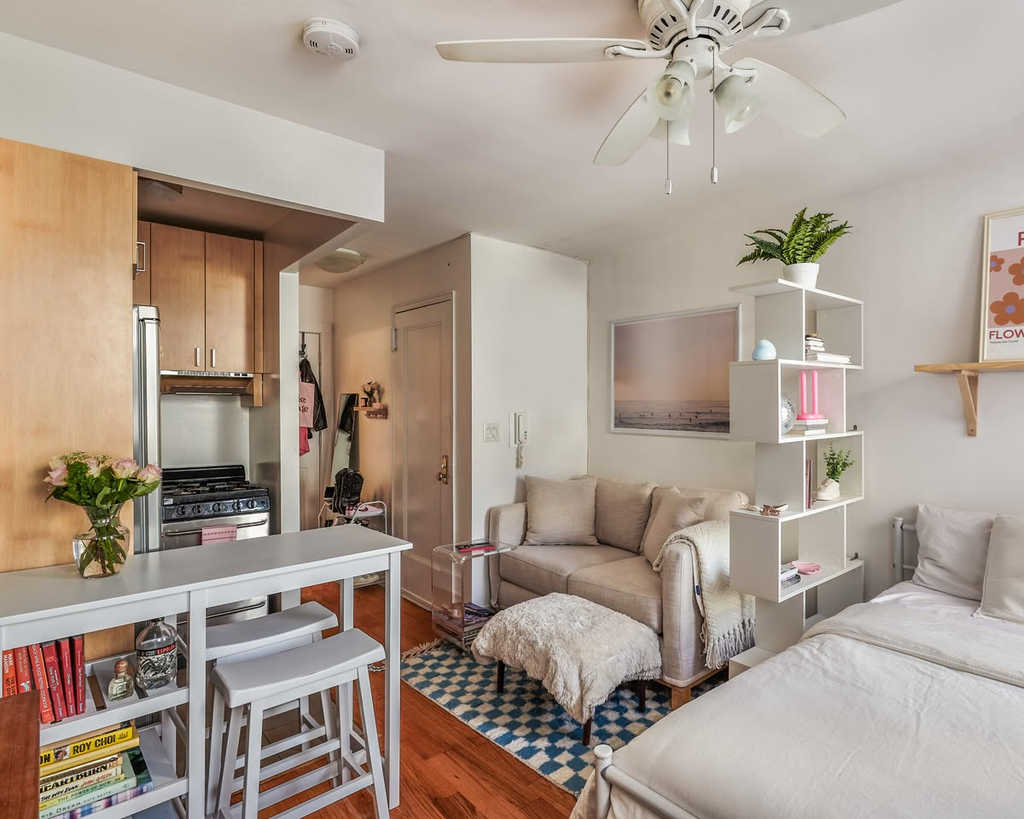
The L-shaped anchor layout. Put your bed against the wall that’s furthest from your entry door, and build an “L” out from it using a low bookshelf or open shelving unit as the divider — not a full room divider, just something waist-to-chest height that breaks the sightline from your front door to your bed without blocking light.
This is the single layout move I recommend most for this square footage because it does real zoning work without eating floor space the way a screen or curtain track does.
Float your bed off at least one wall if you can. Counterintuitive, but true: pushing a bed into a corner with two sides against walls often makes a room feel more cramped, not less, because it kills the sense of a walking path around the space.
Even 8-10 inches of clearance on one side, enough to walk a lap around the bed, reads as “bigger room” to your brain even though you’ve technically lost square footage to that gap.
A round or oval dining table beats a rectangle here almost every time. In 300-450 square feet you’re usually threading a dining spot into a walkway, and round tables let you brush past them without catching a hip on a corner.
My studio had a 30-inch round table wedged near the kitchen pass-through, and it sat 2-3 people fine for the actual amount of at-home eating I did, which was mostly solo dinners and the occasional friend over for wine.
Pro tip: Measure your walking paths before your furniture, not after. You want at least 24-30 inches of clear path between major pieces — anything narrower and you’ll find yourself unconsciously avoiding that route, which slowly makes half your apartment feel unusable even though it’s technically “furnished.”
450-600 Square Feet: Room to Actually Zone
At this size you can start doing what most Pinterest studio boards show — real, distinct zones — but the mistake I see most often here is people treating the extra square footage as permission to buy more furniture instead of better furniture.
More furniture at 500 square feet usually just means five half-used zones instead of three functional ones.
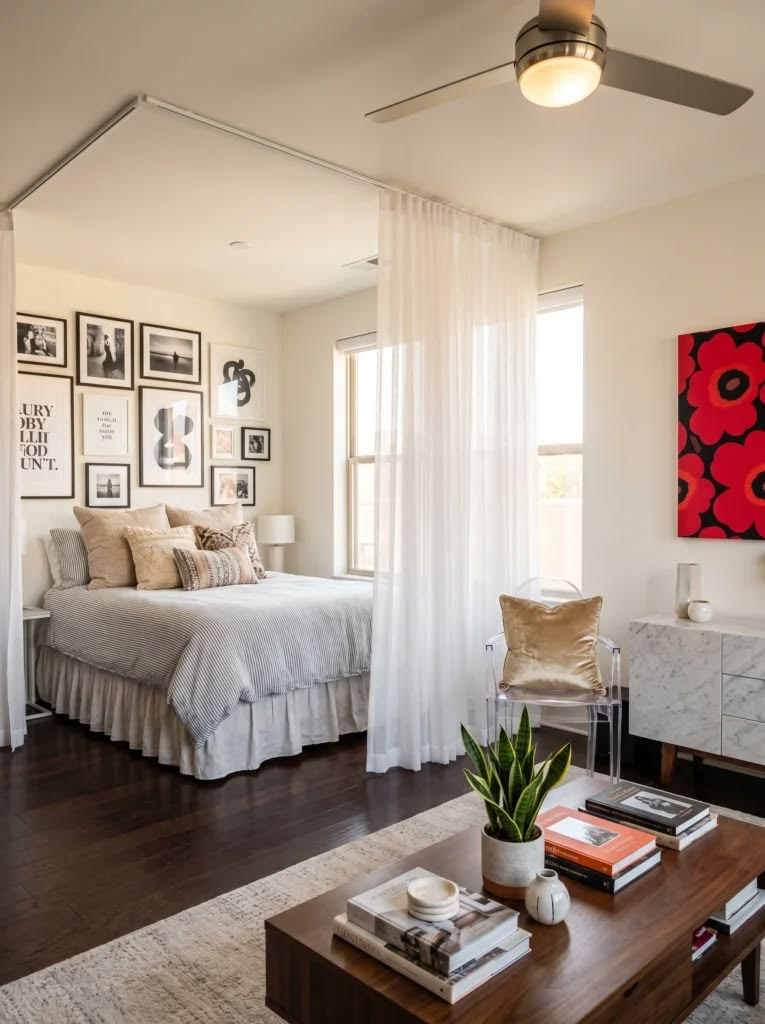
Use a real room divider now, not just implied zoning. This is the first size range where a bookshelf-as-divider, a slatted wood screen, or even a strategically placed curtain track actually earns its keep, because you finally have enough floor space on both sides of it to make each zone functional.
A curtain track mounted to the ceiling (not a freestanding screen) is the move if you’re renting — it’s usually a couple of screws into the ceiling versus a wall, and most leases treat ceiling anchor holes as more forgivable than wall damage. Double-check your lease, though; this varies more than people assume.
This is your sweet spot for a proper “L-shaped” or sectional-adjacent seating setup, but keep the actual footprint to a loveseat plus one accent chair rather than a full sectional. A sectional in a 500-square-foot studio almost always ends up as the single biggest layout mistake I see in this range — it looks proportional in the store, and then it eats the one zone that was supposed to be flexible.
Give your entry a real landing zone. At smaller sizes, you don’t have room for this, but at 450+ you do, and it makes a bigger difference than people expect: a narrow console table or a wall hook rail right by the door, so your keys, mail, and shoes have a designated 6-inch-deep stopping point instead of migrating onto your kitchen counter or bed. It sounds minor.
It is not minor — it’s the difference between the apartment feeling “kept” and feeling like a place where things just accumulate.
Pro tip: If your studio has an alcove (a lot of pre-war and converted buildings do), resist the urge to make it your bedroom by default. Alcoves are usually 6-8 feet deep and often don’t have their own window, which means putting your bed there can leave your main window light going to waste on your living area instead of your sleep space.
Try the reverse — desk or reading nook in the alcove, bed near the window — before you commit.
600+ Square Feet: Large Studios and Studio-Adjacent Layouts
If you’ve got 600 square feet or more, you’re honestly not dealing with the same constraints as a true micro-studio, and a lot of the “hacks” above will feel like overkill. Your bigger risk here is the opposite problem: the apartment reading as one undefined open space because nothing anchors any zone.
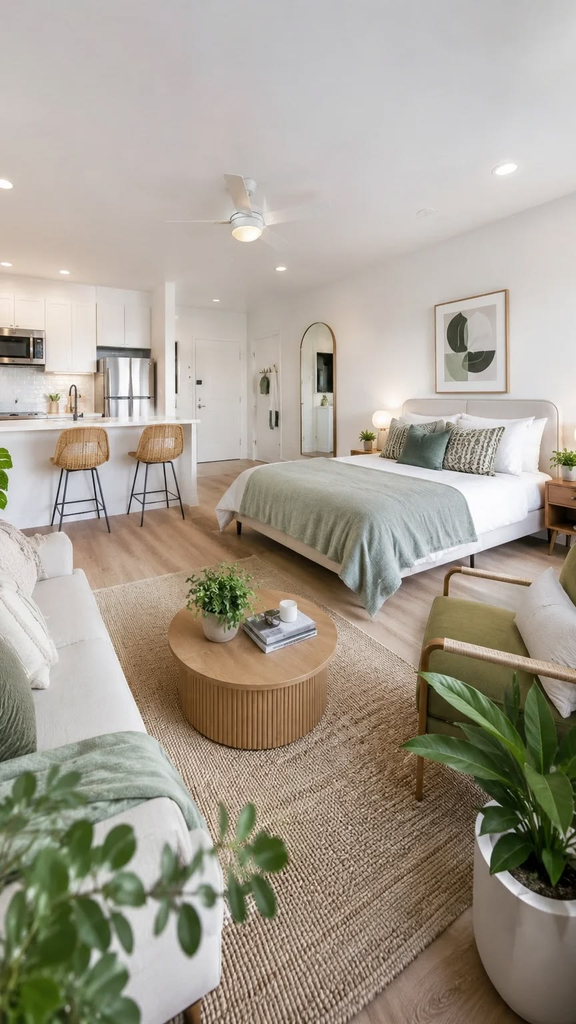
Anchor each zone with a rug, not a wall. This is the single highest-impact move at this size. A living area rug under your seating, a separate (ideally different-toned) rug or runner defining your sleep zone, and bare floor or a third small rug at your entry — this does more to make 600+ square feet feel like “rooms” than furniture placement alone ever will, because your eye reads rug boundaries almost like walls.
You can afford a real headboard-and-storage bed setup now, and it’s worth it — a platform bed with built-in drawer storage underneath reclaims what would otherwise be dead space at this size, since you’re not relying on under-bed storage boxes to do all the work the way you would in a micro-studio.
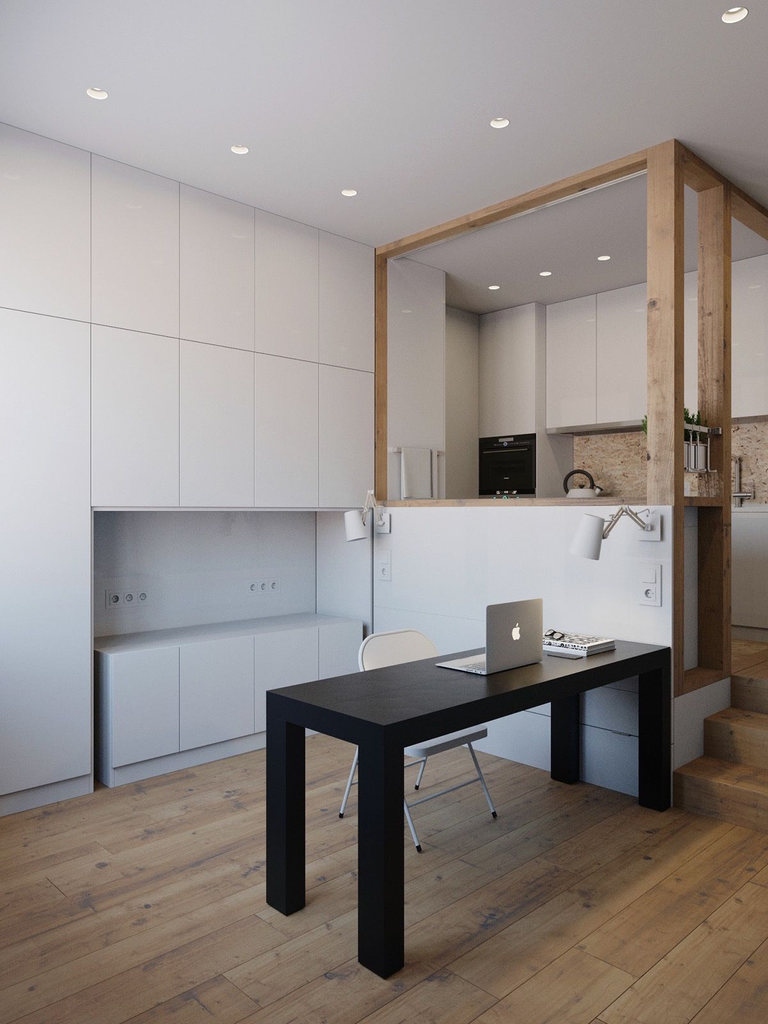
Consider a half-wall or bookshelf-plus-plant grouping instead of a full divider. At 600+ square feet, a floor-to-ceiling divider can start to feel like you’re artificially recreating a one-bedroom and losing the open, airy quality that’s the actual advantage of a big studio. A waist-height divide with something living or textural on top (plants, books, a small lamp) keeps the zoning benefit without closing the space in.
Pro tip: Large studios are where people most often waste money on furniture that’s technically too big — a full sectional, an oversized sideboard, a king bed that eats a third of the floor. Just because you have the square footage doesn’t mean every “normal apartment” piece fits; measure your actual walking paths the same way you would in a 350-square-foot studio, because the math doesn’t stop mattering just because the room is bigger.
Layout Approach by Square Footage: Quick Comparison
| Square Footage | Best Zoning Method | Bed Type to Prioritize | Biggest Layout Mistake to Avoid |
|---|---|---|---|
| Under 300 sq ft | Vertical (loft/height) | Loft bed or cabinet bed | Buying a pull-out sofa bed |
| 300-450 sq ft | Low shelving as soft divider | Standard bed, floated off one wall | Pushing bed into a full corner |
| 450-600 sq ft | Curtain track or slatted screen | Bed with under-storage | Full sectional sofa |
| 600+ sq ft | Rugs to define zones | Platform bed with drawers | Oversized “one-bedroom” furniture |
What to Buy (and What It Actually Costs)
If you’re starting from scratch, here’s roughly where the money goes and where it’s worth spending more:
- Room divider or curtain track: $40-90 for a basic tension-rod curtain divider, $150-300 for a proper ceiling-mounted track system, $80-200 for a slatted wood folding screen. I’d spend the extra $100+ on the ceiling track if you’re staying more than a year — the tension-rod versions sag within a few months and stop closing all the way.
- Loft or cabinet bed: $600-1,400 depending on materials and whether it’s custom-built locally or a manufactured unit. Custom local builds are often cheaper than you’d expect if you’re in a city with any kind of maker/carpenter community — worth a quick local Facebook group search before you assume IKEA or a big retailer is your only option.
- Storage ottoman or bench: $60-150. This is a genuinely good place to save money — the function matters way more than the brand here.
- Zone-defining rugs (2-3 for a larger studio): $80-250 each depending on size, more if you go wool over synthetic. Budget synthetic rugs are honestly fine for this specific job, since you’re using them for visual boundary-setting, not necessarily as a 10-year investment piece.
If I Were Setting Up a Studio From Zero Tomorrow
I’d measure the square footage first, actually measure it, not estimate it. Then I’d figure out my walking paths before I picked a single piece of furniture, because that’s the thing that determines whether a layout works, not how nice any individual piece looks in isolation.
And I’d resist buying the “living room” and “bedroom” as two separate furniture shopping trips — I’d think in zones and dual-purpose pieces from the very first purchase, because that’s the mindset that actually makes a studio apartment layout work, at any square footage, not just a good-looking floor plan on paper.


Leave a Reply