
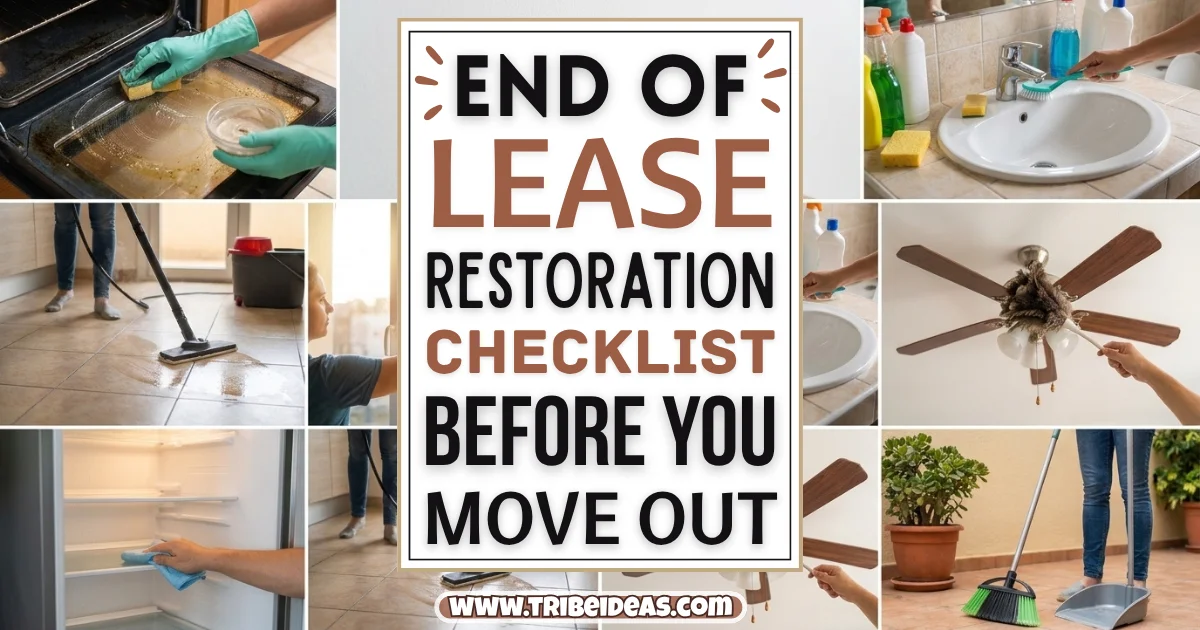
I got a $340 deduction from my very first apartment’s deposit for a mark on the wall behind my bed that I hadn’t even noticed was there, and to this day I genuinely don’t know if I caused it or if it was already there when I moved in three years earlier.
That single deduction is the entire reason I now treat end of lease restoration like an actual project with its own timeline, rather than something I scramble to handle the weekend before movers show up.
An end of lease restoration checklist matters for a reason that’s easy to underestimate until it costs you money: most of the renter-friendly upgrades that made your apartment feel like home — the peel-and-stick backsplash, the swapped cabinet hardware, the Command strip gallery wall — need to come down and get restored in a specific order and with real care, or you end up trading a small deposit deduction for a slightly nicer apartment during your lease for a much bigger deduction the day you leave.
I’m walking through this in the order that actually protects your deposit best: what to start planning weeks before your actual move-out date, the removal process itself for the different types of renter-friendly changes people commonly make, the cleaning that matters most to a landlord’s inspection, and the final documentation that protects you if there’s ever a dispute about what you’re being charged for.
Weeks Before Move-Out: Planning the Restoration Timeline
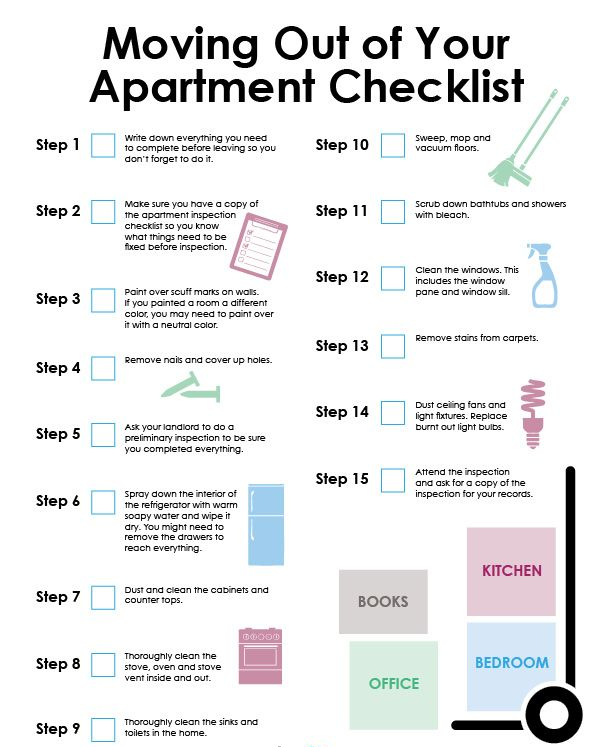
Pull out your restore list, or reconstruct one if you don’t have it
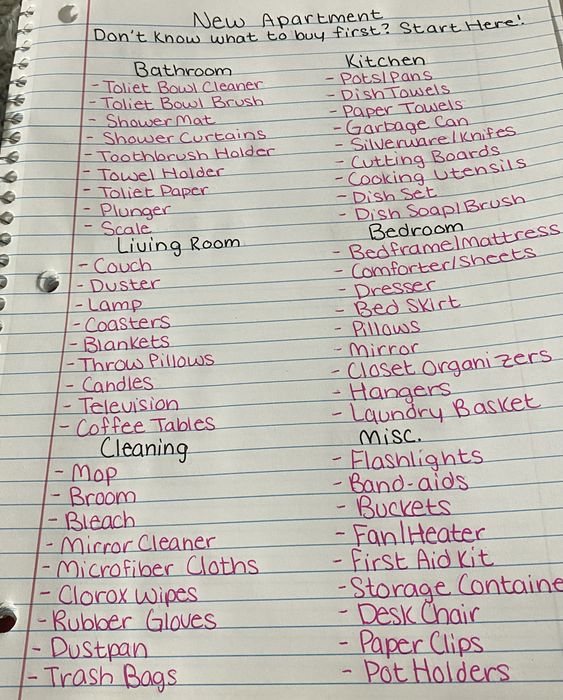
If you kept a running list of every renter-friendly change you made and where the original hardware or fixtures are stored, now’s when that habit pays off — review it and confirm you actually have everything you’ll need.
If you didn’t keep a list, walk through your apartment room by room and write down every change, no matter how small, since it’s much easier to catch a forgotten swapped light fixture cover now than during a rushed final walkthrough.
Pro tip: Do this walkthrough with your original move-in photos open side by side if you have them — comparing room by room against those photos catches small changes you’ve genuinely forgotten about, since some renter-friendly swaps become so normal after a year or two that you stop consciously registering them as changes at all.
Locate every piece of original hardware and fixtures now, not the week of
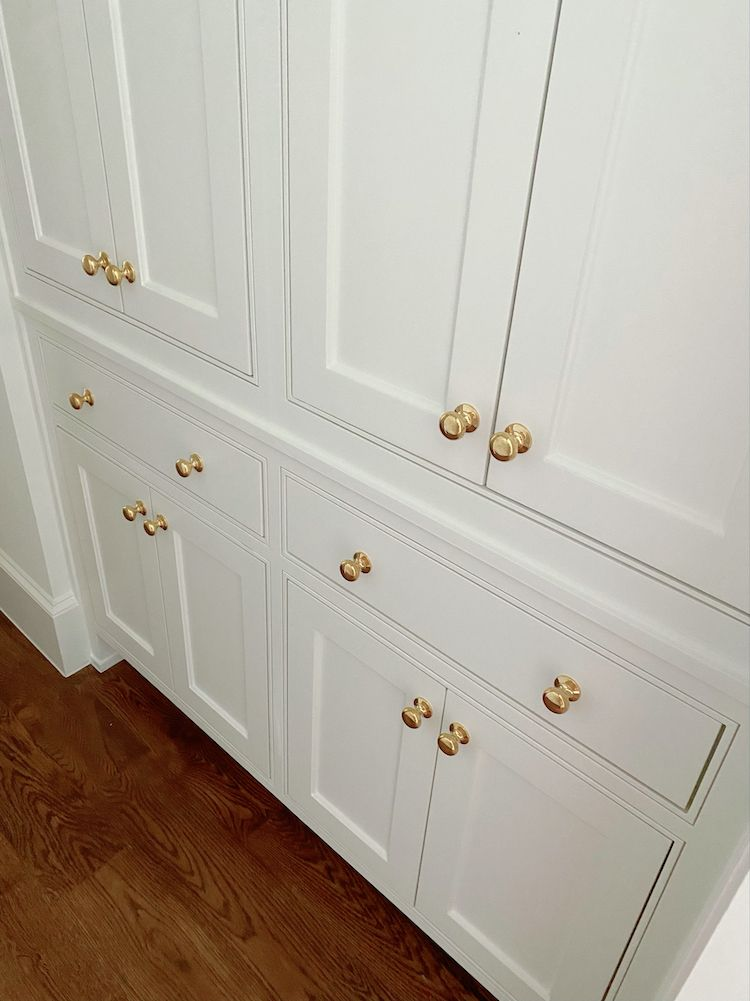
Track down the bags of original cabinet knobs, light fixture covers, or any other swapped hardware while you still have plenty of time to deal with a missing piece.
Discovering a missing original knob with three days left before move-out is a genuinely stressful scramble; discovering it a month out gives you time to source a reasonable replacement or explain the situation to your landlord calmly.
| Restoration Phase | Timing Before Move-Out | Key Tasks |
|---|---|---|
| Planning and inventory | 3-4 weeks | Review restore list, locate original hardware, plan removal order |
| Adhesive and decor removal | 2-3 weeks | Remove wallpaper, hooks, peel-and-stick items with proper technique |
| Hole patching and touch-ups | 1-2 weeks | Fill and paint any minor holes, let compound fully cure |
| Hardware reinstallation | 1-2 weeks | Reinstall original knobs, fixtures, covers |
| Deep cleaning | Final week | Full apartment clean, appliance interiors, baseboards |
| Documentation and walkthrough | Move-out day | Photos of every room, note existing wear vs damage |
Plan your removal order around cure times, not convenience
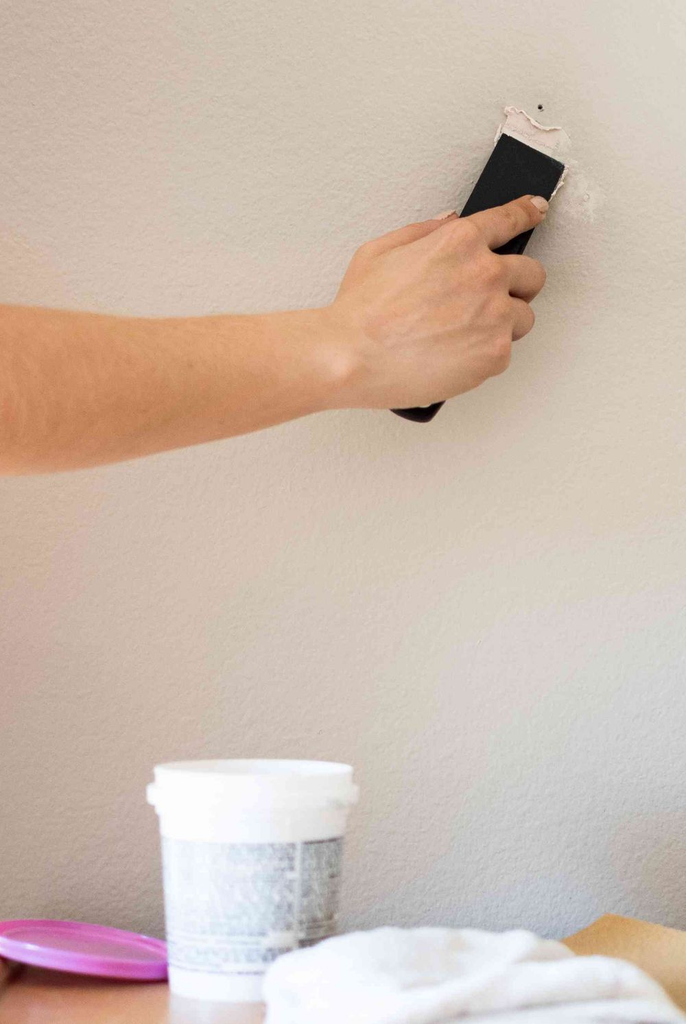
Some restoration tasks, like spackle drying or paint touch-ups, need real time to cure properly before you can assess whether they look right, which means the order you tackle things in should be based on what needs the most lead time, not simply what’s easiest to do first.
Starting wall patching in your final week, when compound needs a day or two to fully dry before painting over it, leaves you with almost no margin if something doesn’t turn out right on the first attempt.
Removing Decor and Adhesive Products the Right Way
Removing peel-and-stick wallpaper and backsplash tile
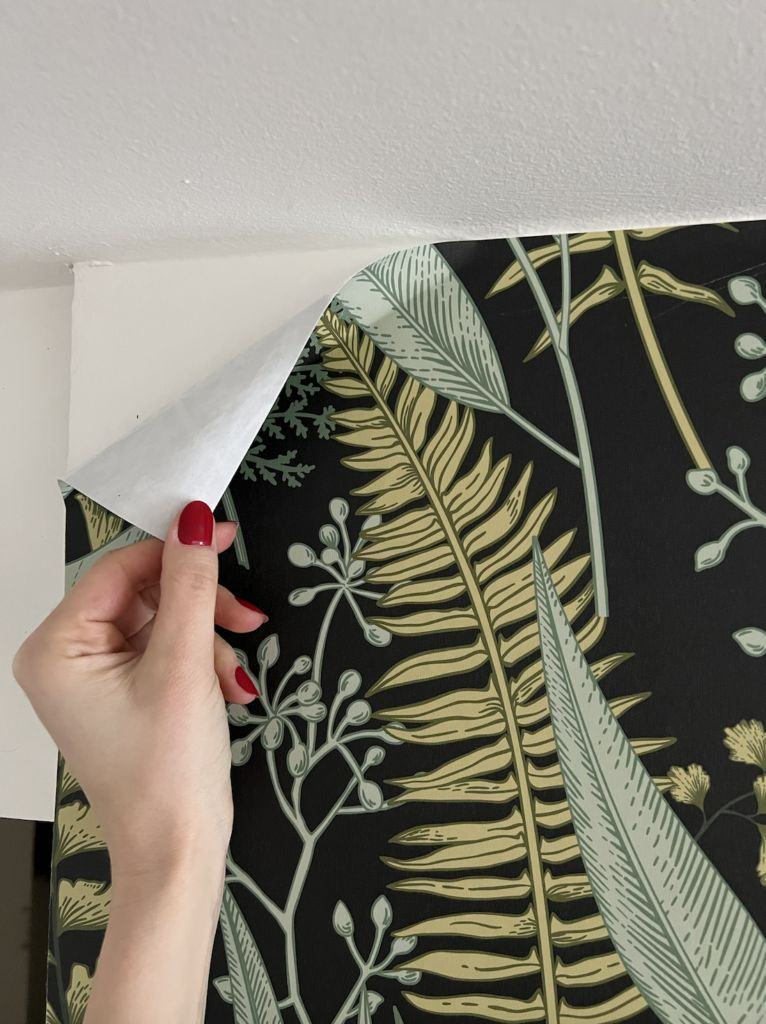
Warm the material gently with a hairdryer on a low setting before peeling, working slowly from a corner rather than yanking from the middle of a sheet. The heat softens the adhesive bond and dramatically reduces how much residue or damage is left behind compared to a cold, forceful removal.
My roommate Jasmine rushed this step in our shared apartment, pulling a large peel-and-stick backsplash section off cold and fast because she was in a hurry, and it took a small strip of the wall’s paint finish with it — a problem that a few extra minutes with a hairdryer would have completely avoided.
Pro tip: Keep a bottle of rubbing alcohol and a soft cloth on hand throughout this process — any adhesive residue left behind after peeling usually comes off cleanly with a bit of alcohol on a cloth, but it’s much easier to address each spot immediately rather than trying to remember and track down residue spots later.
Removing Command strips and adhesive hooks correctly
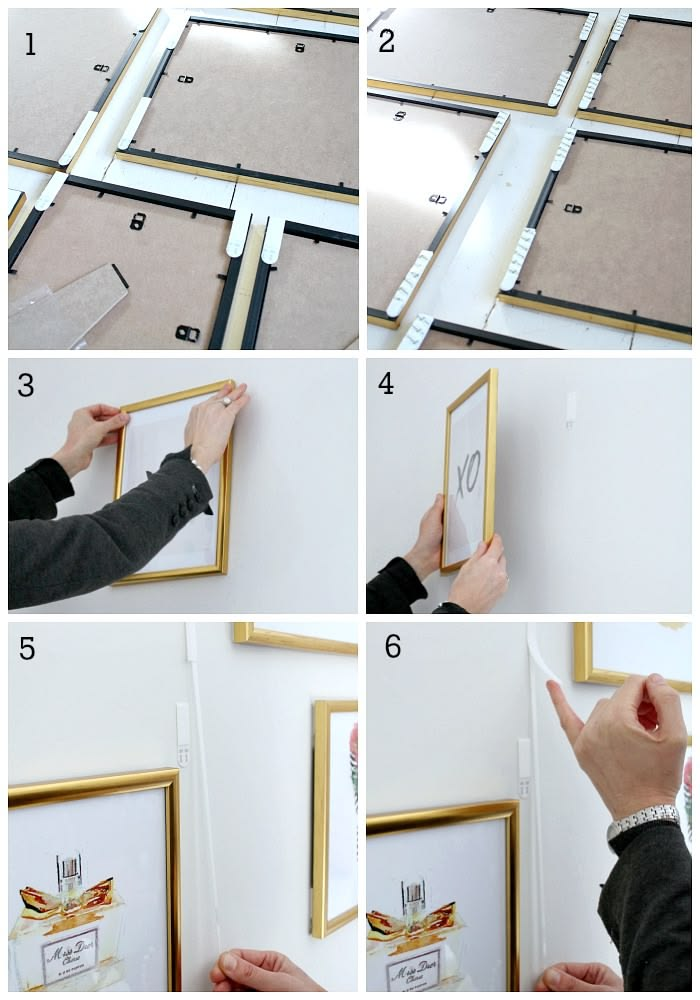
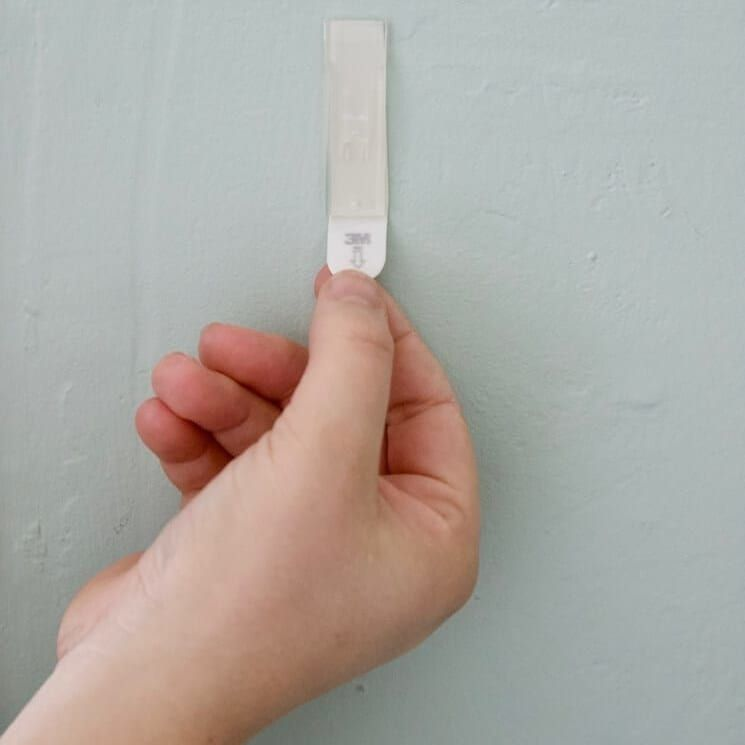
Use the proper stretch-release technique for every single Command product — pulling the tab straight down and slowly, rather than pulling the hook itself away from the wall.
This is the single most common mistake people make at move-out, and rushing this step, especially on strips that have been up for a year or more, is the most likely way to take paint off with the adhesive.
Pro tip: If a strip’s release tab has broken off or is missing, dental floss pulled slowly back and forth behind the strip, parallel to the wall, works as an effective backup removal method without damaging the paint.
Removing tension rods, adhesive hooks, and freestanding organization
These are typically the easiest items on this entire list to deal with — tension rods simply compress and lift out, and freestanding furniture or organization pieces just need to be removed and, if you’re not keeping them, disposed of or sold.
Double-check that any adhesive-backed brackets that held these in place also come down cleanly, since it’s easy to forget a small mounting bracket that supported a larger, more obviously removed piece.
Patching Holes and Handling Minor Wall Damage
Filling small nail or hardware holes properly
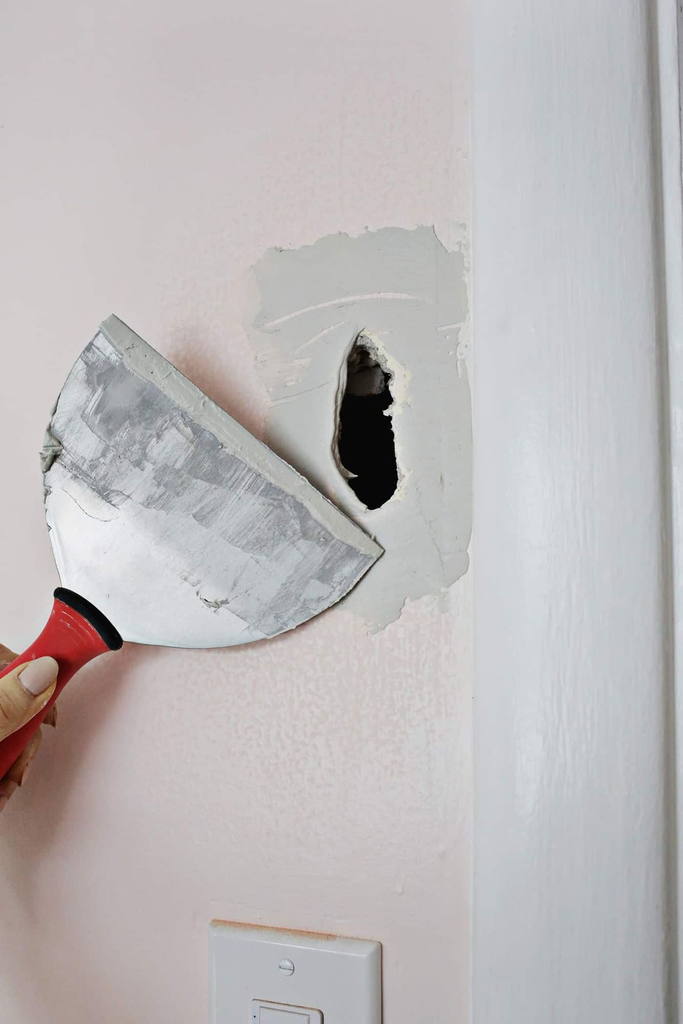
For any minimal holes from no-stud picture hangers or similar hardware, a small amount of spackle applied with a putty knife, allowed to fully dry, then lightly sanded flush with the wall, gives a clean, nearly invisible result.
Rushing this — applying paint before the spackle is fully dry, for instance — is the most common reason a patch job looks worse than the original small hole would have looked on its own.
Pro tip: Slightly overfill the hole with spackle rather than applying an exact, minimal amount — spackle shrinks slightly as it dries, and a hole that looked perfectly filled right after application can develop a small dip once fully cured if you didn’t leave enough material.
Touching up paint to match
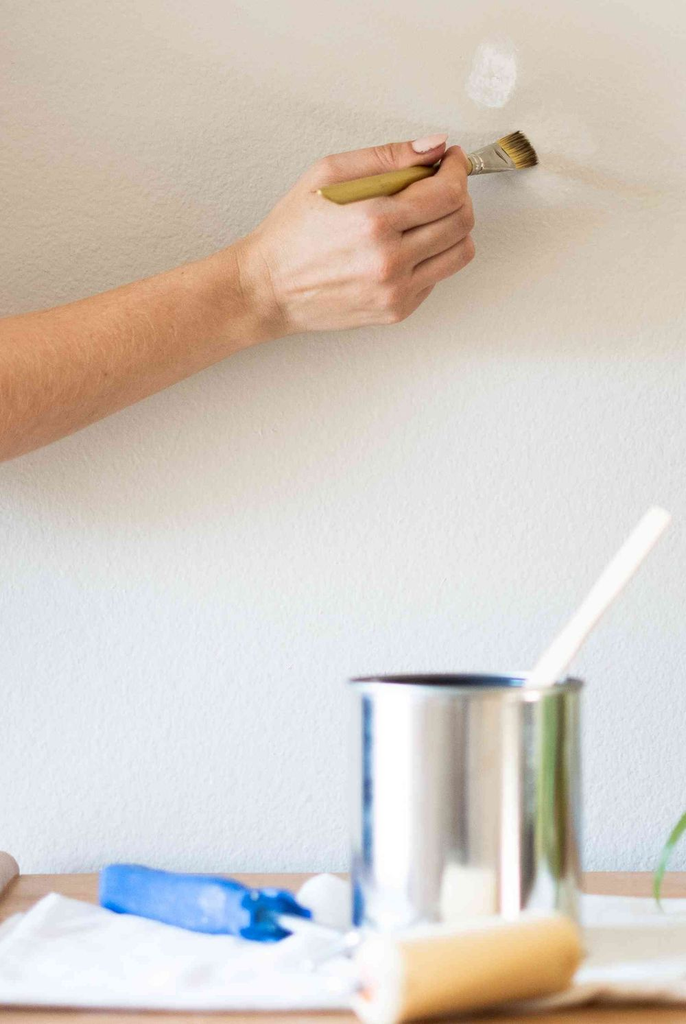
If your patch job needs a paint touch-up, and you don’t have leftover paint from move-in, ask your landlord if they have the original paint code or a can left over from before you moved in — a lot of landlords keep this information on file specifically for this situation, and it’s a much better first move than trying to color-match from a paint chip at the hardware store.
Pro tip: Apply touch-up paint with a small artist’s brush rather than a full-sized roller for a small, isolated spot — a roller applied to a tiny area can create a texture or sheen difference around the edges that’s more noticeable than the original mark you were trying to cover.
Reinstalling Original Hardware and Fixtures
Reinstalling cabinet hardware using your documentation
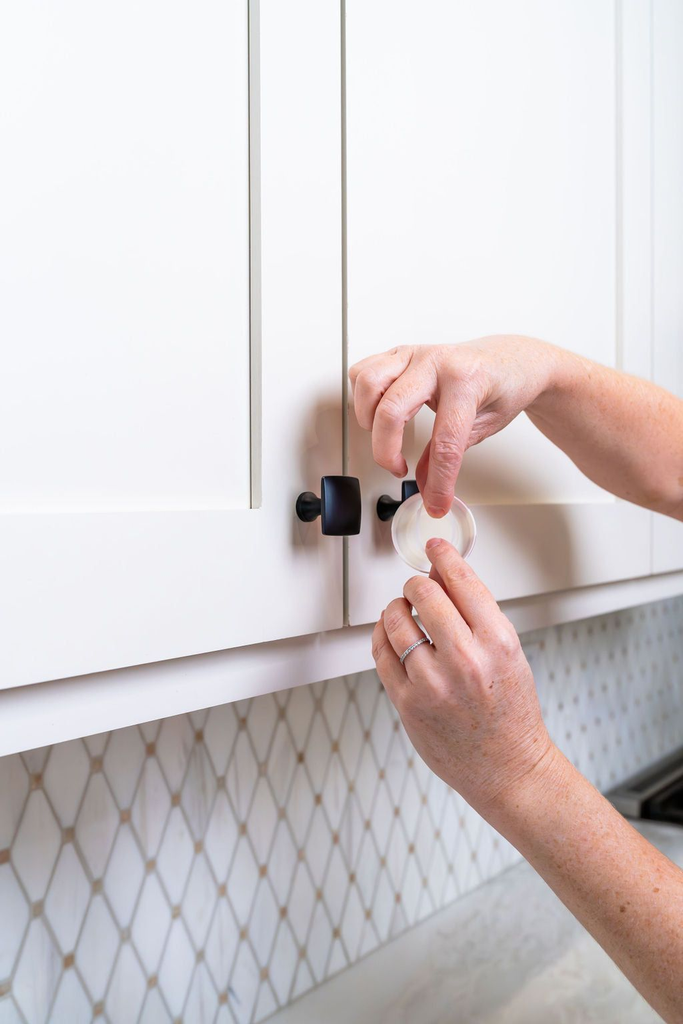
Using the photos and hole-spacing measurements you took when you first swapped the hardware, reinstall the original knobs and pulls in their exact original positions.
This is where all that earlier documentation pays off directly — without it, you’re relying purely on memory for details like exact placement that genuinely fade after a year or more of living with the updated hardware.
Reinstalling light fixtures and covers
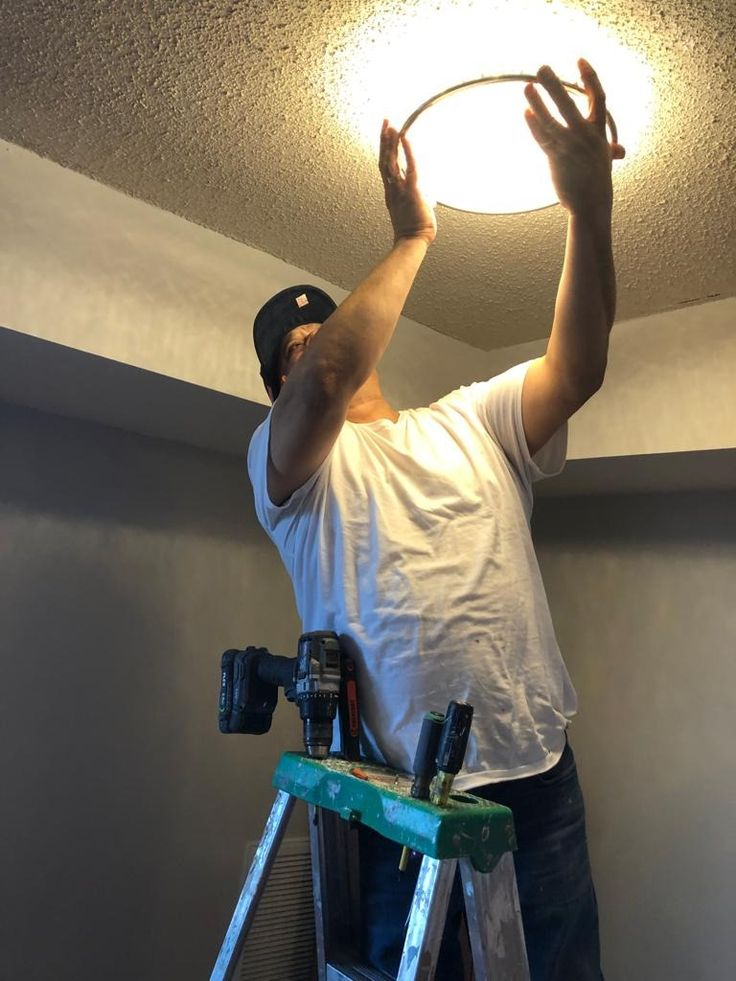
If you swapped any light fixtures with landlord approval, reverse the process using your earlier wiring photos, and confirm power is off at the breaker before disconnecting anything.
If you only swapped fixture covers or shades rather than the full fixture, this step is usually quick, but don’t skip double-checking that the original covers are actually the right ones for each specific fixture if you swapped covers across multiple rooms.
Reinstalling faucet aerators and other small fixtures
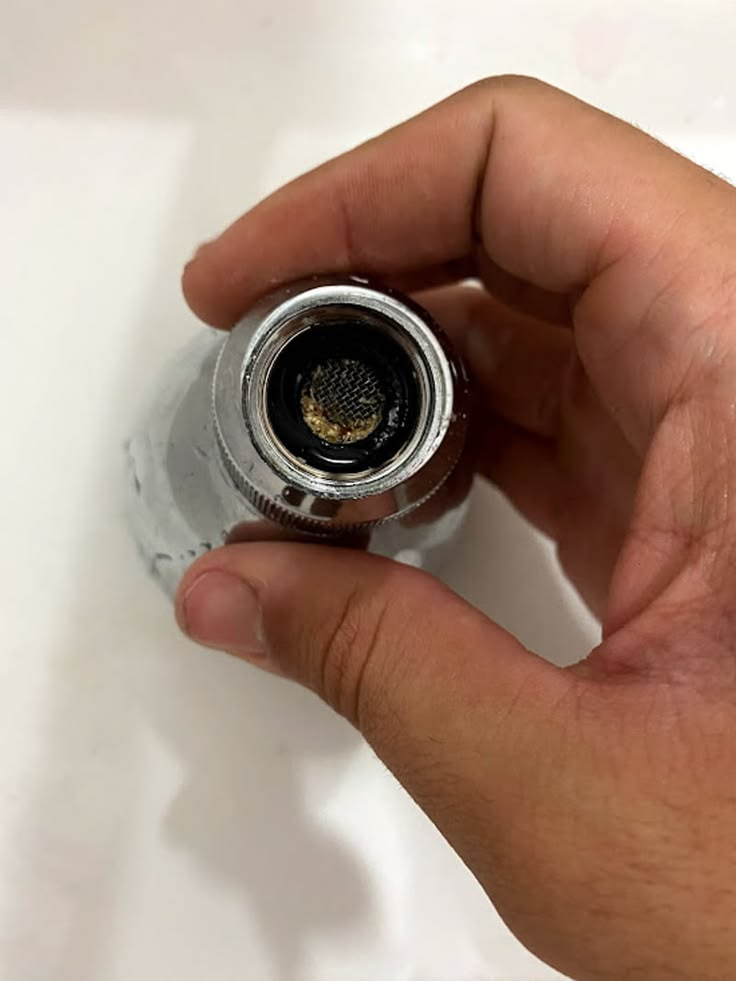
These small swaps are quick to reverse and easy to overlook precisely because they’re so minor — walk through every sink and shower specifically checking for any swapped aerators, showerheads, or similar small fixtures rather than assuming you’ll remember them all from a general walkthrough.
Final Cleaning and Documentation
Deep cleaning beyond your regular routine
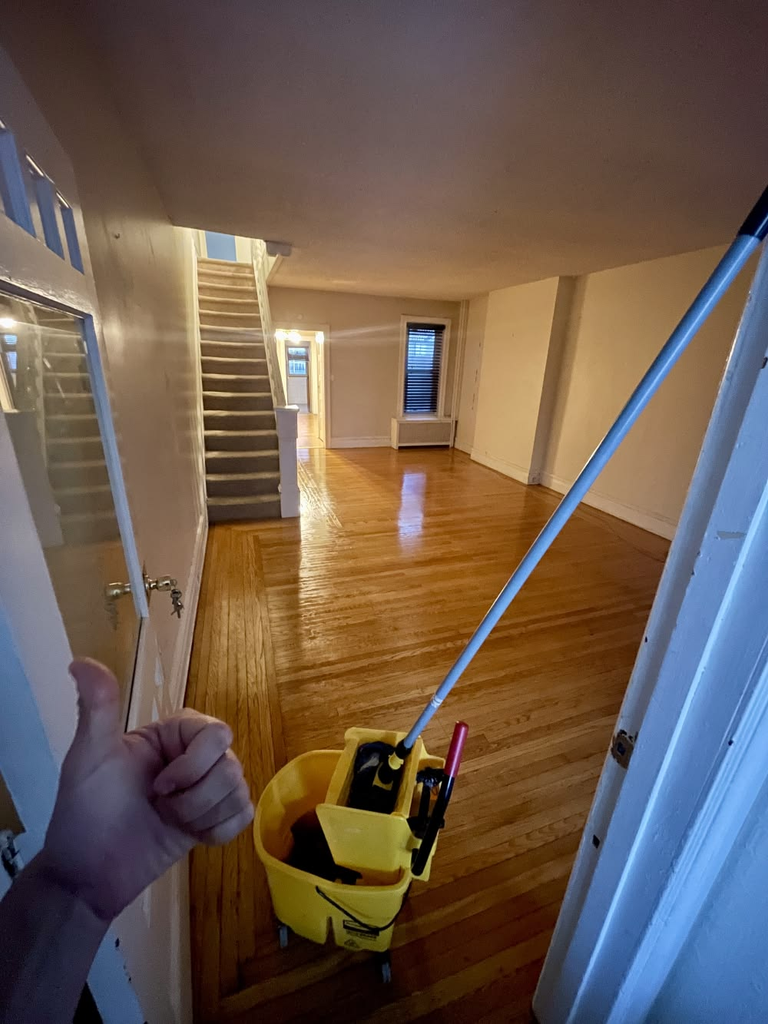
A move-out clean genuinely needs to go beyond your normal weekly cleaning — inside appliances, behind and under furniture that’s now been moved out, baseboards, and light fixture covers all deserve real attention, since these are exactly the spots a move-out inspection tends to focus on precisely because they’re the areas most likely to have been neglected during regular tenancy.
Pro tip: Clean directly after all your furniture is out of the apartment, not before — cleaning around furniture that’s still in place means you’re guaranteed to miss spots that only become visible once everything is actually gone.
Photographing every room before you hand over keys
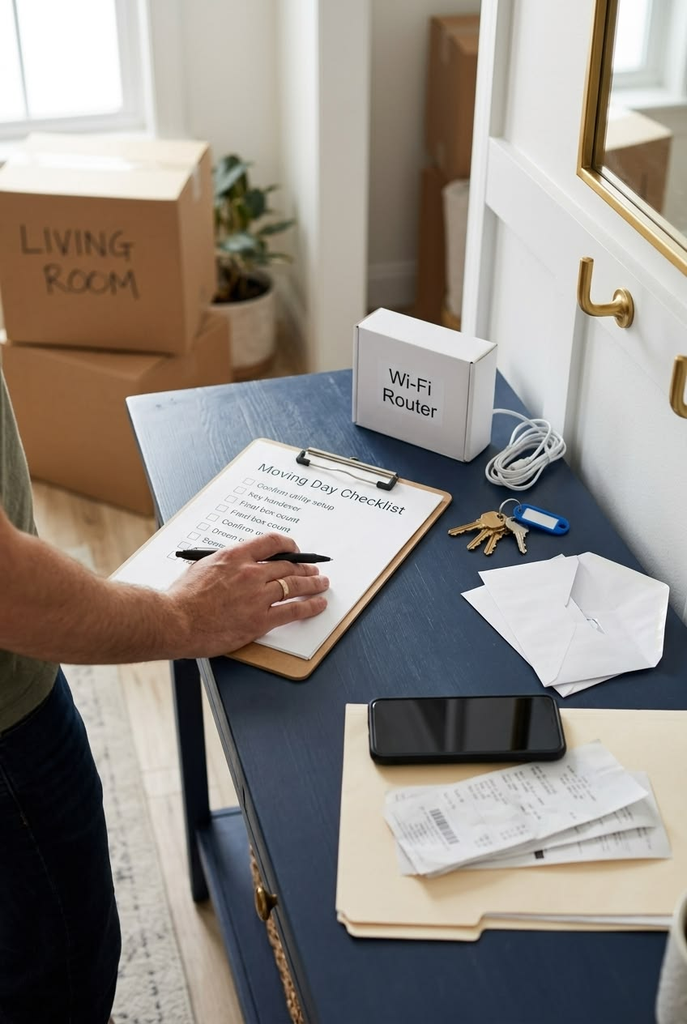
Take the same kind of thorough, room-by-room photos you took on move-in day, capturing the final condition of every wall, floor, and fixture.
This is your primary protection if there’s ever a dispute about a deposit deduction, and it costs you fifteen minutes on a day that already has a hundred other things happening.
Requesting a walkthrough with your landlord if possible
If your landlord or property manager is willing to do an in-person walkthrough with you before you fully leave, take that opportunity — it lets you address any concerns on the spot, in person, rather than finding out about a deduction after the fact through a written notice with no chance to respond or contest it in real time.
What I’d Do Differently Looking Back
If I could go back to that first apartment and the mysterious $340 wall mark, I’d have taken thorough move-in photos of every wall from multiple angles, not just a quick phone snapshot of the general room.
That single habit, which costs almost nothing in time, is the difference between confidently disputing a deduction you know wasn’t your fault and just accepting a charge because you genuinely can’t prove otherwise.
The bigger lesson from years of moving in and out of rentals since then is that end of lease restoration goes smoothest when it’s treated as its own multi-week project rather than an afterthought squeezed into your last few days.
Every renter-friendly upgrade you made during your lease was worth doing — the restoration process is just the other half of that same deal, and it deserves the same care.








Leave a Reply