23 Garage Workshop Layout Ideas
Designing the perfect garage workshop layout is like drafting blueprints for your personal fortress of ingenuity.
Whether you’re fixing engines, crafting furniture, or tinkering with tools on a quiet Sunday morning, a well-laid-out workshop is the unsung hero behind every successful project.
And let me tell you from experience: a messy, disorganized garage can turn even a five-minute task into an afternoon of frustration.
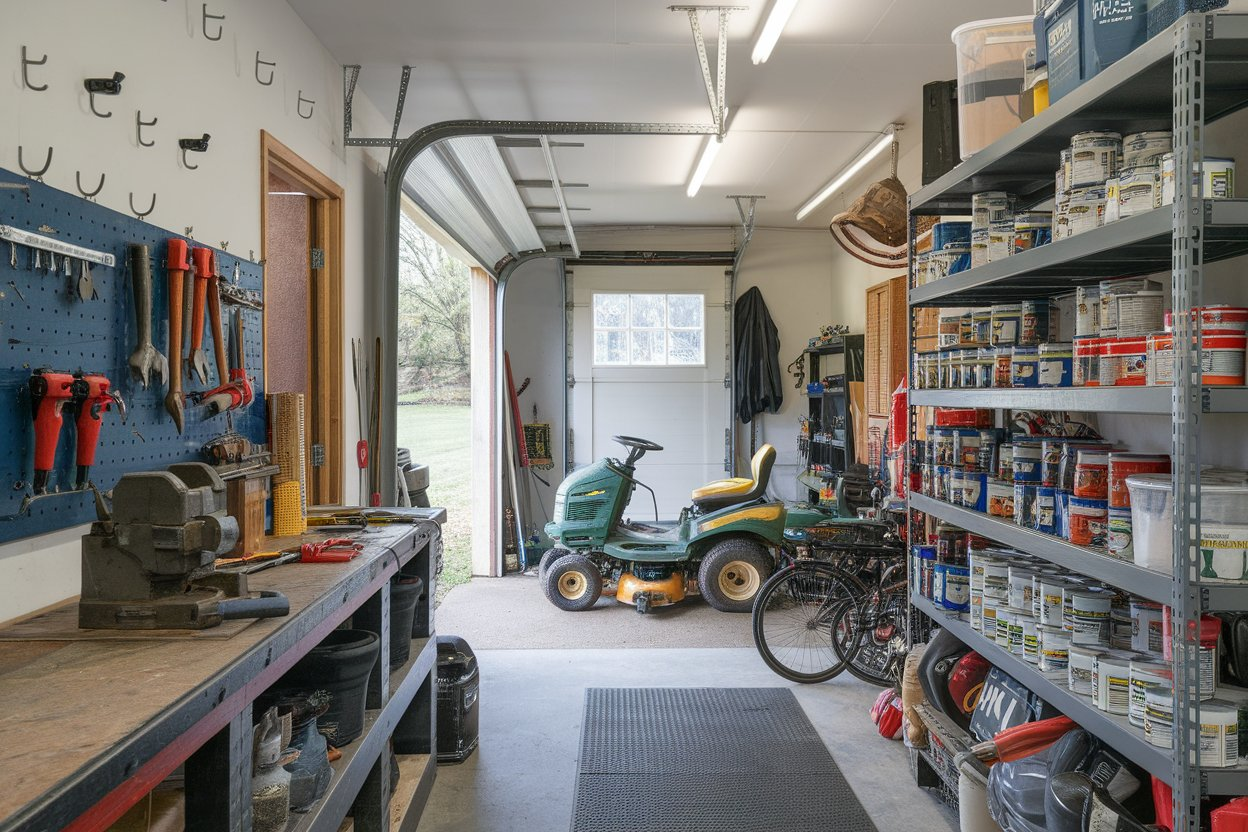
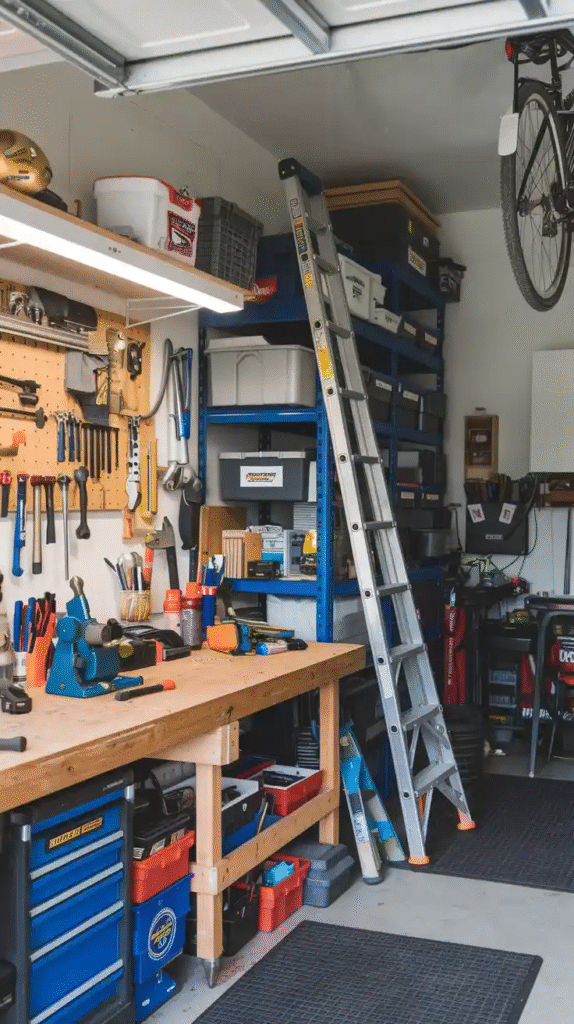
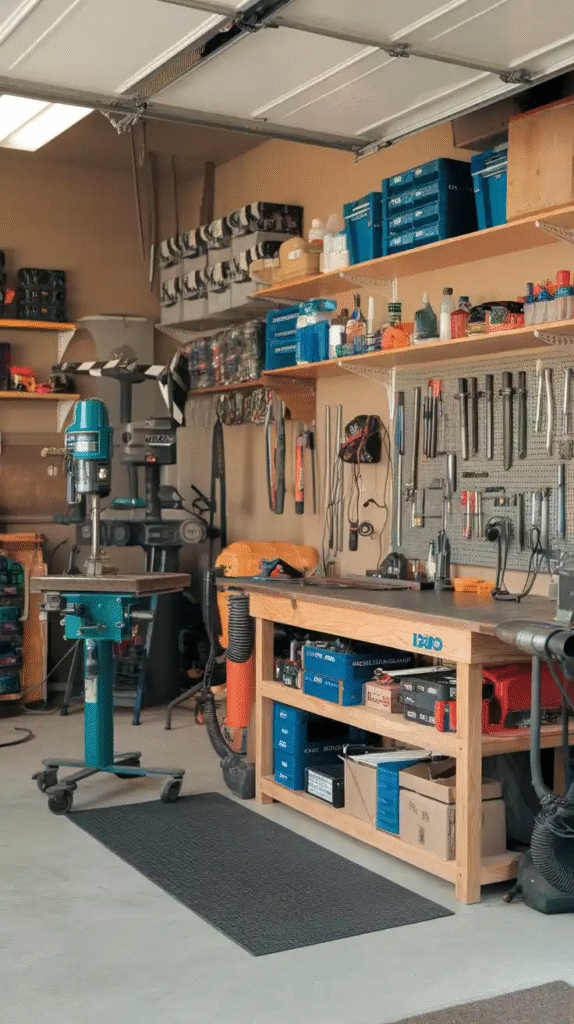
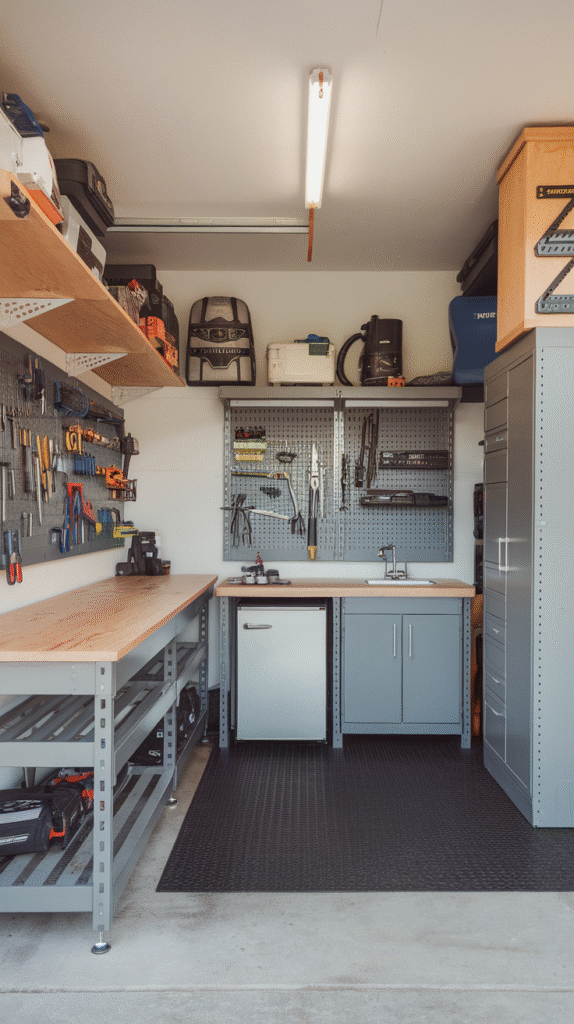
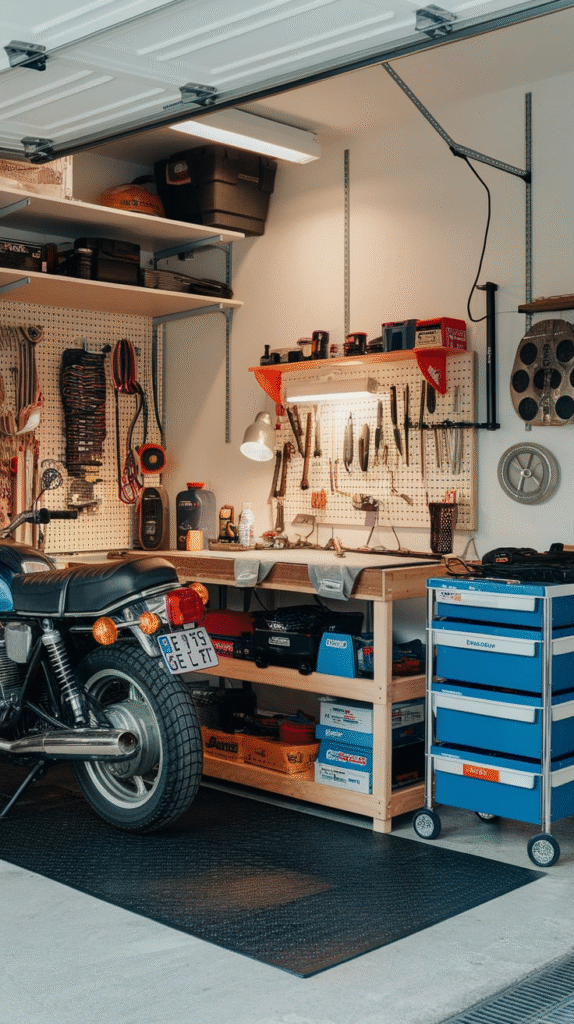
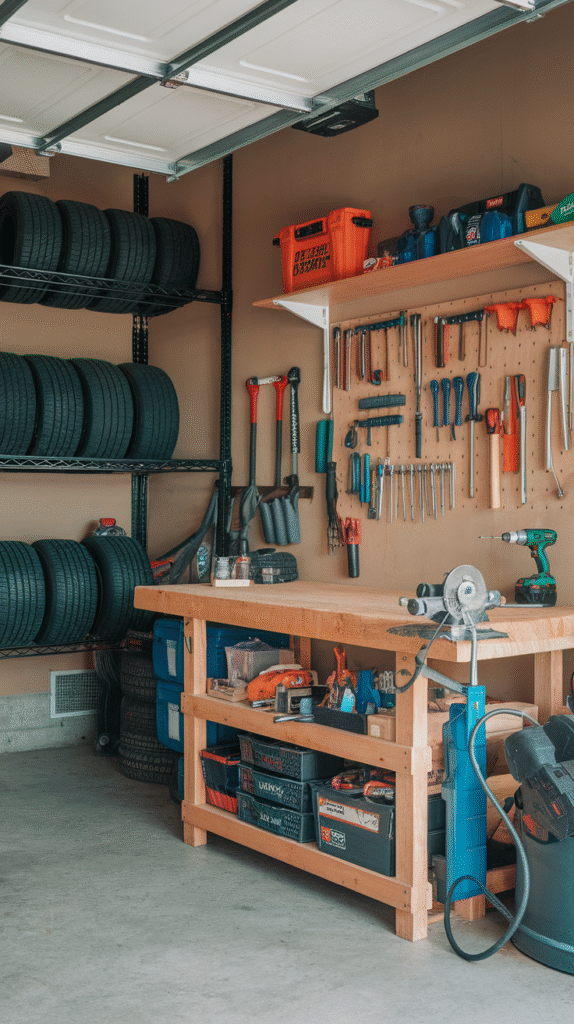
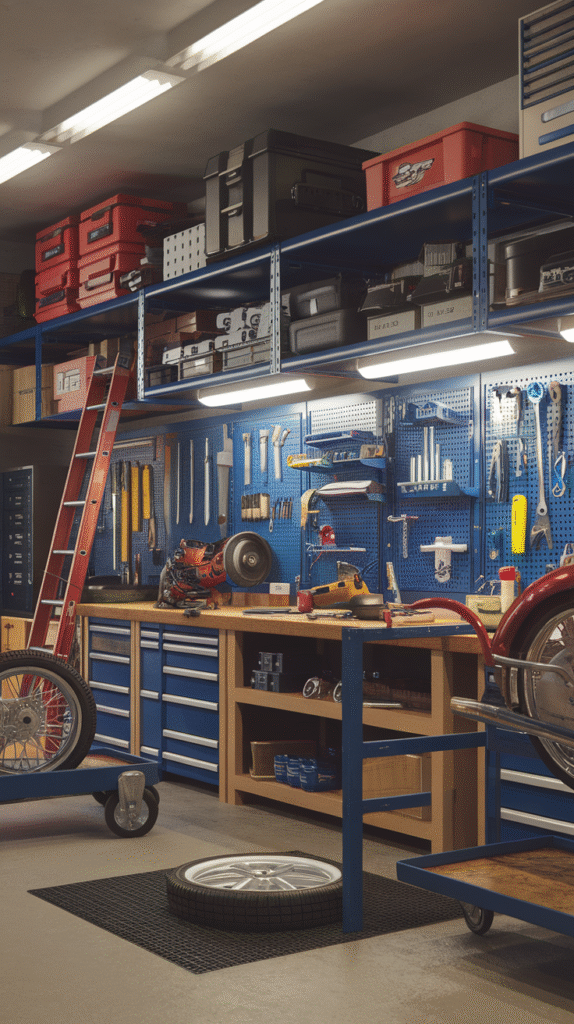
1. Wall-to-Wall Pegboard Storage
When I first started organizing my garage, I realized the walls were completely underused. Installing a full pegboard wall changed everything.
Pegboards allow you to hang tools in plain sight, adjust layout as your needs evolve, and avoid rummaging through cluttered drawers. Add labeled hooks for pliers, hammers, and measuring tape—it’s like turning your wall into a giant, vertical toolbox.
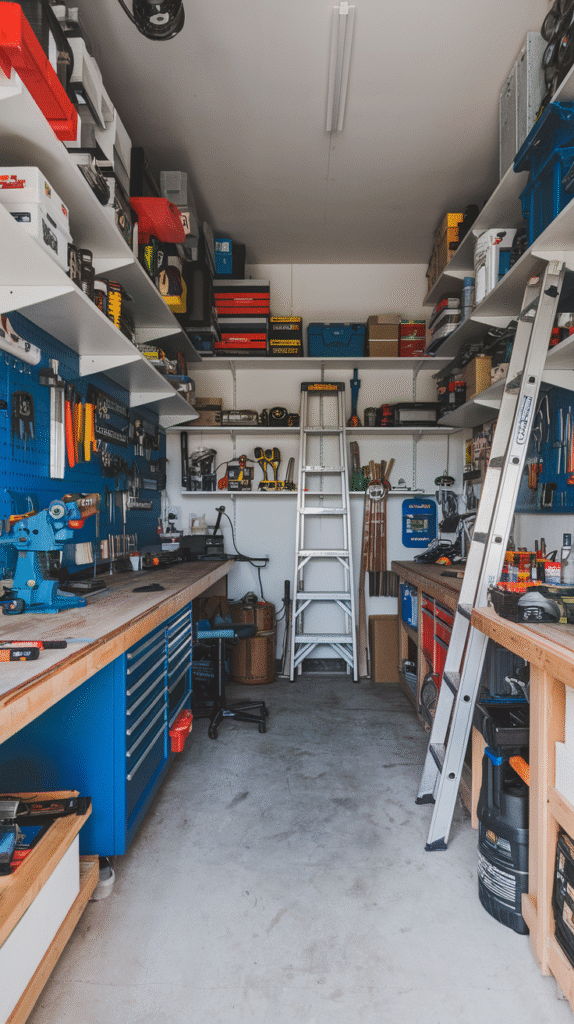
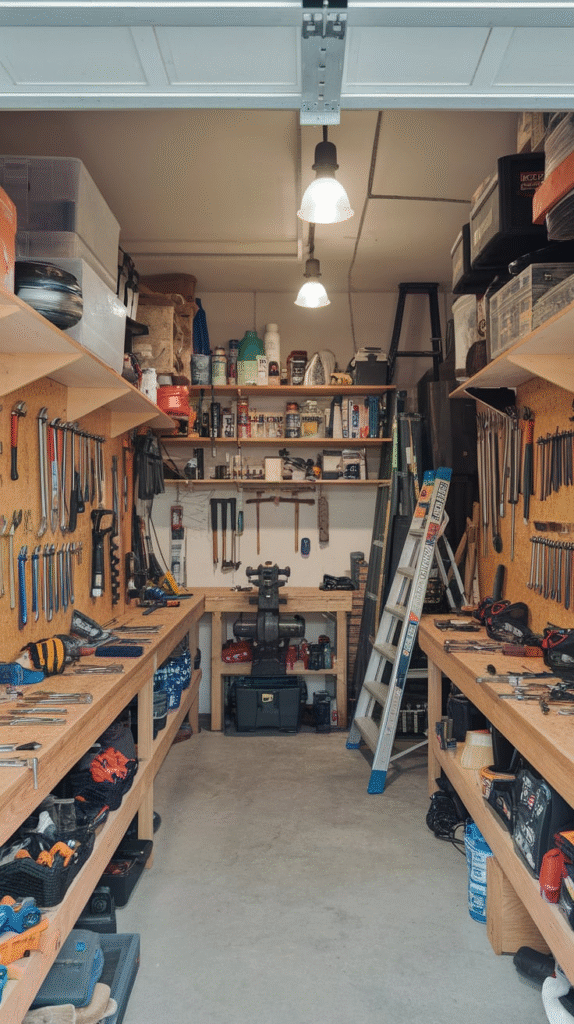
2. The U-Shaped Layout
This layout surrounds you on three sides with workspace and storage, creating an efficient triangle of motion. Place your workbench on one wall, tool storage on the other, and machinery like a table saw or drill press on the third.
It’s a tight, efficient configuration that makes you feel like the captain of a spaceship—everything is within arm’s reach.
3. Mobile Workbenches for Flexibility
Every DIYer needs at least one mobile workbench. Put heavy-duty casters on your main bench so you can roll it out when you need space or tuck it away when you’re done.
I once built a rolling bench with built-in storage underneath—best Saturday I ever spent. Bonus: you can chase sunlight or shade depending on the season.
4. Zone-Based Organization
Divide your workshop into clear zones: a woodworking zone, an automotive area, an electronics bench. Each area should have dedicated tools and storage. This way, you don’t mix engine oil with sawdust. Trust me, nothing ruins a freshly sanded board like a smear of grease from yesterday’s wrenching session.
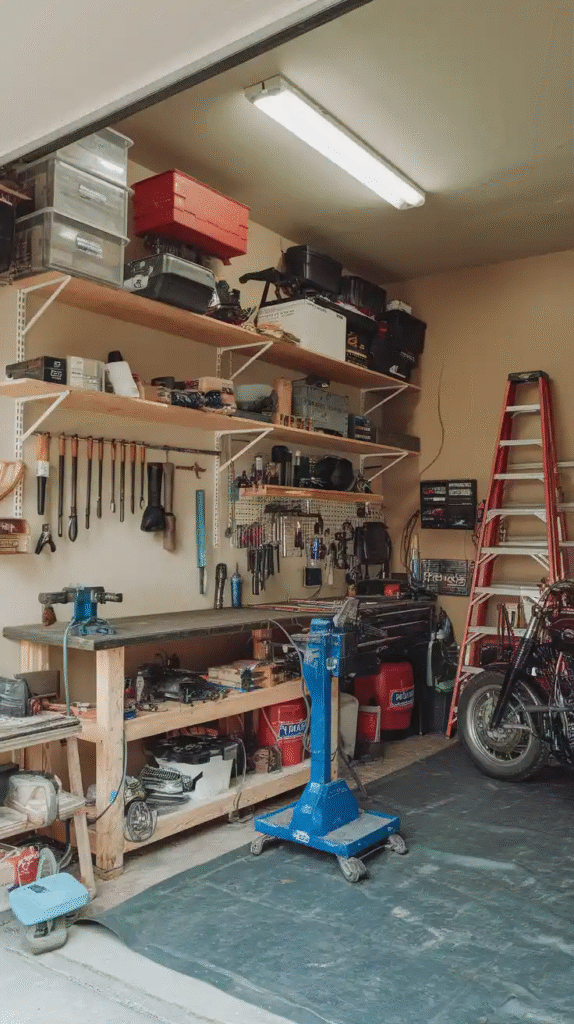
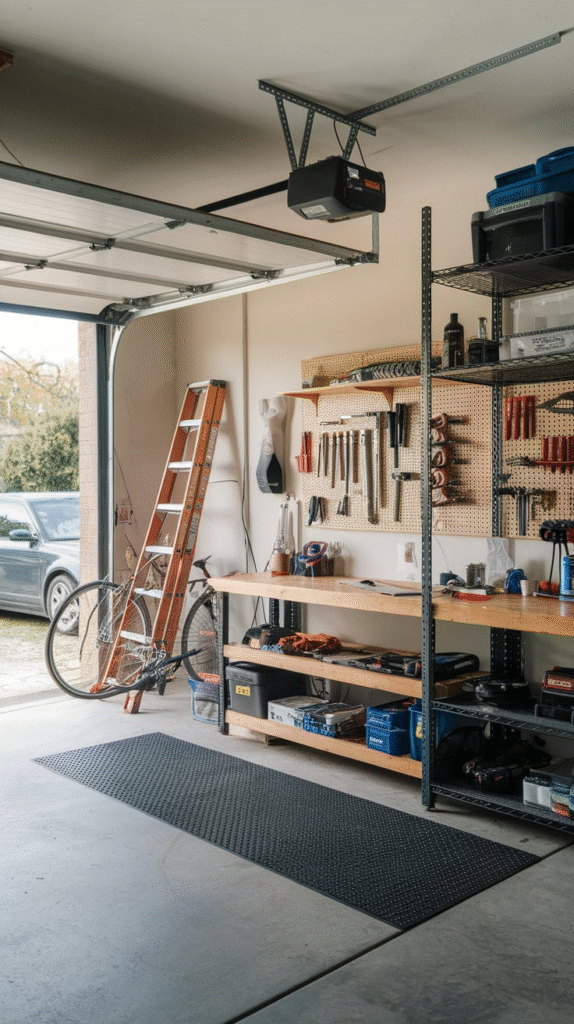
5. Ceiling Storage Racks
Your garage ceiling is a goldmine of untapped space. Install overhead storage racks for storing seasonal items, lumber, or plastic bins filled with lesser-used gear. Just be sure to anchor them properly into ceiling joists. And keep heavier items on lower shelves—gravity doesn’t care about your toes.
6. Folding Worktables
For those working in a one-car garage or shared space, folding worktables are game changers. Mount them on the wall with hinges so they fold down when in use and up when you need to park the car. Combine this with a wall-mounted tool rack for maximum space efficiency.
7. Corner Workstations

Corners often collect dust and empty paint cans, but with a bit of intention, they become productivity hubs. A corner workstation with shelves above and drawers below makes the most of awkward angles. Tuck in your vise or mini lathe and suddenly that dead zone turns into a gem.
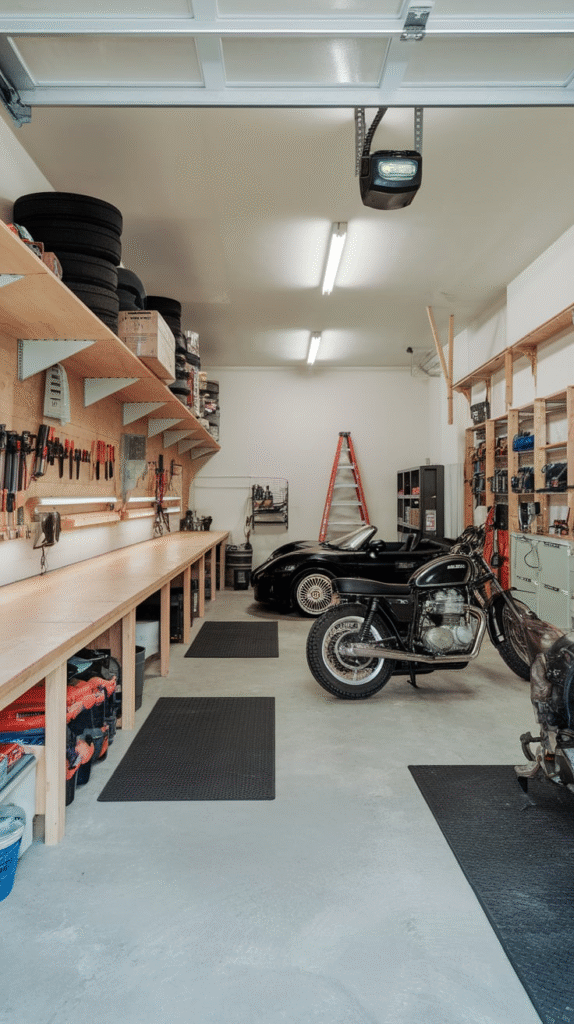
8. L-Shaped Layout for Separation

If the U-shape feels too enclosed, try an L-shaped layout. It offers more breathing room and works beautifully in rectangular garages. I use one side for heavy-duty tools and the other for finer tasks like electronics repair or precision cutting.
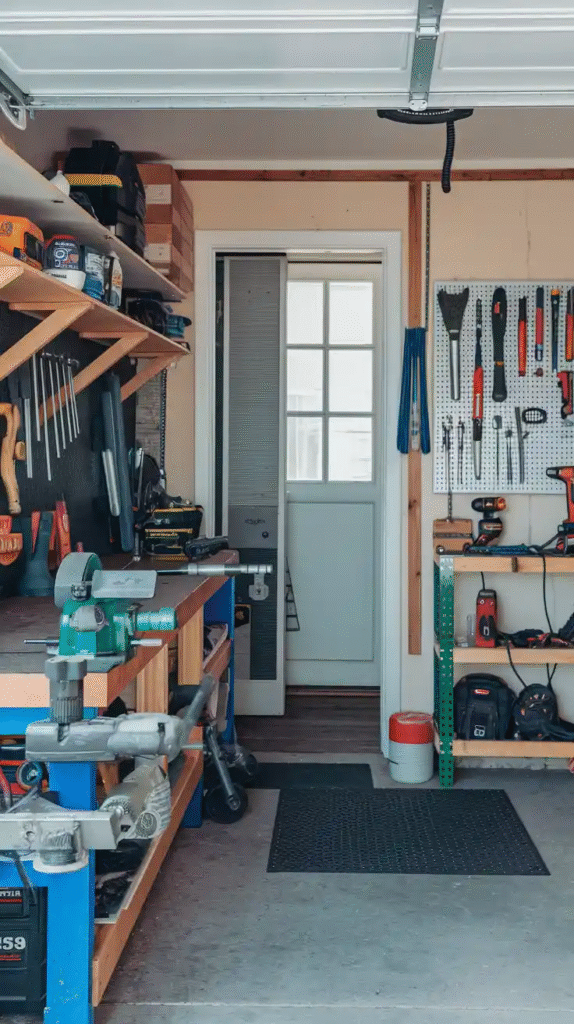
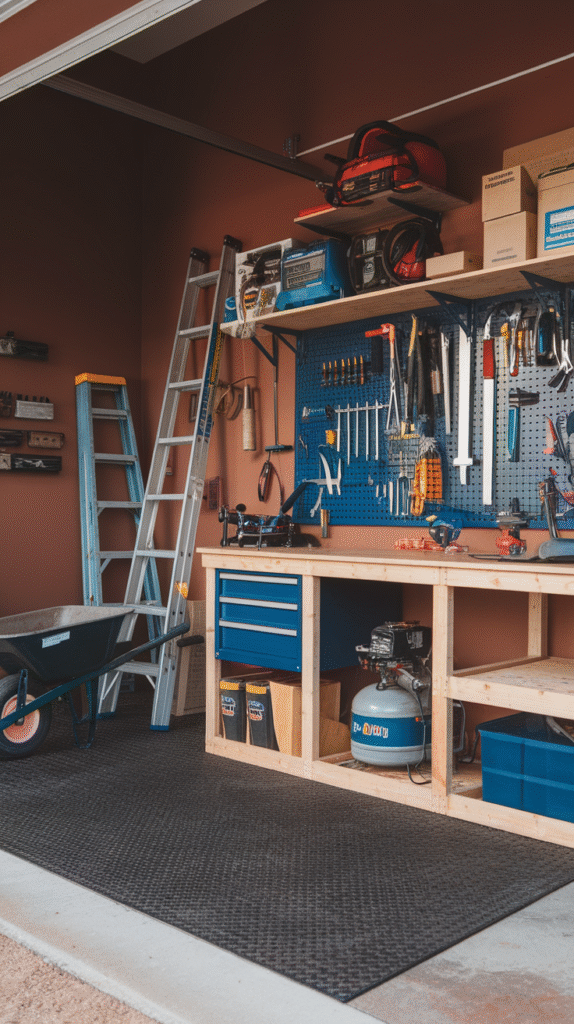
9. Wall-Mounted Cabinets
Install wall-mounted cabinets high up to store chemicals, paints, or gear you don’t need daily. Keep them shallow to avoid bumping your head or blocking light. The key here is to make use of vertical real estate without compromising elbow room.
10. Sliding Storage Panels
For a workshop where space is at a premium, consider sliding storage panels. Mount tools or supplies between two vertical tracks so the panels slide sideways like closet doors. It’s like adding extra walls without eating up floor space.
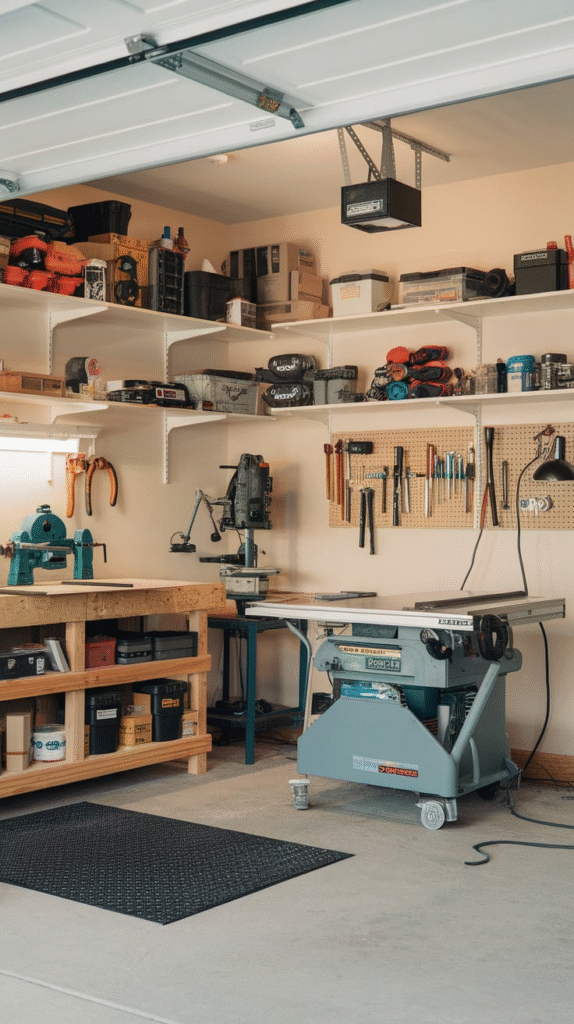
11. Dedicated Power Tool Station
Build a power tool workstation with dedicated outlets, dust collection, and clamps. Mount your drill press, scroll saw, and sander on a counter-height bench. I added a multi-outlet strip with individual switches—makes me feel like a pilot toggling systems before takeoff.
12. Under-Bench Storage Drawers
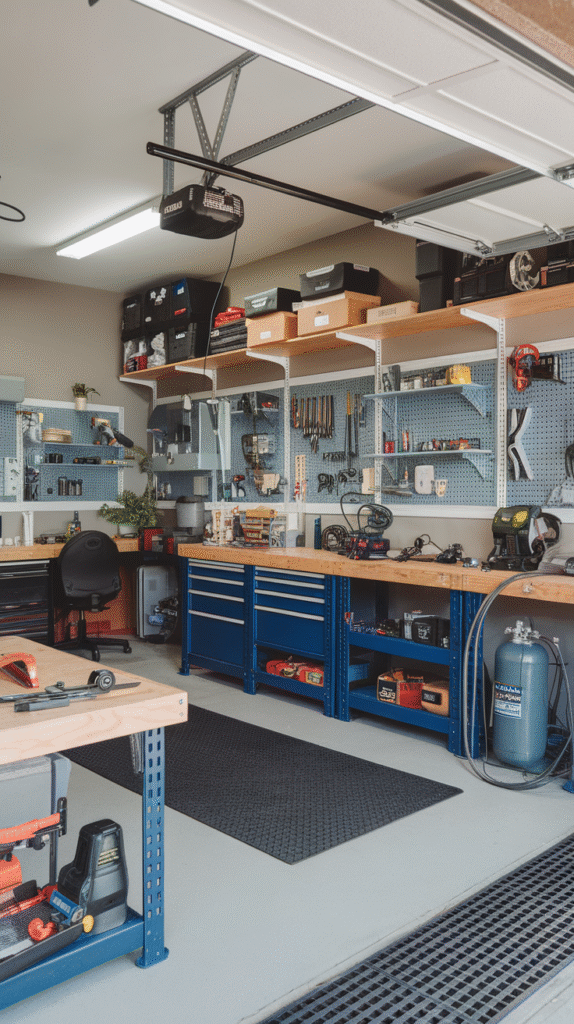
Make your workbench work harder by adding drawers underneath. Use heavy-duty drawer slides and sort by tool type. My bottom-left drawer is for clamps, and I know it like the back of my hand. It’s amazing how much space goes wasted under a bench until you put it to work.
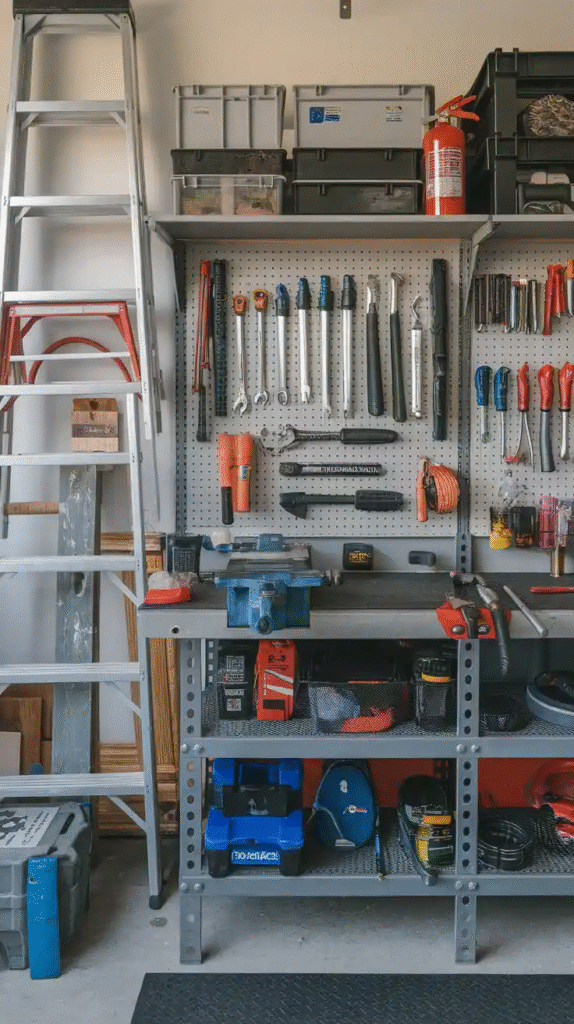
13. Tool Wall with Silhouettes
Draw or trace the outlines of your tools on a tool wall for easy placement and retrieval. It’s like parking spots for your wrenches and mallets. You’ll always know what’s missing before you close up for the day.
14. Rolling Tool Carts
A rolling tool cart is like a loyal sidekick—always where you need it. Keep your daily-use tools, fasteners, or drill bits in the cart and wheel it to wherever the action is. Add a magnetic strip to the side and you’ve got a mobile command center.
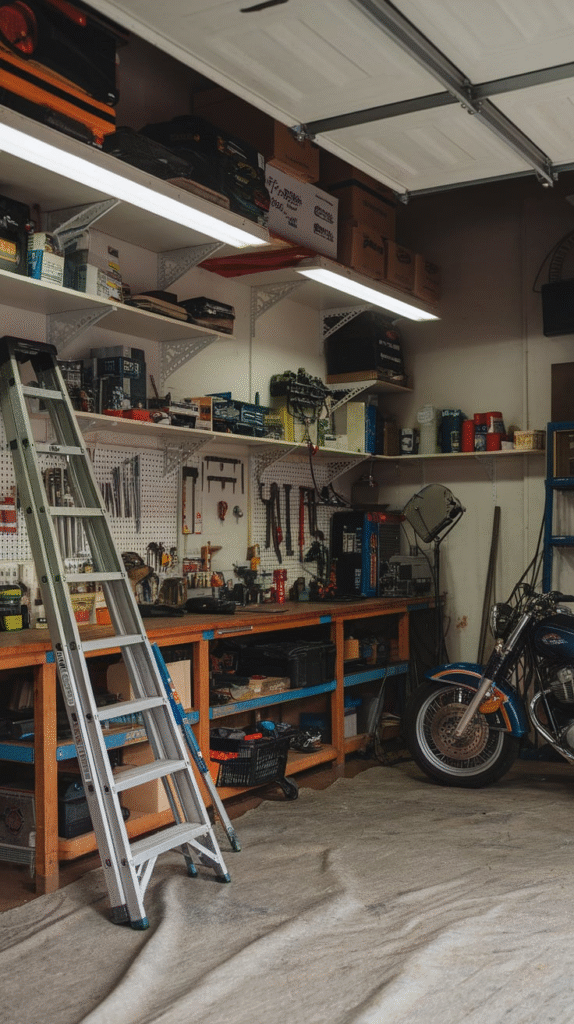
15. Lighting Matters More Than You Think
Overhead lighting is never enough. Add task lighting directly over your benches using LED strips, adjustable desk lamps, or under-shelf lights. Working on fine parts in poor lighting is like threading a needle in a cave. Good light prevents mistakes, saves time, and feels downright luxurious.
16. Built-In Dust Collection
If you use a lot of woodworking tools, you need dust collection. Even a basic shop vac system connected to your saws and sanders will protect your lungs and keep cleanup minimal. Mount PVC pipes along the wall to direct debris into a central canister. Think of it as your garage’s respiratory system.
17. Rolling Workstations for Big Tools
Instead of anchoring your table saw or miter saw, put it on a rolling base with locking wheels. This lets you move it around for better material handling. I built a custom cabinet under mine to store blades, push sticks, and jigs. It’s both mobile and mission-ready.
18. Magnetic Strips and Boards

Add magnetic strips to walls or tool chests for easy access to screwdrivers, pliers, and bits. You’ll never lose that one Phillips head again. Plus, it’s oddly satisfying to slap your tools back onto the wall like darts hitting a bullseye.
19. Insulation and Soundproofing
If you’re working through winter or don’t want to wake the neighbors, insulate and soundproof your workshop. Use foam panels or fiberglass batts in the walls, rubber mats on the floor, and weather stripping on the garage door. Warm, quiet, and way more pleasant to spend long hours inside.
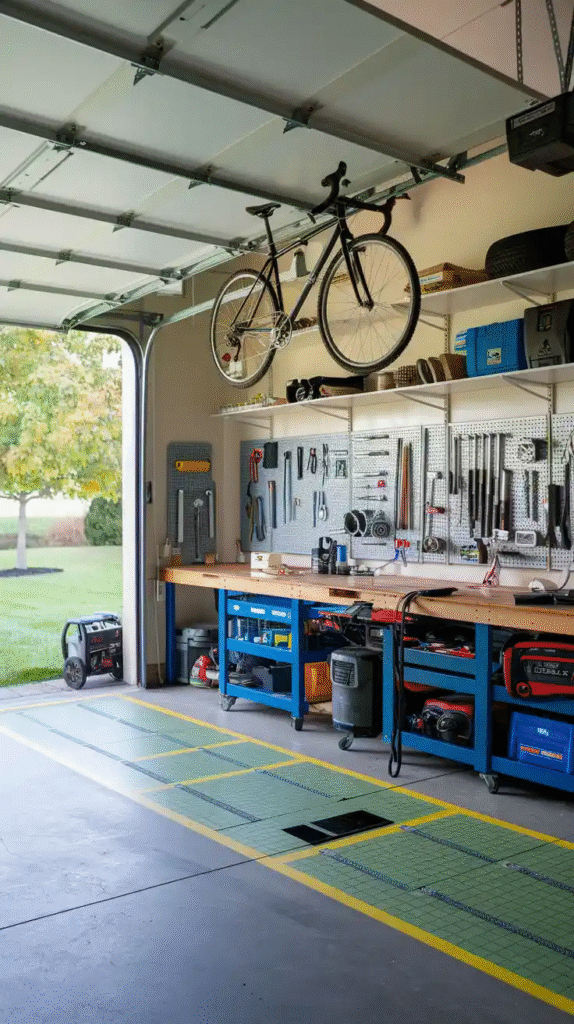
20. Clear Work Triangle
Just like a kitchen has a cooking triangle (sink, stove, fridge), your garage should have a tool triangle: the workbench, the main tool station, and your parts storage. Keep them in close proximity to reduce steps and wasted motion.
21. Hidden Flip-Down Compartments
Build flip-down storage compartments beneath shelves or inside cabinets for rarely used tools. They stay out of the way but are easily accessible. Think hidden compartments in spy movies—but for socket wrenches instead of secret dossiers.
22. Dedicated Charging Station
Set up a battery charging station with labeled docks for each power tool brand you use. Include a surge protector, cable management, and shelves for spare batteries. That way, you won’t find yourself mid-drill with a dead battery and a half-sunk screw.
23. Paint the Floor
Yes, you read that right. Painting your garage floor with an epoxy or concrete paint not only protects it but makes cleanup a breeze. A light gray finish brightens the room and gives your workshop a polished, intentional look. Add traction flakes if you want grip—because no one wants to slip while holding a jigsaw.
Conclusion
A garage workshop isn’t just a place for tools—it’s a laboratory, a retreat, and a testament to how you think. Some people collect stamps. Some bake soufflés. If you’re reading this, chances are you find joy in wood shavings, oil stains, and the soft click of a caliper locking into place. These garage workshop layout ideas aren’t one-size-fits-all. They’re modular, adaptable, and deeply personal. Just like your projects.
When I laid out my first real workshop, I used painter’s tape to mark zones on the concrete floor before I moved anything in. I spent an entire Saturday just standing in different spots, pretending to hammer, saw, or dig through drawers. It might sound ridiculous, but that exercise helped me realize where every station should go.
And that’s really the secret: observe how you work, and then build the layout around that rhythm. Don’t copy someone else’s garage verbatim—steal the principles, adapt the layout, and let your workflow lead the design. A good layout isn’t just about storage and surfaces. It’s about enabling you to create, repair, invent, and dream with fewer hurdles and more momentum.