15 Genius Kitchen Organization Hacks to Maximize Your Space Efficiently
If you’re looking to transform your kitchen into a more organized and efficient space, you’re in the right place!
In this article, we’ll dive into 15 kitchen organization hacks that will help you maximize your space efficiently.
These clever tips and tricks will not only declutter your kitchen but also make cooking and meal prep a breeze, ensuring you have everything you need at your fingertips. Get ready to reclaim your kitchen and make it a functional haven!
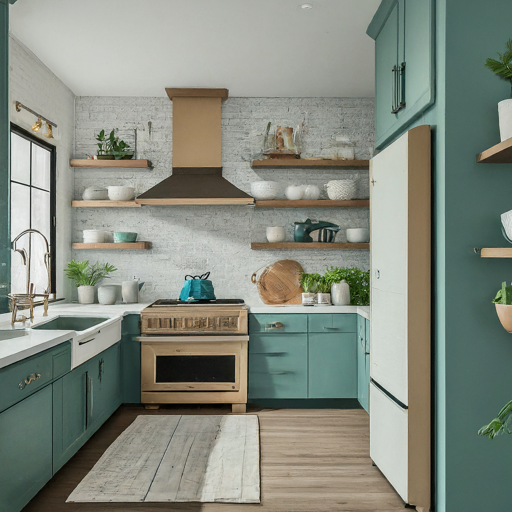
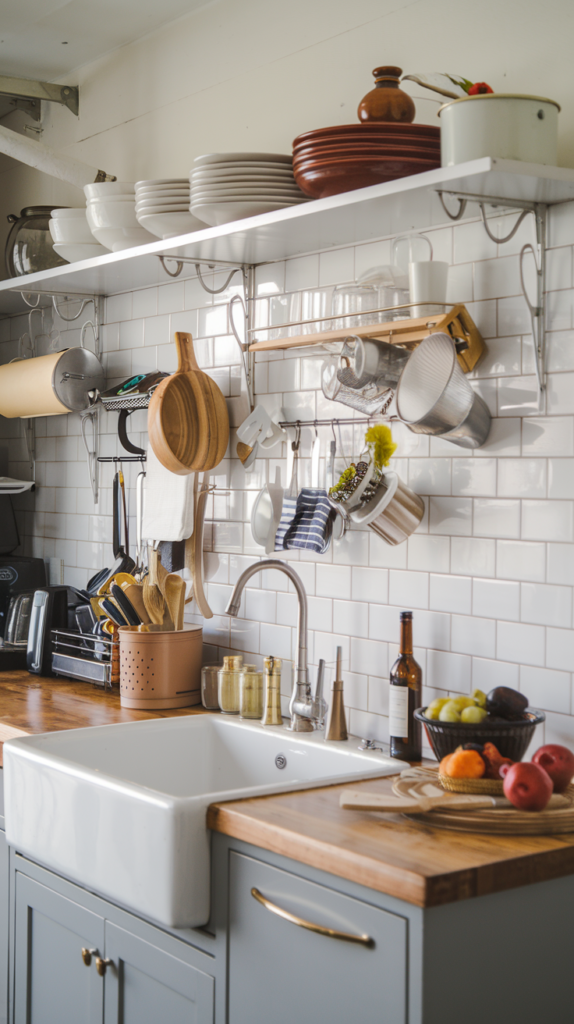
1. Utilize Vertical Space with Shelving
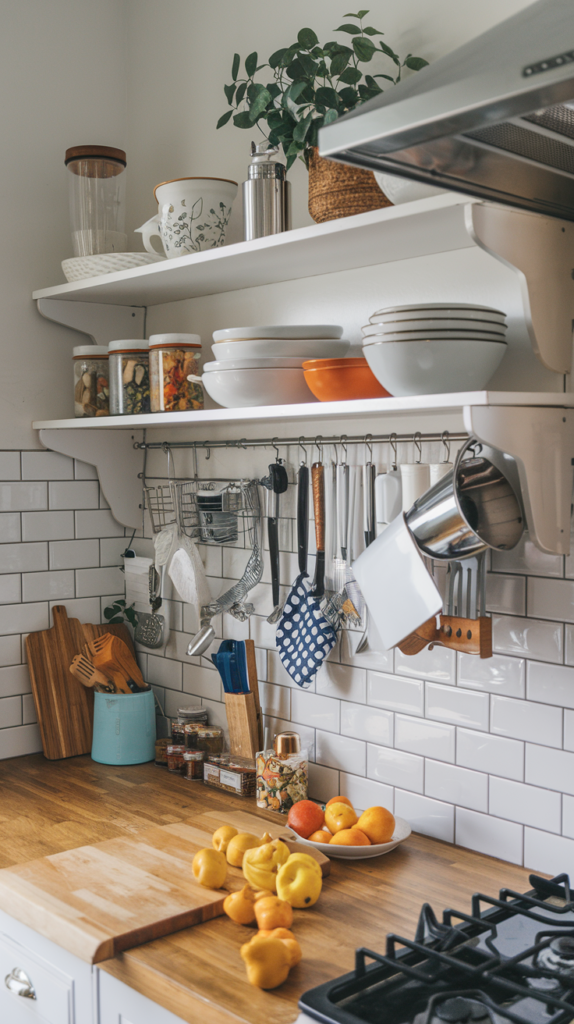
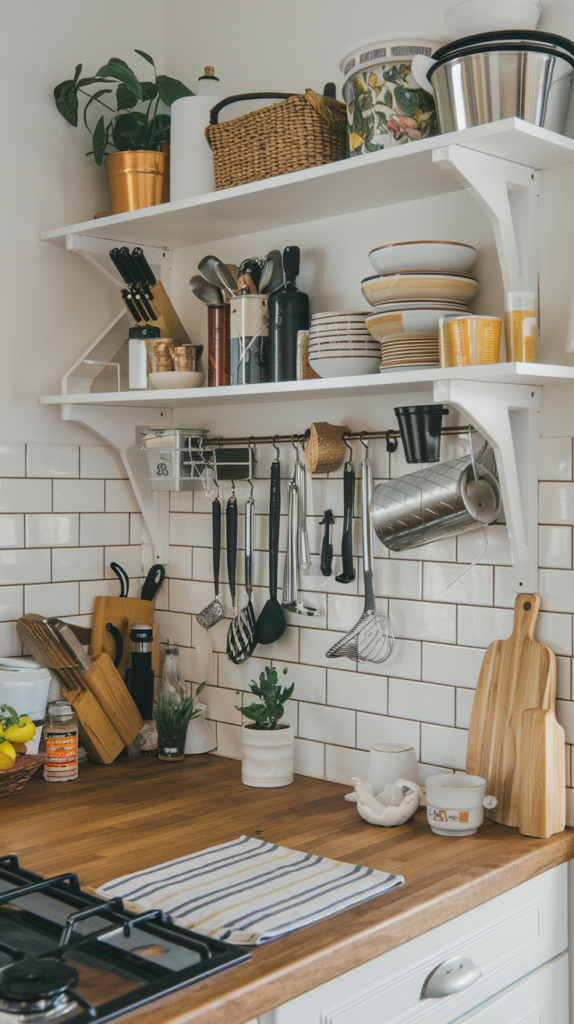
Maximize your kitchen’s potential by using vertical space. Shelving offers an easy way to keep your essentials organized and accessible. Here’s how to make the most of your shelves:
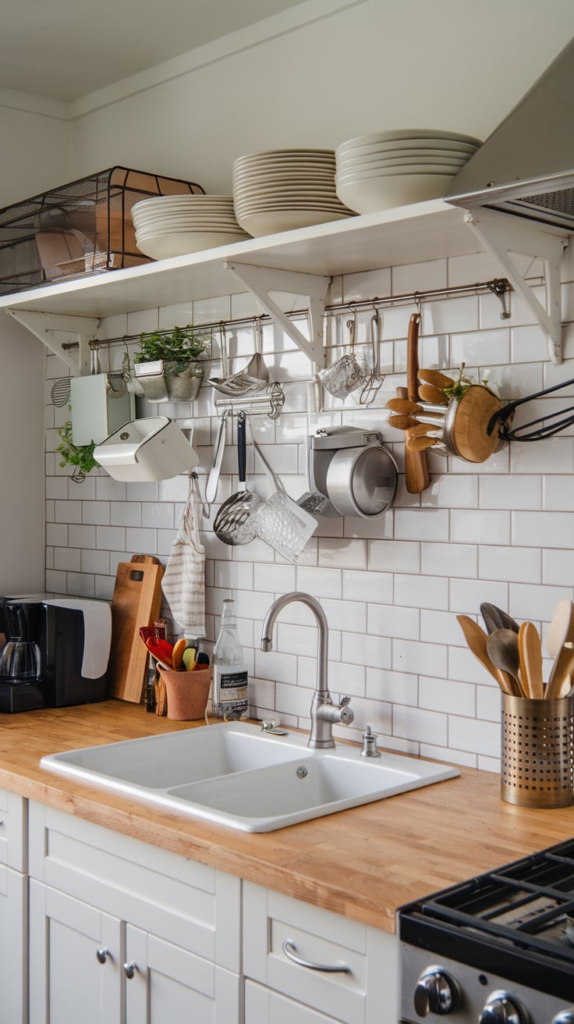
- Wall-mounted Shelves: Install shelves above countertops or cabinets. Use them to store spices, jars, or cookbooks. This keeps your counters clean and your items within reach.
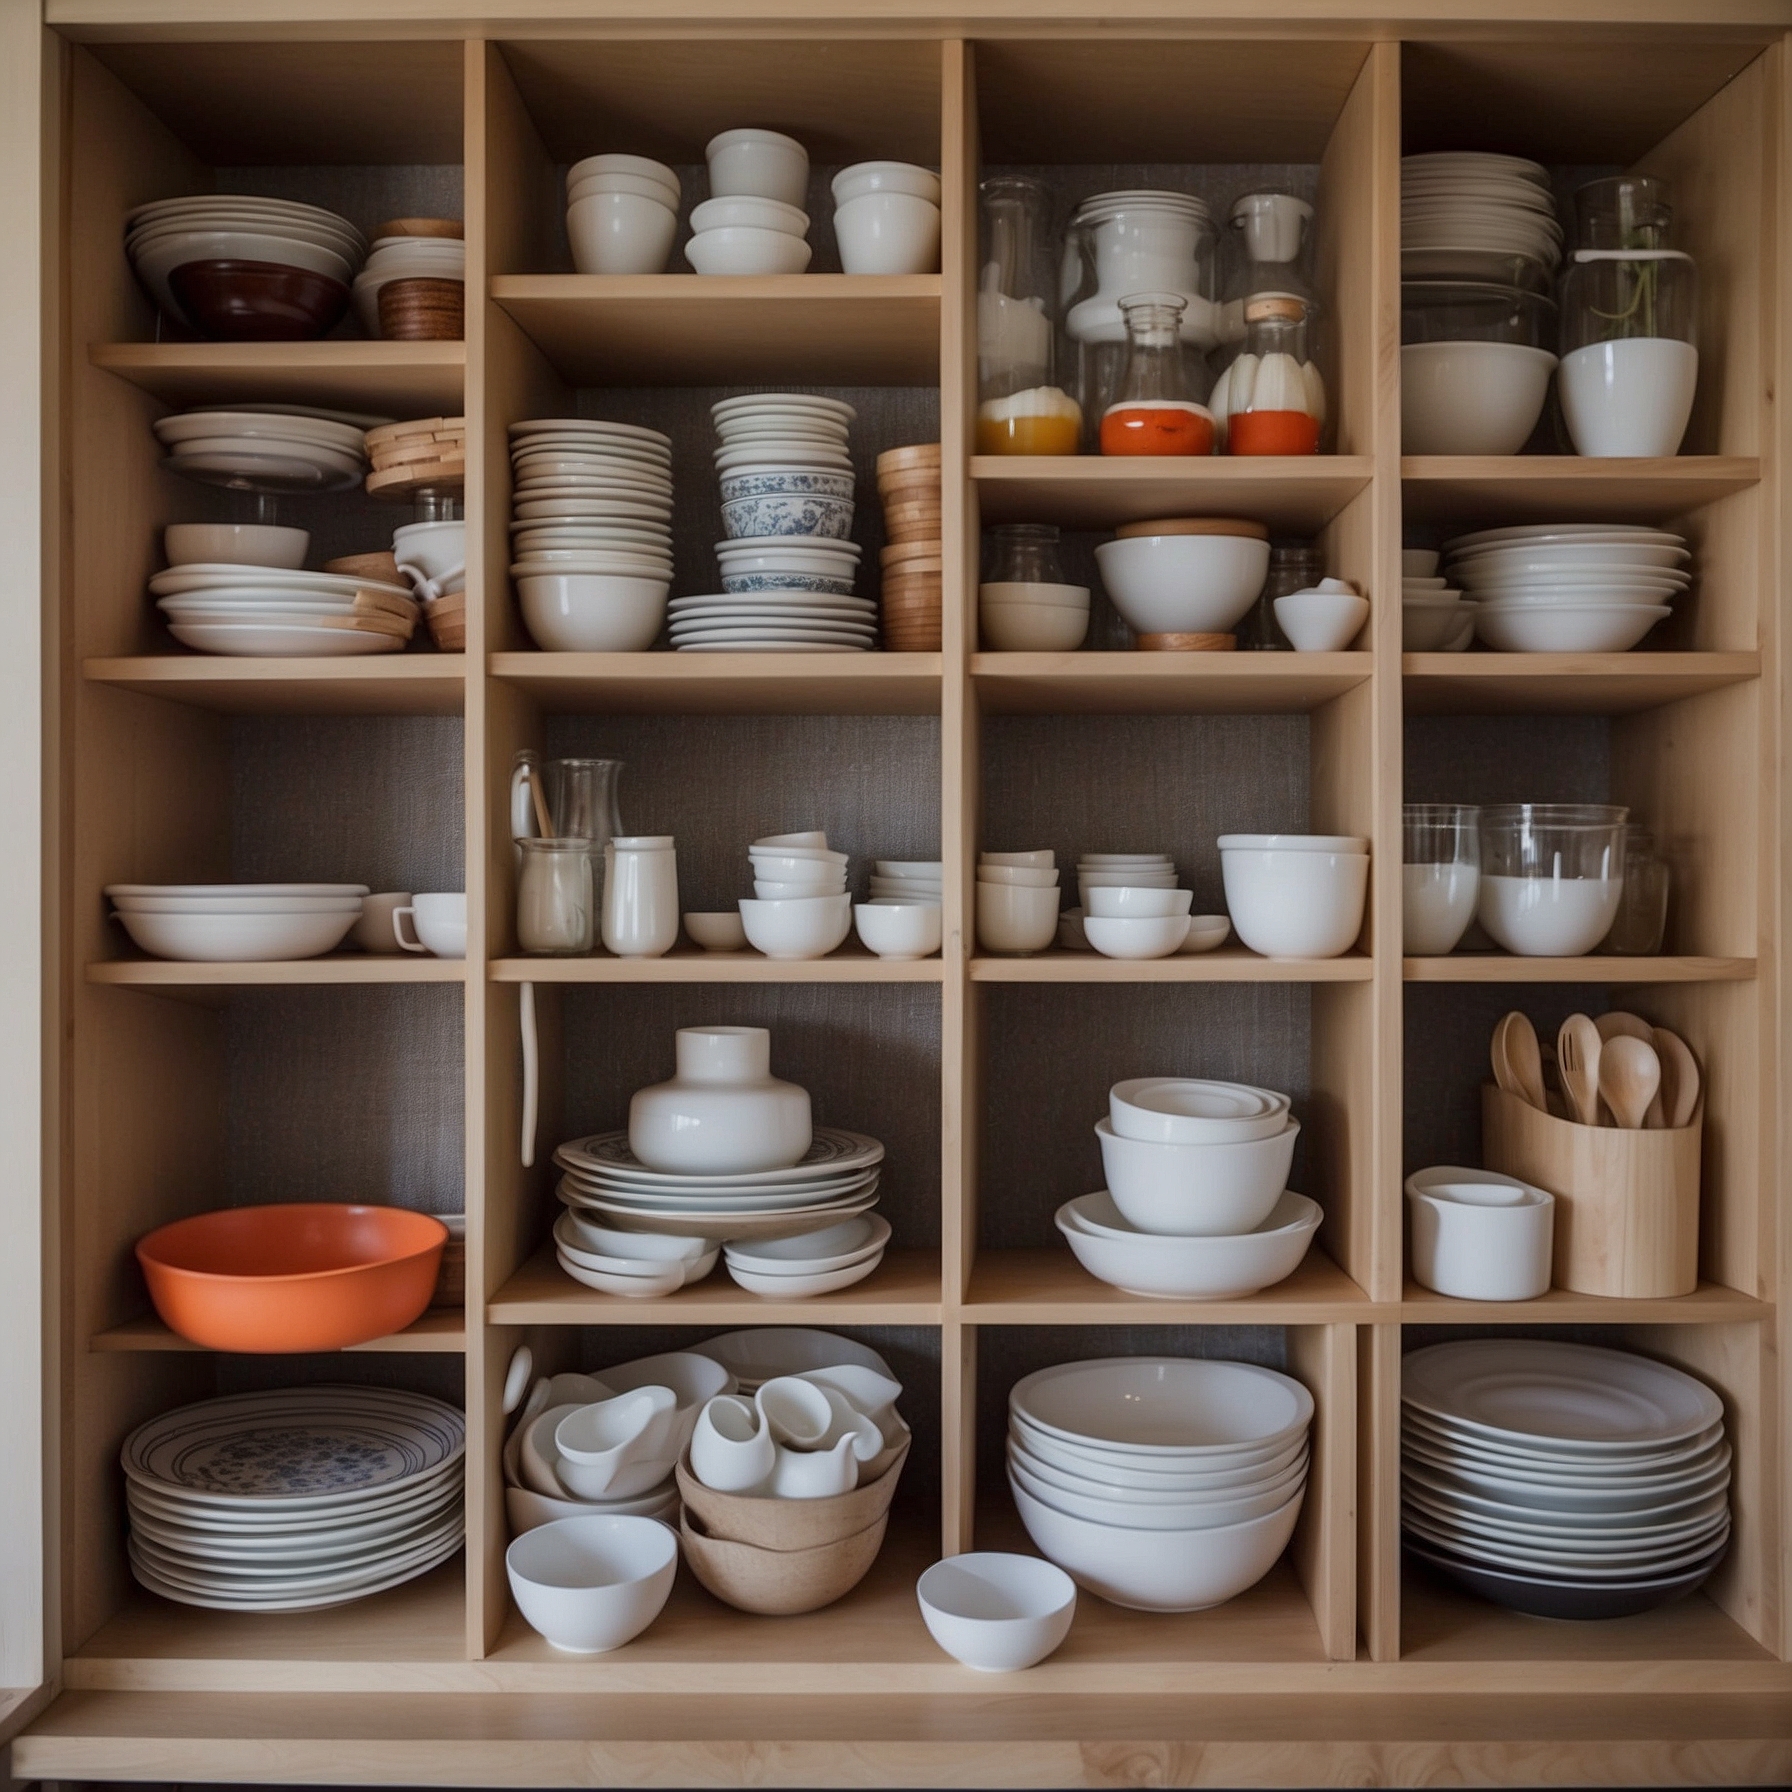
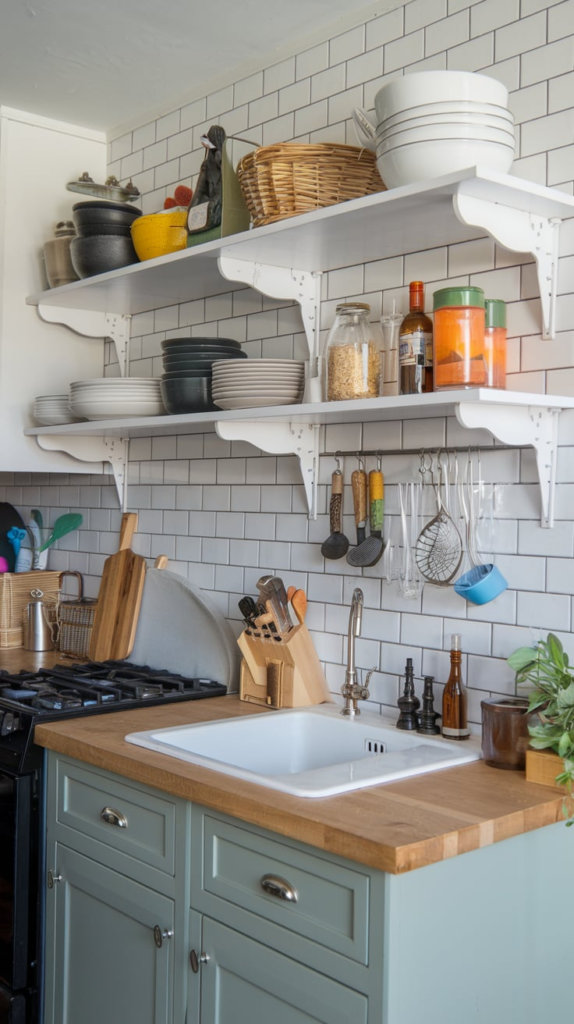
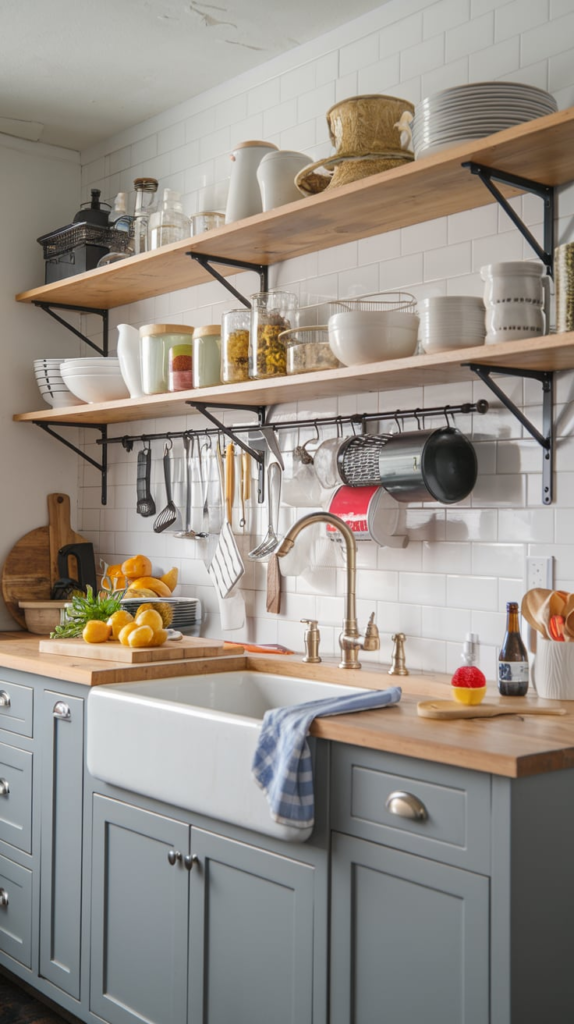
- Open Shelving: Consider open shelves for a modern look. They display your beautiful dishware and create an inviting atmosphere. Just remember to keep it tidy.
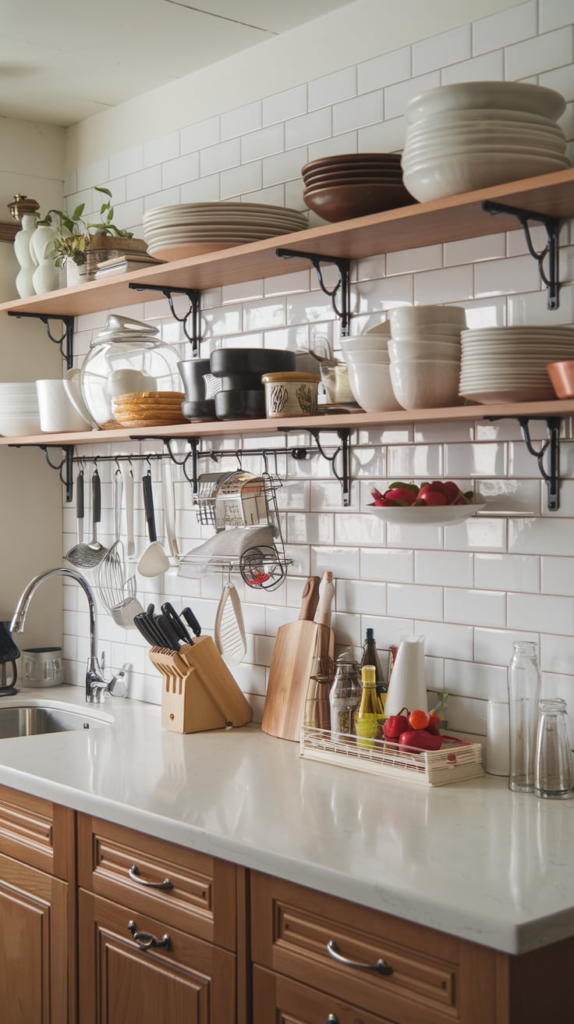
- Floating Shelves: These shelves add style and functionality. Place them in unused corners or above doorways for extra storage without taking up floor space.
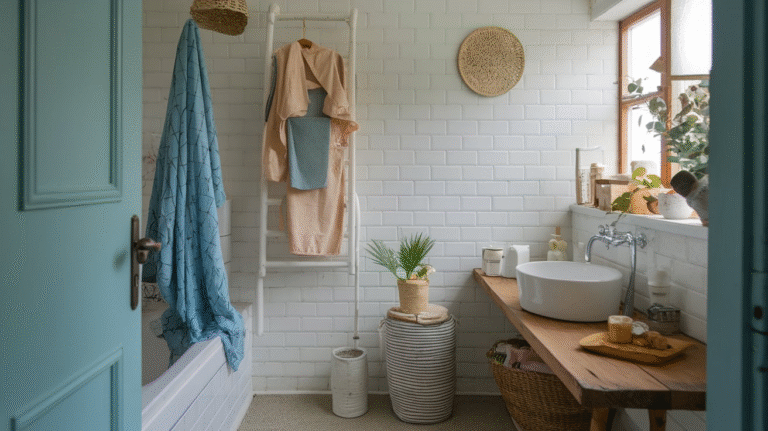
- Ladder Shelves: These freestanding shelves fit snugly in corners and provide multiple levels for storage. Use them for plants, cookbooks, or decorative items.
- Adjustable Shelving Units: Invest in adjustable units. They let you customize the height based on your needs, perfect for storing everything from pots to pantry items.
- Magnetic Strips: Attach a magnetic strip to store metal items like knives or spice containers. This saves drawer space and keeps tools visible.
- Baskets and Bins: Use baskets on shelves to group similar items. Label them for easy access. This keeps your kitchen looking organized and clutter-free.
Tips for Effective Vertical Storage
- Height Matters: Place frequently used items at eye level. Store less-used items higher up.
- Color Coordination: Organize items by color. It adds a visually appealing element to your kitchen.
- Declutter Regularly: Regularly assess what you really need. Donate or discard items that don’t serve you anymore.
- Mix and Match: Combine open and closed storage for balance. Use cabinets for less attractive items and shelves for pretty dishware.
- Utilize the Back of Cabinet Doors: Install hooks or small shelves on the inside of cabinet doors. Perfect for measuring spoons or cutting boards.
By using vertical space wisely, you’ll create an efficient kitchen that feels more spacious and organized.
2. Drawer Dividers: Keep It All Together

Drawer dividers are a game changer in kitchen organization. They help keep your utensils, gadgets, and miscellaneous items neatly separated. You’ll find what you need without digging through a chaotic drawer. Here’s how to make the most of them:
Benefits of Drawer Dividers
- Maximize Space: Create designated sections for different items. This prevents clutter and makes the most of your drawer space.
- Easier Access: Quickly grab what you need without rummaging through a jumbled mess.
- Customizable: Many dividers are adjustable. You can tailor them to fit your specific needs.
Types of Drawer Dividers
- Plastic Dividers: Affordable and easy to clean. Great for lightweight items.
- Wooden Dividers: Sturdy and stylish. Perfect for a more upscale look.
- Expandable Dividers: These adapt to fit various drawer sizes. They offer flexibility in organization.
Tips for Using Drawer Dividers
- Sort Items: Group similar items together. Put utensils in one section, measuring spoons in another.
- Label Sections: Labels help everyone in the kitchen know where things go. Use simple tags or chalkboard labels for easy identification.
- Keep It Updated: Regularly reassess your drawer organization. Adjust dividers as your kitchen needs change.
Simple DIY Options
- Cardboard Dividers: Cut cardboard to size and create your own custom dividers.
- Cereal Boxes: Repurpose old cereal boxes. Cut and fold them to fit your drawer.
Quick Installation Steps
- Measure your drawer dimensions.
- Choose the right type of dividers based on your needs.
- Arrange items in the drawer before placing dividers.
- Secure dividers in place and adjust as necessary.
Using drawer dividers simplifies your kitchen experience. You’ll find yourself spending less time searching and more time cooking. Keep it organized, and enjoy a more efficient kitchen space!
3. Magnetic Strips for Utensils and Spices
Magnetic strips are a game changer for kitchen organization. They save space and keep your utensils and spices within easy reach. Here’s how to use them effectively:
Utensils
- Easy Access: Hang your metal utensils on a magnetic strip. No more digging through drawers.
- Space Saver: Use vertical wall space. This keeps your countertops clear and organized.
- Display: Show off your favorite tools. It adds a personal touch to your kitchen decor.
Spices
- Magnetic Spice Jars: Use small magnetic jars for spices. Stick them on the strip for quick access.
- Labels: Clearly label each jar. This helps you find what you need without hassle.
- Visibility: Keep spices visible. You’ll remember what you have and avoid duplicates.
Installation Tips
- Choose the Right Strip: Look for a sturdy magnetic strip. It should hold your items securely.
- Location: Install it at eye level. This makes grabbing what you need a breeze.
- Secure Mounting: Use screws or strong adhesive. Make sure it’s fixed well to avoid accidents.
Creative Ideas
- Knife Storage: Use a strip for knives. It keeps them sharp and out of reach from kids.
- Tools and Gadgets: Hang measuring spoons, peelers, or scissors. It’s all about maximizing your space.
- DIY Projects: Paint the strip to match your kitchen theme. Add a unique design element.
Magnetic strips transform cluttered kitchens into organized spaces. They offer a simple and stylish solution for storing utensils and spices. Try them out and enjoy a more efficient cooking environment!
4. Clear Containers for Easy Visibility
When it comes to kitchen organization, clear containers are a game changer. They let you see exactly what you have, making meal prep and cooking a breeze. Here’s how to make the most of them:
- Choose the Right Size: Pick containers that fit your pantry or cabinet space. Smaller containers work well for spices, while larger ones suit pasta or grains.
- Use Labels: Even with clear containers, labeling helps. Use a label maker or chalkboard labels to identify contents. This saves time when you’re searching for ingredients.
- Stackable Options: Look for stackable clear containers. They maximize vertical space. This keeps your kitchen organized and makes it easy to grab what you need without digging.
- Airtight Seals: Opt for containers with airtight seals. This keeps food fresh longer and reduces waste. You’ll love how your grains and snacks stay crunchy and tasty.
- Group Similar Items: Use clear containers to group similar items together. Keep baking supplies in one, snacks in another, and grains in a third. This organization helps you find things quickly.
Recommended Clear Container Types
| Type | Best For |
|---|---|
| Glass Jars | Spices, dry goods |
| Plastic Bins | Snacks, bulk items |
| Airtight Canisters | Coffee, tea, flour |
| Stackable Bins | Canned goods, pantry staples |
Bonus Tip
Consider using clear containers in your fridge, too. Clear bins for fruits, veggies, and leftovers keep everything visible. You’ll reduce spoilage and make meal prep easier.
Investing in clear containers transforms chaotic kitchens into organized spaces. You’ll save time and enjoy cooking more when everything is easy to see and access.
5. Create a Pantry Inventory System
Keeping track of what you have in your pantry saves time and money. An inventory system helps you avoid buying duplicates and lets you use ingredients before they expire. Here’s how to create an effective pantry inventory system:
Step 1: Organize Your Pantry
- Clear everything out.
- Clean the shelves.
- Group similar items together (canned goods, snacks, baking supplies, etc.).
Step 2: Take Inventory
Go through each group and write down what you have. Use a simple spreadsheet or an app designed for inventory management. Include:
- Item name
- Quantity
- Expiration date (if applicable)
Step 3: Label Your Inventory
- Use clear labels for each shelf or container.
- Include categories like “Snacks,” “Canned Goods,” and “Baking.”
- Consider color coding for quick identification.
Step 4: Update Regularly
Make it a habit to update your inventory whenever you add or remove items. This keeps your system accurate.
- Check your pantry weekly.
- Make adjustments based on what you use frequently.
Step 5: Use Your Inventory
Plan meals around what you already have. This reduces waste and saves you money. Here are some tips:
- Check your inventory before grocery shopping.
- Create a meal plan based on pantry items.
- Try to use older items first to prevent spoilage.
Optional Tools
- Spreadsheet Apps: Google Sheets or Excel for easy tracking.
- Inventory Apps: Use apps like Pantry Check or Sortly for quick updates and reminders.
Creating a pantry inventory system makes life easier. You’ll know exactly what you have and what you need. Plus, meal planning becomes a breeze. Enjoy your organized pantry!
6. Under-Sink Storage Solutions
The area under your kitchen sink often turns into a cluttered mess. With a little creativity, you can transform this space into a functional storage area. Here are some effective hacks to maximize under-sink storage.
Use Stackable Bins
Invest in stackable bins or baskets. They let you utilize vertical space. You can store cleaning supplies, sponges, and trash bags in these bins for easy access.
Install a Tension Rod
A tension rod can work wonders under your sink. Hang spray bottles from the rod. This saves space and keeps everything visible.
Add a Lazy Susan
A lazy Susan helps you reach items in the back easily. Place it on the bottom shelf. Organize cleaning supplies, dish soap, and other essentials on it.
Utilize Door Space
Don’t forget about the inside of the cabinet door. Attach small shelves or hooks. Store cleaning cloths, gloves, or even a small spray bottle.
Use Clear Containers
Clear containers keep everything visible. Use them for items like dishwasher tabs and scrubbers. You won’t waste time searching for what you need.
Create a Cleaning Caddy
Designate a caddy for all your cleaning supplies. You can grab it and go when you need to clean. This keeps supplies organized and easy to transport.
Keep it Clean
Regularly check your under-sink area. Discard empty bottles or products you no longer use. This simple task keeps the space functional and clutter-free.
By implementing these under-sink storage hacks, you’ll make the most of every inch in your kitchen. A tidy under-sink area not only looks great but also makes your cleaning routine more efficient.
7. Utilize the Inside of Cabinet Doors
Maximizing your kitchen space means thinking outside the box—or in this case, inside the cabinet doors. These often-overlooked areas can hold a ton of storage potential. Here’s how to make the most of them:
Install Hooks and Racks
- S-hooks: Hang measuring spoons, cups, or even pot lids. It keeps them accessible and saves shelf space.
- Towel racks: Use them for dish towels or oven mitts. This keeps them off counters and within easy reach.
Add Storage Bins
- Small bins: Perfect for holding items like spices, packets, or snack bars. You can categorize and separate items to avoid clutter.
- Clear containers: These help you see what you have at a glance, making it easier to grab what you need.
Magnetic Strips
Install magnetic strips to hold metal utensils or spice containers. This frees up drawer space and keeps your tools visible.
Use Command Hooks
Command hooks stick to surfaces without damaging them. Use them for hanging measuring cups or even small pots and pans.
Chalkboard or Whiteboard
Attach a small chalkboard or whiteboard to the inside of the door. Use it for jotting down grocery lists or meal plans. It keeps your thoughts organized and visible.
Pull-Out Trays
If you can, install pull-out trays on the inside of cabinet doors. These offer easy access to small items and help you utilize every inch of space.
Vertical Dividers
Use vertical dividers to store cutting boards or baking sheets. This keeps them upright and easy to grab without digging through a pile.
Utilizing the inside of cabinet doors can transform your kitchen. It creates more room, organizes your essentials, and makes cooking a breeze. So, take a look at those doors and get creative!
8. Rolling Carts: Flexible Storage Options
Rolling carts offer a versatile solution for kitchen organization. They maximize space while providing easy access to your kitchen essentials. Here’s how to make the most of them:
Benefits of Rolling Carts
- Mobility: Move them around with ease. Use them where you need extra storage or prep space.
- Space-Saving: Tuck them away when not in use. They fit in tight spots, making them perfect for small kitchens.
- Multi-functional: Use them for various purposes, from a coffee station to a mini pantry.
How to Use Rolling Carts Effectively
- Choose the Right Size: Pick a cart that fits your kitchen layout. Consider height, width, and storage capacity.
- Organize by Function: Dedicate each cart to a specific task. For example:
- Baking Station: Store flour, sugar, baking sheets, and mixers.
- Coffee Station: Keep coffee, mugs, and a grinder all in one place.
- Snack Station: Fill it with snacks and drinks for easy access.
Tips for Maximizing Rolling Cart Storage
- Use Baskets: Add baskets to contain smaller items. This keeps things tidy and easy to grab.
- Label Everything: Use labels for quick identification. It saves time when you’re in a rush.
- Stackable Containers: Invest in stackable containers to maximize vertical space on each shelf.
Popular Rolling Cart Options
| Cart Type | Features | Best For |
|---|---|---|
| Metal Cart | Durable, easy to clean | Heavy items |
| Wooden Cart | Stylish, adds warmth | Displaying kitchenware |
| Plastic Cart | Lightweight, often more affordable | Kids’ snacks or crafts |
| Tiered Cart | Multiple levels for storing various items | Organizing spices or herbs |
Rolling carts transform chaotic spaces into organized zones. Their flexibility makes them a must-have for any kitchen, no matter the size.
9. Stackable Storage Bins for Maximum Space
Stackable storage bins are a game changer in any kitchen. They help you utilize vertical space, keeping your kitchen tidy and organized. Here are some tips on how to make the most of stackable bins:
- Choose Clear Bins: Clear bins let you see contents at a glance. This saves time when looking for items.
- Label Everything: Use labels to identify what’s in each bin. This makes it easy to find what you need without rummaging through multiple containers.
- Mix Sizes: Use a combination of small, medium, and large bins. This helps accommodate different items, from spices to bulk snacks.
- Store Similar Items Together: Group items by category. Keep baking supplies in one bin and snacks in another. This promotes efficiency and keeps your kitchen organized.
- Utilize the Top Shelf: Stack bins on top of each other. Use the top shelf for items you don’t use often. This keeps your frequently used items within easy reach.
- Secure Your Bins: Make sure the bins stack securely. Some bins have interlocking features. This prevents them from toppling over when you pull out a bin from the bottom.
Suggested Bin Sizes
| Size | Use Case |
|---|---|
| Small | Spices, small packets |
| Medium | Snacks, baking supplies |
| Large | Canned goods, pasta, rice |
Benefits of Stackable Bins
- Maximize Vertical Space: Stackable bins use the height of your cabinets or pantry, freeing up valuable counter space.
- Easy Accessibility: Pulling out a bin is easier than sifting through a cluttered shelf.
- Versatile Use: Use them in cabinets, pantries, or even on countertops for easy access.
Incorporating stackable storage bins into your kitchen organization plan can significantly boost your space efficiency. They offer a simple solution to clutter while keeping everything organized and accessible.
10. Use Hooks for Pots and Pans
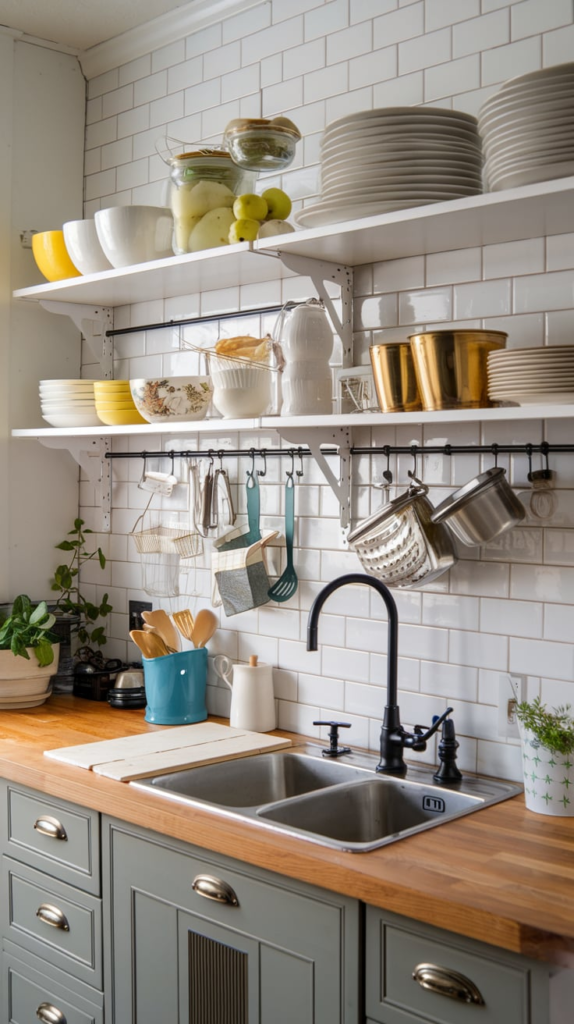
Maximize your kitchen space by hanging pots and pans with hooks. This method frees up cabinet and drawer space while adding a stylish touch to your kitchen. Here’s how to get started:
Choose the Right Location
- Wall Space: Find an area near your stove or prep area. This makes cooking more efficient.
- Ceiling: If you have high ceilings, consider a pot rack. It adds character and keeps items within reach.
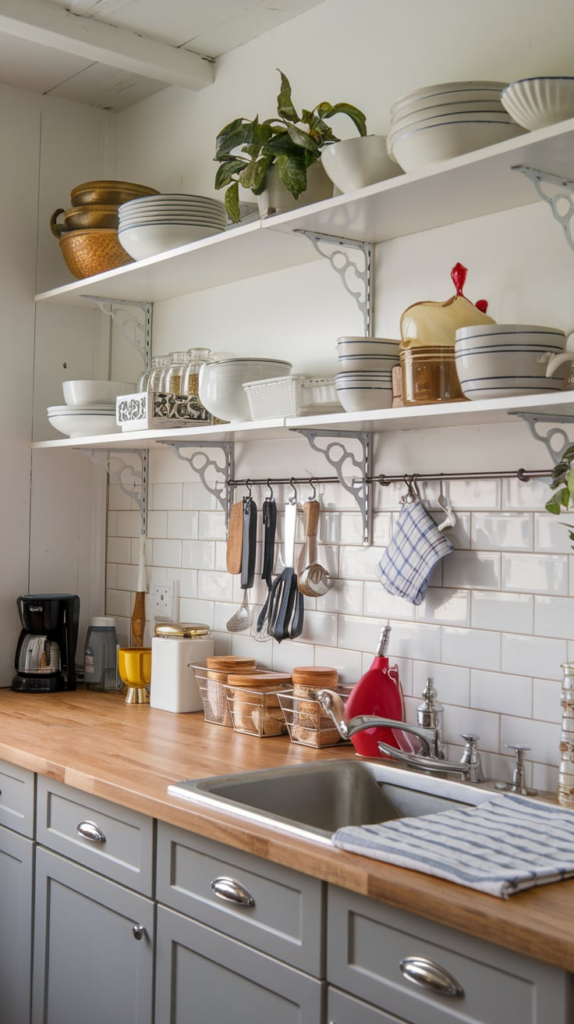
Select Your Hooks
- Wall-Mounted Hooks: Easy to install and perfect for a minimalist look.
- S-Hooks: Hang them from a rod or a shelf for a flexible arrangement.
- Magnetic Hooks: Great for metal surfaces, offering a modern twist.
Organize by Size and Type
- Heavy Items First: Place larger pots and pans at the bottom. This helps maintain balance.
- Smaller Items on Top: Hang smaller items like lids above larger pots to save space.
- Group Similar Cookware: Keep frying pans together and saucepans in another section.
Maximize Visibility
- Arrange by Frequency of Use: Keep your go-to pots and pans at eye level. This speeds up your cooking process.
- Color Coordination: Arrange by color for an aesthetically pleasing look.
Additional Tips
- Use Decorative Hooks: Opt for stylish hooks that complement your kitchen design.
- Add Labels: If you have a lot of cookware, consider labeling each hook. This helps everyone find what they need.
Maintenance
- Regularly Clean Hooks: Dust can accumulate. Wipe them down regularly to keep your kitchen looking sharp.
- Check Stability: Ensure hooks remain secure. This prevents accidents and keeps your cookware safe.
Using hooks for pots and pans transforms your kitchen into a functional and eye-catching space. Embrace this hack and enjoy a more organized kitchen.
11. Repurpose Old Furniture for Unique Storage
Old furniture can be a goldmine for kitchen organization. Instead of tossing that worn-out dresser or bookshelf, give it a new life in your kitchen. Here are some creative ideas to maximize your space:
- Dresser as Pantry: Use an old dresser for dry goods. Remove the top drawers and replace them with baskets. Label each basket for easy access.
- Bookshelf for Cookbooks: An old bookshelf can hold cookbooks, spices, or even small appliances. Use the lower shelves for heavier items and upper ones for lighter, decorative pieces.
- Coffee Table for Extra Storage: If you have a coffee table with a lower shelf, turn it into a storage spot for kitchen linens or small gadgets.
- Wine Rack for Kitchen Tools: Repurpose a wine rack to store rolled-up dish towels or utensils. This adds a rustic touch and keeps things organized.
- Crate Storage: Old wooden crates can stack to create an eye-catching storage solution. Use them for fruits, vegetables, or as open shelves for various kitchen items.
- Rolling Cart: If you have an old nightstand or cart, transform it into a rolling kitchen cart. This adds extra counter space and can store items like oils, spices, or cutting boards.
- Old Chairs as Shelves: Remove the seat from an old chair and mount the backrest to the wall. This creates a unique shelf for decorative items or small plants.
- Repurposed Cabinets: Old cabinets can serve as a base for a kitchen island. Add a countertop, and you gain extra storage and workspace.
- Suitcases for Vintage Charm: Use vintage suitcases as storage for less-used kitchen items. This adds personality and keeps your space tidy.
- Baskets from Old Drawers: If you have broken drawers, take the bottoms and use them as baskets. These can fit nicely in your pantry or on shelves for easy access to snacks.
- Ladder for Hanging Storage: An old wooden ladder can become a stylish display for pots and pans. Hang them on the rungs for a trendy, organized look.
Finding new uses for old furniture not only saves money but also allows you to add character to your kitchen. Get creative and watch your space transform.
12. Organize by Frequency of Use
Organizing your kitchen by how often you use items can save time and make cooking more enjoyable. Here’s how to do it effectively:
- Identify Daily Essentials
Think about the tools and ingredients you reach for every day. These should be the most accessible. Common daily essentials include:
- Coffee maker
- Knives
- Cutting boards
- Salt and pepper shakers
- Create Zones
Group similar items together based on how often you use them:
- Everyday Use: Store frequently used items in easy-to-reach cabinets or drawers.
- Occasional Use: Keep items used a few times a week in mid-level cabinets.
- Rarely Used: Place rarely used appliances or tools on higher shelves or in less accessible areas.
- Adjust for Seasons
Some items may only be useful during certain times of the year. Rotate your kitchen items based on the season:
- Store grilling tools during summer.
- Move baking supplies to the front in winter.
- Label Storage Areas
Use clear labels for cabinets and drawers to remind yourself where everything goes. This helps everyone in the household know where to find and return items. - Declutter Regularly
Regularly assess your kitchen items. If something hasn’t seen the light of day in months, consider donating or discarding it. This keeps your space fresh and functional. - Use Clear Containers
Store dry goods in clear containers. This makes it easy to see what you have and what you need, reducing the chance of duplicates. - Avoid Overstuffing
Don’t cram too much into one space. When items are packed too tightly, it becomes hard to find what you need. A little breathing room makes a big difference. - Keep Frequently Used Items at Eye Level
Place the items you use most often at eye level. This way, you won’t have to bend down or reach up every time you cook.
By organizing your kitchen based on frequency of use, you can create a more efficient cooking space that makes meal prep a breeze.
Conclusion
Organizing your kitchen doesn’t have to feel overwhelming. Implementing these 15 hacks can transform your space into a more functional and enjoyable area. From maximizing cabinet space to using vertical storage, each tip offers a simple solution to everyday challenges.
Embrace these strategies and watch your kitchen become more efficient. A well-organized kitchen not only saves time but also enhances your cooking experience. Start today and enjoy the benefits of a clutter-free space.