
22 Woodworking Shop Layout Ideas
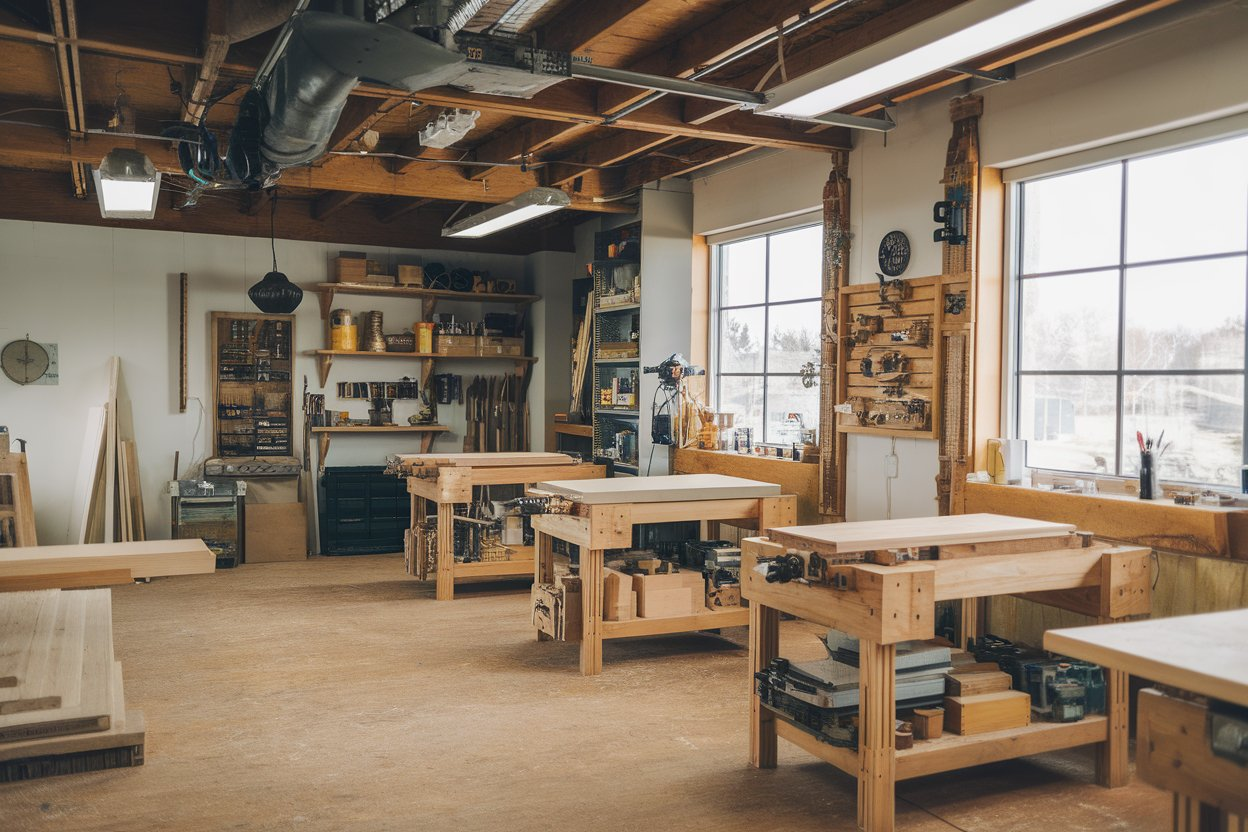
Setting up a woodworking shop isn’t just about parking a table saw in the middle of your garage and calling it a day. It’s a dance between space, flow, safety, and creativity.
If you’ve ever tripped over a power cord while carrying a half-glued chair leg, or fumbled around looking for a lost chisel buried under sanding dust, then you know that layout is everything.
Whether you’re working with a sprawling detached barn or a corner in your basement, how you design your woodworking shop layout can make the difference between frustrating chaos and smooth, sawdust-filled joy.
1. Start with the Workflow Triangle
Before you buy another clamp, visualize the essential triangle: cutting, assembly, and finishing. These three zones should connect logically. Cutting tools like table saws and miter saws need to flow into your assembly area, and finally, into finishing.
Avoid backtracking like you’re in a maze. Every movement should feel natural. If you have to cross the entire room to get from glue-up to finish, you’ll start resenting your own setup. Keep the triangle tight and fluid.
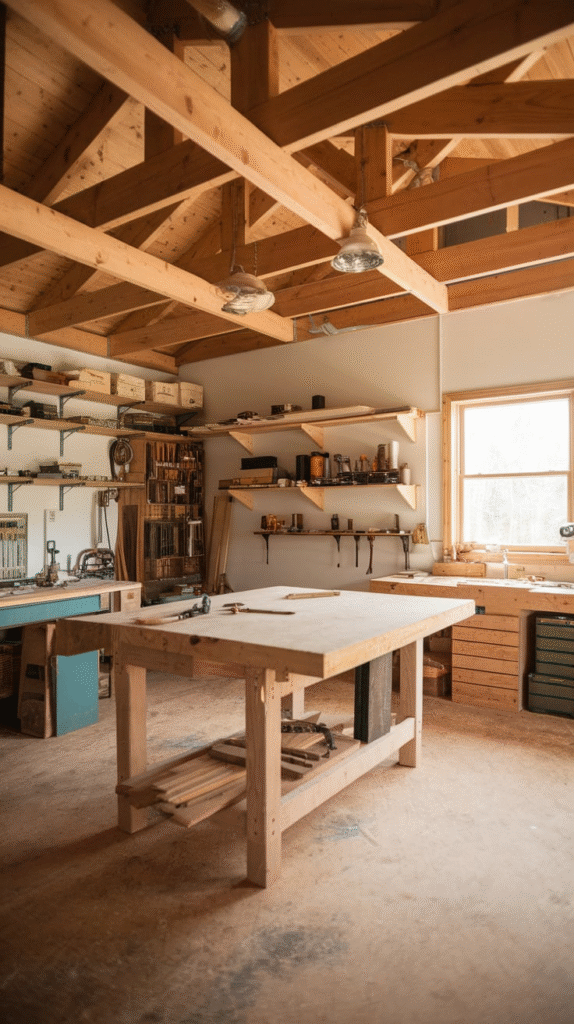
2. Table Saw as the Anchor
Your table saw is often the heart of the shop. Treat it as your anchor point and build around it. Position it so that you have ample infeed and outfeed space—ideally at least 4–6 feet on each side.
Avoid placing it in a corner where you’ll constantly bump into walls. Bonus tip: If possible, align the saw so the outfeed pushes toward the door or a wide open area. It saves your back when handling full sheets of plywood.
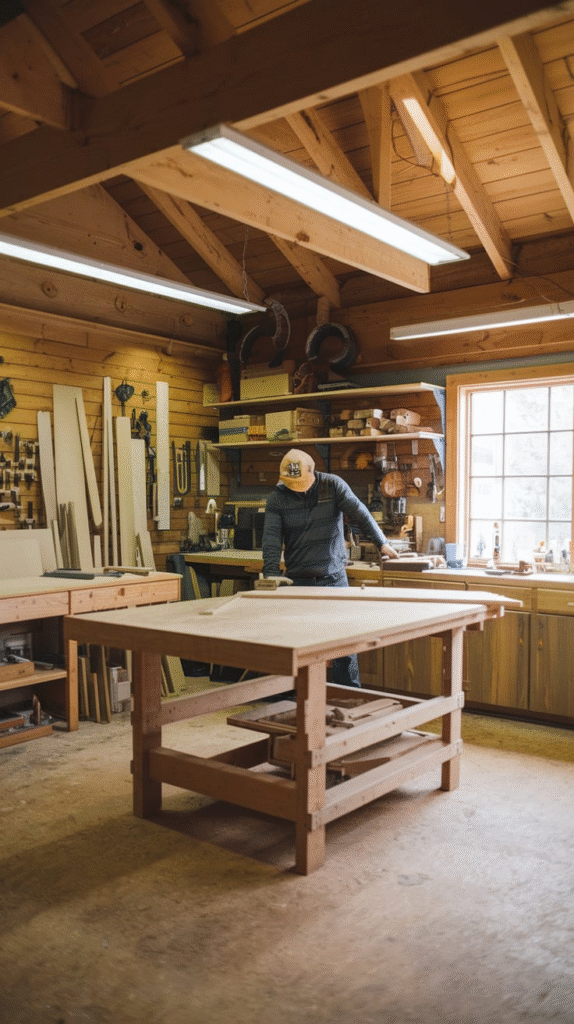
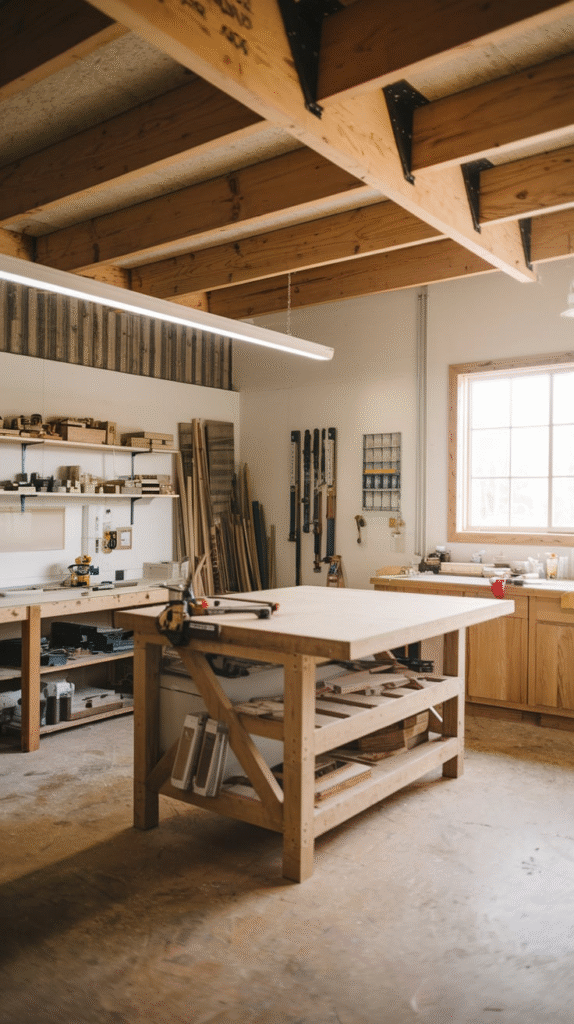
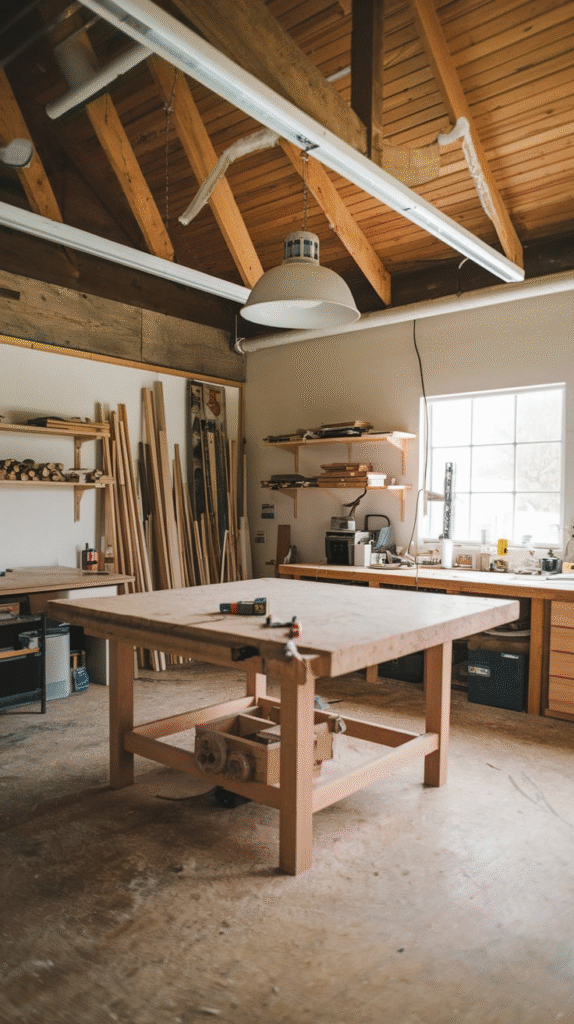
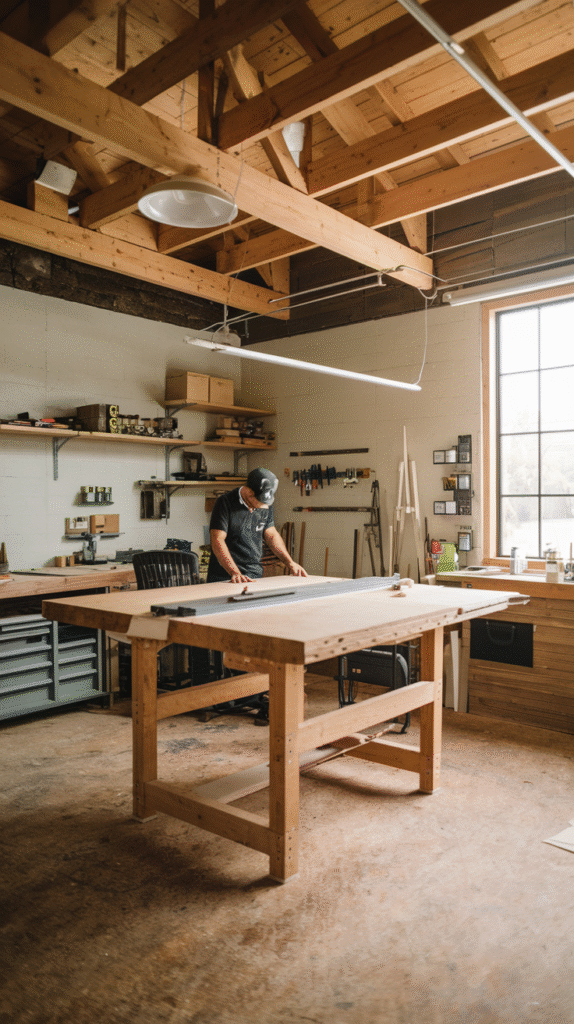
3. Dedicated Assembly Table
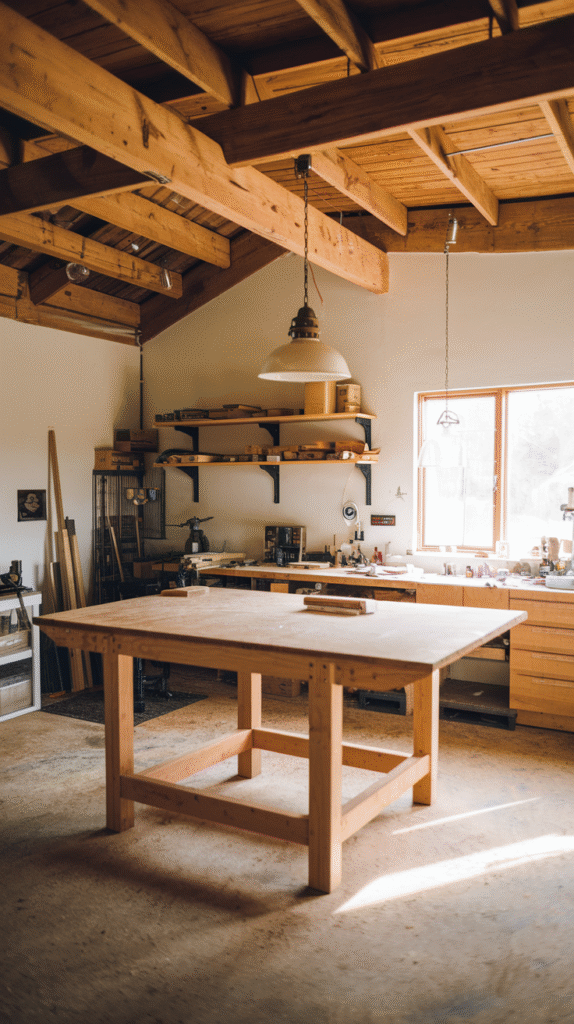
Trying to assemble a cabinet on your table saw is like trying to eat dinner on your washing machine. Invest in or build a sturdy, flat assembly table.
Make it mobile with lockable casters, and add drawers or cubbies underneath for glue, clamps, screws, and tools. Keep this table clear—no piles of tools. This is your sacred space where projects finally come together.
4. Clamp Storage Wall
Clamps multiply like rabbits, and before you know it, they’re everywhere. Mount a dedicated clamp wall near your assembly zone. Use vertical racks, dowels, or even French cleats.
Organize by type: bar clamps, pipe clamps, spring clamps, and parallel clamps. If they’re easy to grab, you’ll use them more often and more efficiently.
5. Dedicated Miter Saw Station
If you frequently cut stock to length, a miter saw station is your best friend. Build or install long wings on either side with integrated stop blocks and measuring tapes. Use the space beneath for lumber storage, drawers, or even your dust collection lines. Mount the saw so the surface is flush with the wings for smooth support.
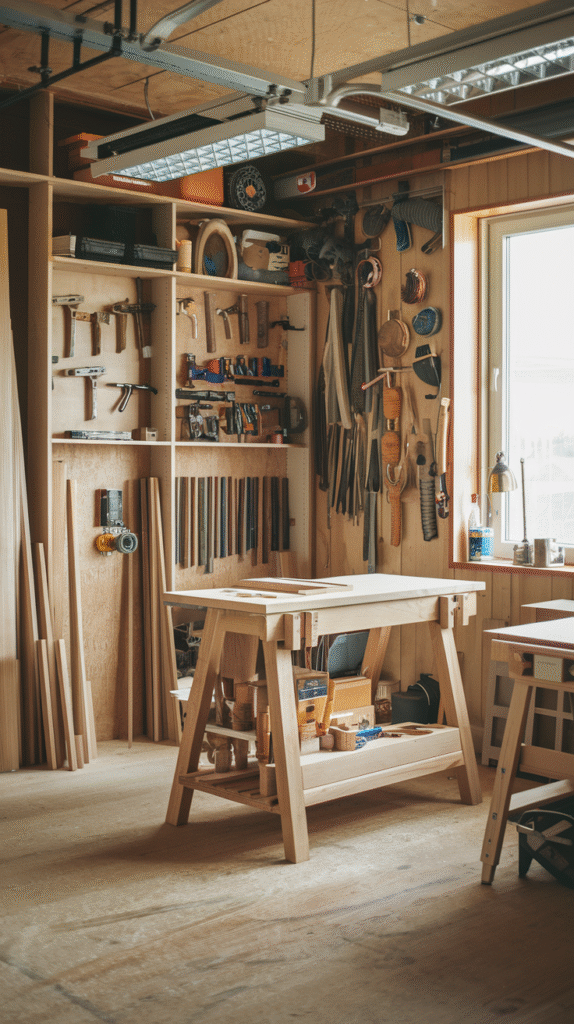
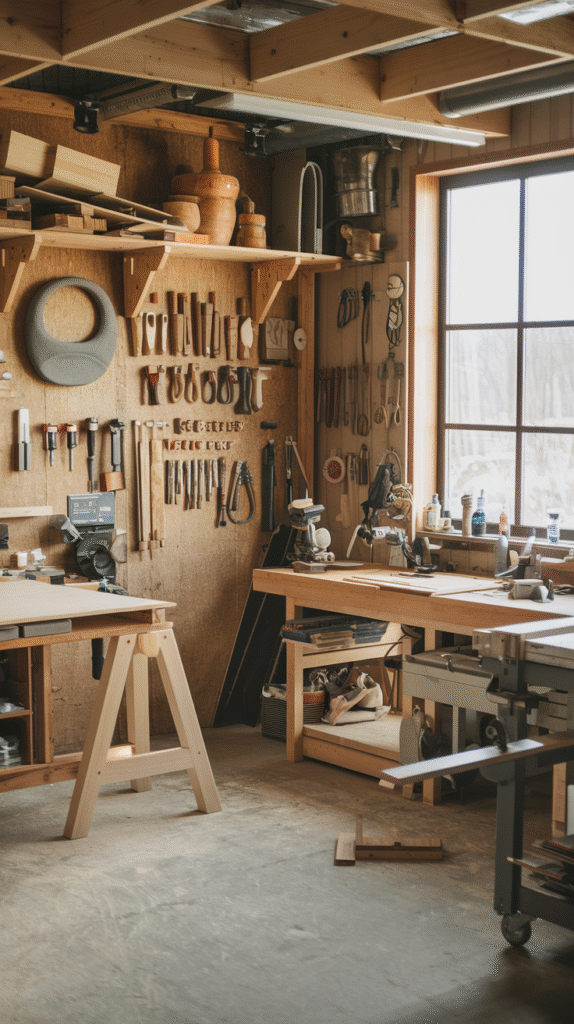
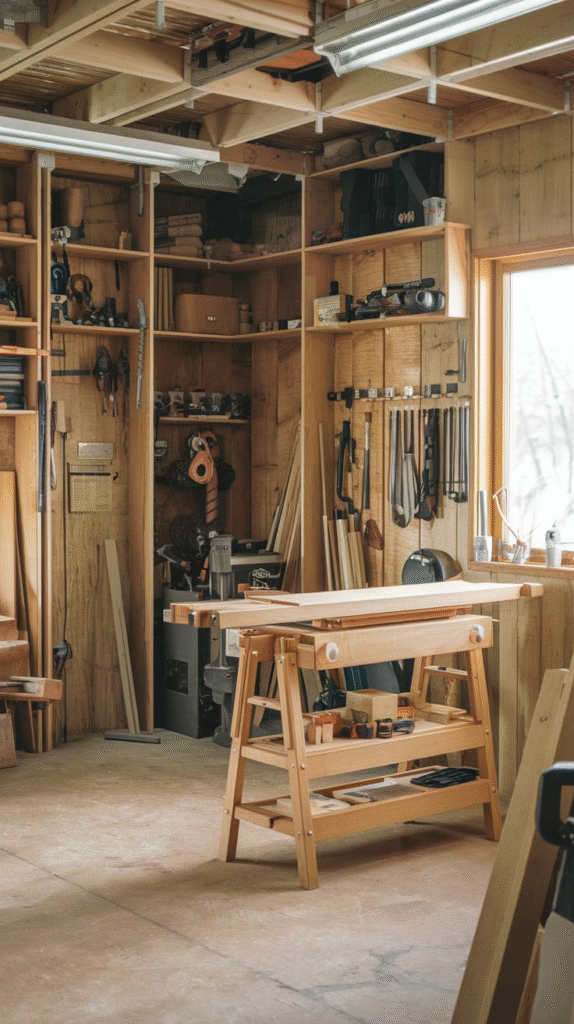
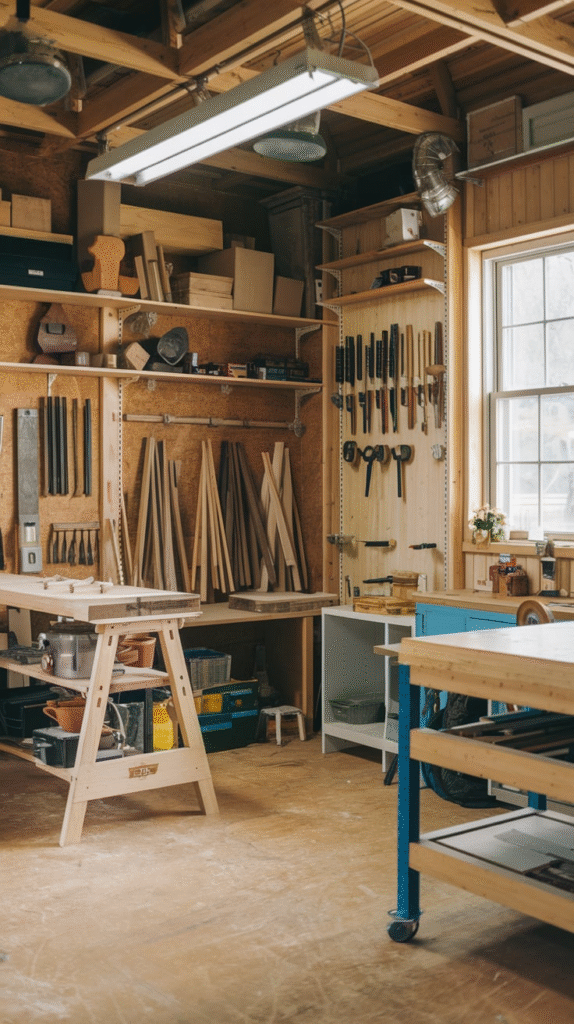
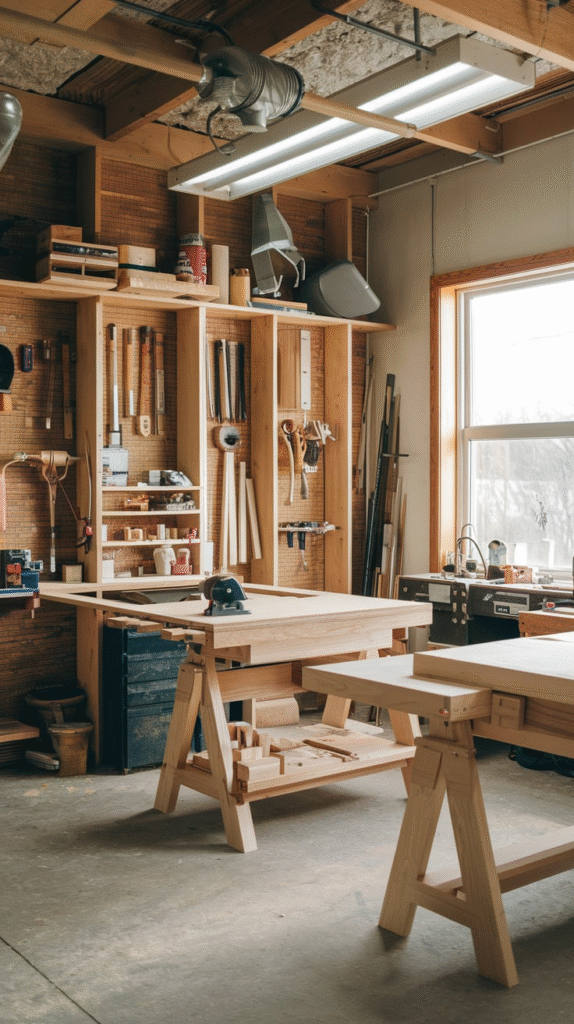
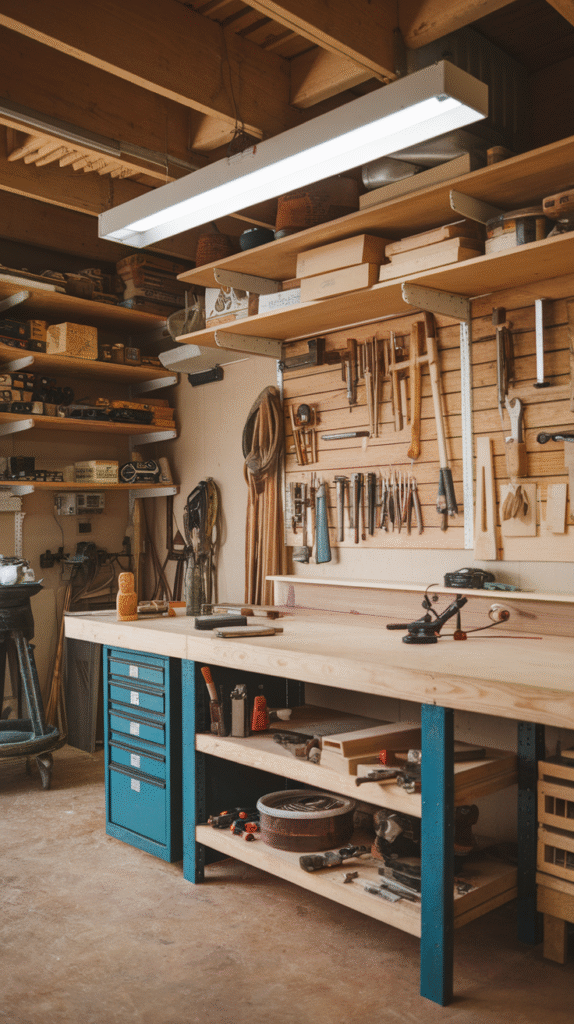
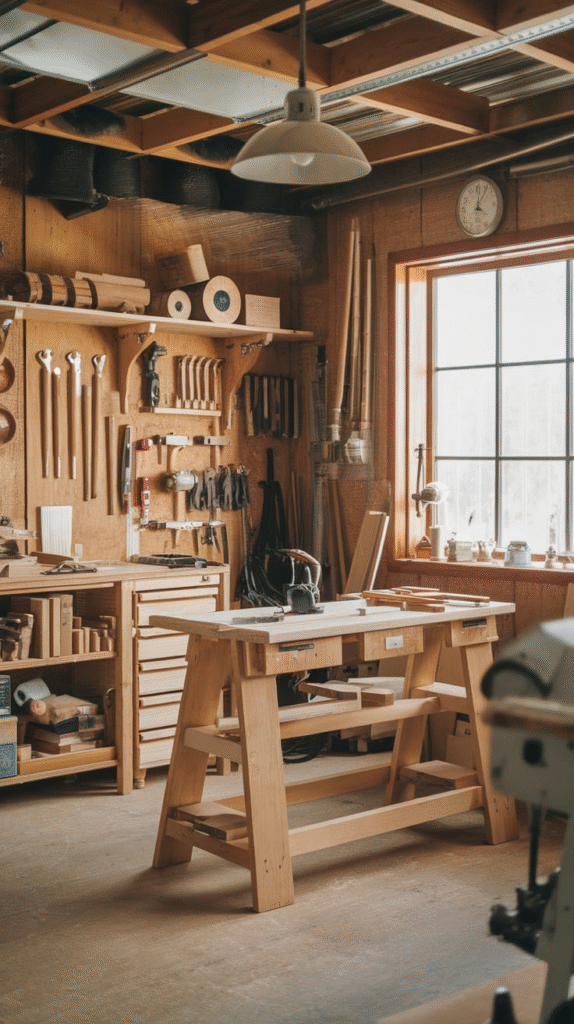
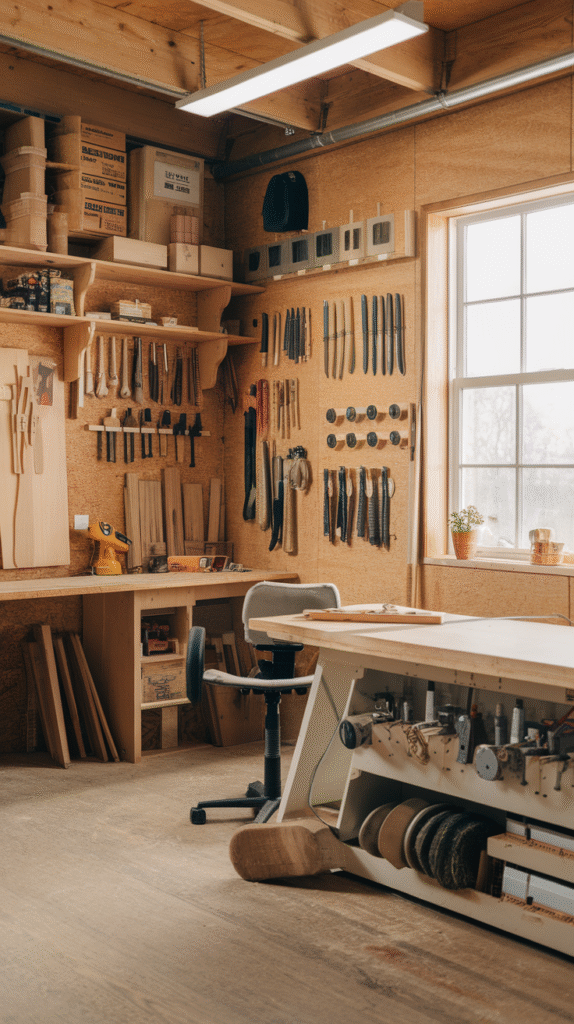
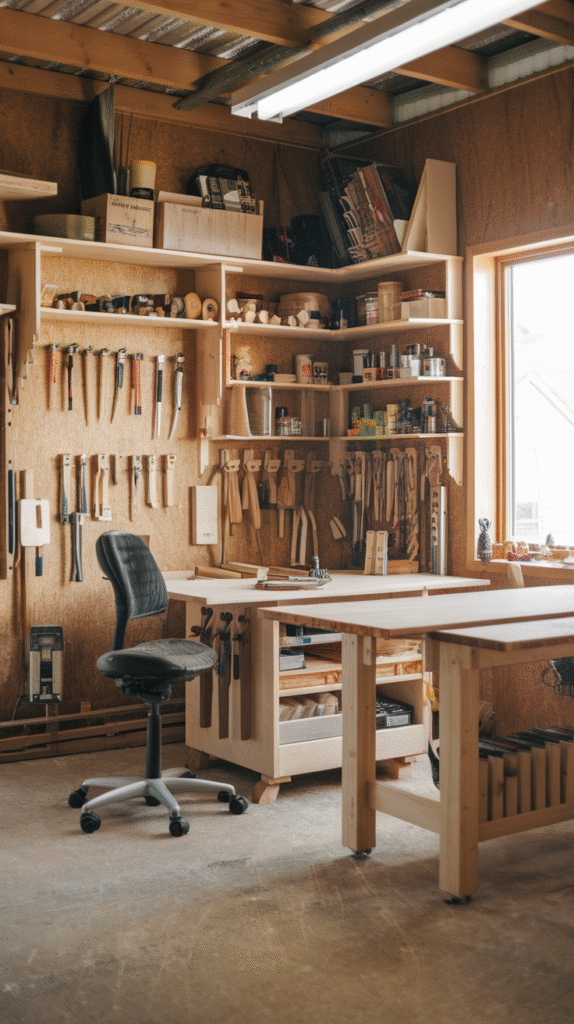
6. Wall-Mounted Tool Boards
Pegboards? Yes, but leveled up. Customize a wall-mounted tool board behind your main bench using French cleats or slat wall panels. Lay out your tools like a surgeon’s tray.
Wrenches, squares, chisels—all within reach and easy to see. Draw outlines for each tool if you’re prone to forgetting where they go. It’s like muscle memory, but visual.
7. Rolling Workstations
If you’re in a tight space, mobility is everything. Equip your tools—planers, sanders, even band saws—with heavy-duty casters. That way you can roll out a machine when needed and tuck it away afterward.
It’s also great when you’re rearranging your shop as your needs evolve. Think of your tools like dancing partners—some take center stage, others wait in the wings.
8. Optimize Natural and Task Lighting
A well-lit shop doesn’t just save your eyes—it saves your fingers. Maximize natural light by placing your main bench near windows.
Supplement with bright LED overhead lights and task lighting at your key stations. Go for 5000K daylight bulbs to match natural lighting tones, and make sure you’re not casting shadows over your work.
9. Efficient Dust Collection Layout
Woodworking without dust collection is like grilling without a vent—smoky, messy, and unhealthy. Map out your dust collection system early. Use a central collector with branches to each major tool.
Position your collector in a corner to reduce hose length. Use blast gates to control airflow and don’t skimp on sealing leaks. Your lungs will thank you.
10. Floor-Mounted Power Outlets
Hate tripping on cords? Install floor outlets or ceiling-mounted retractable cords near your main machines. Wall outlets work, but only if your machines are close. Running cords across the floor is an accident waiting to happen. Think like an electrician: power should follow the tool path, not the other way around.
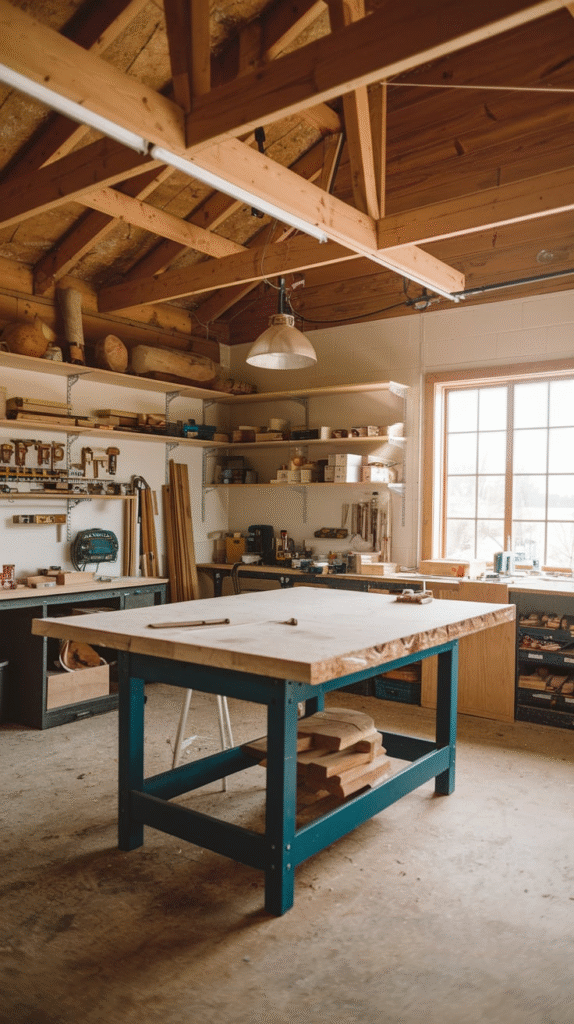
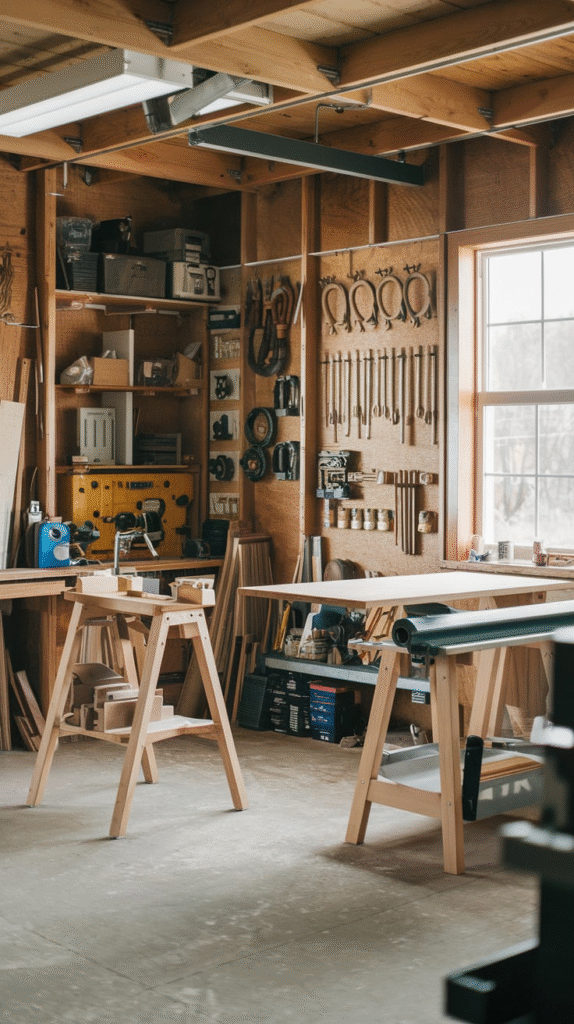
11. Lumber Storage Rack
Vertical or horizontal—your choice—but make it strong, safe, and accessible. Wall-mounted horizontal racks are great for long boards. Vertical bins work well if you have high ceilings. Keep your most-used sizes at chest height and group by species or thickness. Storing wood on the floor invites warping and frustration.
12. Dedicated Sharpening Station
If you hand plane or chisel, you already know that sharp tools are happy tools. Set up a small sharpening station with your stones, jigs, strops, and guides. Add a towel rack and water bottle holder nearby. Keep it clean and separate from your dusty zones—grit and grinders don’t mix.
13. Finishing Area with Ventilation
Finishing wood is both an art and a smell hazard. Create a dedicated finishing zone away from dust-producing tools. Use box fans with filters in windows for ventilation, and store your stains, varnishes, and brushes in a nearby cabinet. Add a drying rack or suspended wire shelf for pieces that need to sit and cure.
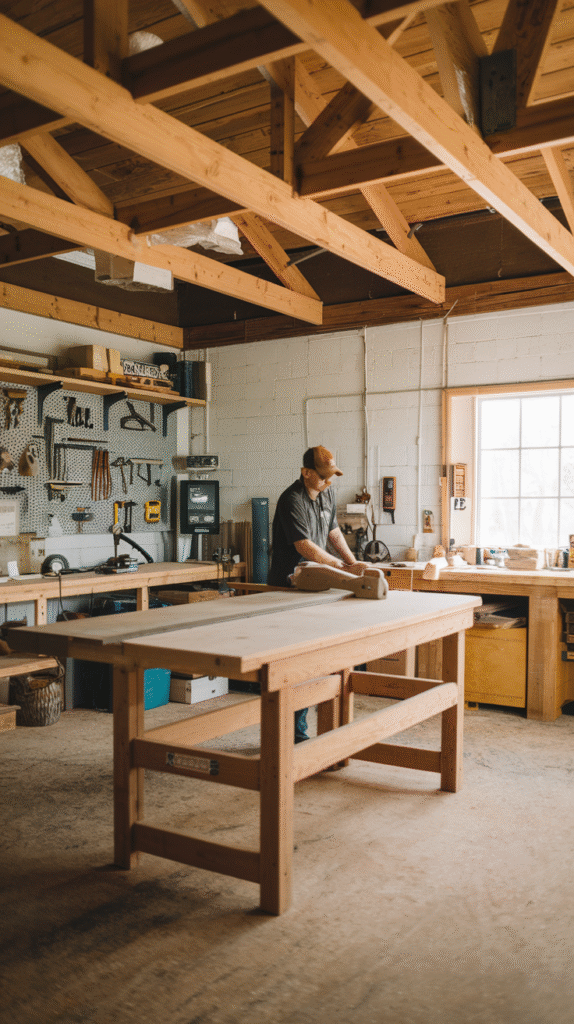
14. Workbench with Tool Well
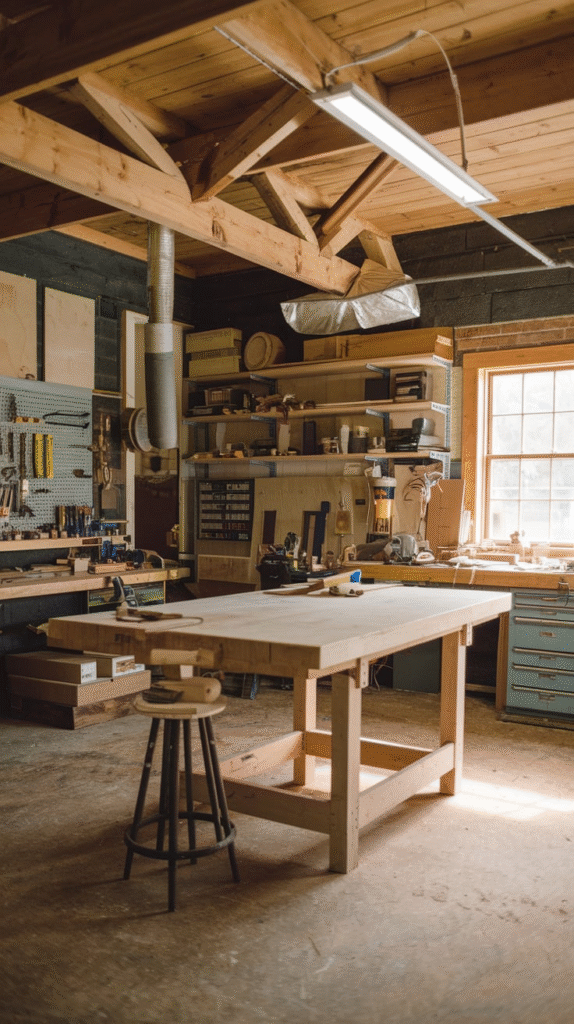
The old-school workbench is a thing of beauty. Add a tool well—a recessed channel along the back—to hold tools you’re currently using. It prevents them from rolling away or getting buried in wood shavings. A woodworking vise on one side and dog holes across the surface allow for versatile work holding.
15. Cabinet Storage for Hardware

Screws, bolts, nails, washers—they deserve more than random coffee cans. Install cabinet drawers with dividers, clear-lid containers, or modular drawer units. Label each one with sizes. Mount the unit near your main bench or assembly area. Bonus points if you use one of those rotating bin towers—it’s oddly satisfying.
16. Overhead Storage for Rarely Used Tools
There’s no shame in having “once-a-year” tools, but don’t let them hog prime real estate. Build overhead shelving or ceiling-mounted cabinets for tools and jigs you don’t use often. Just be sure it’s secure—falling routers and dust boots hurt more than a stubbed toe.
17. Dedicated Router Table Station
A router table needs its own corner. Mount it flush with a larger table to extend your surface area. Add a fence with dust port, and store all your bits and accessories in nearby drawers. If you’re routing profiles often, keep a bit index with labeled shapes and sizes for quick reference.
18. Jig & Fixture Wall
Every woodworker has a jig addiction. Build a jig wall—a slotted or cleated system for hanging all those clever devices you’ve made. Label them, date them, and make them easy to grab. You’ll stop reinventing the wheel if you know where the wheel jig lives.
19. Tool Charging Station
Battery tools are the new norm, but managing all those chargers can be maddening. Create a central charging shelf with power strips and slots for drills, drivers, lights, and batteries. Include a drawer underneath for bits, chargers, and manuals. Neat, tidy, powerful.
20. Work Triangle for Small Shops
If you’re working in a single-car garage or basement, shrink your triangle. Place your workbench, saw, and storage within arm’s reach of each other. Use flip-top carts that host two tools in one footprint. A small shop doesn’t mean small ideas—it just means every inch has a purpose.
21. Add a Planning Station
You need a space to sketch, read plans, or stare blankly at a board until inspiration strikes. Add a stool-height counter, corkboard for project lists, and room for a laptop or tablet. Keep notebooks and measuring guides here. It’s the coffee break zone for your brain.
22. Build In Flexibility
Here’s the secret every experienced woodworker learns: your layout will change. As you grow, your projects, tools, and preferences evolve. Design with modularity in mind. Use cleats instead of fixed cabinets, mobile bases, and temporary walls. A rigid shop is a brittle shop. Flexibility keeps the creativity flowing.
Conclusion
Your woodworking shop is more than a place to make things—it’s a place to think, solve problems, and build memories as solid as the furniture you craft.
Whether it’s the first time you plane a board flat or the thousandth time you sand through your finish (we’ve all been there), having a layout that supports your habits and hunches makes the difference. Don’t obsess over perfection on day one.
Start with function, add a dash of comfort, and let the layout evolve as you grow. These 22 woodworking shop layout ideas are just starting points—a set of guide rails for your own creativity to follow. And remember, no matter how fancy the shop, it’s the hands that make the magic.