
The first time I tried to organize my hall closet, I spent $84 on matching bins, labeled every one, and then found that none of them fit the shelves. Six weeks later, the bins were on the floor and the closet looked worse than when I started.
I’ve made most of the mistakes on this list, and I’ve watched friends and readers make the rest. If you’re trying to get serious about organizing your home, or you’ve tried before and it didn’t stick, chances are one of these is the reason.
Most home organization mistakes aren’t about laziness. They’re about doing things in the wrong order or building a system for the person you wish you were.
Here are the ten I see most often, plus what to do instead.
Mistake 1: Buying Storage Containers Before You Declutter
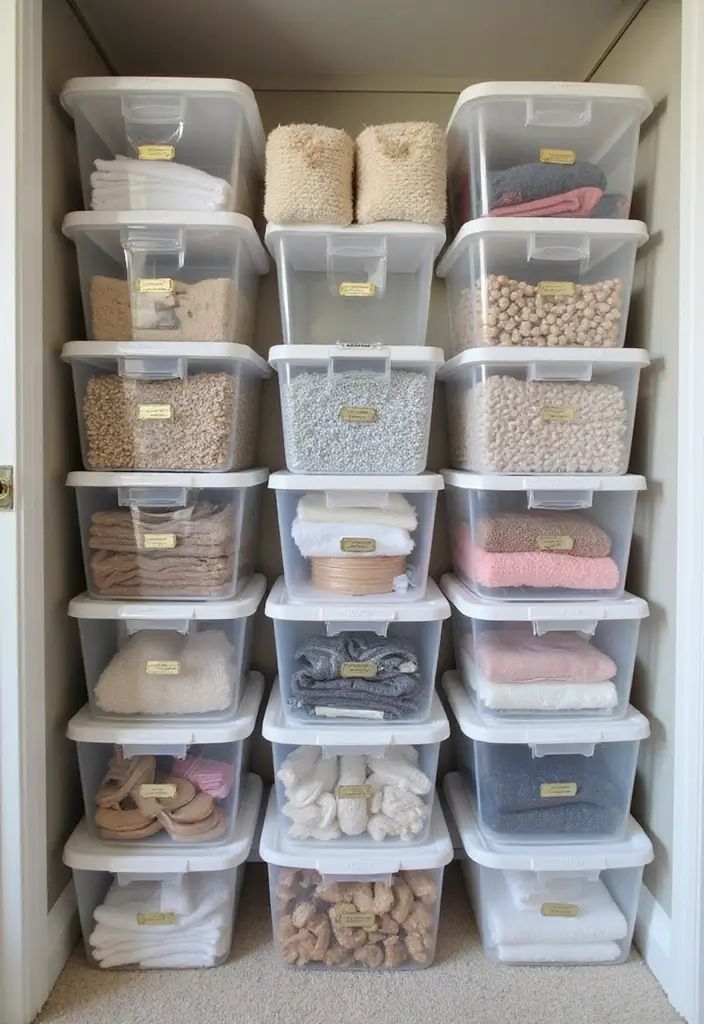
This is the big one. It feels productive, and it’s fun to shop for bins, but you can’t buy the right storage until you know how much you’re keeping.
When I helped my friend Amelia with her pantry, she’d already bought a set of 20 canisters. After we pulled everything out, she only needed nine, and half the stuff she’d wanted to decant was expired anyway. Those extra bins are still in her hallway.
Do this instead: Declutter first, then measure, then buy. If you must buy something to get started, grab a few cardboard boxes or use laundry baskets you already own as temporary sorting bins.
Pro tip: Keep a running list on your phone of the specific items you actually need storage for. “Six sweaters, folded” is a much better shopping list than “sweater bin.”
Mistake 2: Trying to Organize the Whole House in One Weekend
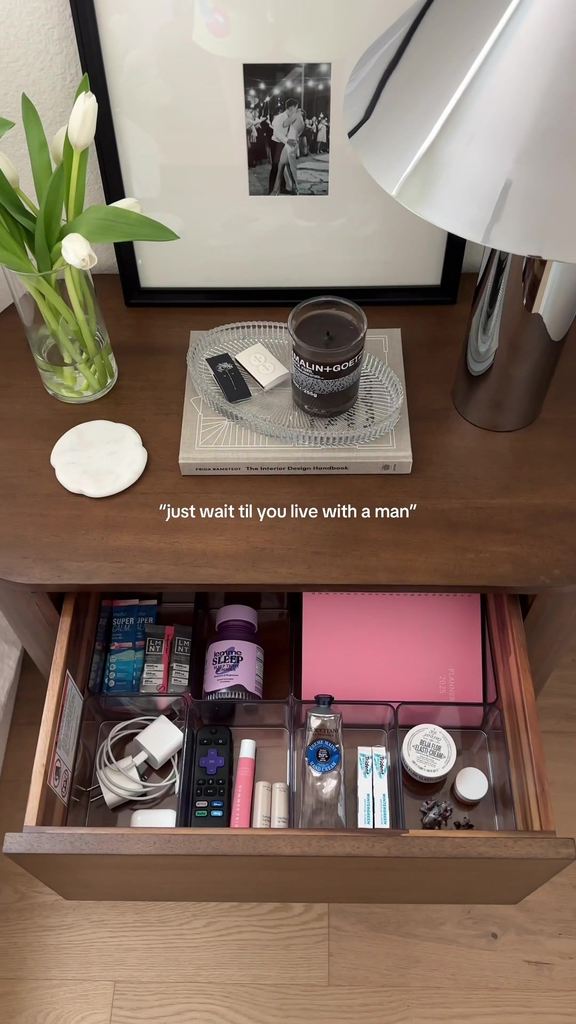
Marathon organizing sessions are the fastest way to end up with every closet emptied onto the living room floor at 9 p.m. on a Sunday. Decision fatigue is real, and after about three hours, people start keeping things just to make it stop.
It’s better to work in small, finishable zones. One drawer, one shelf, one cabinet. I’d rather you finish a single kitchen drawer today than start the entire kitchen and abandon it half-done.
Do this instead: Pick one area you can complete in under two hours. Finish it, including putting the donate bag in the car, before starting another.
Mistake 3: Skipping the Measuring Step
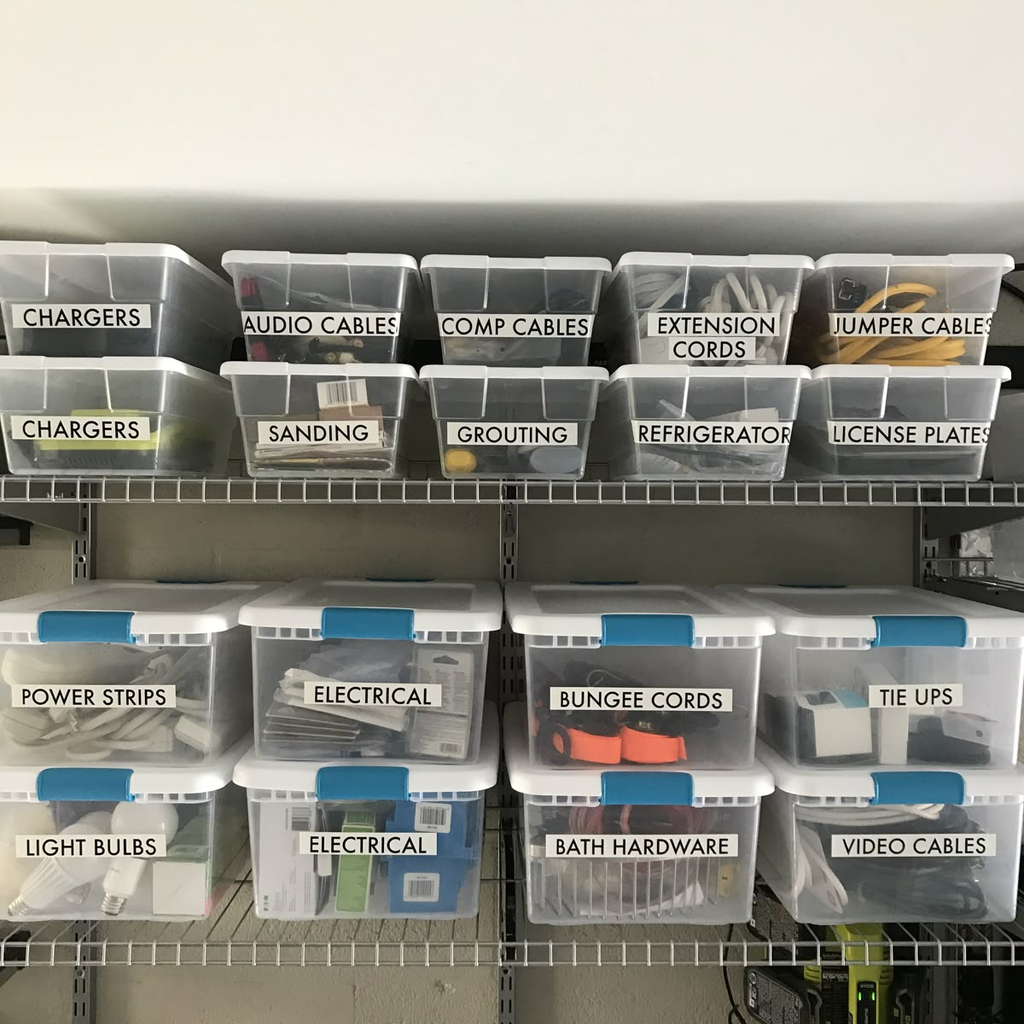
I’m putting this one plainly because it cost me money: measure before you buy. Width, depth, and height, plus the door opening if it’s a cabinet.
Here’s a trade-off I didn’t expect. Bins that fit “almost perfectly” often end up being worse than slightly smaller ones, because they’re hard to pull out and you scrape your knuckles on the shelf every time. Leave about half an inch of wiggle room on each side.
Do this instead: Write the measurements in your phone notes, and take a photo of the space with a tape measure in the frame. It sounds silly, but you’ll be surprised how often you’ll be standing in a store wondering whether something fits.
Mistake 4: Storing Things Where They Look Good Instead of Where You Use Them
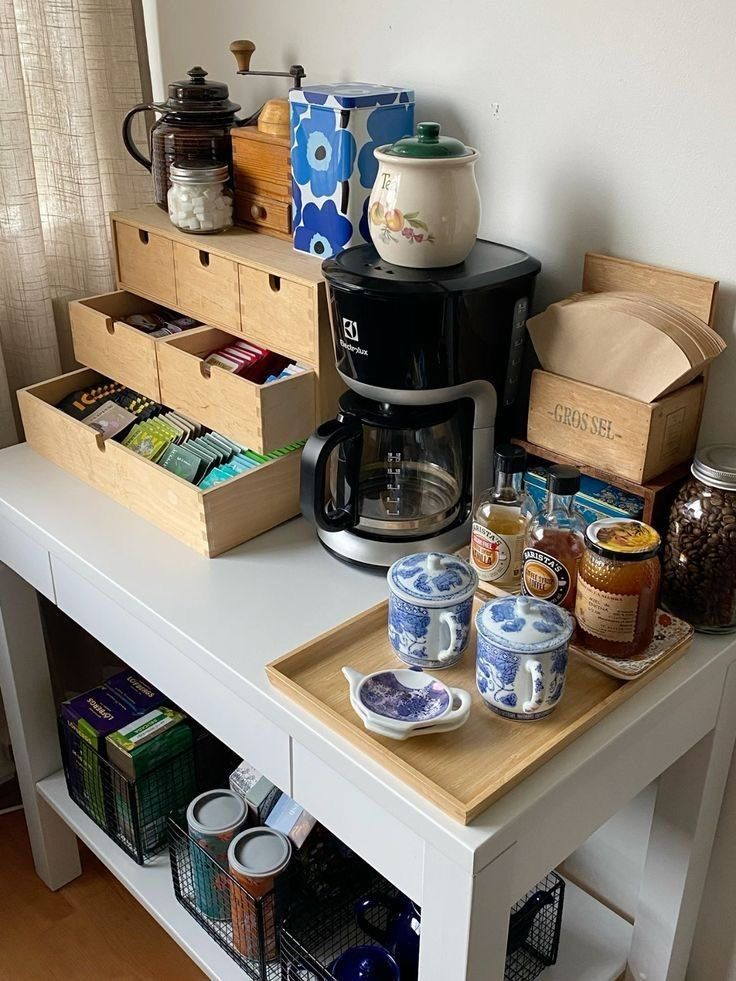
Organizing by aesthetics is one of the most common mistakes I see. The cute basket of hand towels ends up in the hall closet because it looks nice there, but you use them in the kitchen.
A good rule is store things at the point of use. Coffee mugs go near the coffee maker. Dog leashes go near the door. Chargers live wherever you actually charge things. If you have to walk across the house to put something away, it won’t get put away.
Do this instead: For a week, pay attention to where you naturally drop or reach for things. Then build the storage there, even if it’s not the most photogenic spot.
Mistake 5: Building a System That’s Too Complicated to Maintain
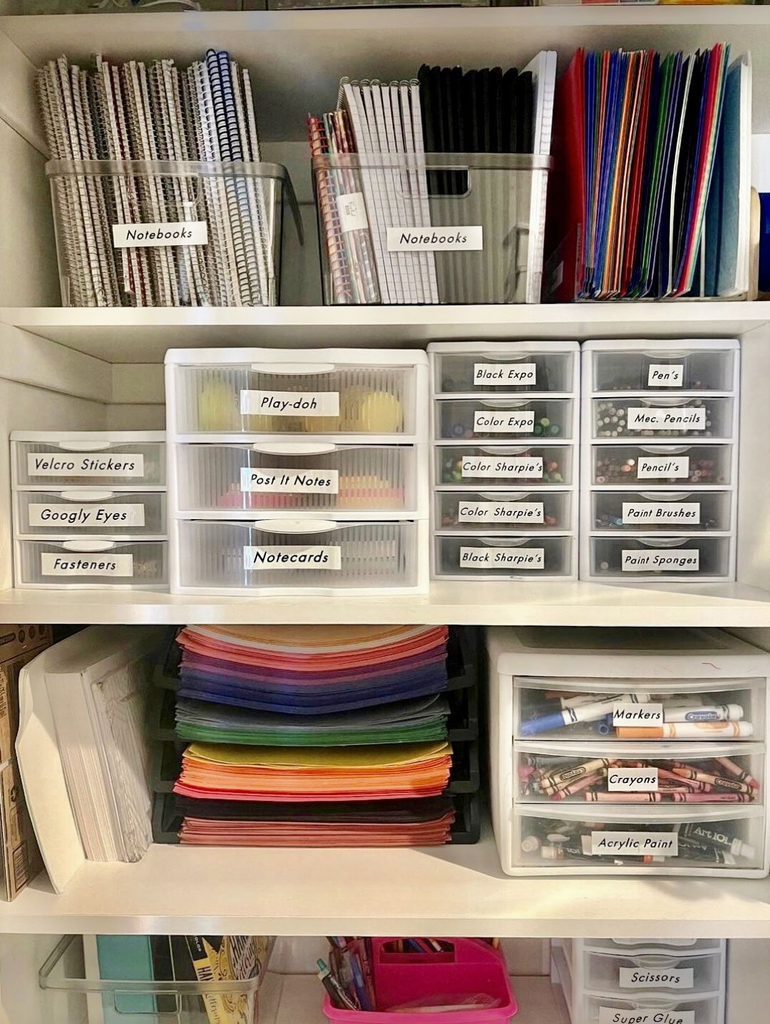
Pinterest is full of pantries with everything decanted into identical containers, labeled in a lovely font. They’re beautiful, and I have never met someone who kept one going past a couple of months without it becoming a chore.
Be honest about your habits. If you’re not going to refill matching containers every time you buy flour, don’t decant. If you never fold fitted sheets, don’t buy a sheet-folding system.
I’ll admit that one time, I really did go big on this. A set of clear pantry canisters with labels is the one thing I’d tell you is worth it, but only for the five or six items I use constantly, like flour, sugar, rice, and oats. That’s it. Everything else stays in its original packaging.
Do this instead: Start with the simplest version of any system, and only add complexity if it’s not working. Fewer categories are easier to maintain than more.
Mistake 6: Not Giving Incoming Items a Landing Spot
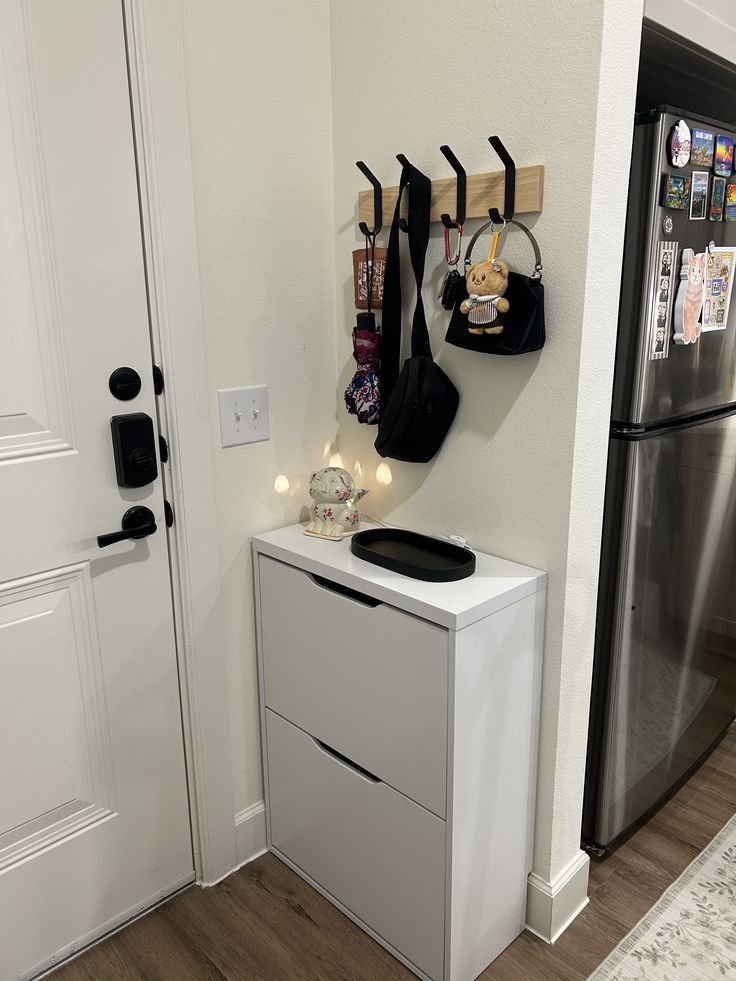
Clutter isn’t just the stuff you own. It’s the stuff arriving every day: mail, packages, shoes, backpacks, school papers, keys. If those things have no designated place, they’ll land on the nearest flat surface, and you’ll spend every weekend clearing counters.
A drop zone near your main entrance solves most of this. It can be as simple as a tray for keys, a hook for bags, a basket for shoes, and a shelf or wall pocket for mail. It doesn’t need to be a fancy mudroom.
Do this instead: Set up a small landing zone within arm’s reach of the door you use most, and give mail a “sort within 24 hours” rule.
Mistake 7: Keeping “Just in Case” Items and Sentimental Guilt Pieces
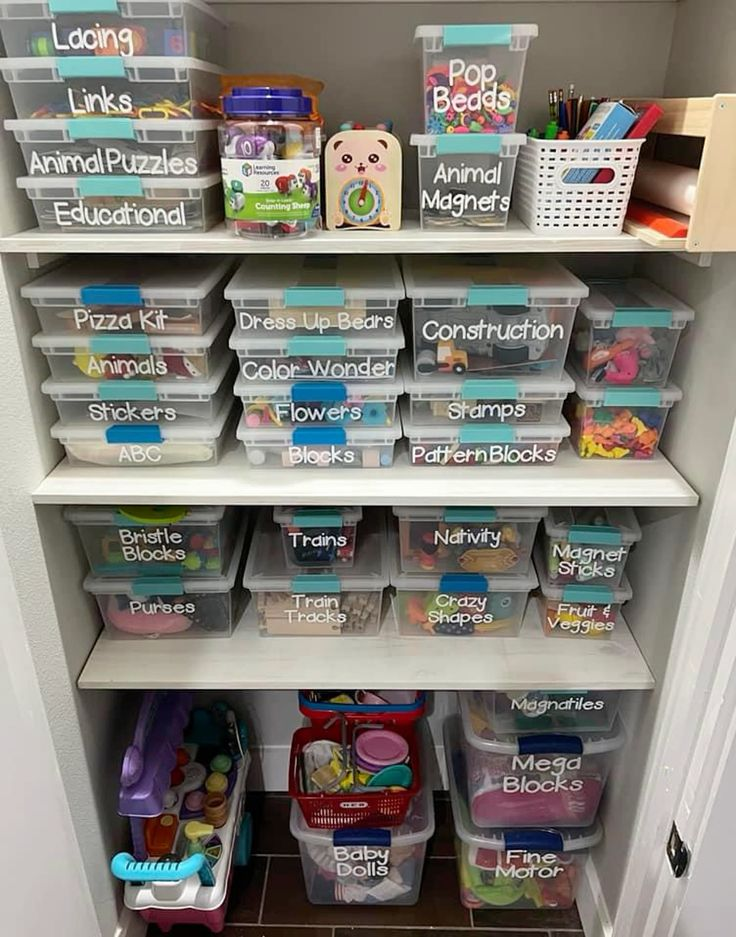
Decluttering half-heartedly is a mistake in itself. If you organize things you don’t want, you’re just tidying clutter.
The two categories that trip most people up are the “just in case” pile (cables to devices you don’t own, three spare shower curtains) and the guilt pile (gifts you don’t like, inherited items that make you feel bad).
Here’s a trick that works for me: for “just in case” items, ask, “If I needed this tomorrow, could I borrow or replace it for under $20 within a day?” If yes, let it go. For sentimental things, keep the one or two that really matter, and take a photo of the rest.
Do this instead: Make a “maybe” box, label it with today’s date, and put it somewhere out of the way. If you haven’t opened it in six months, donate the whole thing without looking.
Pro tip: Have a donation drop-off location picked before you start. If the bag sits by the door for three weeks, it tends to get reabsorbed into the house.
Mistake 8: Ignoring Vertical Space (or Hiding Things Where You’ll Forget Them)
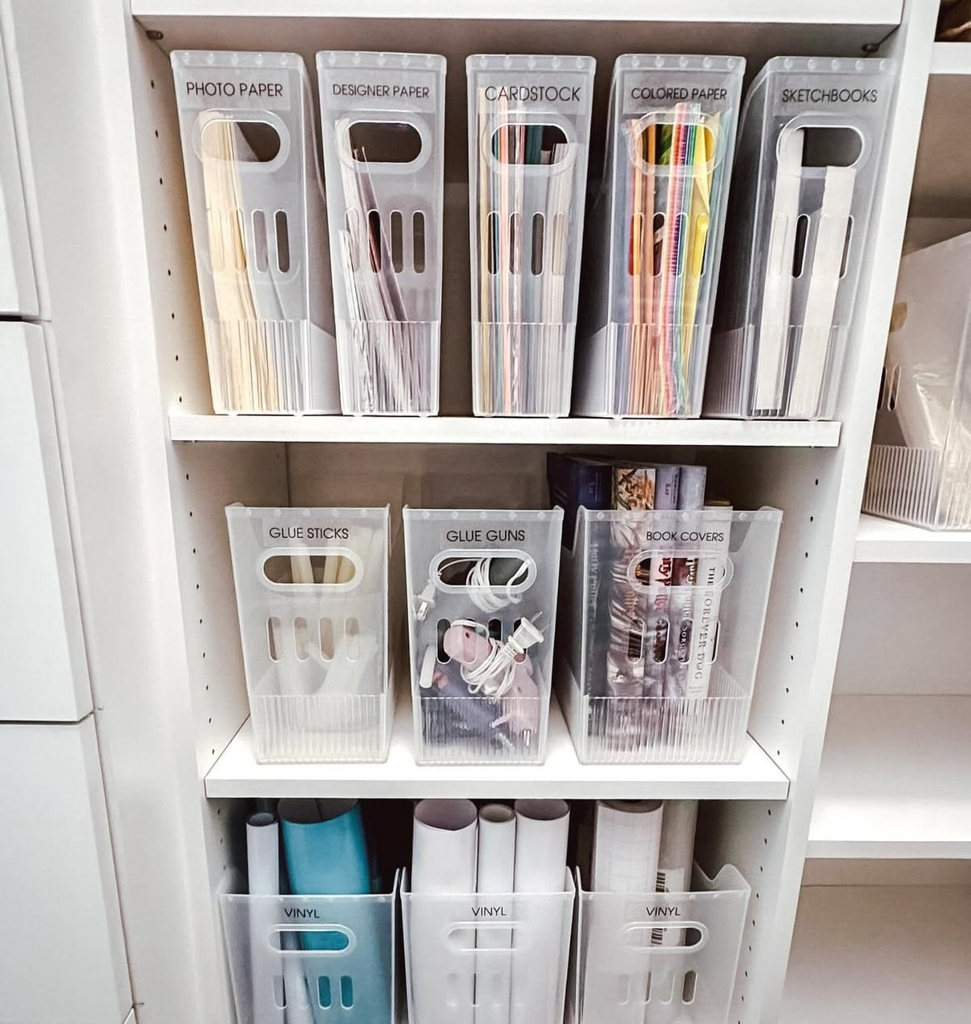
Two opposite mistakes fall under this heading. The first is ignoring vertical space entirely, so shelves have a foot of empty air above everything. The second is stacking things so deep or so high that you can’t see them, so you buy duplicates.
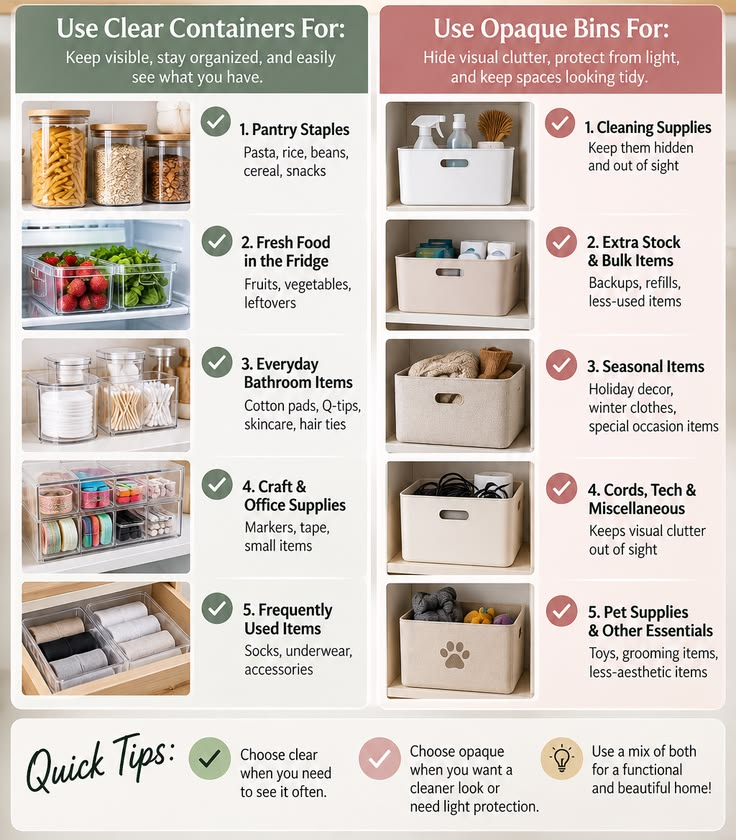
Shelf risers, stackable bins, and wall-mounted racks can all add capacity. But the trade-off is visibility, and I’d recommend clear or open-front containers for anything you use regularly.
Here’s a quick comparison of which containers I’d use where:
| Container type | Where it works best | Where it doesn’t |
|---|---|---|
| Clear stackable bins | Pantries, closets, under-sink cabinets | Very tall stacks; bottom bins become unreachable |
| Open baskets (woven or fabric) | Entryways, living rooms, kids’ toys | Dusty spots, or anywhere you need to see contents quickly |
| Drawer dividers | Kitchen, bathroom, desk drawers | Very deep drawers where things slide under the dividers |
| Shelf risers | Cabinets with lots of wasted height | Heavy items, or shelves that already sag |
| Opaque lidded bins | Off-season storage, garage, attic | Anything you use weekly |
Do this instead: Keep the things you use most between knee and shoulder height, and store the seasonal stuff up high or down low.
Mistake 9: Organizing for the Person You Want to Be
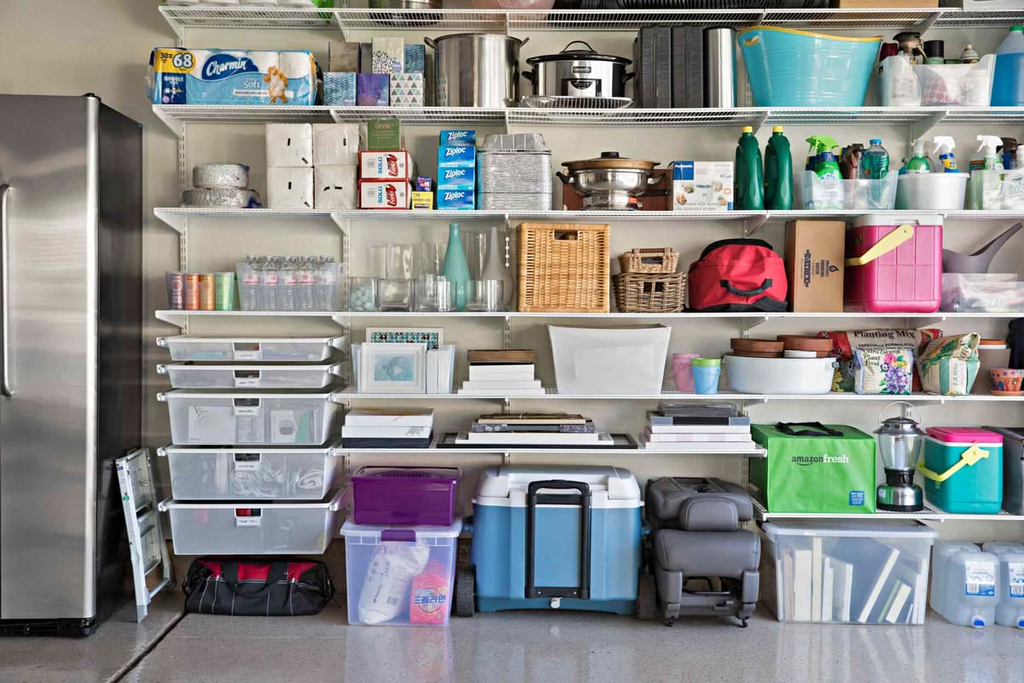
This one’s subtle. It’s the exercise equipment you keep “ready” in the living room, the craft supplies for a hobby you dropped two years ago, or the formalwear you’d wear if your life had more parties.
Your storage should reflect the life you actually have. If you haven’t picked up the guitar in three years, the guitar is not a household priority, and you don’t need to build a shrine around it. It’s not a moral failing, it’s just information.
Do this instead: Give prime space to what you use weekly, and be willing to give up the aspirational stuff. If you truly want to get back into a hobby, keep a small starter kit, not an entire studio.
Mistake 10: Forgetting Everyone Else Who Lives There, and Skipping the Reset
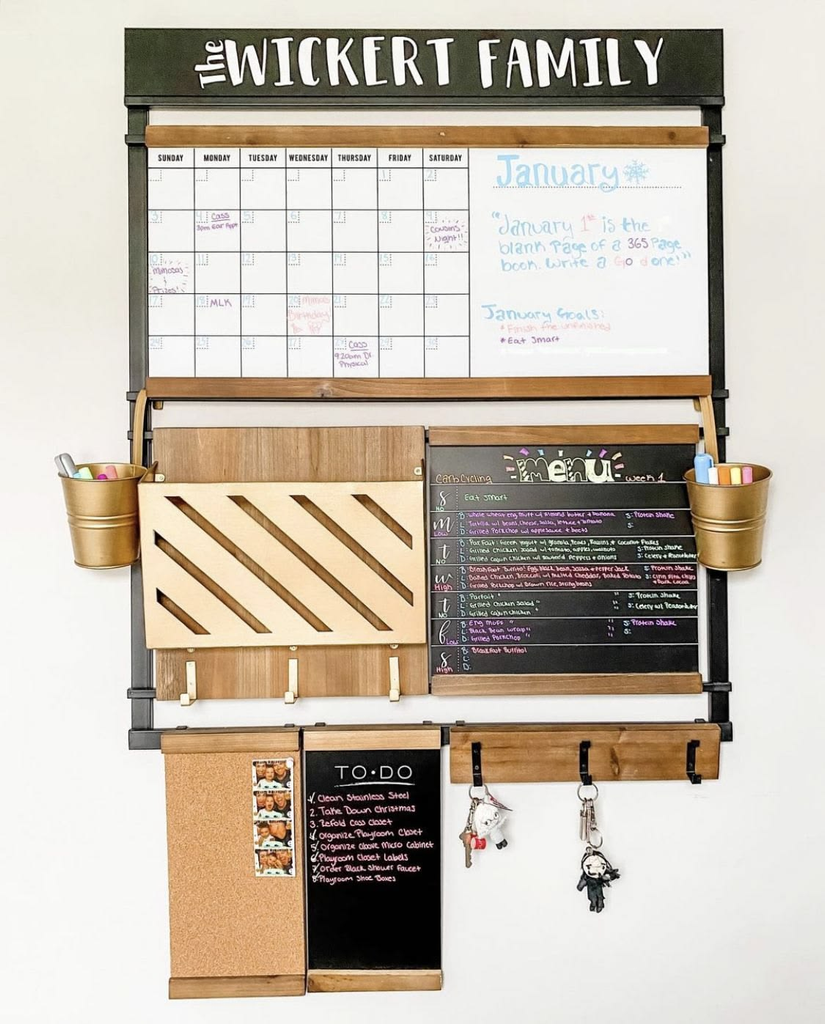
You can build the world’s best system, but if your partner, roommates, or kids don’t understand it or can’t reach it, it’ll fall apart. Kids especially need low shelves and easy-to-use bins, not lidded containers they can’t open.
And no system survives without a reset. Things drift. It’s not a failure, it’s entropy. A ten-minute weekly tidy will do far more than another big organizing weekend six months from now.
Do this instead: Involve the people who use the space when you design it, and schedule a small recurring reset (ours is Sunday evening, while dinner’s in the oven).
What Does It Cost to Organize a Home the Right Way?
The cheapest fix for most of these mistakes is simply doing things in the right order. Here’s a rough idea of what a moderate whole-home effort might cost:
| Area | Basic budget | What I’d spend on |
|---|---|---|
| Closet | ~$30–60 | Slim, matching hangers, a couple of shelf dividers |
| Kitchen and pantry | ~$40–80 | Clear canisters for staples, a turntable, a few bins |
| Entryway | ~$25–70 | Hooks, a shoe tray, a small bench or shelf |
| Bathroom | ~$25–50 | Drawer trays, under-sink bins |
Keep in mind these are ballpark numbers. Decluttering is free, and I’d spend the first week or two doing only that.
What I’d Do First If I Were Starting Over
I’d pick one small, annoying zone (for me, it was the junk drawer, which took forty minutes) and finish it completely: empty, sort, measure, and only then buy something. That single win makes the next one feel possible.
Most home organization mistakes come down to trying to buy your way to a tidy house before deciding what you’re keeping.
Start with less stuff, put it where you use it, and keep the system simple enough that you could explain it to a houseguest. That’s the version that lasts.





Leave a Reply