
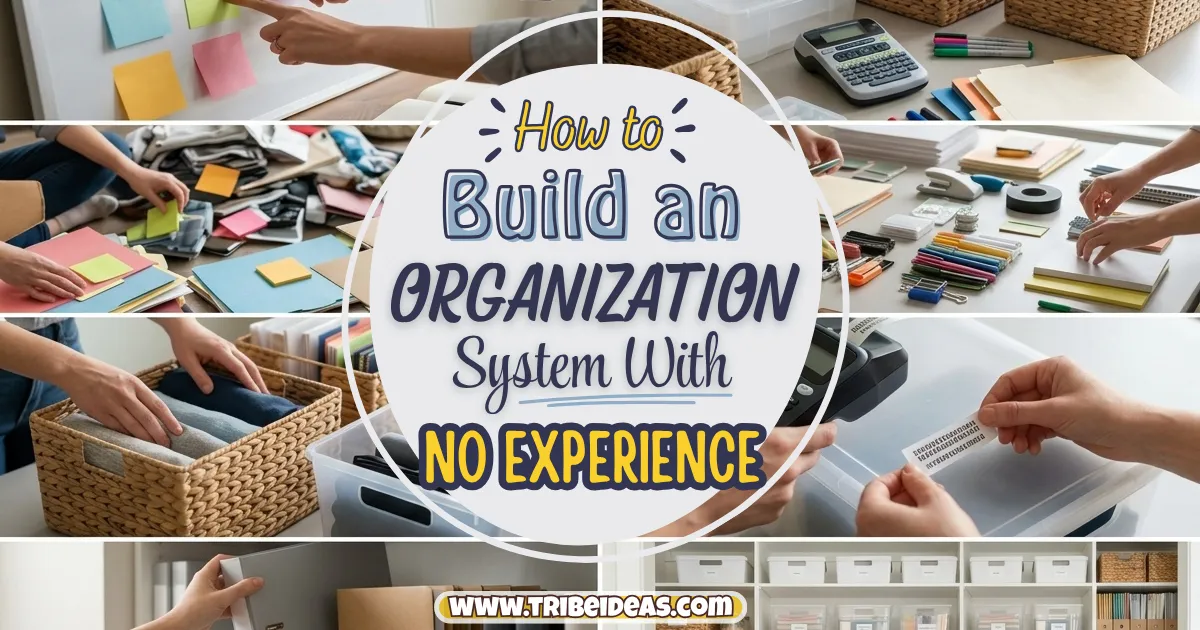
I bought a full cart of matching bins from an organization store before I’d decluttered a single drawer, convinced that the right containers were the missing piece standing between me and a genuinely organized home.
Six months later, most of those bins were sitting empty in a closet, because I’d skipped the actual hard part — figuring out what I owned, what I needed to keep, and where any of it should logically live — and jumped straight to the fun part of buying pretty storage for a system that didn’t exist yet.
Learning how to build an organization system with no experience is less about finding the right products and more about the order you tackle things in, which is the exact thing I got backwards on my first attempt.
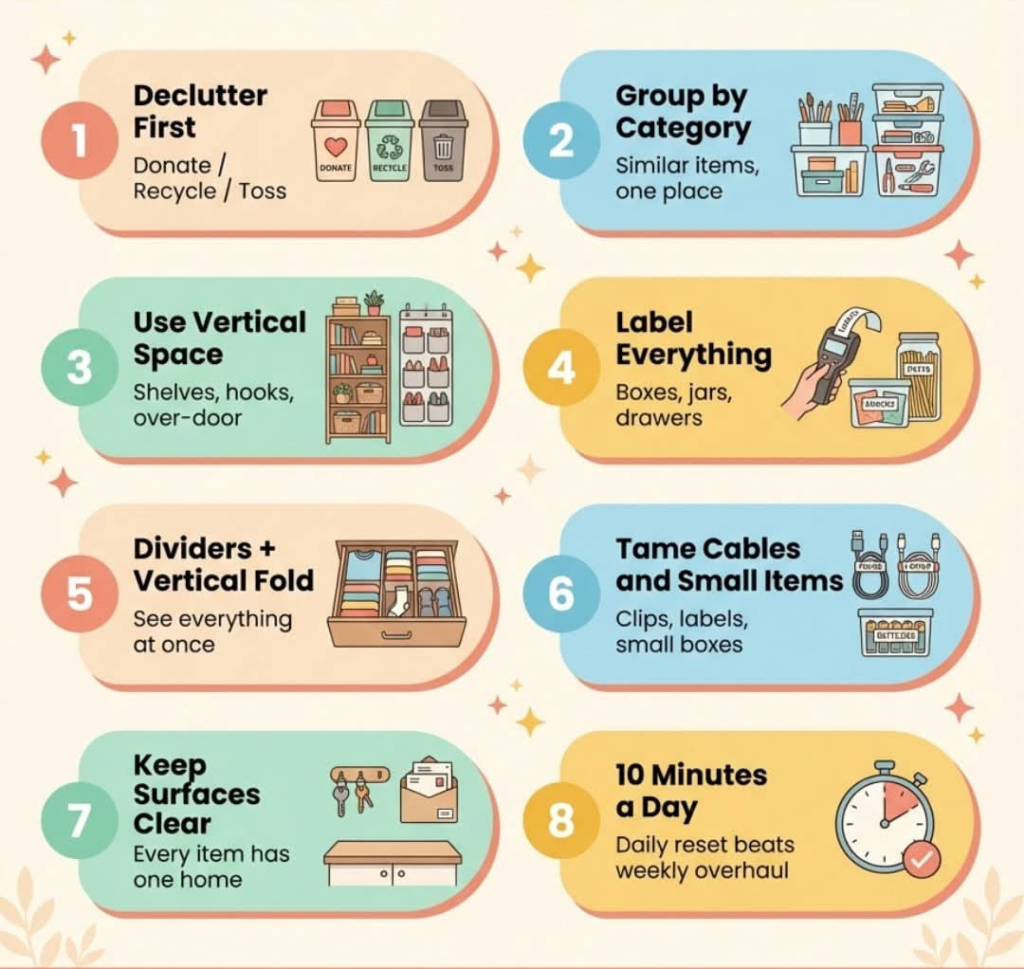
A genuinely functional system starts with decluttering, then sorting into logical categories, then choosing storage that matches what you actually kept, and only then does labeling and long-term habit-building come into play. Skip a step, or do them out of order, and you end up exactly where I did: a cart of unused bins and the same cluttered drawers underneath everything.
I’m walking through this in the actual order that works, rather than the order most organization content jumps into, because starting with product recommendations before you’ve done the decluttering work is the single most common mistake beginners make, myself very much included.
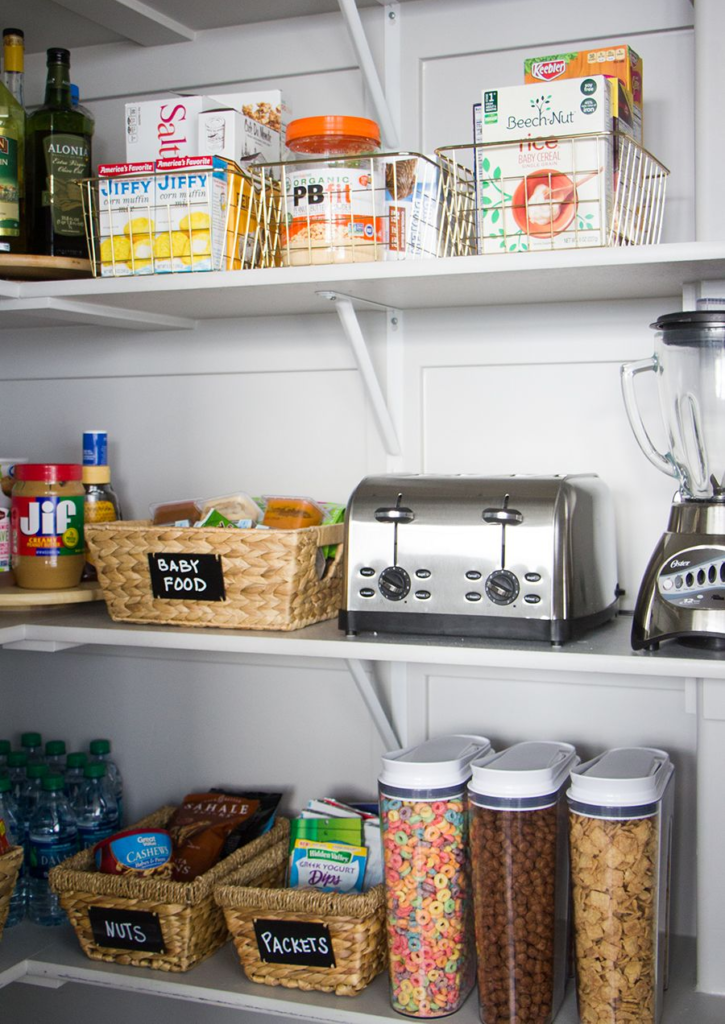
Step One: Shift Your Starting Mindset Before Touching Anything
Understand that organization isn’t the same thing as decluttering
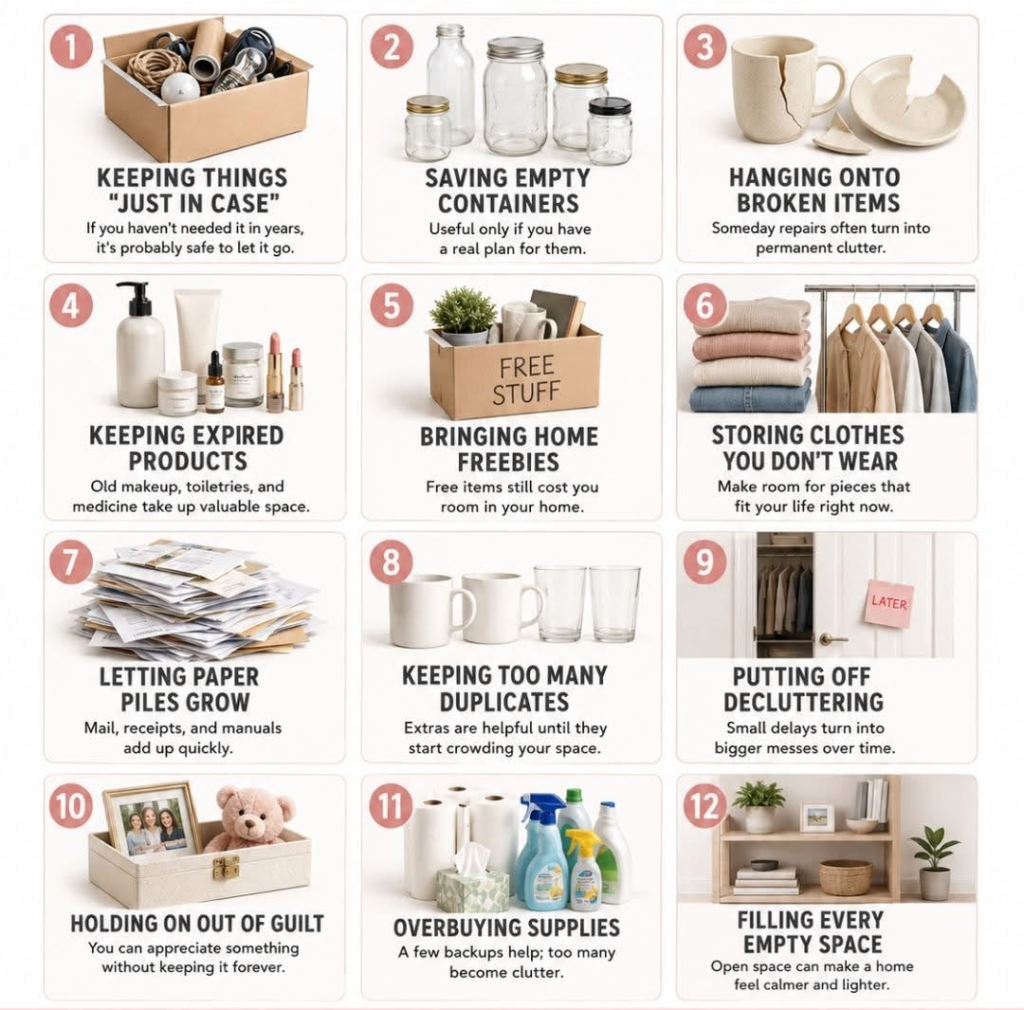
These get conflated constantly, and it’s worth separating them clearly before you start. Decluttering is deciding what to keep, donate, or throw away. Organization is deciding where the things you kept actually live.
Trying to organize before decluttering means you’re building storage systems around stuff you don’t even want, which is exactly backwards and exactly what those unused bins represented for me.
Pro tip: If you’re feeling overwhelmed before you’ve even started, remind yourself that decluttering always comes first and organization comes second — a lot of the anxiety around “getting organized” actually comes from mentally conflating these two separate tasks into one intimidating project.
Pick a starting zone, not your whole home at once
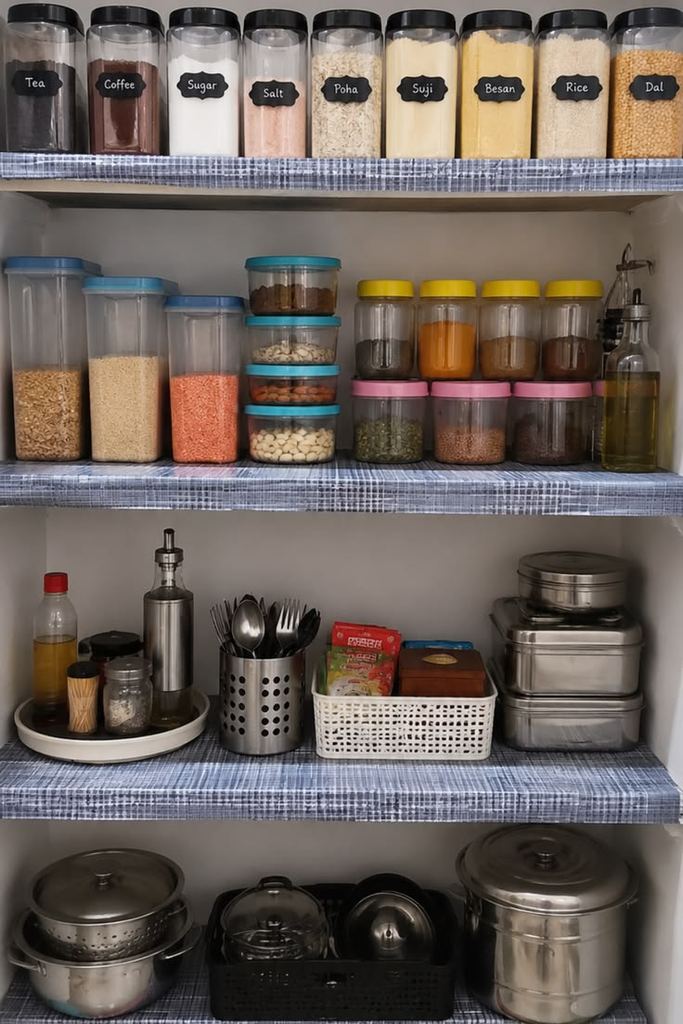
Attempting to organize an entire house or apartment in one weekend is the fastest route to burning out and abandoning the whole project halfway through.
Choose one specific, contained zone — a single drawer, one shelf, a junk drawer — as your actual starting point, and treat completing that one small zone as a genuine win before moving to the next.
| Organizing Approach | Best For Beginners | Pace | Risk of Burnout |
|---|---|---|---|
| Room-by-room | Moderate — clear structure but can feel slow | Steady, methodical | Low-moderate |
| Category-by-category (all clothes, then all books) | Better for experienced organizers | Faster once started | Higher, since categories span multiple rooms |
| One small zone at a time | Best for true beginners | Slow but sustainable | Very low |
| Whole-home weekend blitz | Not recommended for beginners | Fast, unsustainable | Very high |
Step Two: Declutter Before You Organize Anything
Sort everything in your chosen zone into three piles
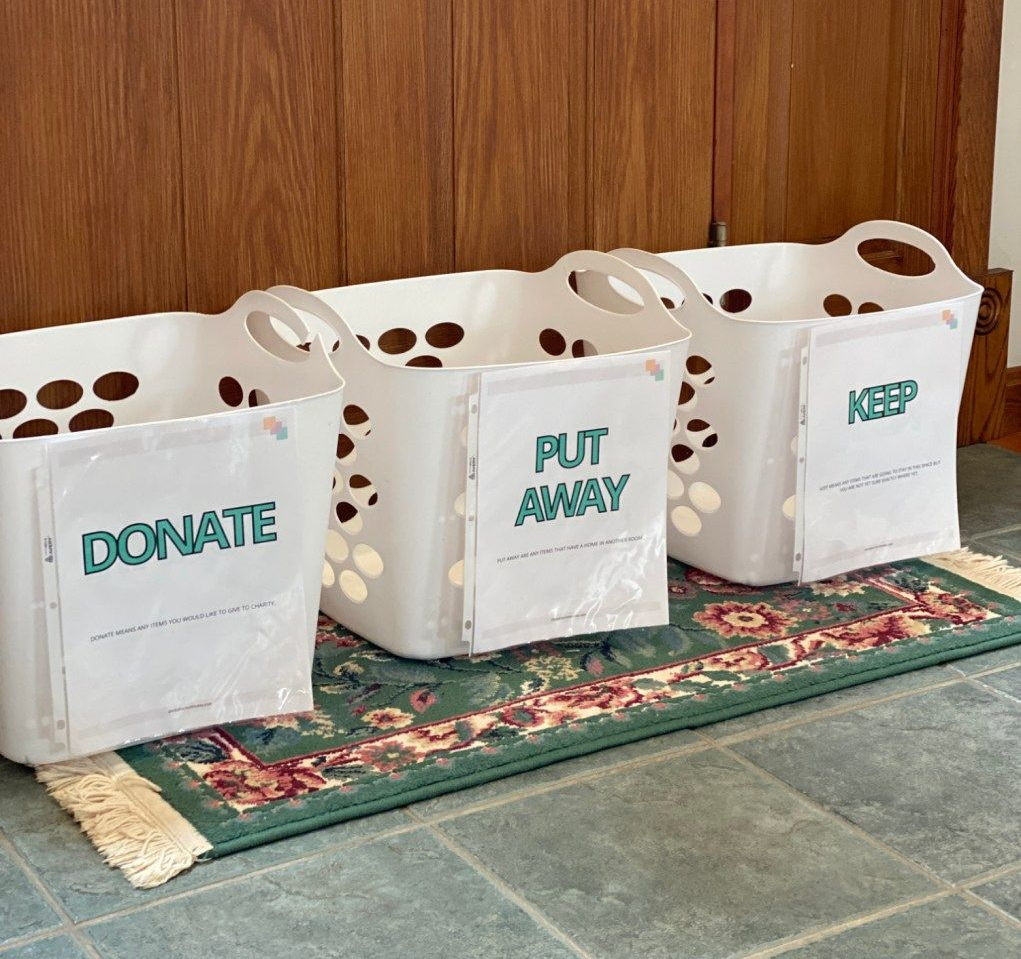
Keep, donate or sell, and toss — three piles, decided quickly rather than agonized over item by item.
For a true beginner, speed matters more than precision here; you can always reconsider a borderline item later, but getting stuck deciding on every single object is what turns a one-hour project into an abandoned weekend.
Pro tip: Set a timer for your decluttering session, even just 20-30 minutes for a small zone — a time limit forces faster decisions and prevents the common beginner trap of picking up every item and reminiscing about it instead of actually sorting.
Deal with the donate and toss piles immediately, not eventually
A bag destined for donation that sits in your hallway for three weeks defeats the purpose of decluttering in the first place, since it’s just relocated clutter rather than resolved clutter.
Schedule an actual donation drop-off, or at minimum move the bag to your car trunk the same day, so the physical evidence of your progress actually leaves the house.
My friend Delia’s donate bags used to live in her garage for months at a time before she started this rule for herself, and she said just committing to moving bags to her car the same day she filled them was the single change that made her decluttering projects actually finish instead of stalling out indefinitely.
Step Three: Sort What’s Left Into Logical Categories
Group similar items together before deciding on storage
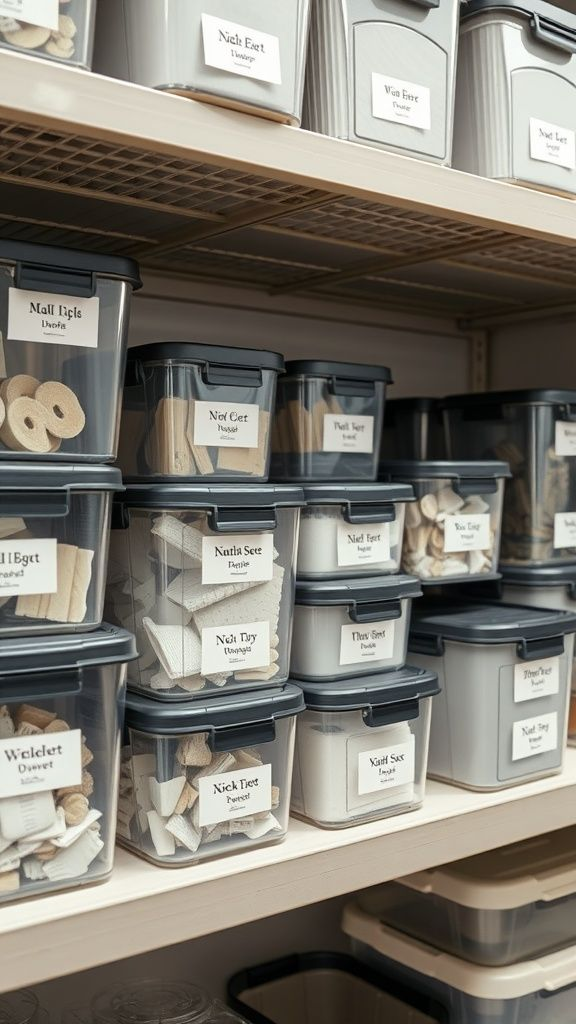
Once you’ve decluttered your chosen zone, physically group what’s left into logical categories — even loosely, even without containers yet — before making any purchasing decisions.
This step reveals things you can’t see clearly until items are grouped: three half-empty bottles of the same product, five near-identical tools, a category that turns out to be much bigger or smaller than you assumed.
Pro tip: Take a photo of your sorted categories before buying any storage — this becomes your actual shopping list for containers sized to your real quantities, rather than a guess based on what looked good in a store.
Resist buying storage until this step is genuinely done
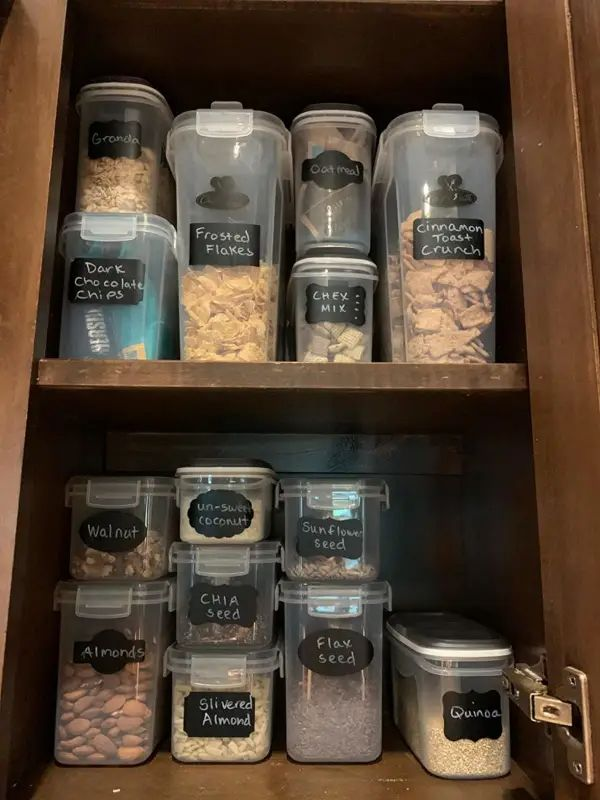
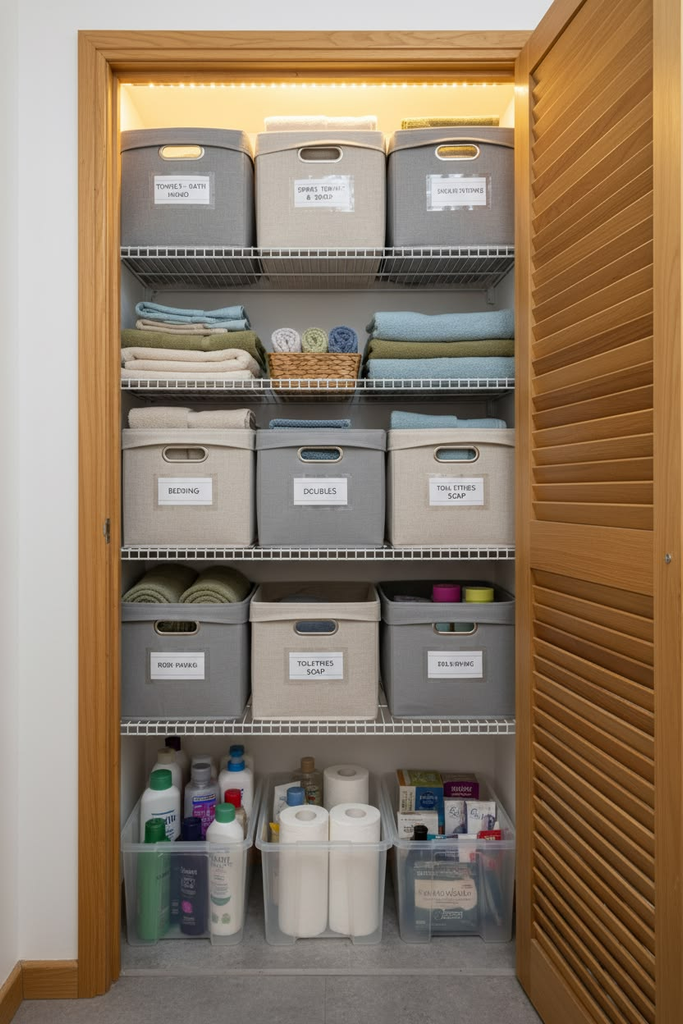
This is the exact mistake I made with my unused bin cart, and it’s worth naming directly: buying containers before you know your actual categories and quantities means you’re guessing at sizes, and guessed sizes are wrong often enough that it’s not worth the risk.
Complete your sorting first, even if it takes several sessions across a few days, before spending a single dollar on organization products.
Step Four: Choose Storage That Matches What You Actually Have
Measure your actual space and your actual sorted quantities
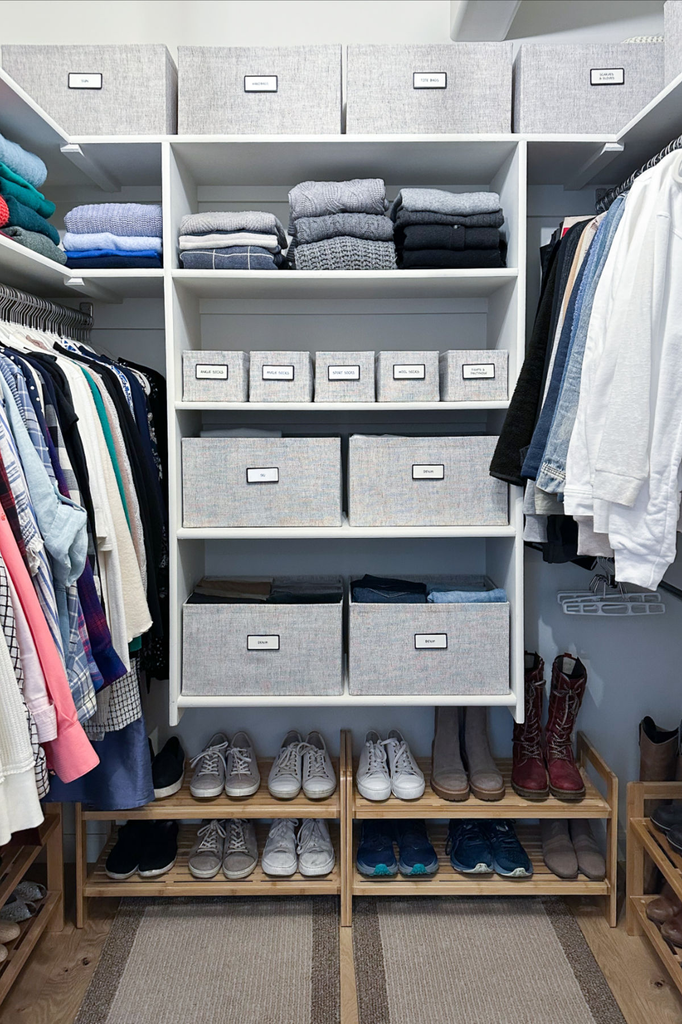
With your categories sorted and grouped, measure both the storage space available (a shelf, a drawer, a closet section) and the actual volume of items you’re storing.
This is the point where buying containers finally makes sense, because you’re shopping with real numbers instead of guessing.
Pro tip: Buy slightly larger containers than your current quantity suggests you need, within reason — most categories grow slightly over time, and a container that’s already at capacity on day one gives you zero room before you’re back to clutter within a few months.
Prioritize function over matching aesthetics for your first pass
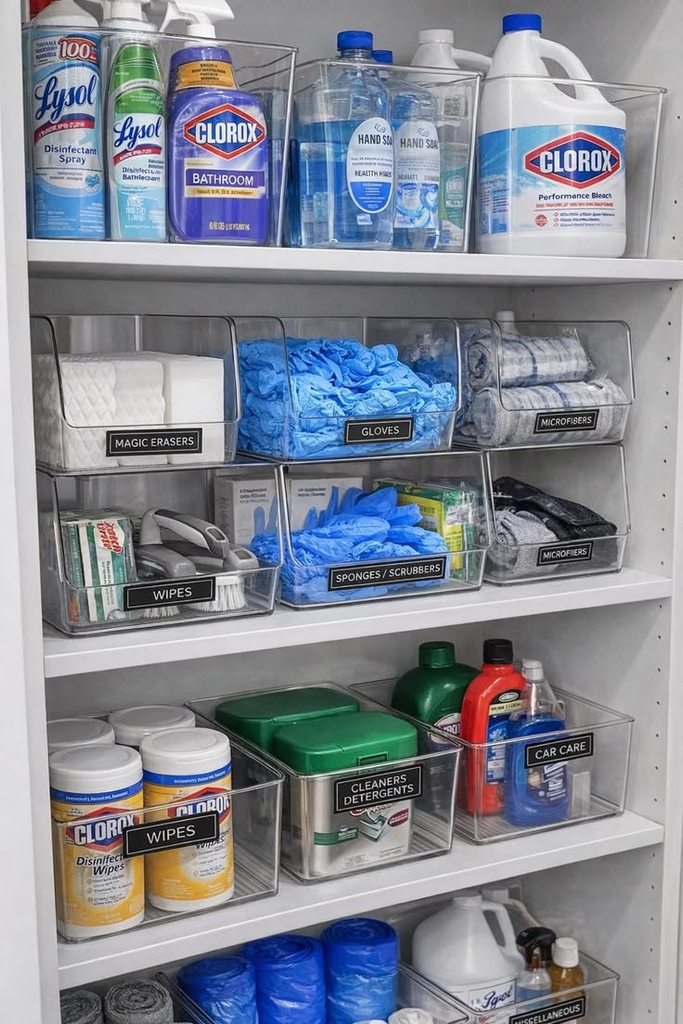
It’s tempting to buy a beautiful, uniform set of containers for visual consistency, but as a true beginner, prioritizing containers that actually fit your specific space and quantities matters more than a cohesive look.
You can always upgrade to a more polished matching set later, once you know your system actually works and won’t need to be resized.
Step Five: Label Everything, Even When It Feels Obvious
Add labels immediately, not as an afterthought
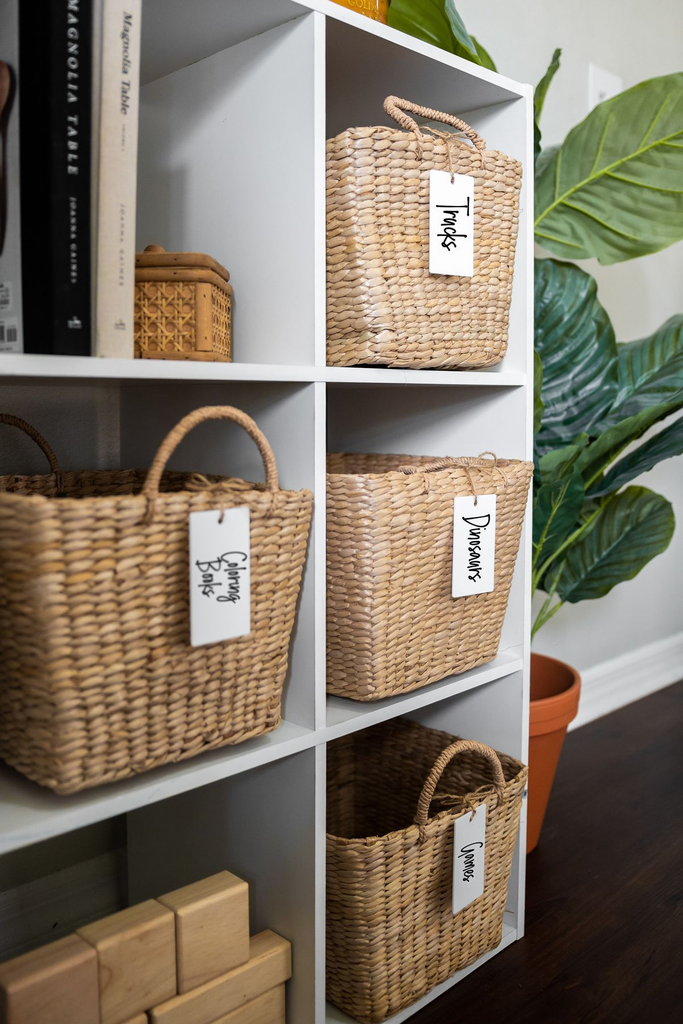
A system without labels relies entirely on you remembering where everything goes, which works for the first few weeks of enthusiasm and quietly falls apart after that.
Labeling every bin, drawer, and shelf — even ones that feel obvious right now — removes the memory dependency and makes the system usable by anyone in your household, not just the person who set it up.
Pro tip: Use a label maker or printed labels rather than handwritten ones if you can — this sounds like a purely aesthetic preference, but printed labels are genuinely easier to read quickly, which matters for actually maintaining the system day to day, not just for how it photographs.
Step Six: Build the Habit That Keeps It Organized Long-Term
Set a specific maintenance rhythm, not a vague intention
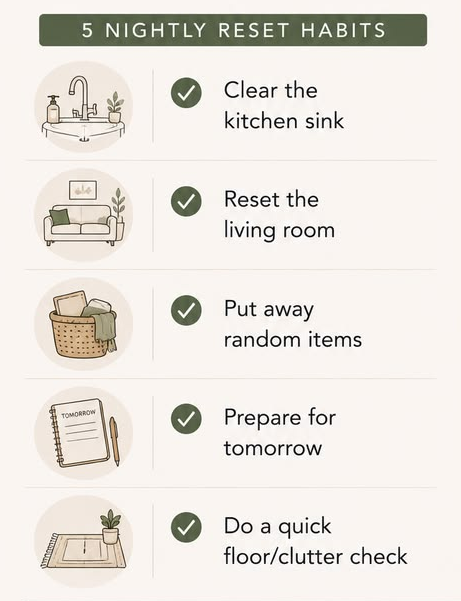
“I’ll keep it organized” is not a plan; a specific recurring habit is. Something like a five-minute reset of one zone every evening, or a slightly longer weekly review of a specific area, gives your system actual maintenance rather than relying on willpower alone to keep entropy from creeping back in.
Pro tip: Attach your maintenance habit to an existing daily routine — resetting a specific drawer right after you brush your teeth, for instance — rather than trying to remember a standalone new habit. Habits that piggyback on existing routines stick far better than ones you have to consciously remember from scratch.
Expect to revise your system after living with it for a few weeks
A first-pass organization system is rarely perfect, and that’s completely normal rather than a sign you did something wrong.
Give yourself explicit permission to move a container, adjust a category, or resize something after a few weeks of actual use, once you’ve learned how you really interact with the space day to day rather than how you assumed you would while setting it up.
What I’d Do Differently Starting From Zero Today
If I were starting this process over with no experience again, I’d declutter one single drawer completely — genuinely finish it, donate bag and all — before buying a single organizational product, rather than falling for the same enthusiasm-driven bin cart mistake that left me with unused storage and the same underlying clutter problem.
The order really is the whole trick here, more than any specific product or system.
The real difference between my failed first attempt and the systems that have actually stuck since is embarrassingly simple: declutter first, sort second, buy storage third, label fourth, and build a maintenance habit last.
Every time I’ve skipped ahead in that order since, I’ve ended up back where I started — with containers that don’t quite fit a system that was never actually built underneath them.






Leave a Reply