
The first floating shelf I ever hung was a disaster. I bought a pretty board, screwed a pair of tiny brackets into bare drywall, and set a stack of cookbooks on it. About three days later, I came home to a crooked shelf, a hole in the wall the size of my fist, and a very sad cookbook on the floor. What I’d skipped was the one thing that matters most: finding the studs. Now I build floating shelves on a solid wood cleat that’s screwed into the studs, and every single one of them has stayed put for years. Learning how to build floating shelves is easier than it looks, and you can do it in one afternoon.
Floating shelves are popular for good reason. They add storage without the clutter of visible brackets, they work in almost any room, and a custom-sized one costs a fraction of a store-bought version. The secret is a simple hollow box that slides over a hidden wooden cleat on the wall.
Here’s the full process, from planning and cutting to mounting and styling, with a real cut list, costs, safety notes, and honest warnings about what these shelves can and can’t hold. It’s written for beginners, and you can do all of it with a few common tools. Plan on about 3 to 4 hours of work, plus drying time for any paint or stain.
Step 1: Know What You’re Building and What It Costs
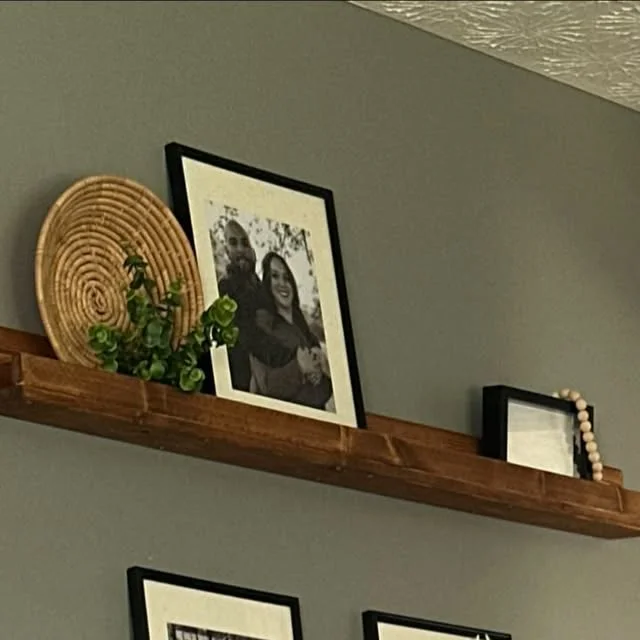
This guide builds a hollow floating shelf that measures 36 inches wide, 8 inches deep, and 3.5 inches thick. You can change the length to fit your wall.
| Item | Details |
|---|---|
| Finished size | 36 in wide, 8 in deep, 3.5 in tall |
| Skill level | Beginner |
| Time | 3 to 4 hours, plus finish drying |
| Approx. cost | $35 to $80 for one shelf |
| Holds | Light to medium decor, within the limits in Step 21 |
Pro Tip: Read the whole guide before buying lumber. It’s much cheaper to plan on paper than to fix a mistake in wood.
Step 2: Choose Your Method
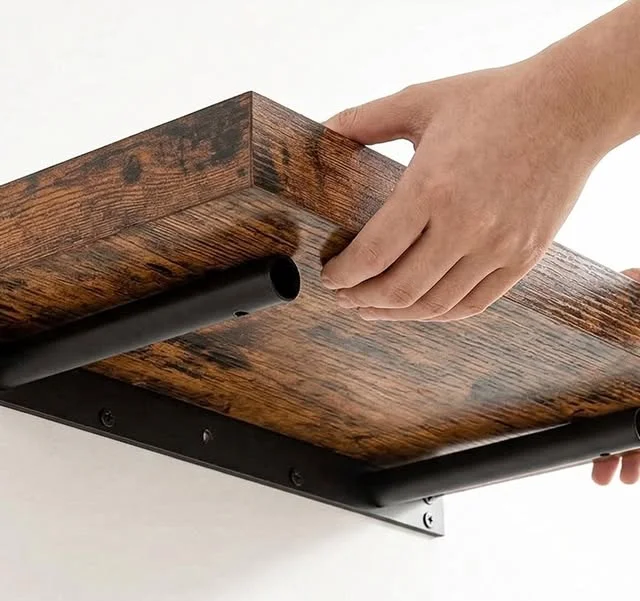
There are three common ways to build a floating shelf. This guide uses the first one, which is the best balance of cost, strength, and ease.
| Method | How It Works | Best For | Cost |
|---|---|---|---|
| Hollow box on a cleat | A box slides over a wall-mounted wood cleat | Decor, books, plants | $35 to $80 |
| Solid board with hidden brackets | Steel rods or brackets slide into a solid board | Heavier loads, thick rustic look | $30 to $90 |
| Store-bought floating shelf kit | Ready-made shelf and hardware | Quick installs | $25 to $100 |
The hollow box method is light, easy to cut, and easy to paint or stain.
Step 3: Put Safety First
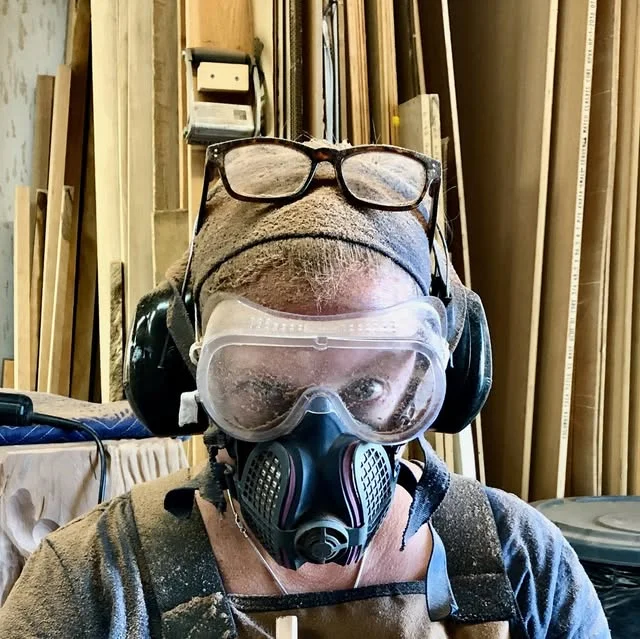
Shelves hold things above your head, so a good install matters. Always screw into wall studs, not just drywall, and never rely on plain drywall for anything heavy.
Wear safety glasses when cutting, drilling, or nailing, and hearing protection with power saws. Use a dust mask when sanding. Keep your fingers clear of blades, and clamp your lumber down before cutting.
Before drilling into a wall, use a stud finder with live-wire detection, and avoid areas directly above or below outlets and switches. If you’re unsure what’s behind your wall, ask a professional.
Step 4: Gather Your Tools
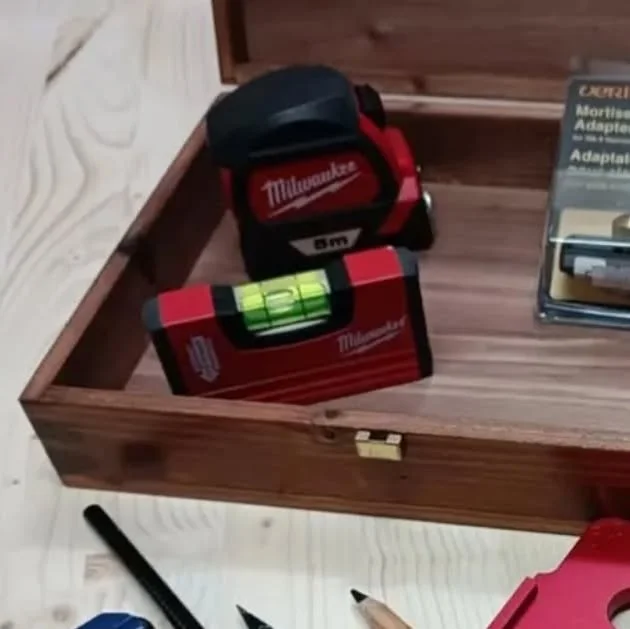
You don’t need a workshop. Most of these tools are cheap, and many can be borrowed.
| Tool | Purpose |
|---|---|
| Stud finder | Locate studs and avoid wires |
| Drill or driver with bits | Drive screws, drill pilot holes |
| Saw (hand saw, miter saw, or circular saw) | Cut lumber and plywood |
| Tape measure and pencil | Measure and mark |
| 24 to 48 inch level | Keep the shelf straight |
| Sandpaper or a sanding block | Smooth edges before finishing |
| Clamps | Hold pieces while glue dries |
| Brad nailer or hammer with finish nails | Assemble the box |
Many home stores will make straight cuts for a small fee, which saves a lot of time.
Step 5: Buy Your Materials and Use This Cut List
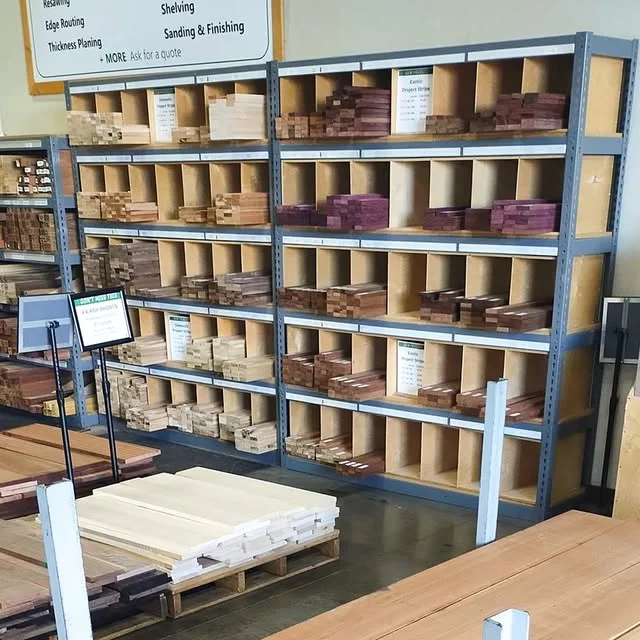
Buy straight, flat boards. Check each one by sighting down its length, and leave warped ones on the shelf.
| Part | Material | Size | Qty |
|---|---|---|---|
| Top | 1/2 in plywood or birch plywood | 36 in x 8 in | 1 |
| Bottom | 1/2 in plywood | 36 in x 8 in | 1 |
| Front | 1×3 pine or poplar (actual 3/4 x 2.5 in) | 34.5 in long | 1 |
| Ends | 1×3 pine or poplar | 8 in long | 2 |
| Cleat | 2×2 pine (actual 1.5 x 1.5 in) | 34 in long | 1 |
You’ll also need wood glue, 1.25 inch brad nails or 1 inch screws, wood filler, and long wood screws for the cleat (Step 15 explains the length). Poplar paints beautifully, and pine takes stain well if you use a wood conditioner first.
Step 6: Plan the Height and Position
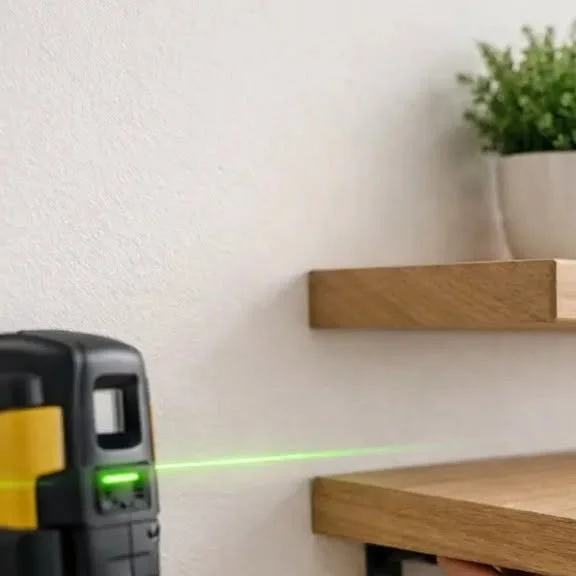
Before buying lumber, decide where the shelf goes. Hold a piece of paper or painter’s tape on the wall at the size of your shelf, and look at it from across the room.
A few starting guidelines can help. Above a sofa or bed, hang a shelf about 8 to 12 inches above the top of the furniture. In an entryway or bedroom, around eye level is comfortable, and in a kitchen, leave enough room between shelves for your tallest items.
Trust your eye. Tape it up for a day, and see if it still feels right.
Step 7: Find and Mark the Studs
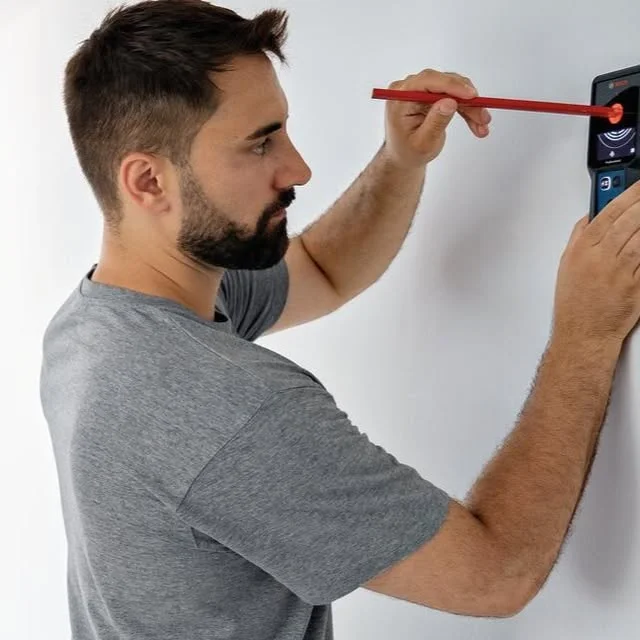
The studs are what hold your shelf, so find them carefully. Run the stud finder across the wall, and mark each stud’s edges with a pencil.
Studs are often 16 inches apart from center to center, but not always, especially in older homes. Confirm by checking that your marks are evenly spaced. A 36 inch shelf usually reaches at least two studs, and often three.
If you can’t find studs where you want the shelf, consider moving the shelf, or ask a professional about proper anchors for your wall type.
Step 8: Cut the Pieces
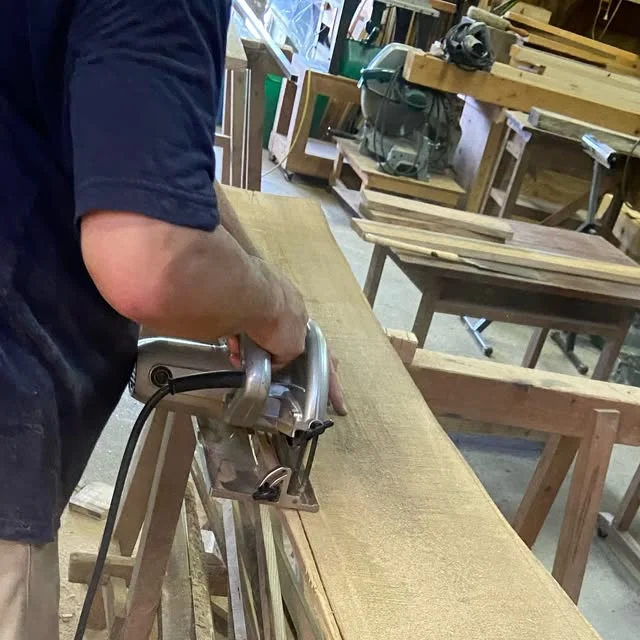
Measure twice, cut once. Mark each piece with a pencil, and cut on the waste side of the line.
Cut the two plywood sheets to 36 inches by 8 inches, the front piece to 34.5 inches, the two ends to 8 inches, and the cleat to 34 inches. If a store makes the cuts, double-check them when you get home.
Lay the pieces out on a flat surface, and test the fit before gluing anything. The front and ends should form a frame that’s 36 inches wide and 8 inches deep.
Step 9: Sand Everything
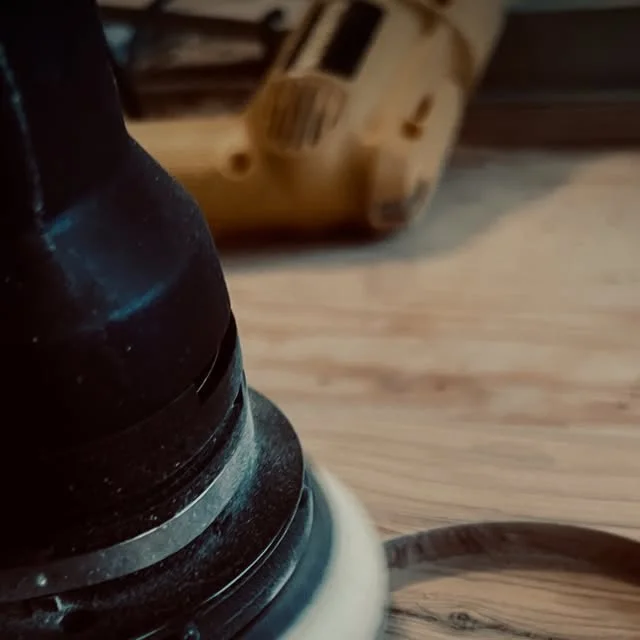
Unlike painting old furniture, new shelves benefit from sanding. Sand all pieces with medium sandpaper, then finish with fine, always in the direction of the grain.
Round the sharp edges slightly, especially the front edge, since it will be touched often. A sanding block makes this easy.
Wipe off dust with a barely damp cloth. Wear a dust mask during sanding.
Step 10: Assemble the Frame
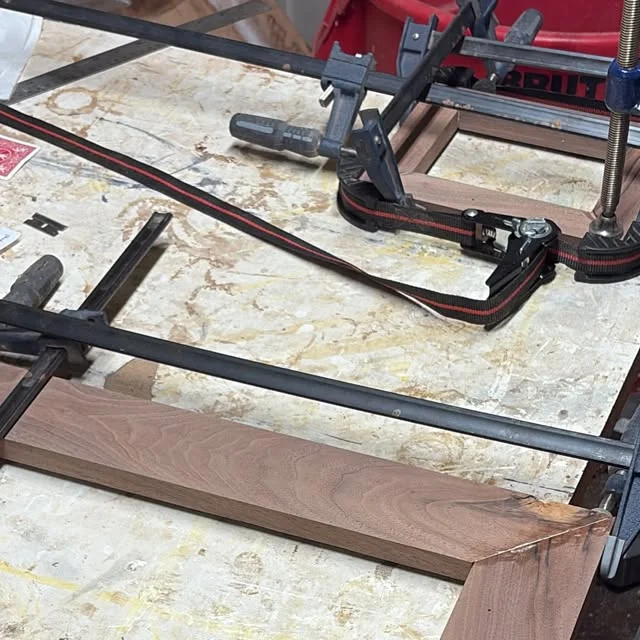
Start with the frame that sits between the top and bottom. Apply a thin bead of wood glue to the ends of the front piece, and press it between the two end pieces, flush at the front.
Secure each joint with two brad nails or screws, drilling pilot holes if you use screws. Check that the frame is square by measuring the diagonals. They should be equal.
Wipe off any glue that squeezes out, since it blocks stain later.
Step 11: Attach the Bottom
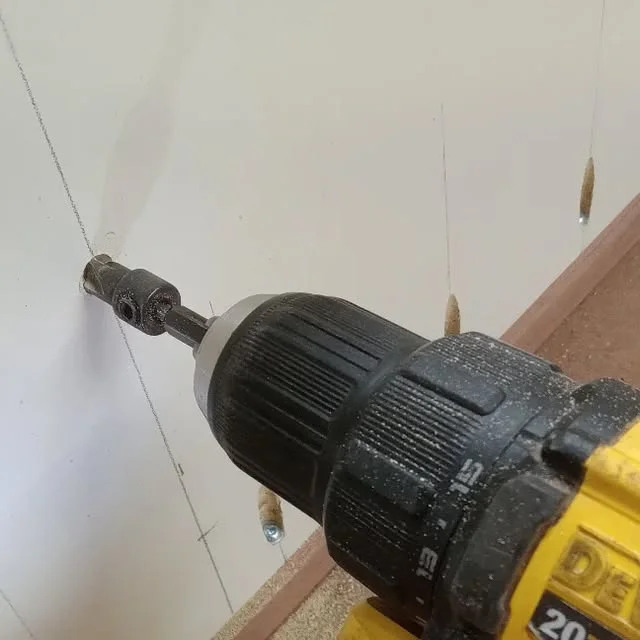
Set the frame on top of the bottom plywood piece, with the edges flush. Apply glue along the edges of the frame, and press the plywood in place.
Secure it with brad nails every 4 to 6 inches along the edges. Check that the corners line up, and clamp the piece while the glue sets.
The back side of the box stays open, which is how the shelf slides over the cleat.
Step 12: Attach the Top
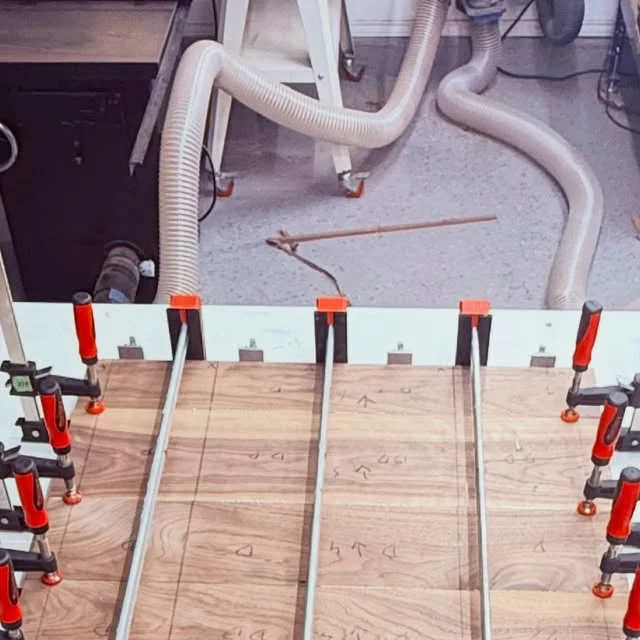
Flip the frame over, apply glue to the upper edges, and set the top plywood in place. Nail it down the same way as the bottom.
Leave the back open. When you’re done, you should have a hollow box that’s 36 inches wide, 8 inches deep, and 3.5 inches tall, open at the back.
Let the glue dry for at least an hour before moving on.
Step 13: Fill Holes and Sand Again
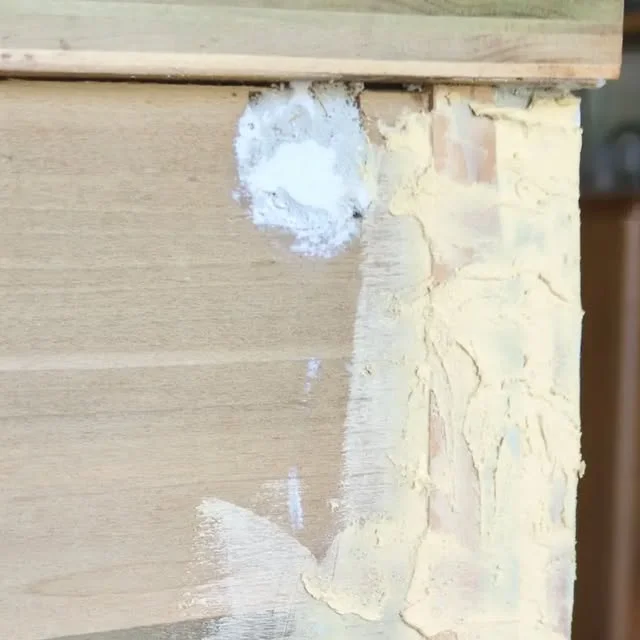
Fill nail holes and any gaps with wood filler, and let it dry. Sand the filled spots smooth with fine sandpaper.
Wipe off the dust. Check all edges and corners, since they show up under paint and stain.
If the front piece doesn’t sit perfectly flush, a bit of filler and sanding hides it.
Step 14: Stain or Paint the Shelf
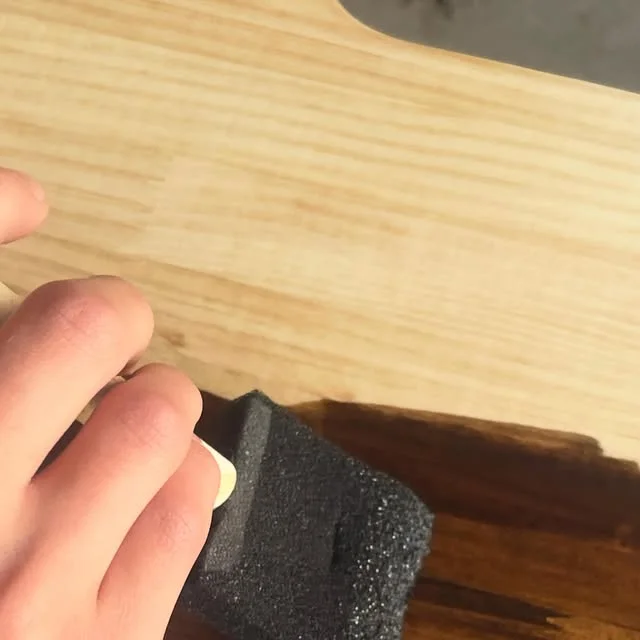
Finish the shelf before mounting it, because it’s much easier to work on a table than on a wall. If you’re staining, apply a wood conditioner first if you used pine, then wipe on stain, and wipe off the excess.
For paint, use a primer and two thin coats, letting each dry. A water-based polyurethane protects both stained and painted shelves.
Test your finish on a scrap piece first. Let it dry fully before the next step.
Step 15: Mount the Cleat

The cleat is the hidden strength of your shelf, so mount it carefully. Hold it against the wall at the height you marked, and use the level to draw a straight line.
Drill pilot holes through the cleat at each stud location. Use wood screws long enough to go through the cleat and the drywall, and bite at least about 1.5 inches into the stud. For a 2×2 cleat and half-inch drywall, that usually means 3 to 3.5 inch screws.
Drive the screws until they’re snug, and check that the cleat is level.
Step 16: Check the Cleat Is Level and Solid
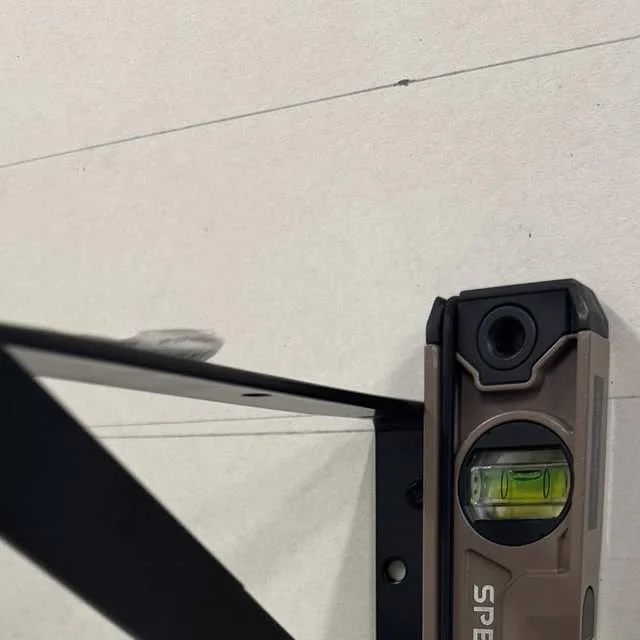
Place the level on top of the cleat, and check the bubble. If it’s off, loosen the screws, adjust, and retighten.
Push and pull on the cleat firmly. It shouldn’t move at all. If it wobbles, add another screw into a stud.
A solid cleat is the difference between a shelf that lasts and one that falls.
Step 17: Slide the Shelf Onto the Cleat
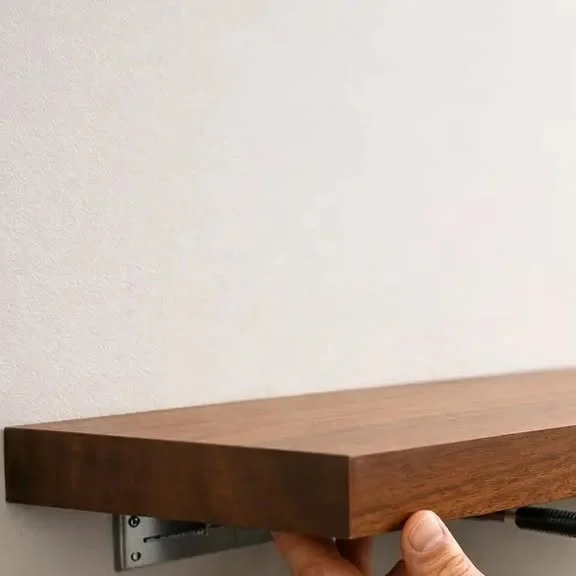
Line up the open back of the shelf with the cleat, and slide it on slowly. It should fit snugly, with a small gap at most.
If it’s too tight, sand the inside slightly. If it’s too loose, add a thin shim.
Push the shelf back until it touches the wall.
Step 18: Secure the Shelf to the Cleat
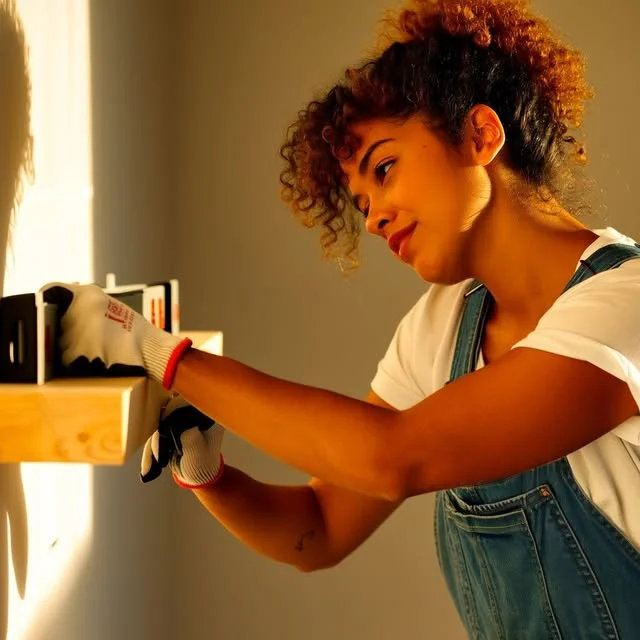
To keep the shelf from lifting or sliding, fasten it to the cleat. Drive a few small screws or finish nails through the top of the shelf into the cleat, and through the bottom as well if you like.
Use short fasteners, about 1.25 inches, so they don’t pop through. Drill pilot holes, and countersink the heads.
Fill the holes, and touch up the finish with a little paint or stain.
Step 19: Load Test Before Styling

Before decorating, test the shelf. Press down on it gently with your hands, and then set a few light items on it.
If you see any flex or hear creaking, stop and check the cleat and the screws. Fix any problem before adding more.
Start with light items, and add weight gradually.
Step 20: Style the Shelf

A well-styled shelf looks intentional. Use odd numbers, vary heights, and leave empty space.
A simple formula works well. Place one tall item, like a plant or a framed print, one medium item, like a stack of books, and one small item, like a candle or a small bowl.
Pro Tip: Leave about one third of the shelf empty. It makes the items you chose stand out.
Step 21: Respect the Weight Limits
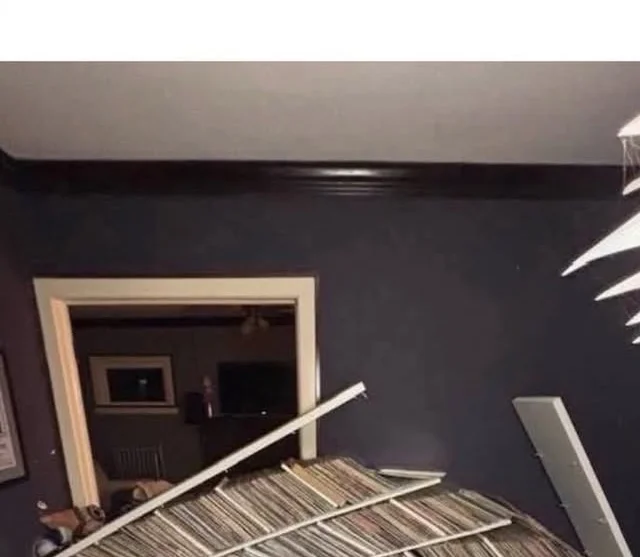
A shelf is only as strong as its cleat and the screws in the studs. A hollow box shelf screwed into studs is great for decor, photos, plants, and a small stack of lightweight books, but it isn’t designed for heavy loads.
For very heavy items, like large collections of hardcover books, use solid wood with steel rods or heavy-duty brackets rated for the weight. Follow the manufacturer’s ratings for any hardware you buy.
When in doubt, load it lightly, or ask a professional about your specific wall.
Step 22: Try a Few Variations
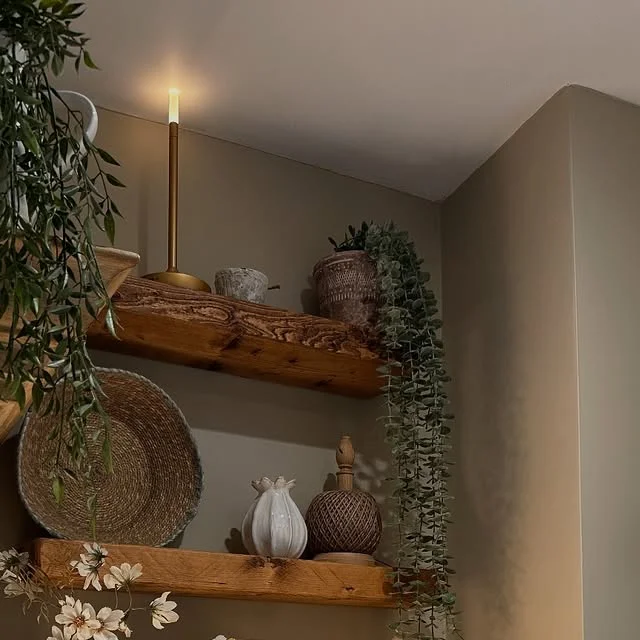
Once you know the basic method, you can change it to fit your space.
| Variation | What to Change | Notes |
|---|---|---|
| Bathroom shelf | Seal all surfaces with water-resistant finish | Use moisture-resistant paint |
| Longer shelf (48 in) | Use a thicker top and add a third stud screw | Check the stud spacing |
| Deeper shelf (10 to 12 in) | Use deeper plywood, longer cleat projection | Lower weight limit |
| Lit shelf | Add a battery LED strip under the shelf | Hide the battery pack |
| Floating desk | Use a thicker top and heavy-duty hardware | Needs stronger support |
Always adjust the cleat and the hardware if you change the size.
Step 23: Fix Common Problems
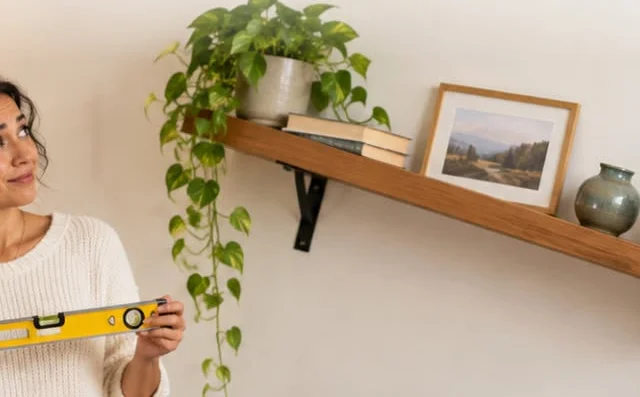
A few things can go wrong, and most are easy to fix.
| Problem | Likely Cause | Fix |
|---|---|---|
| Shelf sags at the front | Cleat too short or too thin | Use a thicker cleat, add screws through the top |
| Shelf is crooked | Cleat wasn’t level | Remove and re-level the cleat |
| Shelf wobbles | Gaps between cleat and box | Add thin shims, screw the shelf to the cleat |
| Visible gap at the wall | Wall isn’t flat | Add caulk or a thin trim strip |
| Screws won’t hold | Missed the stud | Move to a stud, or use proper anchors |
If the cleat missed a stud, fill the hole, and try again in a better spot.
Step 24: Plan Your Time and Budget
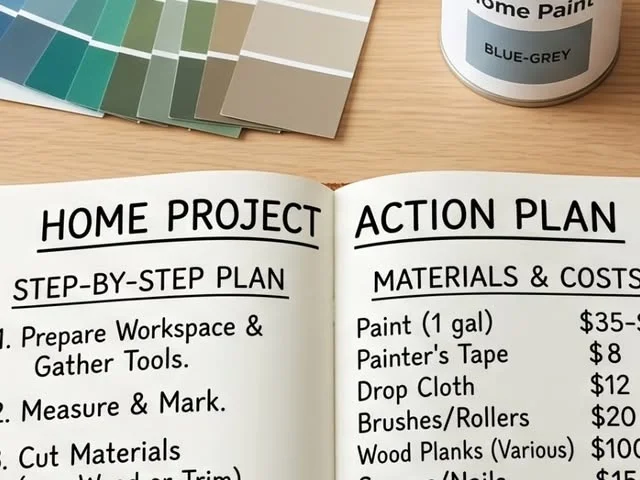
Here’s a realistic schedule for an afternoon build.
| Task | Time |
|---|---|
| Plan and find studs | 30 minutes |
| Cut pieces | 30 minutes |
| Sand | 20 minutes |
| Assemble | 45 minutes |
| Fill and finish | 30 minutes, plus drying |
| Mount cleat and shelf | 30 minutes |
| Budget | Total Spend | What You Get |
|---|---|---|
| Under $40 | $35 to $40 | One basic shelf, paint, hardware |
| $40 to $80 | $45 to $80 | One shelf with stain, polyurethane, good lumber |
| $80 to $150 | $85 to $150 | A set of two or three shelves |
Buy a little extra lumber for mistakes, and you’ll finish on time.
Step 25: Care and Maintenance

Dust your shelf with a soft cloth, and wipe spills quickly. Check the shelf twice a year by pressing gently down and looking for movement.
If the shelf ever feels loose, take it off the cleat and tighten the cleat screws into the studs. Don’t ignore a wobble.
With a solid cleat and a good finish, your shelf can last for many years.
My Wrap-Up: What I’d Do First
If I were building my first floating shelf today, I’d find the studs, buy straight lumber, and take my time with the cleat. Then I’d build a simple 36 inch box, finish it before mounting, and test it with light items. The best way to build floating shelves in an afternoon isn’t to rush, it’s to get one thing right: a solid cleat screwed into the studs.
FAQs
How do you build floating shelves without brackets? Build a hollow wooden box that slides over a hidden wooden cleat screwed into the wall studs, then fasten it to the cleat with a few small screws.
How much weight can DIY floating shelves hold? It depends on the cleat, the screws, and the studs. A hollow box shelf on a stud-mounted cleat suits decor and light items, and heavy loads need solid wood with rated hardware.
Do floating shelves need to go into studs? Yes, for strength. Screw the cleat into at least two studs, and avoid relying on drywall alone for anything beyond very light decor.
What wood is best for floating shelves? Poplar and pine are affordable and easy to work with. Poplar paints smoothly, and pine stains well with a wood conditioner.
Can I build floating shelves without power tools? Yes, with a hand saw, a hammer, and a screwdriver, though it takes longer. Many stores also cut lumber for a small fee.
How do I hang a shelf where there are no studs? Use wall anchors rated for the load, such as heavy-duty toggle or hollow-wall anchors, and keep the load light. For plaster or unusual walls, ask a professional.






Leave a Reply