
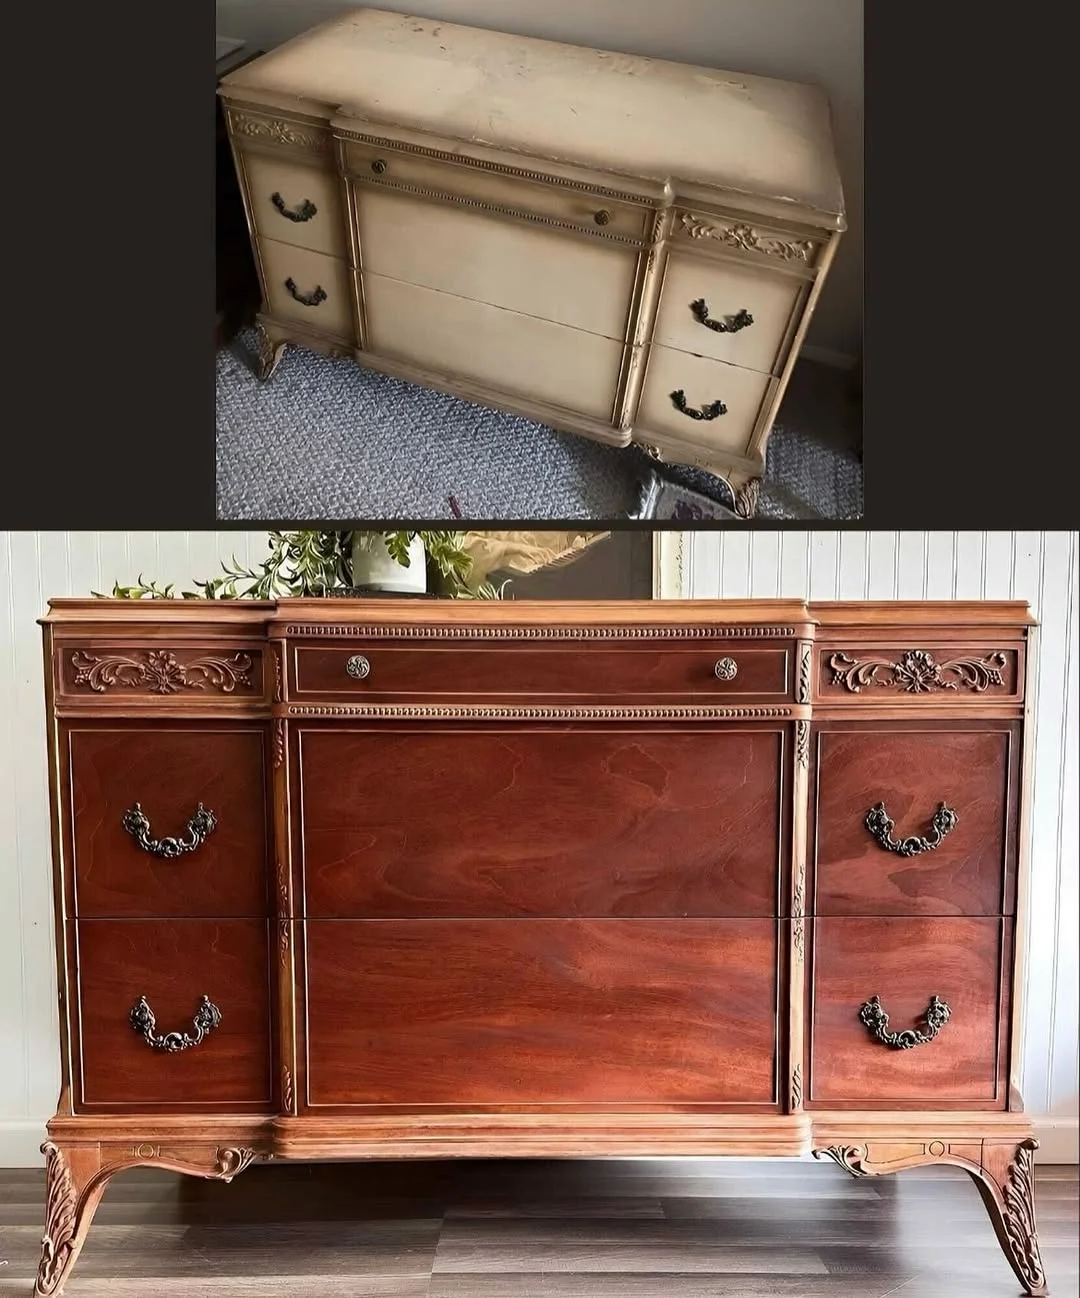
The first piece of furniture I ever tried to refinish was a thrifted oak dresser that I paid $35 for. I spent an entire Saturday sanding it in my apartment hallway, covered myself and half my sofa in fine dust, and then discovered that my paint was peeling off the drawer fronts a month later. It took a friend who restores furniture for a living to tell me the truth: for most pieces, sanding isn’t the step that makes paint stick, prep is. Once I learned how to makeover old furniture without sanding, I redid that dresser in two evenings, and the finish is still holding up years later.
Sanding is the reason many people never start a furniture project. It’s dusty, loud, slow, and impossible in a small apartment. The good news is that modern products have changed what’s possible. With the right cleaner, deglosser, primer, and paint, you can transform a dated piece with almost no sanding at all.
Here’s the exact process I use, step by step, with real costs, drying times, and honest notes about when no-sanding doesn’t work. It covers painted, stained, laminate, and veneer pieces, plus a few non-paint options if you’d rather not paint at all. Plan on a weekend, and about $40 to $90 for a dresser-sized project.
Step 1: Decide Whether a No-Sanding Makeover Will Work for Your Piece
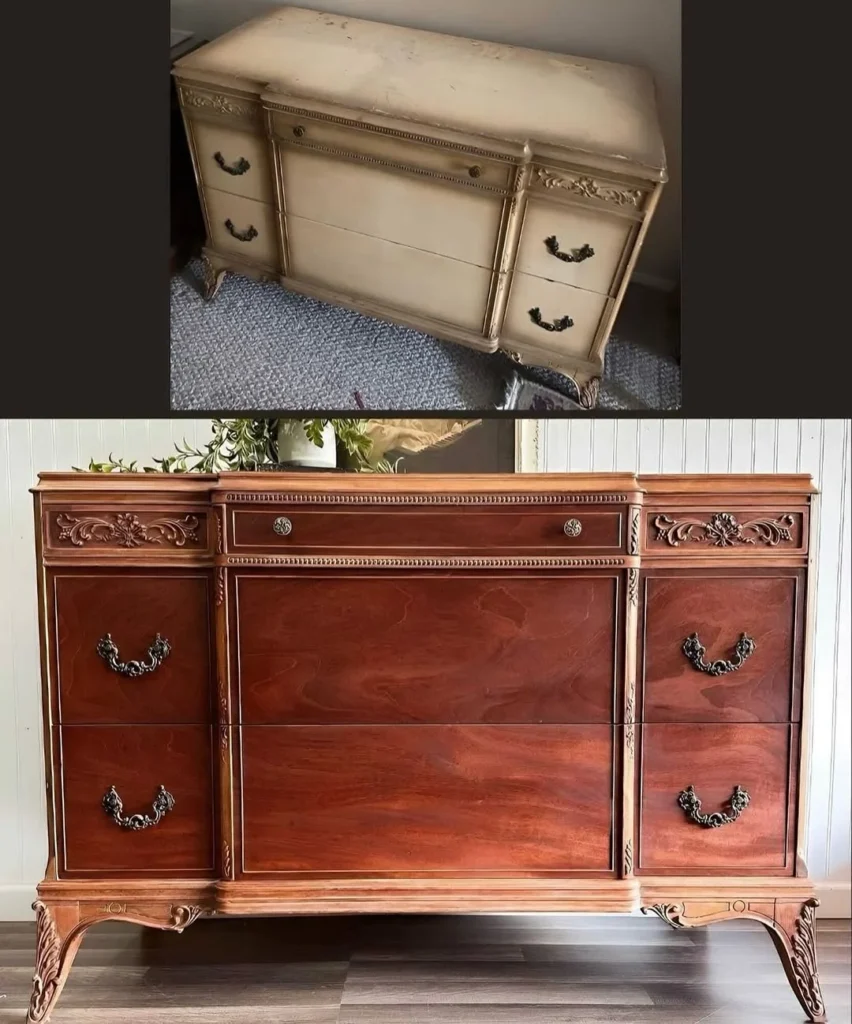
Most furniture can be updated without sanding, but not all of it. The finish you’re covering decides everything.
| Surface | No-Sanding Works? | What It Needs |
|---|---|---|
| Smooth varnished or stained wood | Yes | Deglosser, bonding primer, paint |
| Painted furniture in good shape | Yes | Clean, deglosser, primer if needed |
| Laminate or melamine | Yes | Bonding primer made for slick surfaces |
| Veneer in good condition | Yes | Clean and prime carefully |
| Peeling, flaking, or bubbling finish | Partly | Scrape loose areas first |
| Heavily damaged or sticky finish | Not well | Strip or sand locally |
Pro Tip: Run your hand over the surface. If it feels smooth and solid, you can skip sanding. If anything flakes off under your fingernail, you’ll need to scrape that area first.
Step 2: Do the Safety Checks First
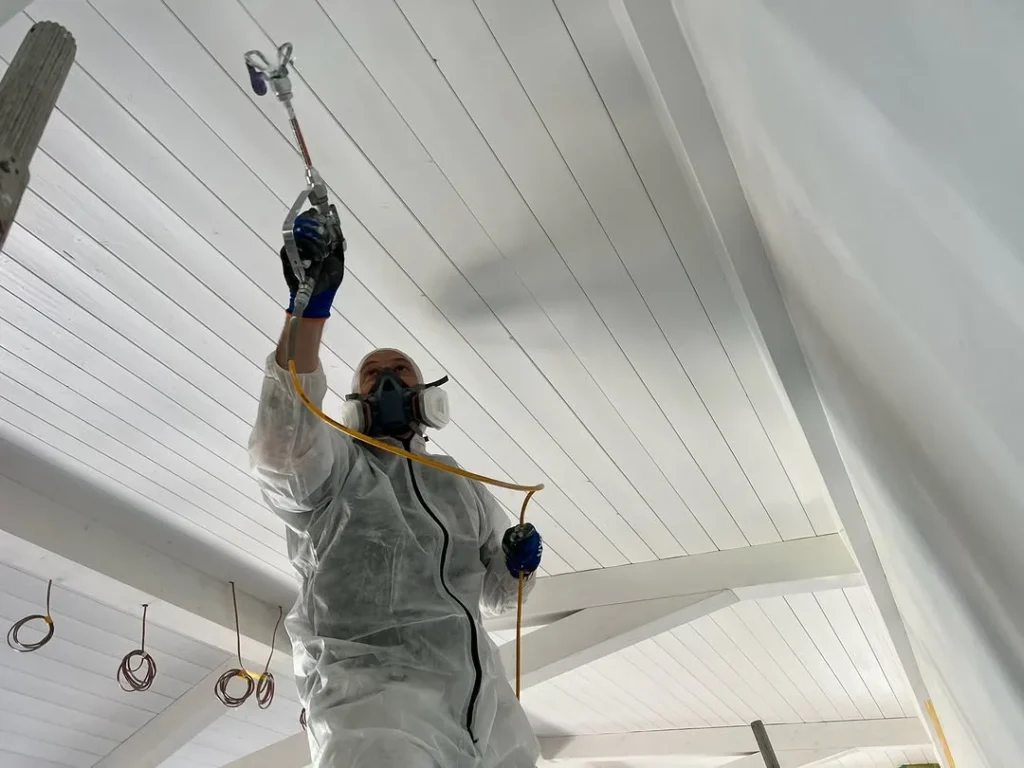
Before touching any old piece, check its age. Furniture and paint made before 1978 may contain lead-based paint. Sanding or scraping it can release dangerous dust, which is one more reason to avoid sanding.
A home lead test kit costs about $10 to $30 at a hardware store. If the test is positive, don’t scrape, sand, or strip it. Consider leaving the piece as is, sealing it, or consulting a lead-safe professional.
Work in a well-ventilated space, wear gloves and eye protection, and read every product label. Liquid deglossers and some primers have strong fumes.
Step 3: Gather Your Supplies
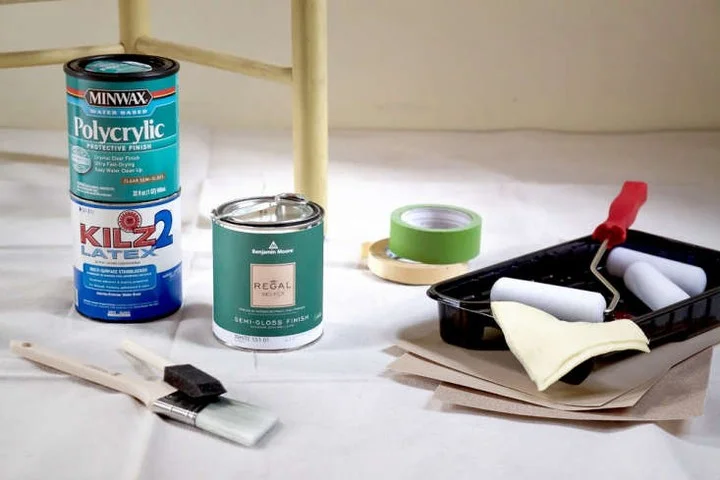
A good makeover needs good products. This is the kit I’d buy, with typical prices.
| Item | Purpose | Approx. Cost |
|---|---|---|
| Degreasing cleaner | Removes grime and wax | $6 to $12 |
| Liquid deglosser | Dulls shiny finishes without sanding | $10 to $20 |
| Bonding primer | Helps paint stick to slick surfaces | $15 to $30 per quart |
| Paint (furniture or cabinet paint) | Color and durability | $20 to $45 per quart |
| Clear topcoat | Protects the finish | $12 to $25 |
| Good angled brush and small roller | Smooth application | $10 to $25 |
| Screwdriver, painter’s tape, drop cloth | Prep and cleanup | $10 to $20 |
Buy quality brushes. A cheap brush leaves marks that no paint can hide.
Step 4: Choose Your Method
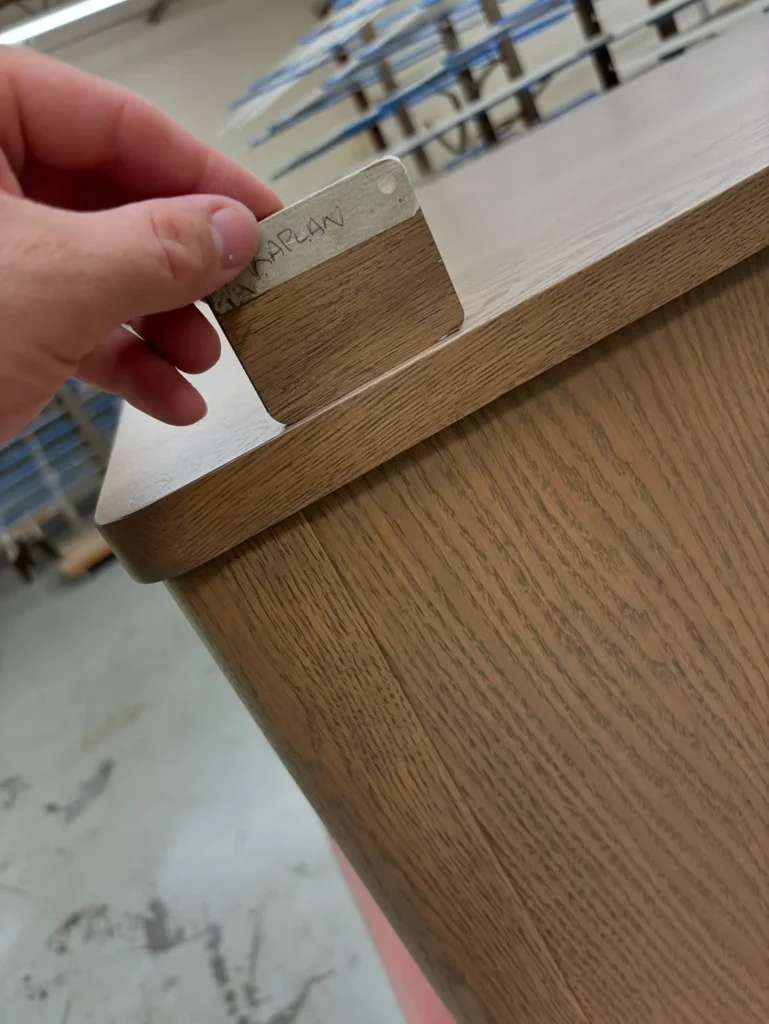
There are three ways to do a no-sanding makeover, and the right one depends on the look you want.
- Deglosser plus primer plus paint: the most reliable method for almost any piece.
- No-prep furniture paint: a paint that claims to stick without priming. It’s quicker, but still needs cleaning, and results vary by surface.
- Non-paint updates: peel-and-stick covers, wallpaper, gel stain, and new hardware.
For a piece you want to last, I always use the first method. It takes a little longer, and it’s worth it.
Step 5: Remove Hardware and Drawers
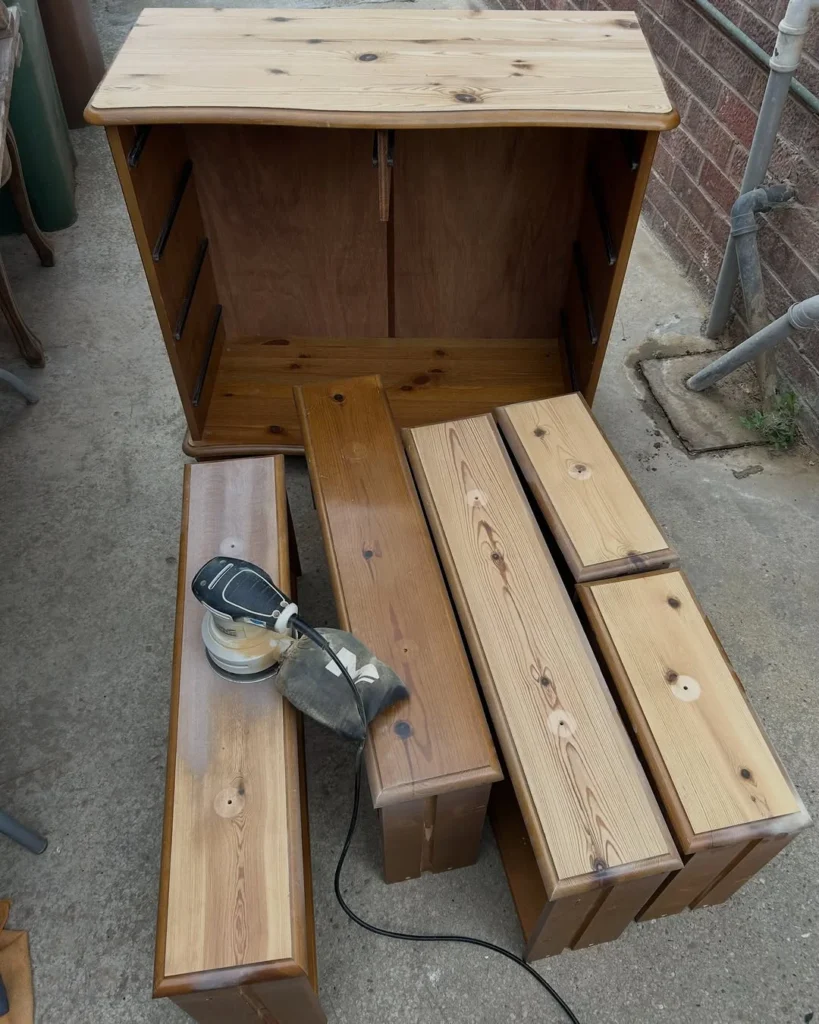
Take off every knob, pull, hinge, and drawer. Remove drawers and doors, and lay them flat on a table or sawhorses.
Place the hardware in a labeled bag or a muffin tin, so nothing goes missing. Take a photo before you start, so you remember where each piece goes.
Painting around hardware leaves messy edges and chips later. A few minutes of removal saves a lot of frustration.
Step 6: Clean Thoroughly
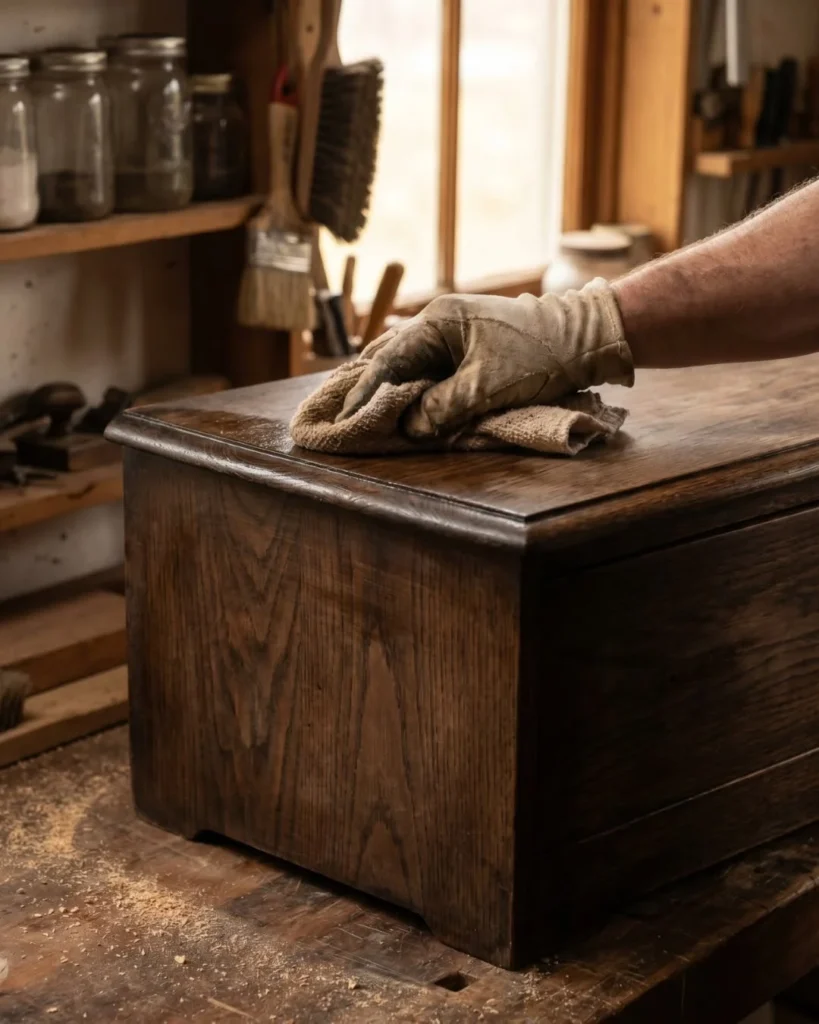
Cleaning is the most important step, and the one people rush. Old furniture holds grease, wax, and years of hand oils, and paint can’t stick to any of it.
Wipe every surface with a degreasing cleaner and a clean cloth, then wipe again with plain water, and let it dry fully. Pay extra attention to drawer fronts and tops, where hands touch most.
If you see a white, waxy film, repeat the cleaning. A second pass is cheap insurance.
Step 7: Repair Dents, Chips, and Gaps
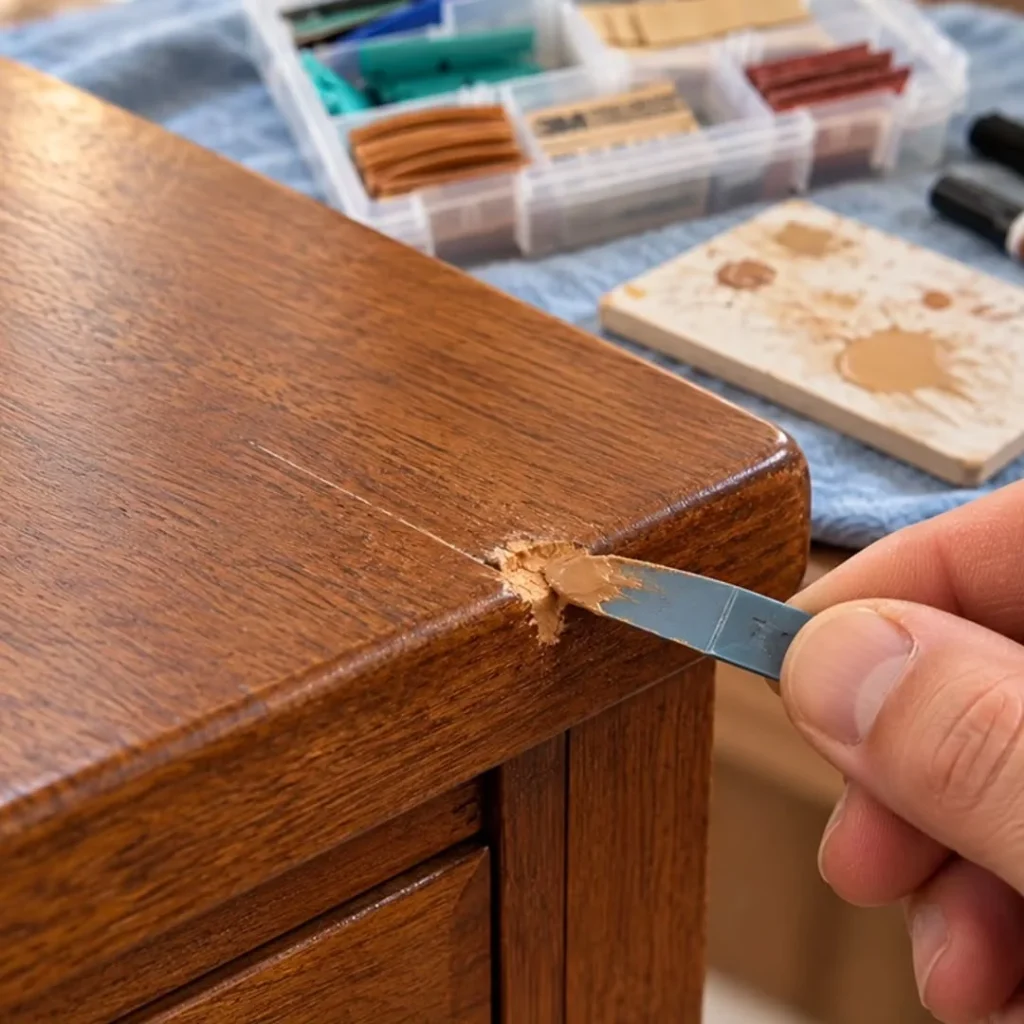
Fill small dents, gouges, and chipped edges with wood filler, using a flexible putty knife. Press the filler in firmly, and scrape it level.
Let it dry as directed, then smooth it with a damp cloth where you can. If a filled spot is rough, you may need a tiny bit of hand smoothing with a fine sponge in that one spot. That’s a spot repair, not full sanding.
For loose joints, add wood glue and clamp them overnight.
Step 8: Apply Liquid Deglosser
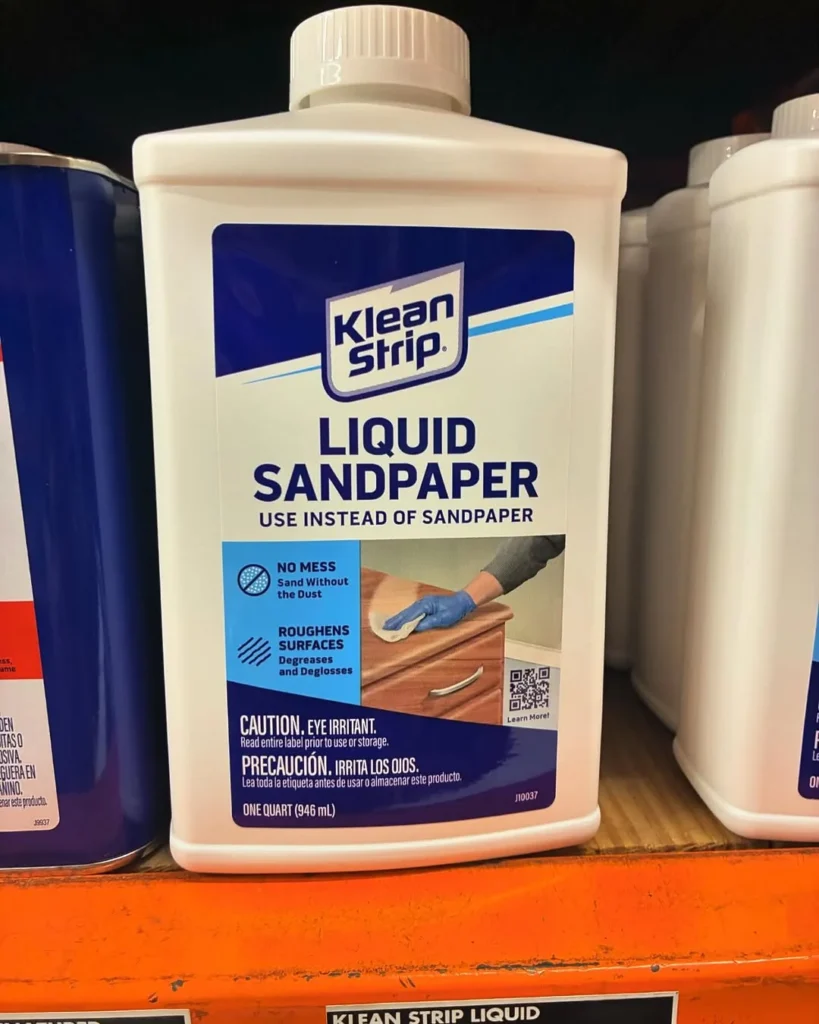
A liquid deglosser is a chemical wipe that dulls the shiny finish so primer can grip. It replaces sanding for most pieces.
Wear gloves, ventilate, and follow the label. Wipe the piece with a clean rag, working in small sections, and let it flash off as directed. Don’t let it sit longer than the instructions say.
It smells strong, so work near an open window, or outside if you can.
Step 9: Prime With a Bonding Primer
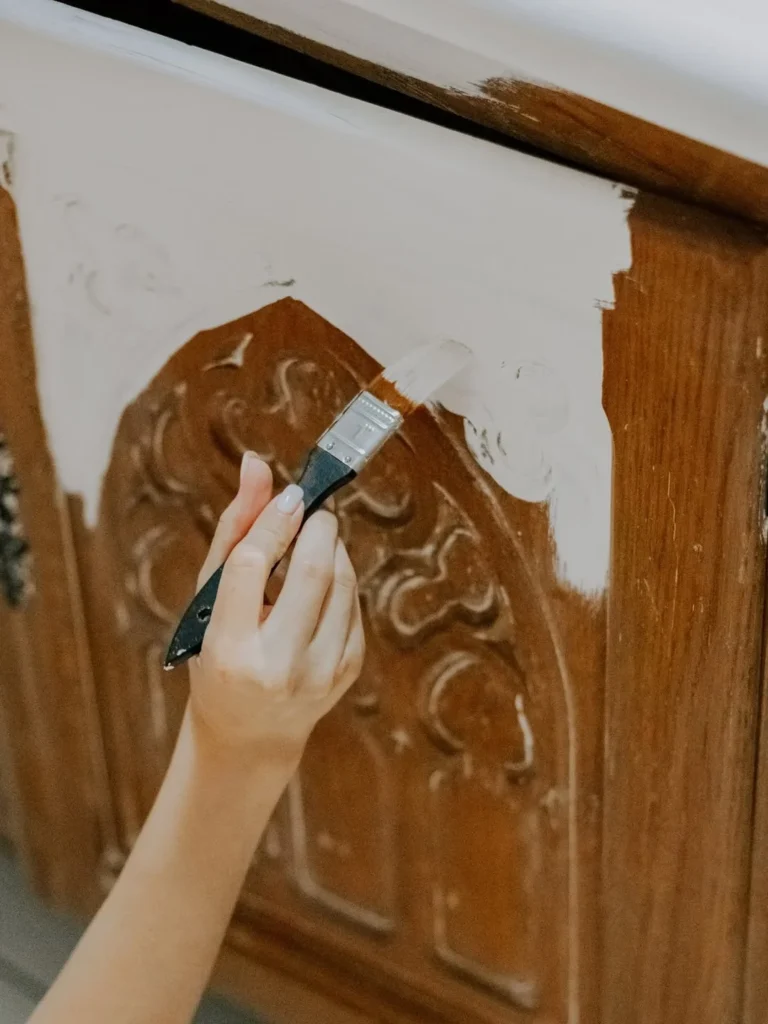
Primer is what makes a no-sanding makeover last. Choose a bonding primer made for slick or glossy surfaces, and apply one thin, even coat.
Use a small roller for flat areas and a brush for edges. Let it dry fully, usually one to four hours, depending on the product.
If you’re covering dark wood like mahogany or oak, or a piece with water stains, use a stain-blocking shellac or oil-based primer. These woods can bleed through regular primer and turn white paint pink or yellow.
Step 10: Choose the Right Paint
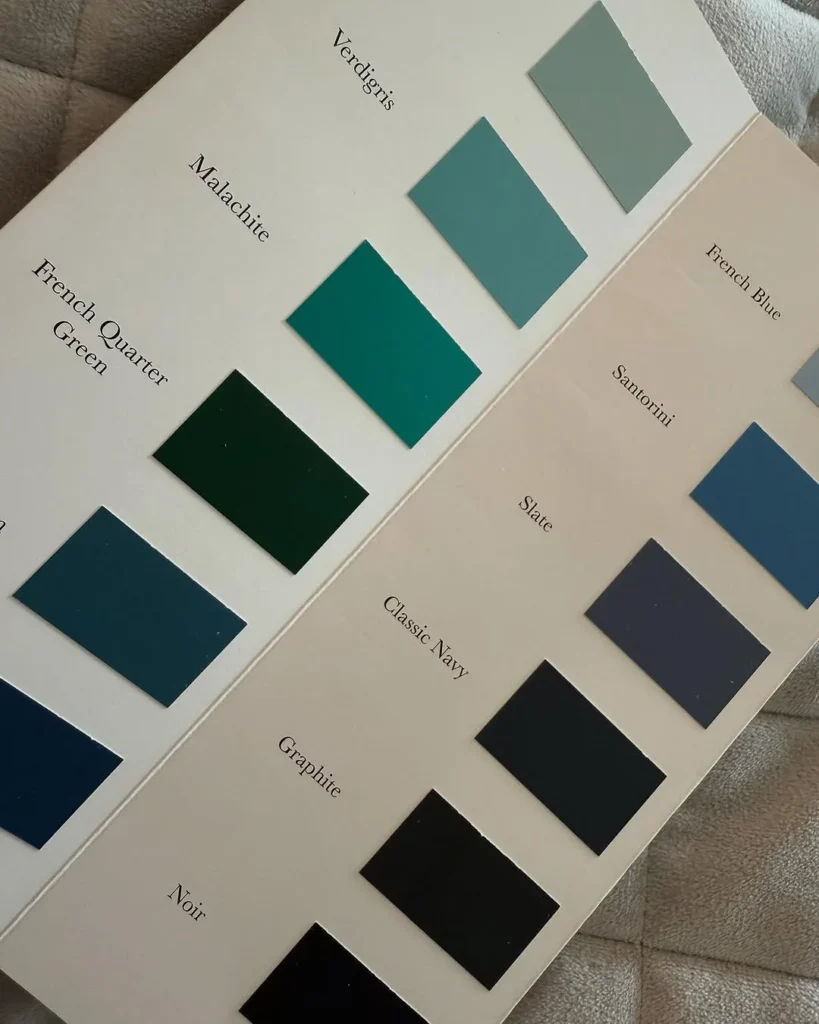
Furniture takes more wear than walls, so use a paint made for it. Options include furniture paint, cabinet enamel, mineral paint, and chalk-style paint.
| Paint Type | Look | Durability | Notes |
|---|---|---|---|
| Cabinet or furniture enamel | Smooth, satin to semi-gloss | High | Needs primer, levels well |
| Mineral paint | Matte, velvety | High | Often claims little prep, still clean well |
| Chalk-style paint | Matte, vintage | Medium | Needs wax or topcoat |
| Standard wall paint | Varies | Low to medium | Not ideal for drawers and tops |
Test your color on the back of the piece first. Colors look different on furniture than on a paint chip.
Step 11: Paint in Thin Coats
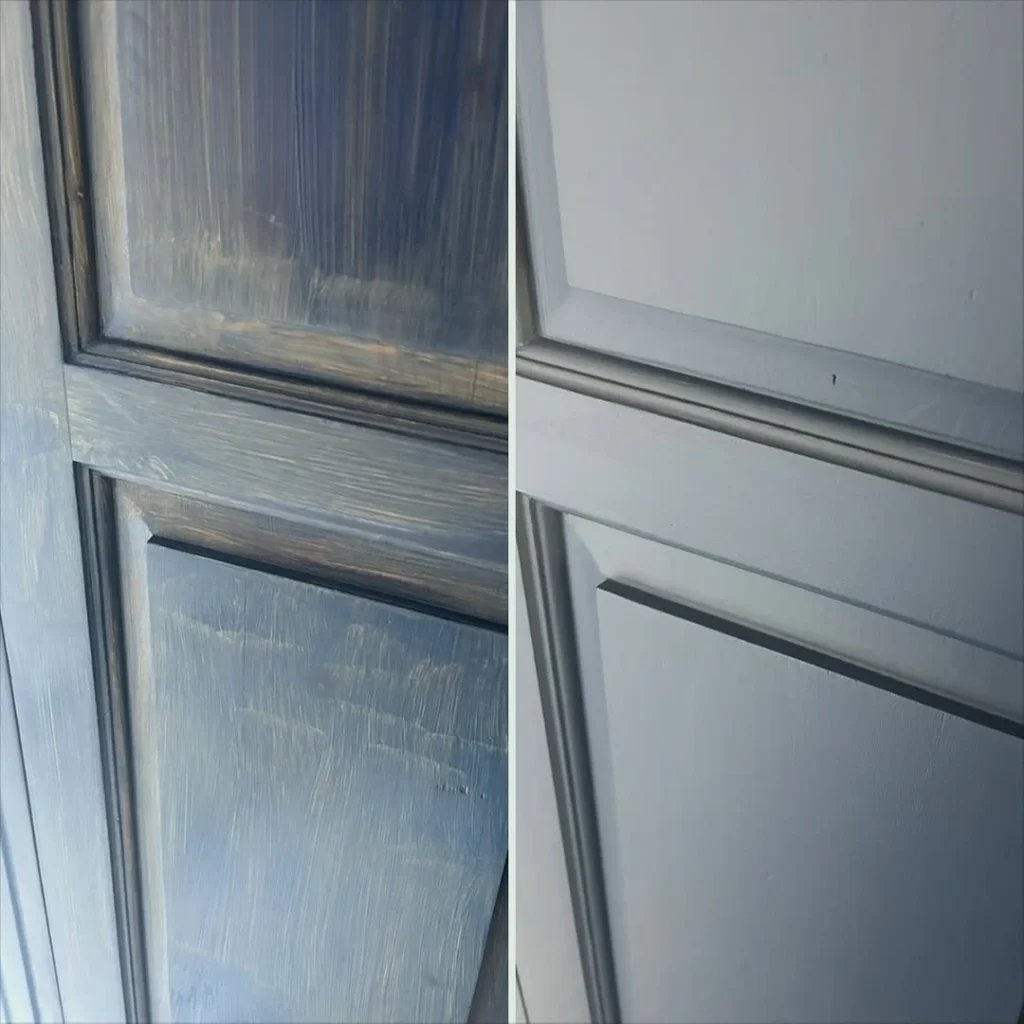
Thin coats are the secret. Thick coats drip, show brush marks, and take forever to cure.
Apply a thin coat in the direction of the wood grain, using long, light strokes. Don’t overwork the paint. Let each coat dry fully before adding another.
Most pieces need two coats, and some deep colors need three. Be patient between coats.
Step 12: Respect the Drying and Recoat Times
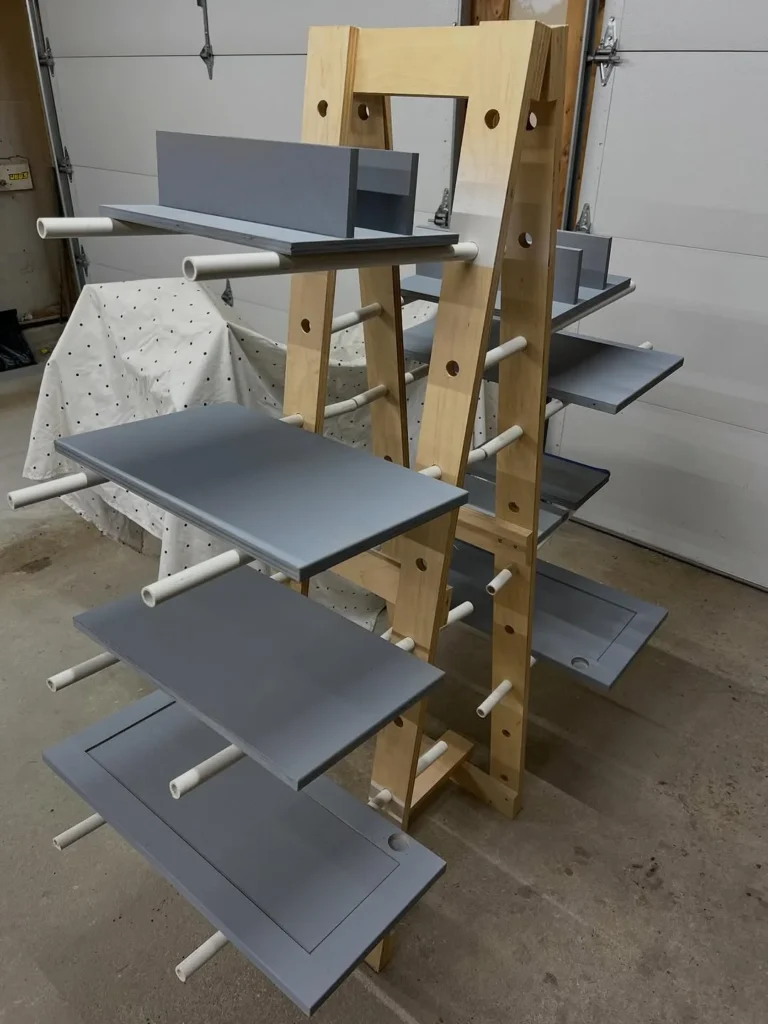
The most common cause of peeling is rushing. Paint feels dry to the touch long before it has hardened.
Follow the label for recoat times, usually two to four hours. Keep the piece in a clean, warm, low-humidity room, and keep pets and dust away.
If you can, work in the morning, so coats dry in daylight hours and you don’t rush at night.
Step 13: Add a Protective Topcoat
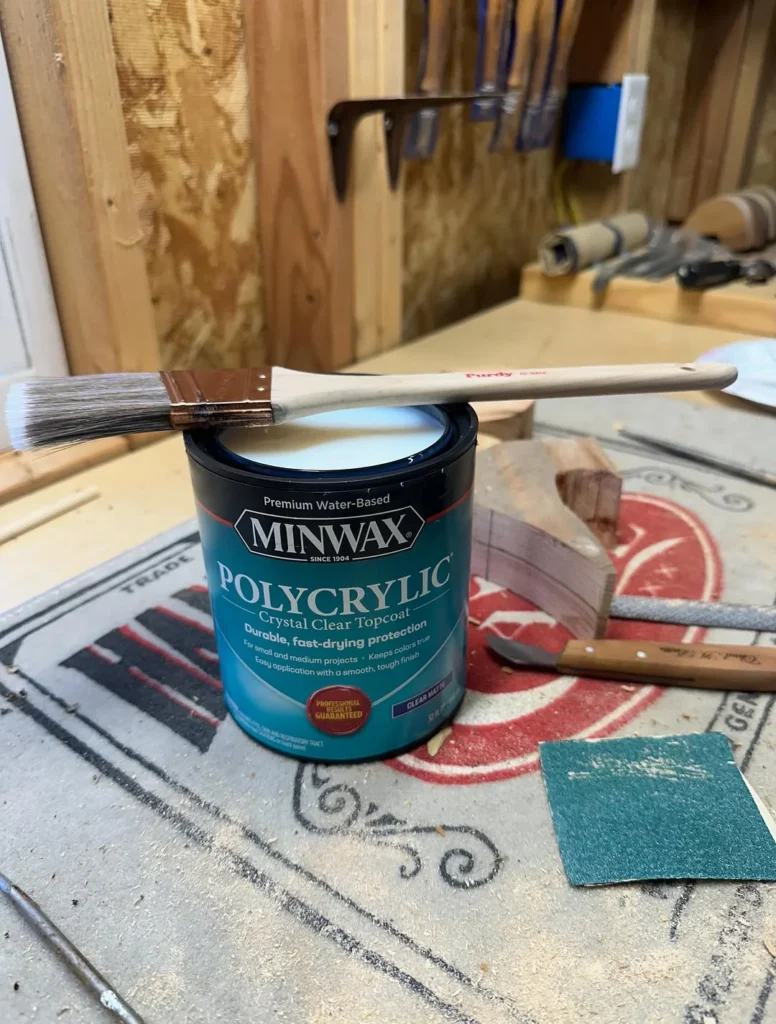
A clear topcoat protects against scratches, water rings, and wear. Choose a water-based polyurethane or a furniture-grade clear coat in the sheen you like.
Apply two thin coats, with drying time between them. Use a clean brush, and don’t shake the can, which creates bubbles.
If you used chalk-style paint, finish with wax or a clear coat. Wax gives a soft look but needs more upkeep.
Step 14: Let It Cure
Paint dries fast, but it cures slowly, often over several days to a few weeks. During that time, it’s soft and easy to scratch.
Wait at least 24 hours before reassembling the hardware, and avoid heavy use for a week or more. Don’t put items on a tabletop until the finish has hardened.
A little patience here is the difference between a finish that lasts and one that chips in a month.
Step 15: Update the Hardware
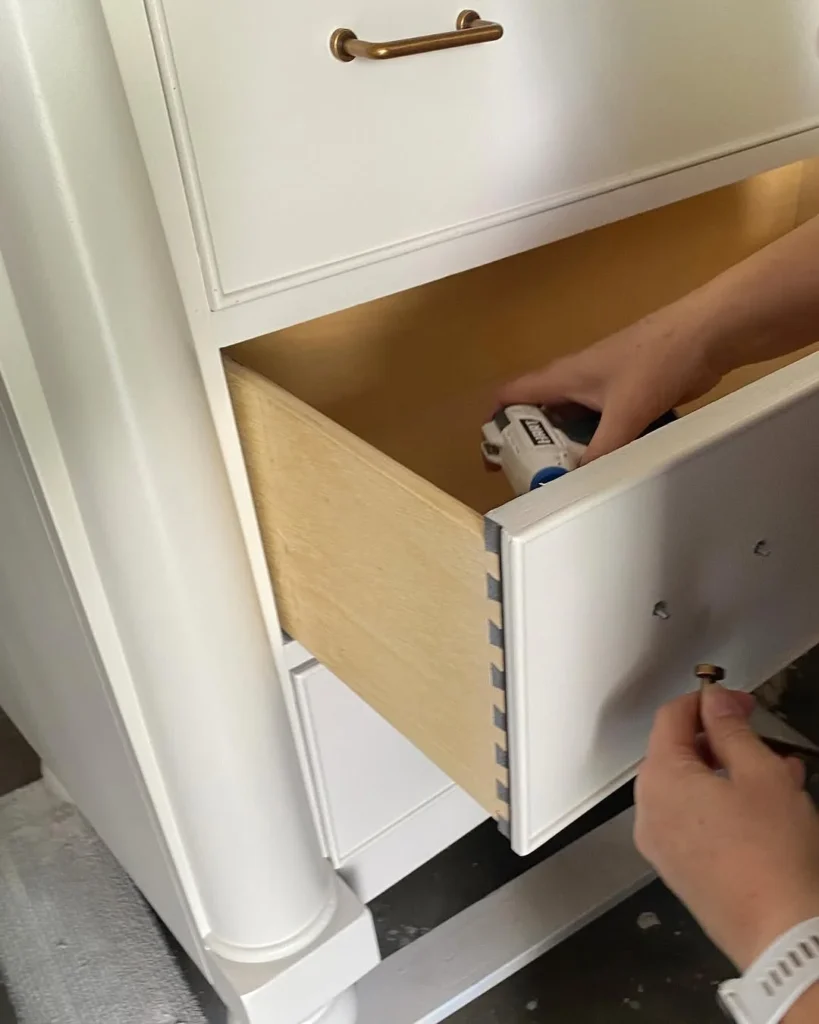
New hardware changes the look of a piece more than you’d expect. Swap dated brass pulls for matte black, brushed brass, or simple wood knobs.
Pulls cost $2 to $8 each. Measure the distance between screw holes, and buy the same spacing, so you don’t have to drill new holes.
If the old holes don’t match, fill them with wood filler and drill new ones, or use a larger backplate.
Step 16: Change the Legs or Feet
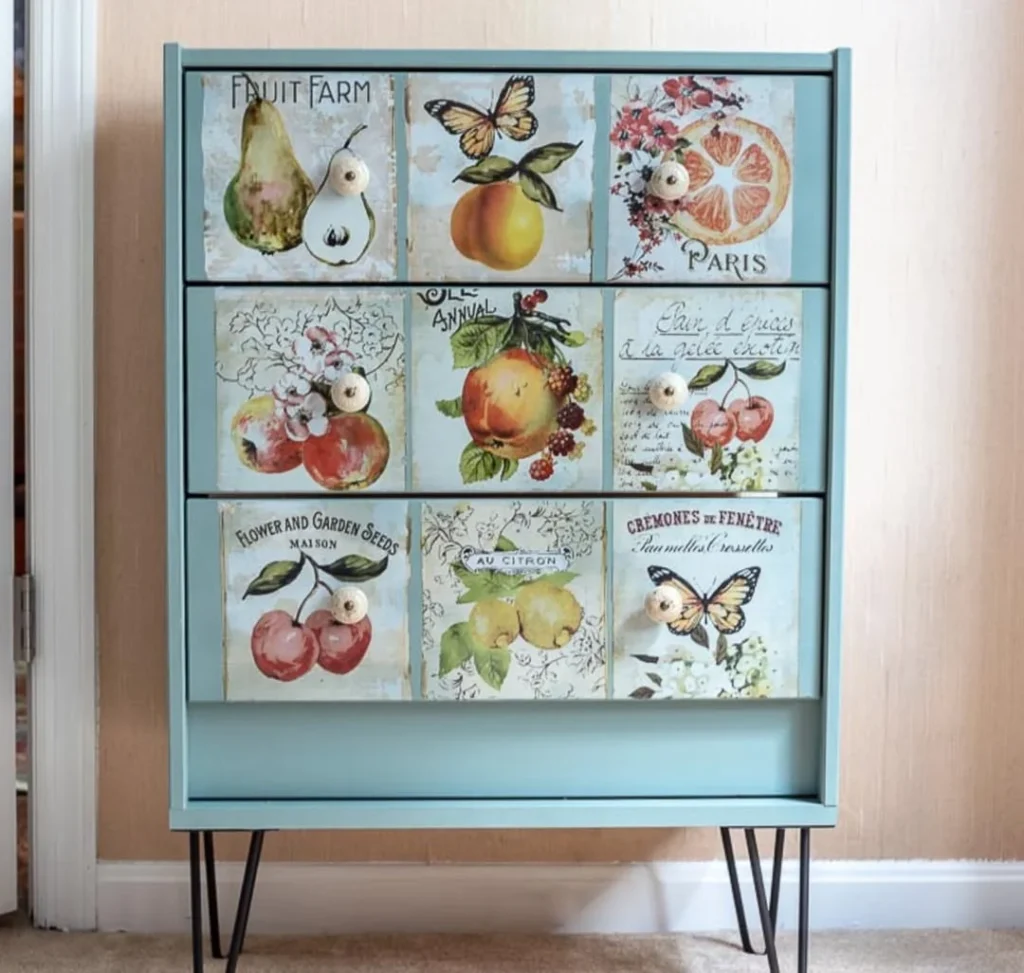
New legs can make a bulky piece feel light and modern. Many dressers and cabinets accept screw-in tapered legs.
A set of four costs $15 to $40. Check the mounting plate type, and measure the height you want.
It takes about 15 minutes with a drill, and changes the whole silhouette.
Step 17: Try Peel-and-Stick Covers

If you don’t want to paint, use peel-and-stick vinyl or contact paper. It sticks to clean, smooth surfaces, and can be removed later.
A roll costs $10 to $30. Clean the surface, measure carefully, and smooth from the center outward with a squeegee or a credit card.
It works best on flat surfaces like drawer fronts and tabletops. Heat from a hair dryer helps it curve around edges.
Step 18: Use Wallpaper on Drawer Fronts or Backs
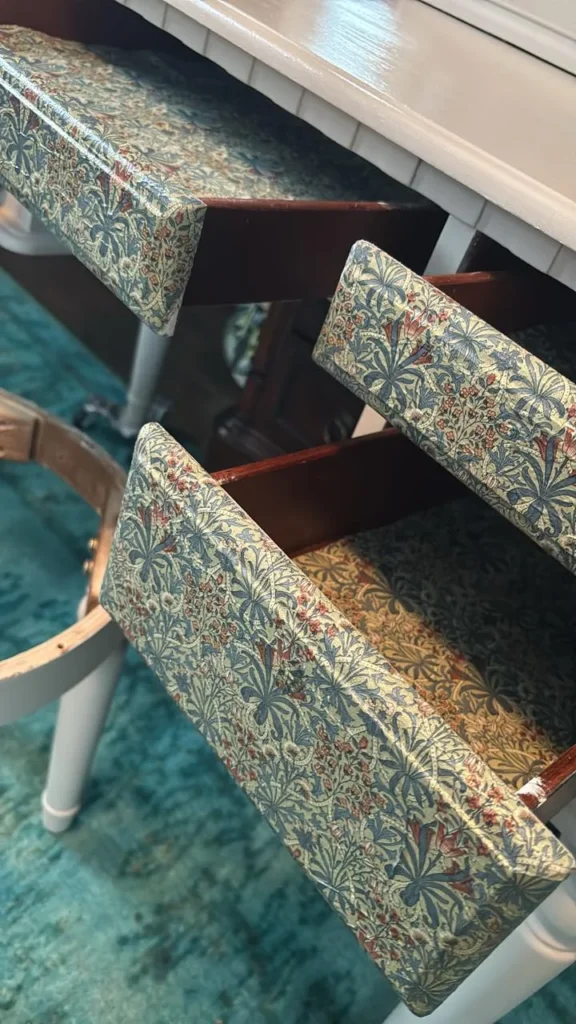
A bit of wallpaper on drawer fronts or inside the back panel of a bookcase adds pattern with almost no effort. Use removable wallpaper for easy updates.
A roll costs $20 to $60, and one roll covers several pieces. Cut the paper slightly larger, apply, and trim.
It’s a great option for renters, since it can be peeled off.
Step 19: Cover With Fabric or Decoupage
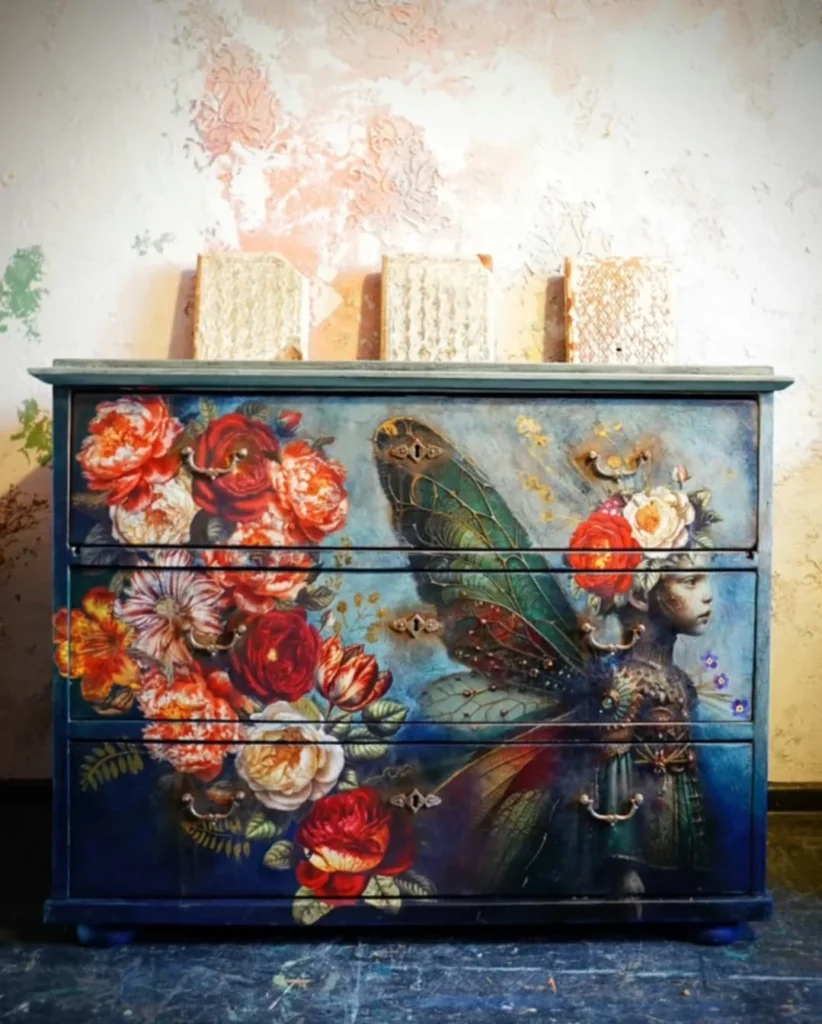
Fabric and decoupage can transform a plain panel. Use a decoupage medium to glue fabric or paper to a smooth surface, and seal with a clear coat.
Supplies cost $10 to $25. Smooth out bubbles with a brush, and let it dry fully before sealing.
It works well on drawer fronts, tabletops, and cabinet doors.
Step 20: Try Gel Stain Over an Existing Finish
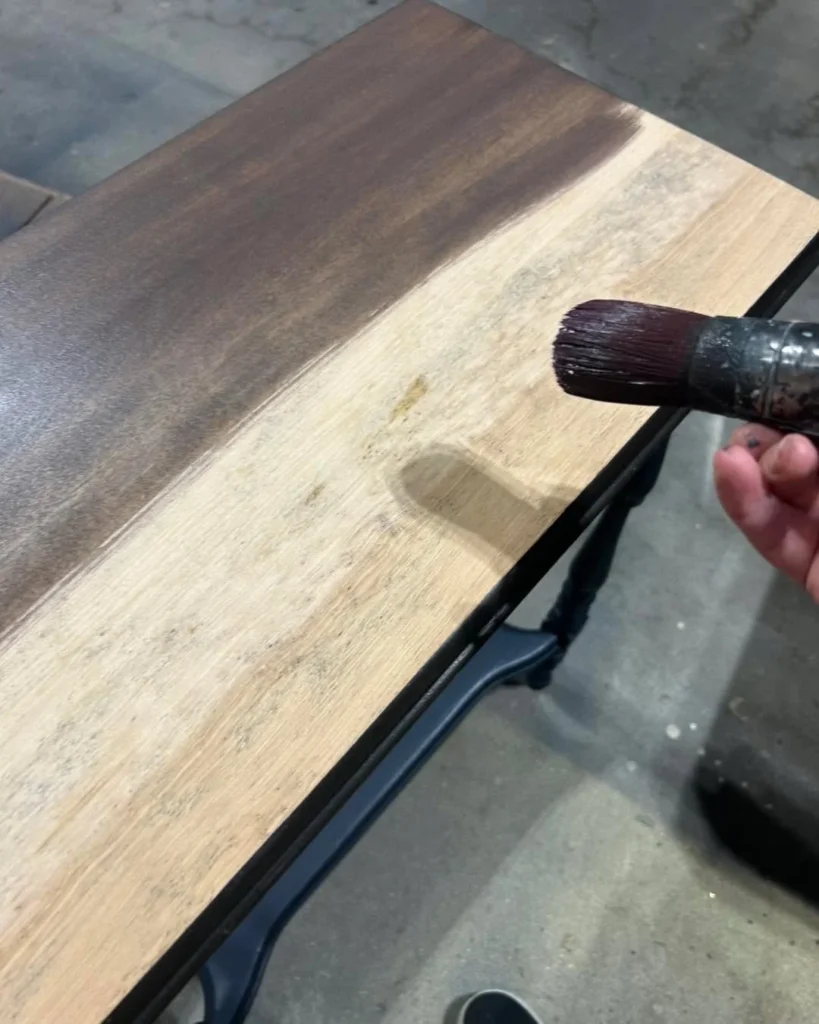
Gel stain is thick and can be applied over a sound finish with minimal prep, which makes it a great no-sanding option for wood pieces. It deepens color without hiding the grain.
A small can costs $15 to $25. Clean and deglossed surfaces take it best. Wipe on thin coats, and wipe off extra.
Test on a hidden spot, since results depend on the existing finish.
Step 21: Add Stencils or Hand-Painted Details
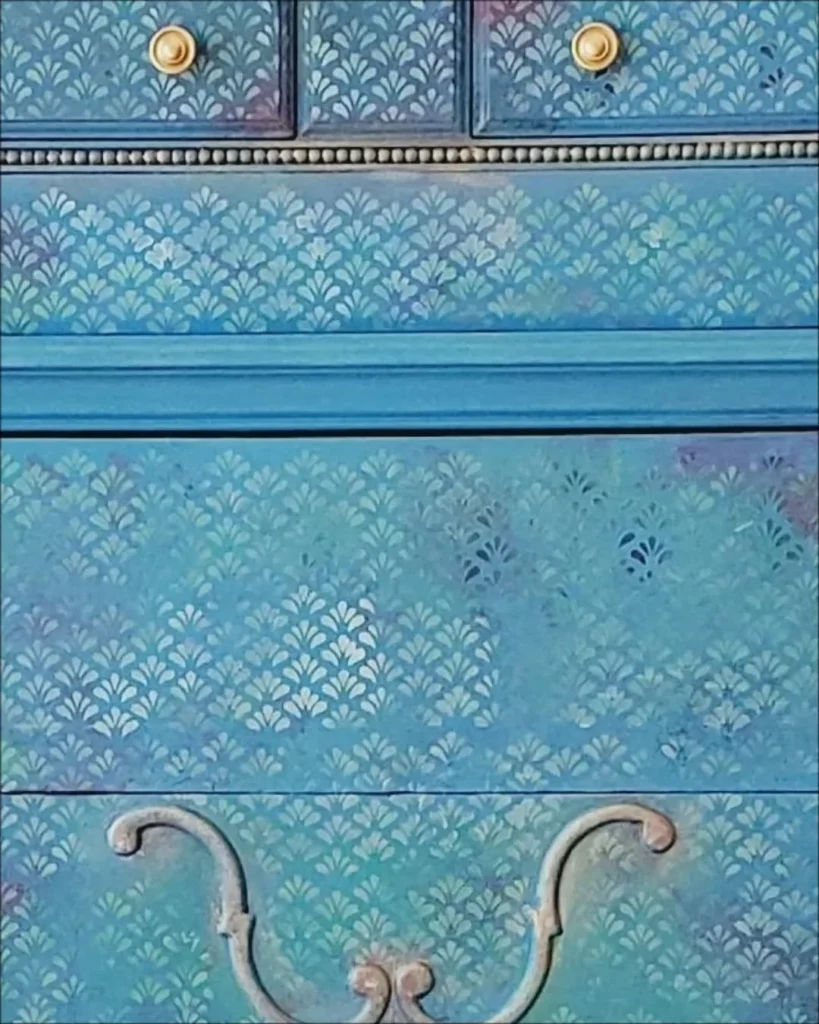
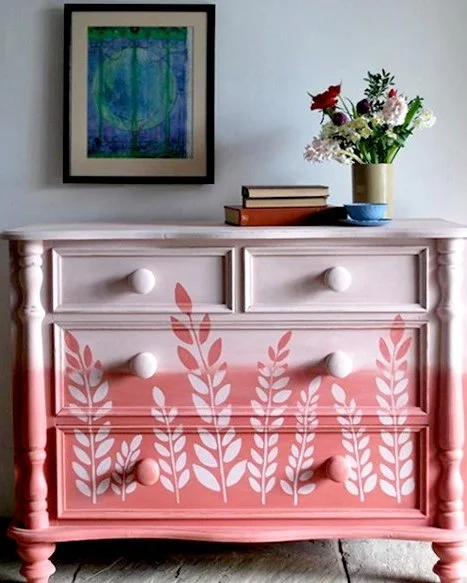
A stencil on a drawer front or tabletop adds a custom look. Use a stencil brush, and dab, don’t brush, to avoid bleeding.
Stencils cost $6 to $20, and a small bottle of craft paint is $3. Finish with a clear coat to protect the design.
A simple stripe or a painted border can look just as good, and takes five minutes.
Step 22: Special Surfaces: Laminate, Melamine, and Metal
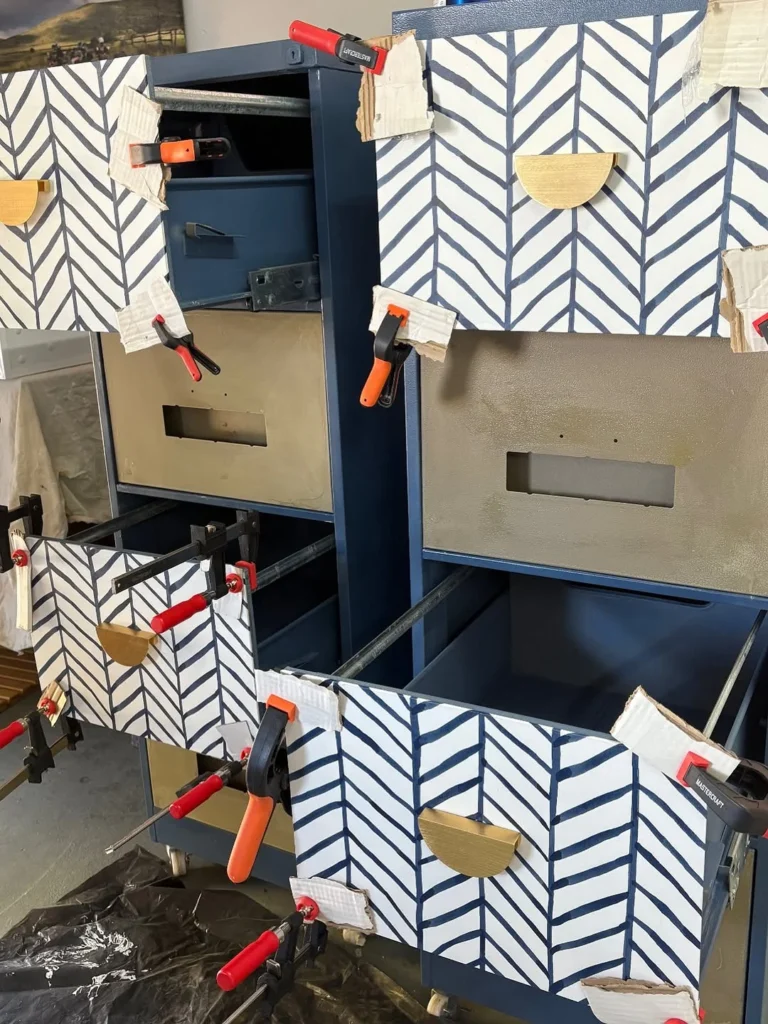
Laminate and melamine are slick and need a special bonding primer. Clean thoroughly, deglosser, and use a primer made for slick surfaces.
Metal needs a rust-inhibiting primer, and any rust should be wire-brushed first. Use a metal paint or a spray paint made for metal.
Always read the label to make sure the product works on your surface.
Step 23: Fix Common Problems
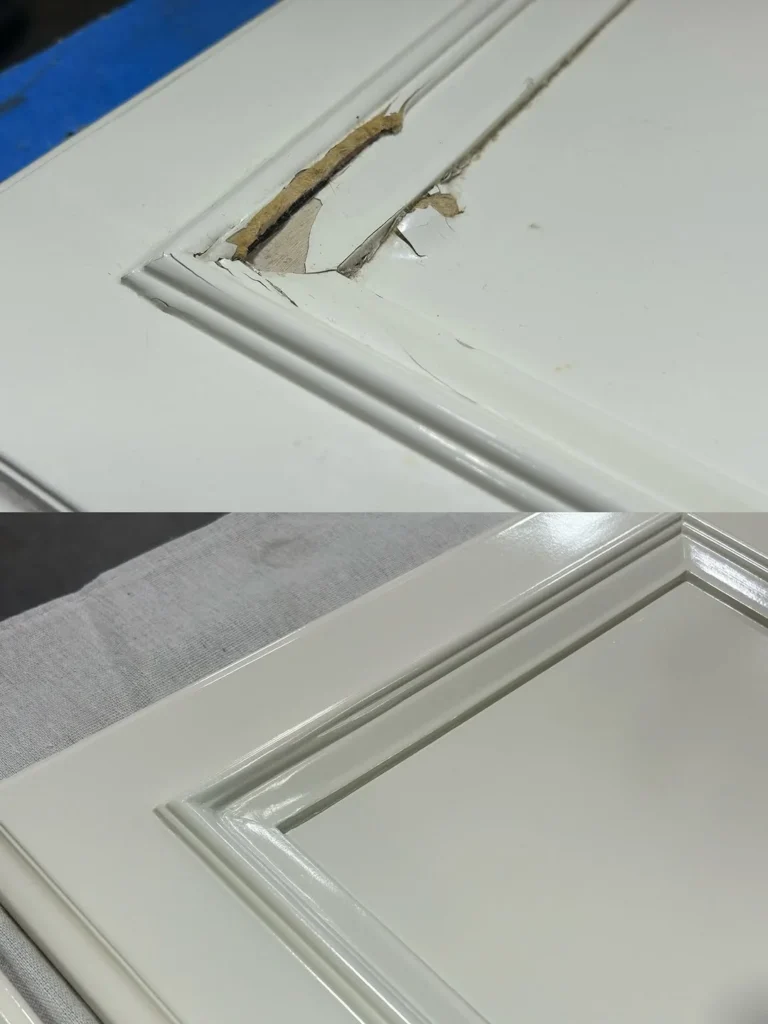
Every project hits a snag. Here’s how to handle the most common ones.
| Problem | Likely Cause | Fix |
|---|---|---|
| Peeling paint | Poor cleaning, no primer | Scrape loose paint, clean, prime, repaint |
| Pink or yellow bleed-through | Tannins in wood | Apply stain-blocking shellac primer |
| Brush marks | Thick coats, cheap brush | Thin coats, better brush, paint conditioner |
| Sticky finish | Humidity, thick paint | Wait longer, increase airflow |
| Chipping at edges | Not enough cure time | Wait for full cure, touch up |
Most problems are fixable. Don’t be afraid to wait and redo a coat.
Step 24: Plan Your Time and Budget
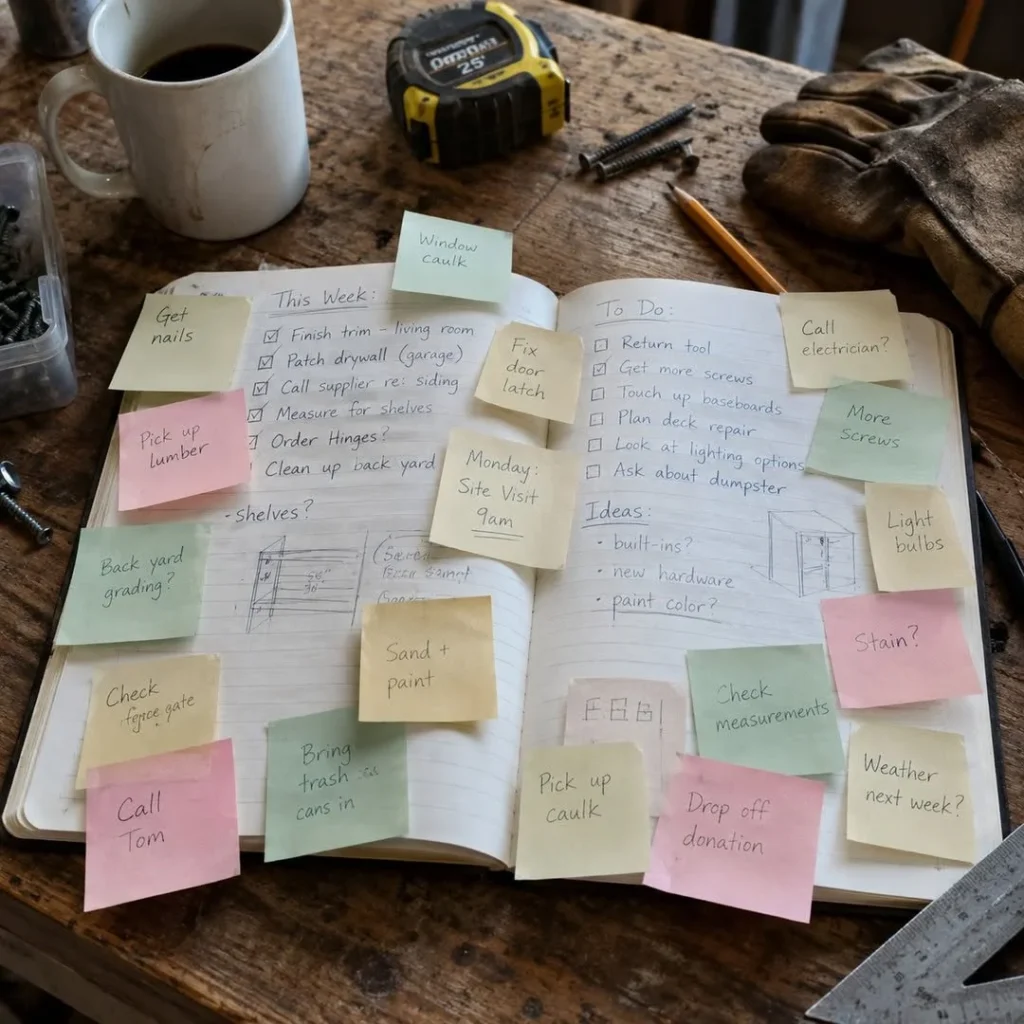
A typical dresser takes about a weekend, with most of the time spent waiting for coats to dry.
| Task | Time |
|---|---|
| Remove hardware and clean | 1 hour |
| Repair and deglosser | 45 minutes |
| Prime | 1 hour plus drying |
| Paint, two coats | 2 hours plus drying |
| Topcoat | 1 hour plus drying |
| Reassemble and style | 30 minutes |
| Budget | Total Spend | What You Can Do |
|---|---|---|
| Under $40 | $25 to $40 | Small piece, cleaner, deglosser, primer, sample-size paint |
| $40 to $90 | $50 to $90 | Dresser with quality paint, topcoat, new hardware |
| $90 to $160 | $100 to $160 | Large piece, new legs, stencil, premium products |
Step 25: Care for Your Finished Piece
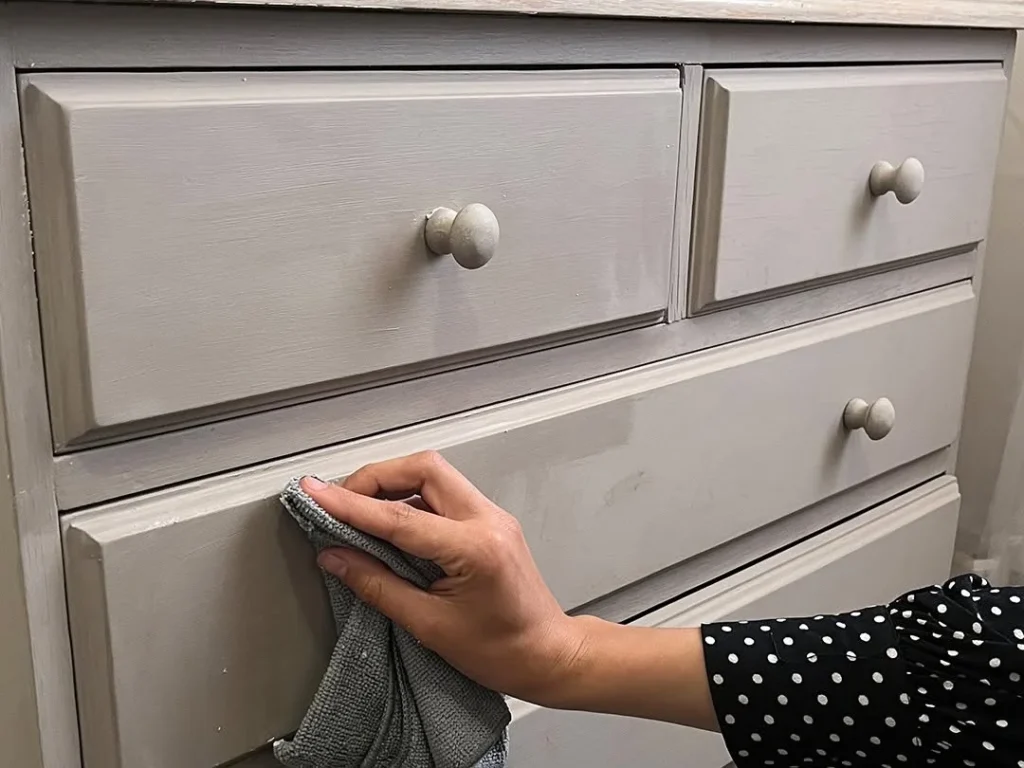
Treat your piece gently for the first few weeks. Use coasters, avoid dragging items across the top, and wipe with a soft damp cloth.
Avoid harsh cleaners, which can dull the finish. If a scratch appears, touch up with the same paint, and seal with a bit of topcoat.
A well-done no-sanding finish can last for years, with the right care.
My Wrap-Up: What I’d Do First
If I were starting my first piece today, I’d check for lead if it was old, clean it twice, use a deglosser and a bonding primer, and paint in thin coats with a good brush. Then I’d wait, which is the hardest part. The best way to makeover old furniture without sanding isn’t a shortcut, it’s careful prep, patient coats, and letting the finish cure.
FAQs
Can you really paint furniture without sanding? Yes, for most pieces. Thorough cleaning, a liquid deglosser, and a bonding primer let paint stick without sanding. Damaged or peeling finishes still need scraping.
What is liquid deglosser, and is it safe? It’s a chemical wipe that dulls a glossy finish so primer can bond. Use it in a ventilated space, wear gloves, and follow the label.
Do I need primer if I use no-prep paint? Often not, but results vary by surface. Clean well, test a hidden area, and use primer on slick surfaces or dark wood that can bleed through.
How do I stop pink or yellow stains from showing through white paint? Use a stain-blocking shellac or oil-based primer on tannin-rich woods like mahogany and oak, then paint over it.
Is it safe to makeover old furniture? Check for lead paint on pre-1978 pieces with a test kit before scraping or sanding. Work in a ventilated area, and wear gloves and eye protection.
How long should I wait before using painted furniture? Paint may feel dry in hours, but it cures over days to weeks. Avoid heavy use for at least a week, and be gentle for the first month.







Leave a Reply