
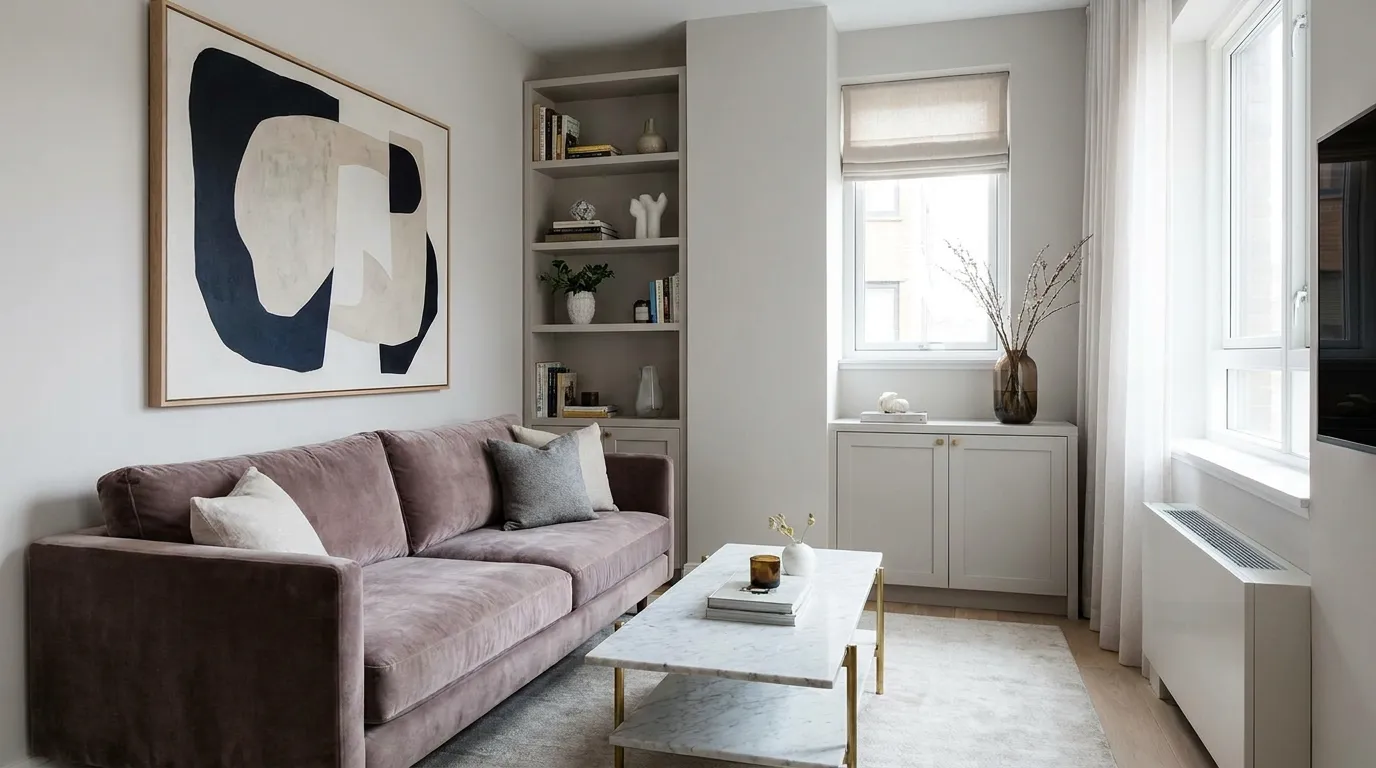
I lived in a 410-square-foot studio for two years before I figured out the actual difference between an apartment that looks cheap and one that looks expensive — and it has almost nothing to do with how much you spend.
My first year there, I dropped $600 on a couch from a big-box store and the place still looked like a dorm room with better lighting.
My second year, I spent maybe $300 total on a handful of very specific changes — different hardware, a rug that actually fit the room, lighting that wasn’t a single overhead bulb — and people asked if I’d hired a designer.
That’s the thing nobody tells you about small-apartment decorating: expensive-looking has almost nothing to do with expensive. It’s about a handful of decisions that most renters skip because they seem too small to matter. Scale, light, texture, and restraint do more work than any single “statement piece” ever will.
So this is 25 of those decisions — the ones that actually moved the needle for me, for friends whose apartments I’ve helped redo, and a few I picked up from renters who left genuinely useful comments on posts like this one.
I’ve grouped them by what they fix (lighting, texture, layout, and so on) instead of just throwing 25 random tips at you, because the order actually matters if you’re starting from zero.
One quick note before we start: almost everything here works in a rental. I know that’s the actual constraint for most of us, so I flagged anything that involves paint, drilling, or anything semi-permanent.
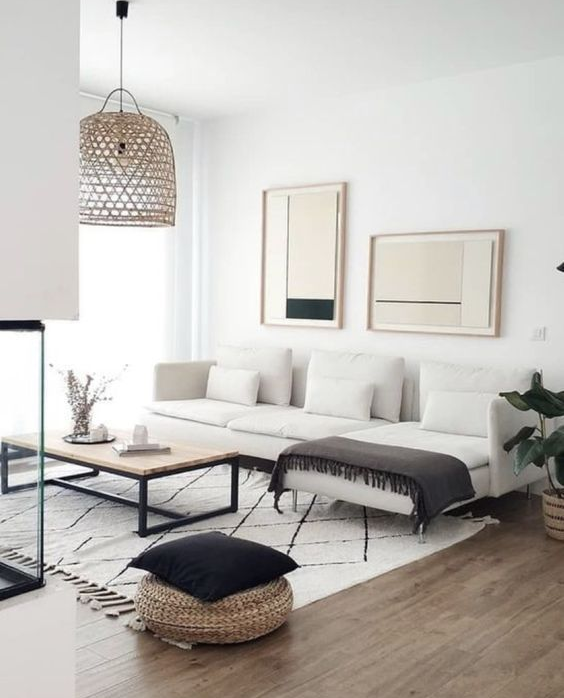
Lighting: The One Category That Changes Everything First
If you only do one category from this whole list, do this one. A single ceiling fixture — which is what most apartments come with — reads as “landlord special” no matter what furniture is under it. Expensive-looking rooms almost always have three or more light sources at different heights.
1. Swap out the boob light
Every rental has one: that flush-mount ceiling fixture that looks like an upside-down bowl. My friend Priya replaced hers with a $40 flush-mount from Amazon that has a brass ring around the edge, and it’s the single change guests comment on most in her apartment.
Most of these are a two-screw swap — take a photo of the wiring before you disconnect anything, and keep the original fixture in a box to reinstall when you move out.
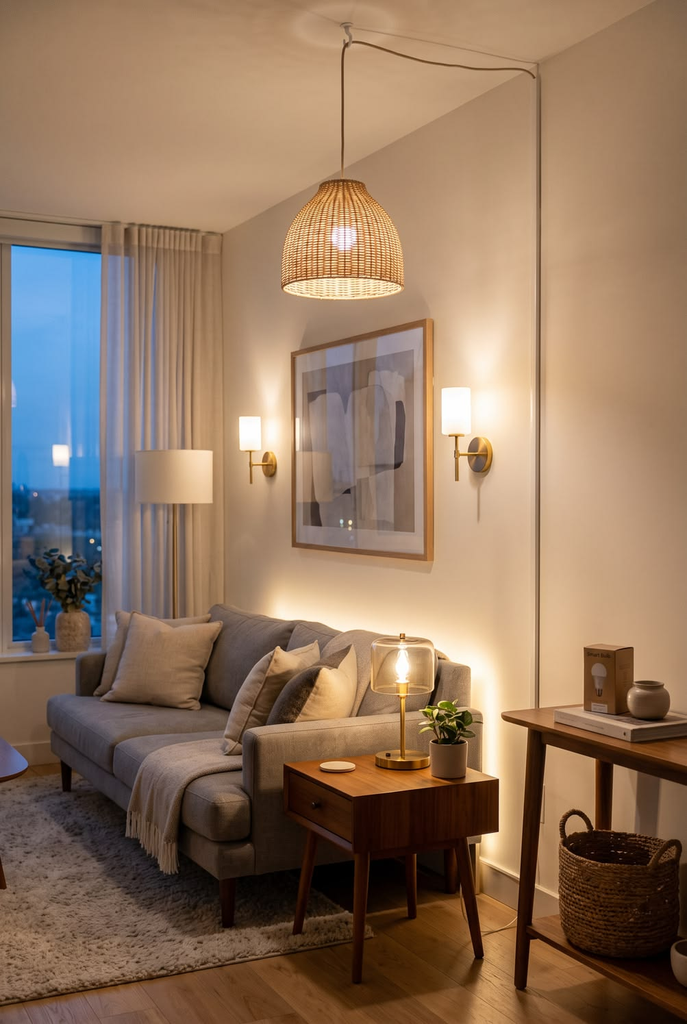
Pro tip: Check if your fixture uses a mounting bracket that’s screwed to the ceiling box (it almost always is) — you’re not touching any actual wiring configuration, just matching black to black and white to white. If you’re not comfortable with even that, a $15 fixture cover clip-on kit gets you 70% of the visual upgrade with zero wiring.
2. Add lamps at three different heights
A floor lamp, a table lamp, and something low (a small accent lamp on a shelf or console) creates layered light instead of one flat wash from above.
This is the actual technical reason hotel rooms and staged homes feel warmer than most apartments — designers call it the “lighting triangle,” and it’s genuinely one of the cheapest fixes on this list since secondhand lamps run $5-15 at most thrift stores.
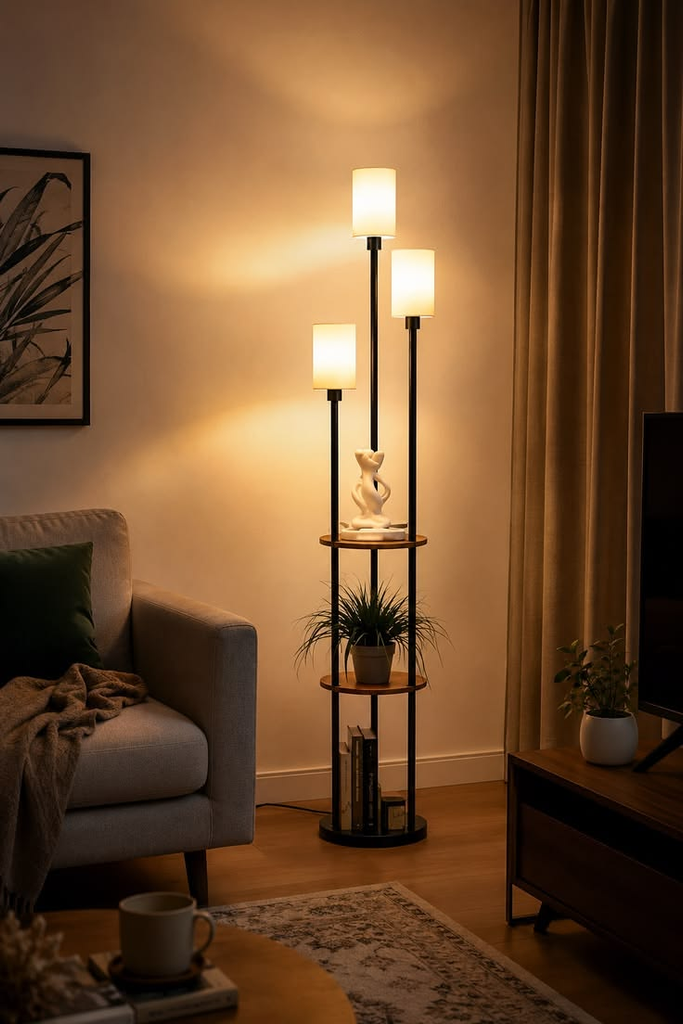
Pro tip: Warm bulbs (2700K, sometimes labeled “soft white”) matter more than the lamp itself. A gorgeous $80 lamp with a cool-white 5000K bulb will still look like a dentist’s office. Check the box, not just the wattage.
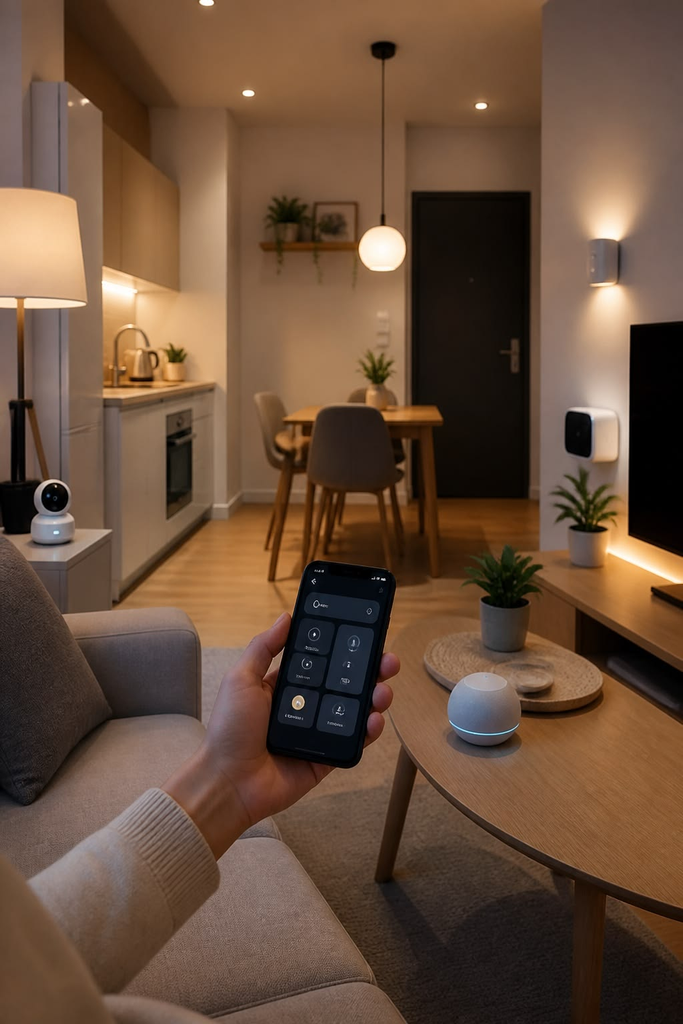
3. Put lights on dimmers or smart plugs
You can’t install a wired dimmer switch in most rentals, but a $12 smart plug lets you dim any lamp from your phone, and dimmed light at night makes a small space feel intentional instead of just dark.
I use this on my one floor lamp and it’s done more for “cozy” than any blanket or candle I’ve bought.
Textiles and Softness: Where “Cheap” Actually Comes From
Here’s something I didn’t understand until a friend who’d done home staging explained it to me: bare hard surfaces (floor, walls, furniture) read as unfinished, no matter how nice the furniture itself is. Expensive-looking rooms have soft layers stacked on top of hard ones.
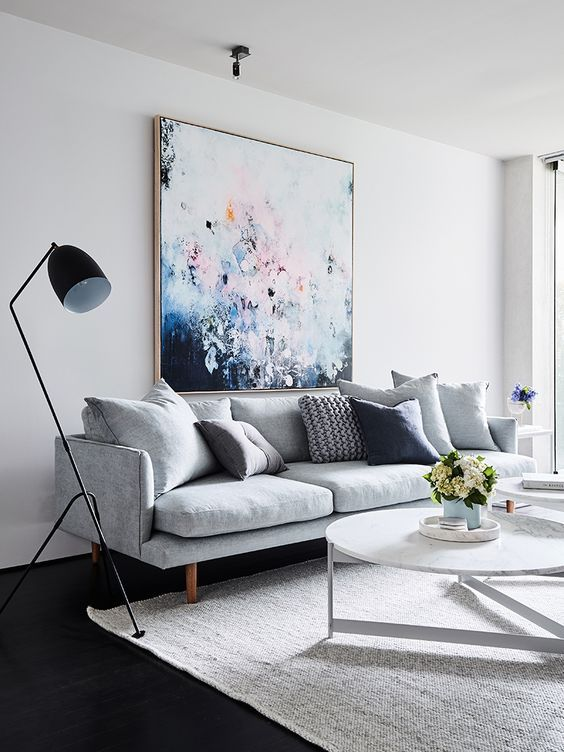
4. Get a rug that’s actually big enough
This is the single most common small-apartment mistake, and it’s not close. A rug that only fits under a coffee table, floating in the middle of the room with bare floor all around it, makes the whole room look smaller and cheaper — it’s visually the same as a picture frame that’s too small for the photo inside it.
The rule of thumb: at minimum, your front furniture legs (the couch, the chairs facing it) should be able to sit on the rug, even if the back legs are off.
| Rug Size Strategy | Best For | Approx. Cost | Trade-off |
|---|---|---|---|
| All furniture legs on rug | Larger studios, open-concept living areas | $150-300 | Highest upfront cost, most “finished” look |
| Front legs only on rug | Most small apartments, tightest budgets | $80-150 | Good middle ground, still reads as intentional |
| Rug floating under coffee table only | Avoid this if possible | $30-60 | This is the look that reads as cheap — skip it |
Pro tip: A washable rug (I use one from Ruggable) matters more in a small apartment than a large one, because in 400 square feet, every spill is in the one rug you own. I learned this after red wine met my first “nice” rug within a month.
5. Layer a smaller rug over a larger one
If you can’t afford (or fit) one giant rug, a smaller patterned rug over a large neutral jute or sisal rug gives you the same layered, “collected over time” look that expensive homes have, for less than one big rug would cost.
This is a trick I picked up from a reader comment on an old post of mine, and I’ve used it in two apartments since.
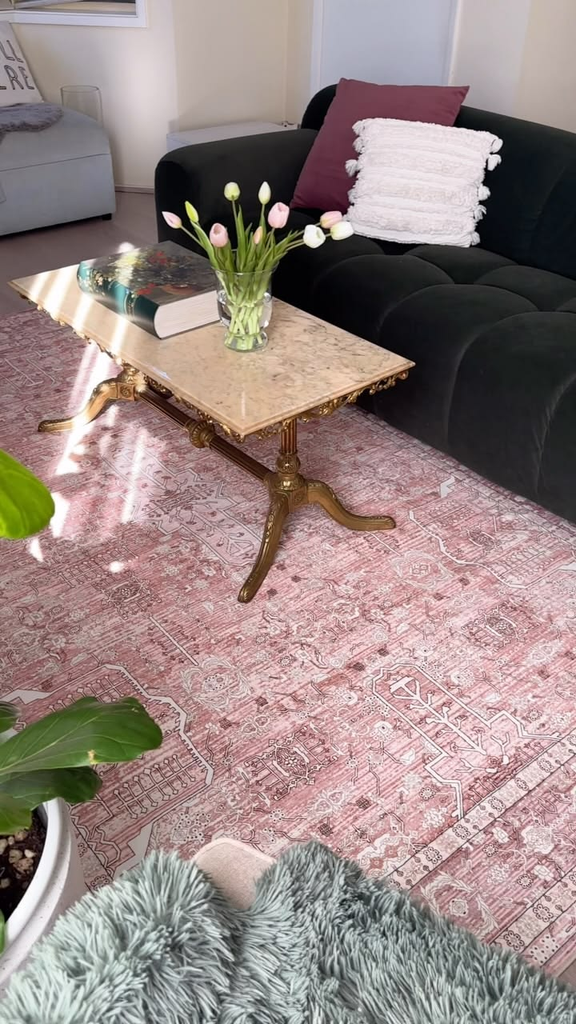
6. Add throw pillows in odd numbers, mismatched fabrics
Three pillows in slightly different but coordinating fabrics (not a matching set from the same store display) look like they were collected, not bought as a bundle.
This is genuinely one of the cheapest changes on this whole list if you thrift the covers instead of buying pillows new — a $4 pillow cover from a secondhand shop over a $3 insert beats an $18 matched-set pillow every time, both in cost and in how “designed” it looks.
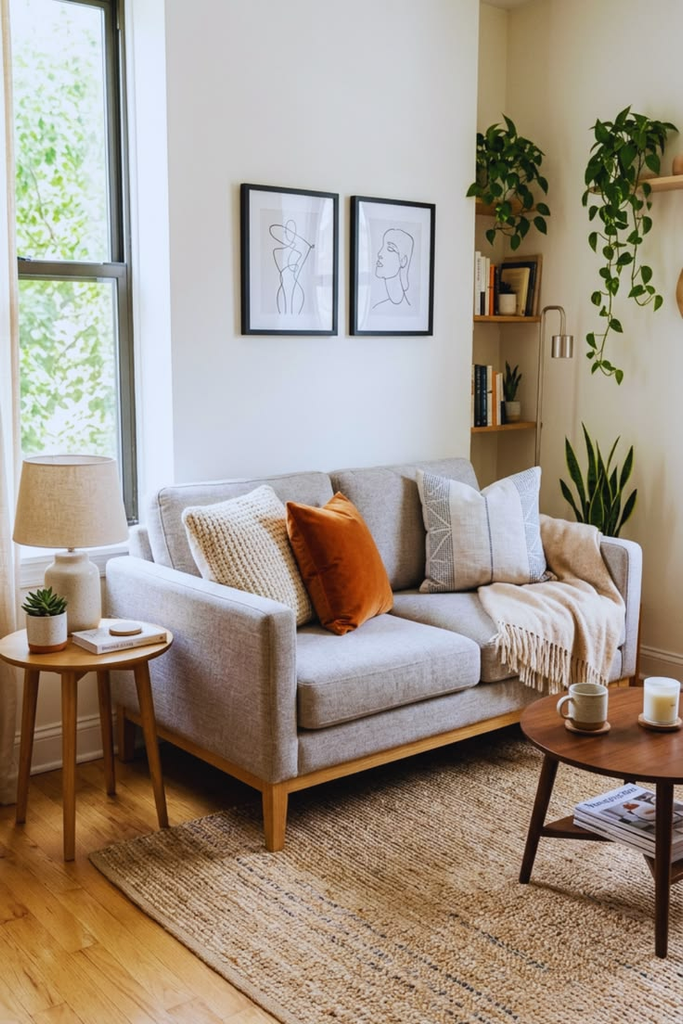
7. Get a real throw blanket, not a decorative one
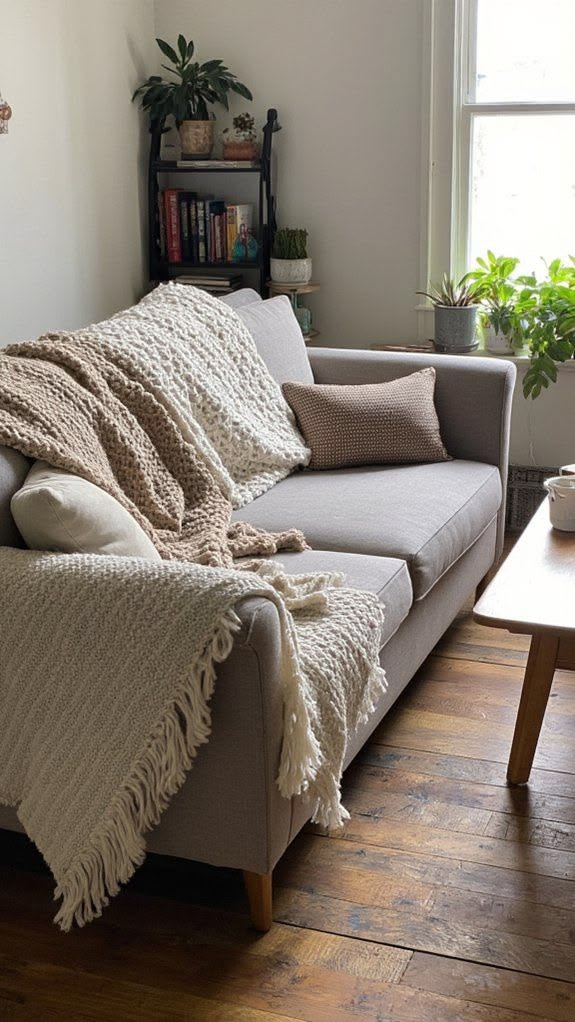
A chunky knit or waffle-weave throw that’s actually big enough to use (not a 30×40″ decorative square) does double duty — it looks intentional folded on the couch, and you’ll actually use it, which matters when you live in 400 square feet and own exactly one blanket.
Walls: The Cheapest Square Footage You Have
Bare white rental walls are the fastest way to make a place look temporary, but most of us can’t paint. This section is entirely rental-safe unless I say otherwise.
8. Hang art at the right height — this one’s free
The most common mistake I see (and made myself for a full year) is art hung too high, near the ceiling, because it “feels” like where art goes. The actual rule galleries use:
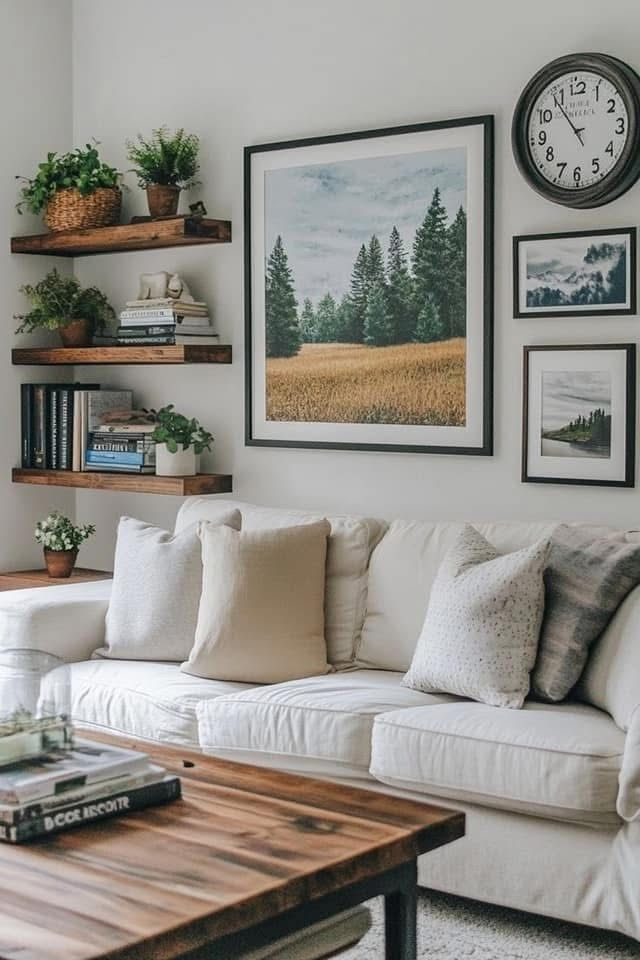
center of the artwork at 57-60 inches from the floor, which is closer to eye level than most people guess. This costs nothing and it’s the difference between a room looking “finished” and looking like nobody lives there yet.
9. Cluster art instead of spacing it out
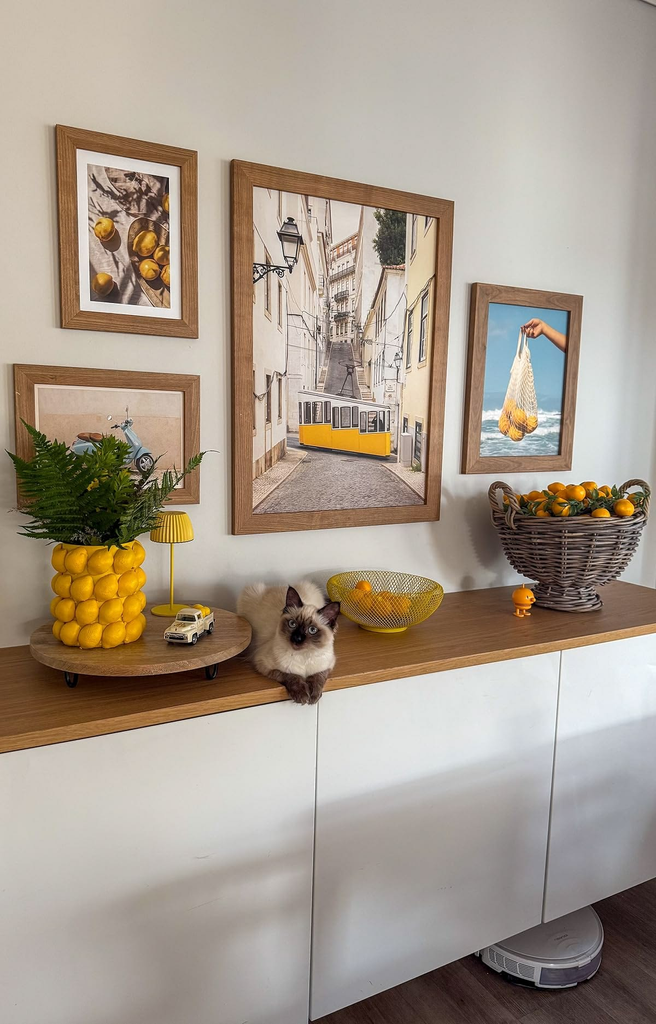
A gallery wall of 5-9 mismatched frames, spaced 2-3 inches apart, reads as curated. The same number of pieces spread evenly around a room reads as filler.
Use painter’s tape or paper templates on the wall first — I did NOT do this the first time and ended up with eleven nail holes for six frames.
10. Try removable wallpaper on one wall or inside a closet
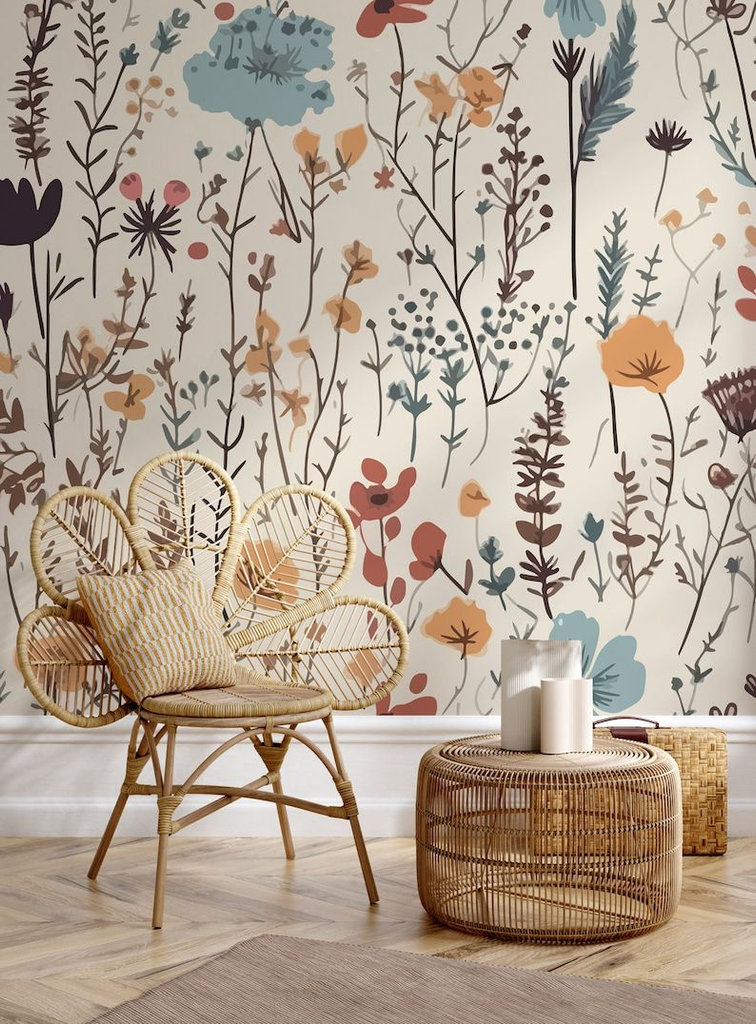
Peel-and-stick wallpaper has gotten dramatically better in the last few years — the good brands (Spoonflower, Tempaper) come off clean at move-out if you follow the removal instructions (pull slowly, at an angle, and use a hair dryer on stubborn spots).
My friend Amelia did the inside back wall of her open closet in a green grasscloth-look paper for about $35, and it’s the first thing people notice when her closet door is open — which, in a studio, it usually is.
Pro tip: Don’t do a full accent wall as your first try. Do something small and reversible-feeling first — the back of a bookshelf, inside a closet, a single door — so a mistake costs you $20, not $80.
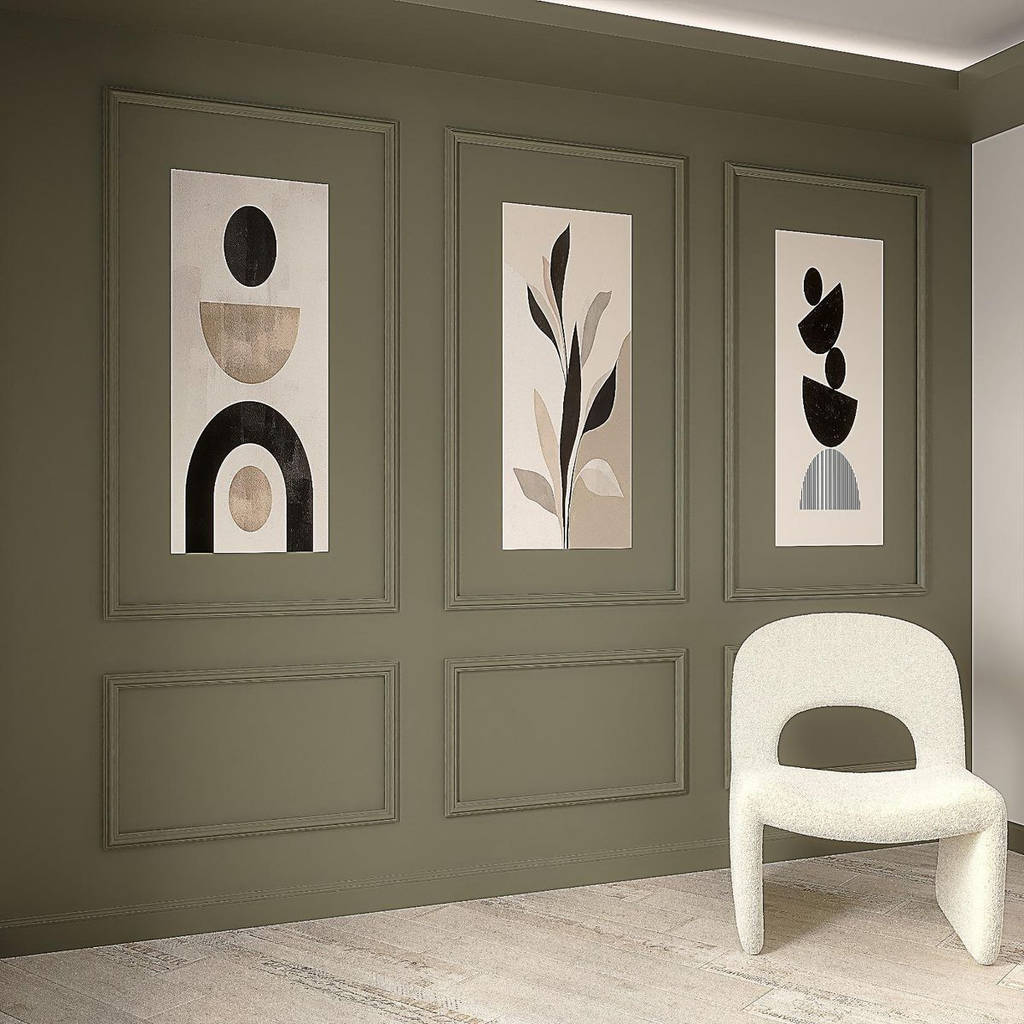
11. Add real molding with peel-and-stick trim
Lightweight foam or PVC picture-rail molding (there are peel-and-stick versions now, no nails) around the top of a wall or as a faux wainscoting line adds architectural detail that rentals almost never have.
This is more of a weekend project than a five-minute fix, but it’s the single biggest “wait, is this actually a rental?” reaction I’ve gotten from guests.
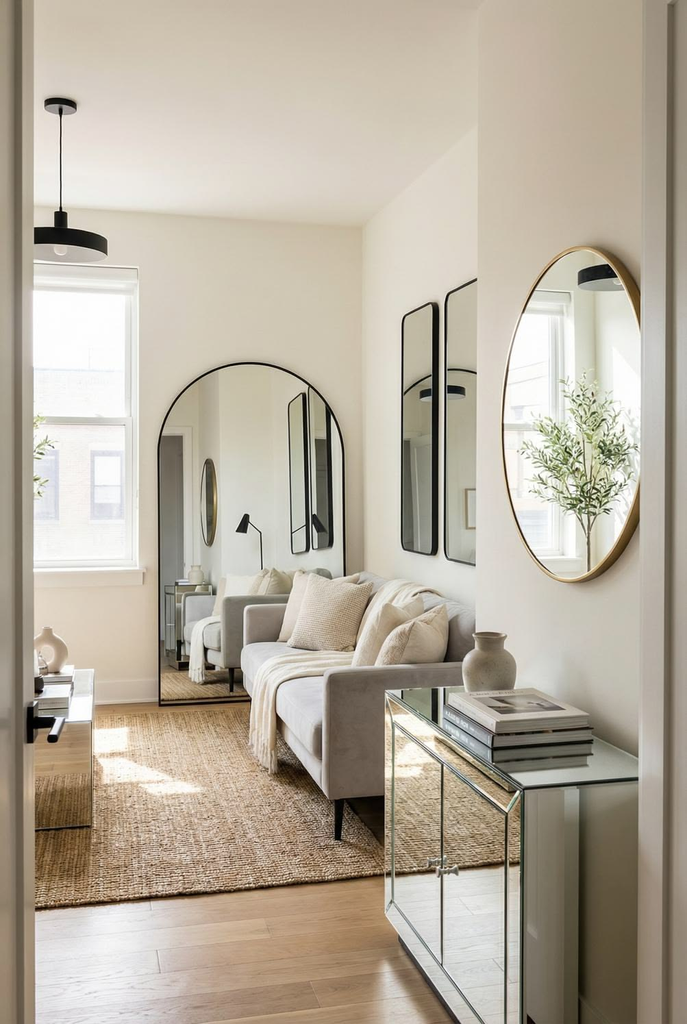
12. Use mirrors to add both light and depth
A large leaning floor mirror (not wall-mounted, so no drilling) reflects window light back into the room and makes a small space read larger in photos and in person.
This is one of the few tips on this list I’d call close to essential rather than optional — it’s genuinely one of the highest-impact, lowest-effort items here.
Furniture and Layout: Where People Waste the Most Money
13. Float furniture away from the walls
The instinct in a small space is to push everything against the walls to “save room,” but that actually makes furniture look like it’s hiding, and it wastes the visual center of the room.
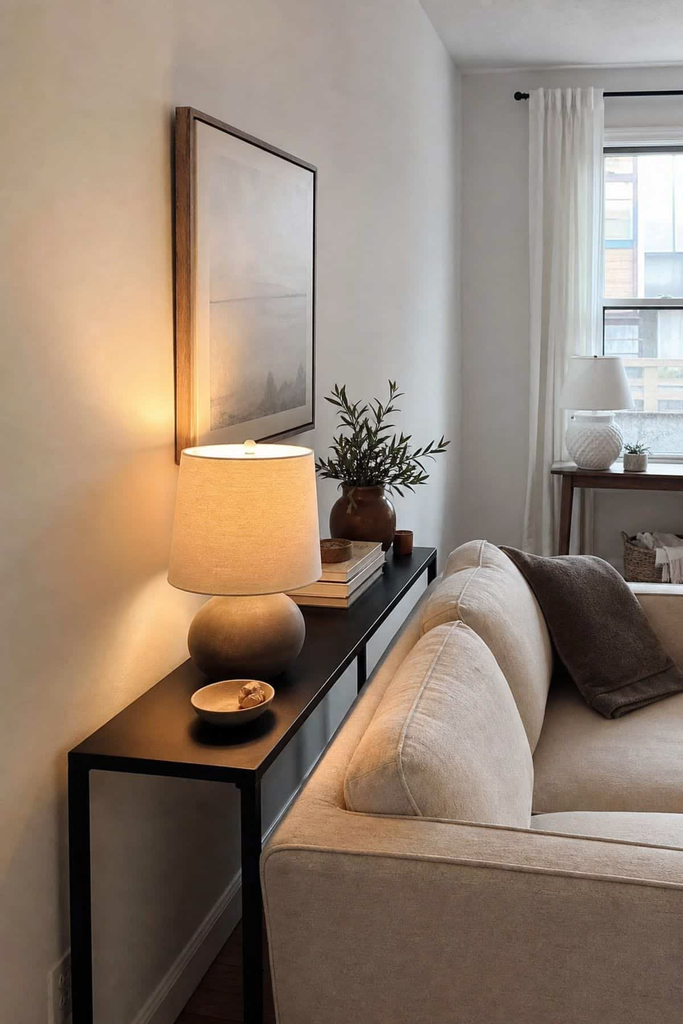
Pulling a couch even 6-8 inches off the wall, with a slim console table behind it, creates a more intentional layout and usually doesn’t cost you any real floor space.
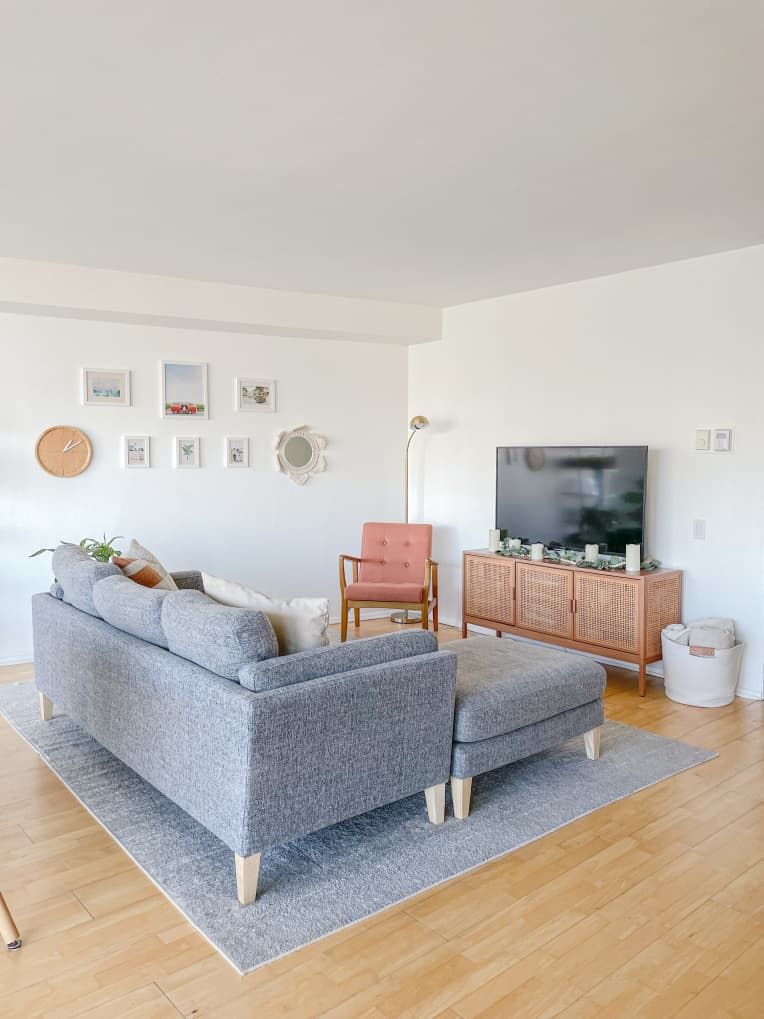
14. Choose furniture with visible legs
A couch or chair that sits flush to the floor (no visible legs, sometimes called a “skirted” style) visually eats floor space, because you can’t see under it.
Furniture with legs lets light and floor show through underneath, which makes the whole room feel more open — this is one of those things that sounds minor until you put two similar couches side by side and see the difference.
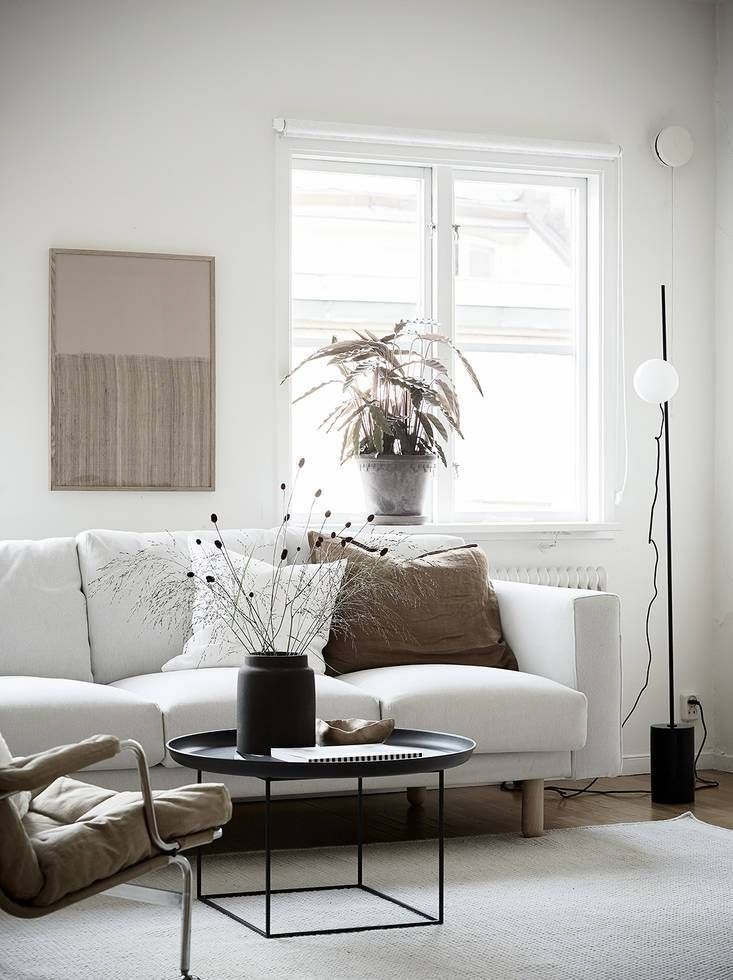
15. Get one “anchor” piece that’s slightly nicer than the rest
You don’t need everything to be expensive — you need one piece that clearly is. A solid-wood vintage dresser, a genuinely nice armchair, a real marble (not laminate) side table — one anchor piece raises the perceived value of everything around it.
I found my dresser at an estate sale for $45; it’s the reason my whole bedroom reads as “put together” even though half the room is IKEA.
| Anchor Piece Type | Approx. Secondhand Cost | Where to Find | Why It Works |
|---|---|---|---|
| Solid wood dresser or console | $40-120 | Estate sales, Facebook Marketplace | Real wood grain reads as quality instantly |
| Vintage armchair | $60-200 | Thrift stores, estate sales | Unique silhouette vs. mass-produced shapes |
| Real marble or stone side table | $30-90 (small pieces) | Marketplace, HomeGoods clearance | Cold, heavy material reads as expensive by feel alone |
| Vintage mirror in a real frame | $20-70 | Thrift stores, antique malls | Ornate real frames vs. thin plastic ones |
16. Use a console table behind the couch as a room divider
In a studio, a console table behind the couch (facing the “bedroom” side) creates a soft visual boundary between zones without an actual wall, which is the number one thing that makes studios look intentional instead of like one big undivided box.
Small Details That Punch Above Their Weight
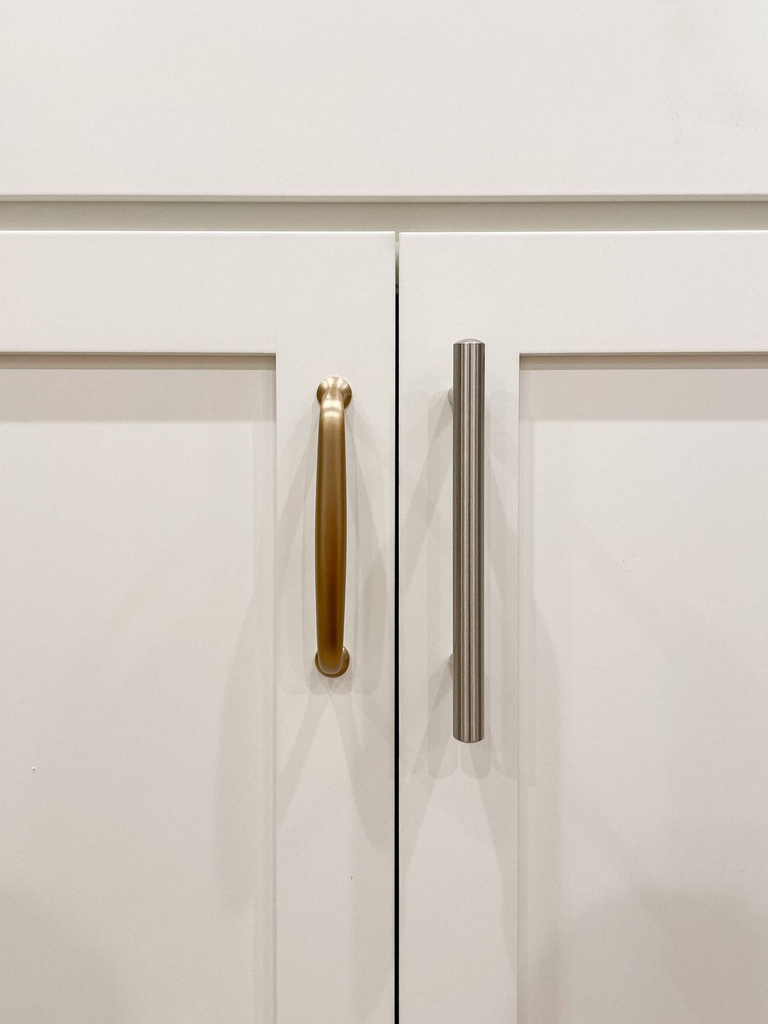
17. Swap cabinet and door hardware
New knobs and pulls on kitchen cabinets or a dresser is one of the highest-value, lowest-cost changes in the entire list — often under $30 for a full kitchen’s worth.
Keep your old hardware in a labeled bag for move-out. I did my kitchen cabinets for $22 total and it’s the one upgrade my landlord actually complimented during an inspection.
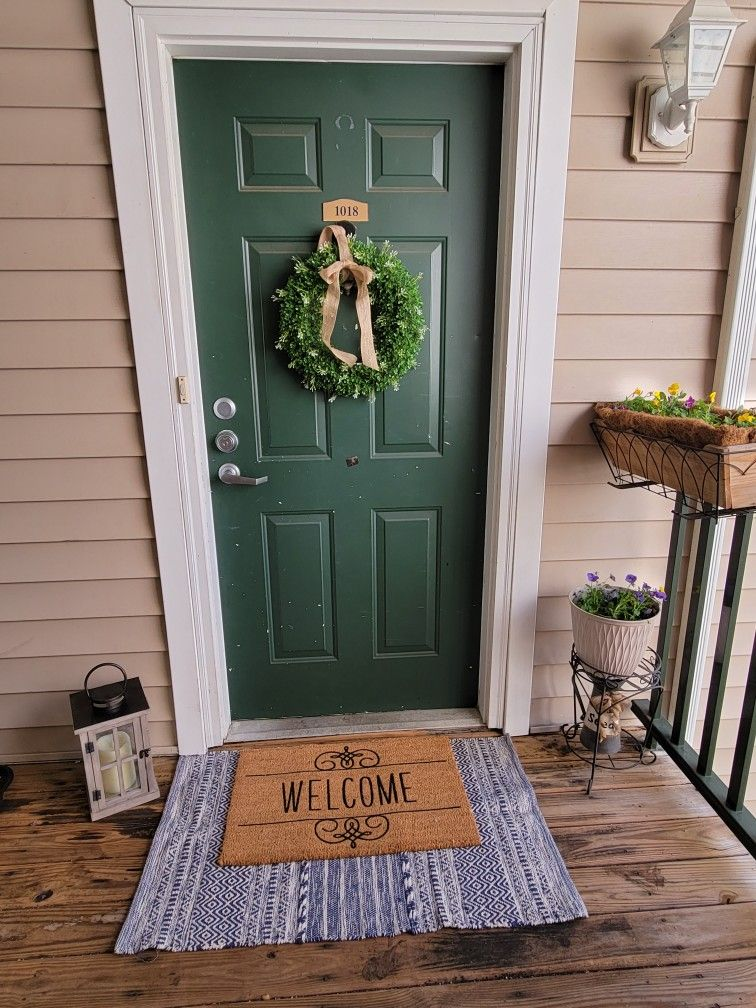
18. Add a door mat that isn’t the builder-basic coir rectangle
This sounds too small to matter, but a patterned or colored entry mat is one of the first things anyone sees, and the default beige coir mat is one of the biggest “nobody decorated this on purpose” signals there is.
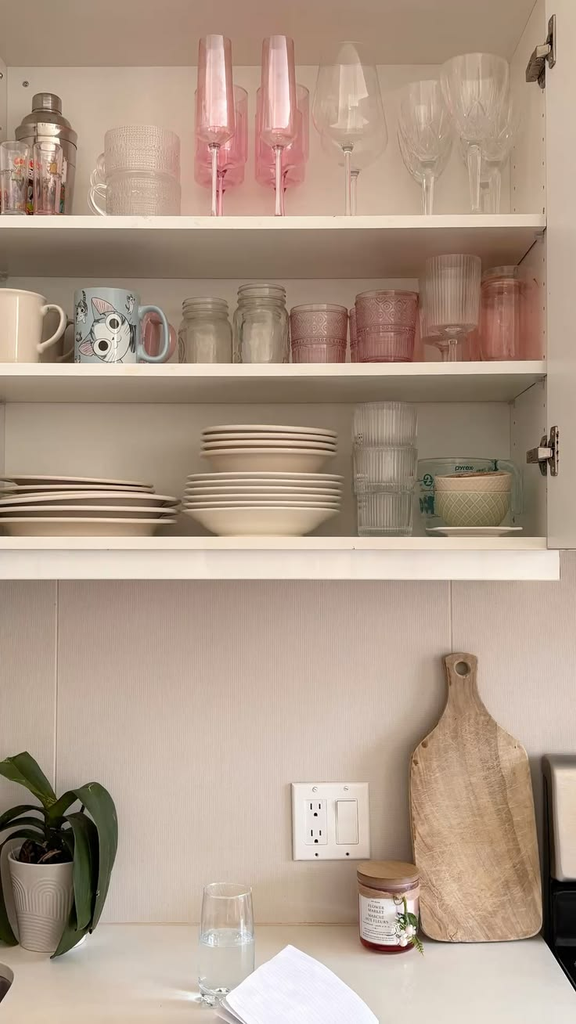
19. Replace clear glass drinking cups with something intentional
If you’re someone who has people over, open shelving or a bar cart with mismatched vintage glassware (thrifted, usually under $2 a piece) looks more collected than a matching Target set, and it’s genuinely cheaper if you’re patient about it.
20. Get real plants, even just one or two low-maintenance ones
Fake plants have gotten better, but they still read as fake up close, and guests notice. A single pothos or snake plant (both nearly impossible to kill, and both under $15 at most hardware stores) does more for a room’s “lived in and cared for” feeling than almost anything else on this list.
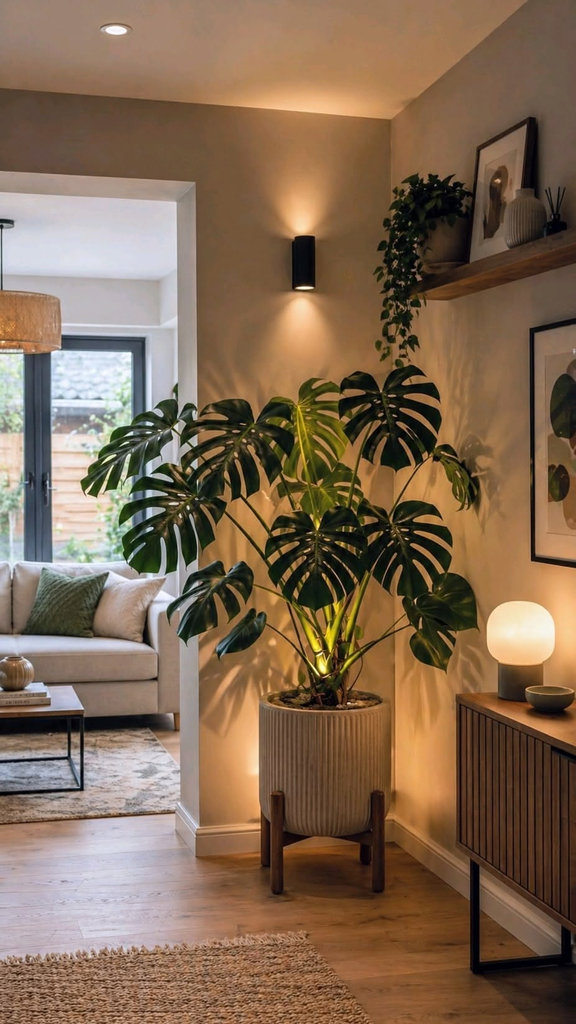
Pro tip: Put your plant in a real terra cotta or ceramic pot, not the plastic nursery pot it came in — this one swap, which costs about $8, is doing half the visual work.
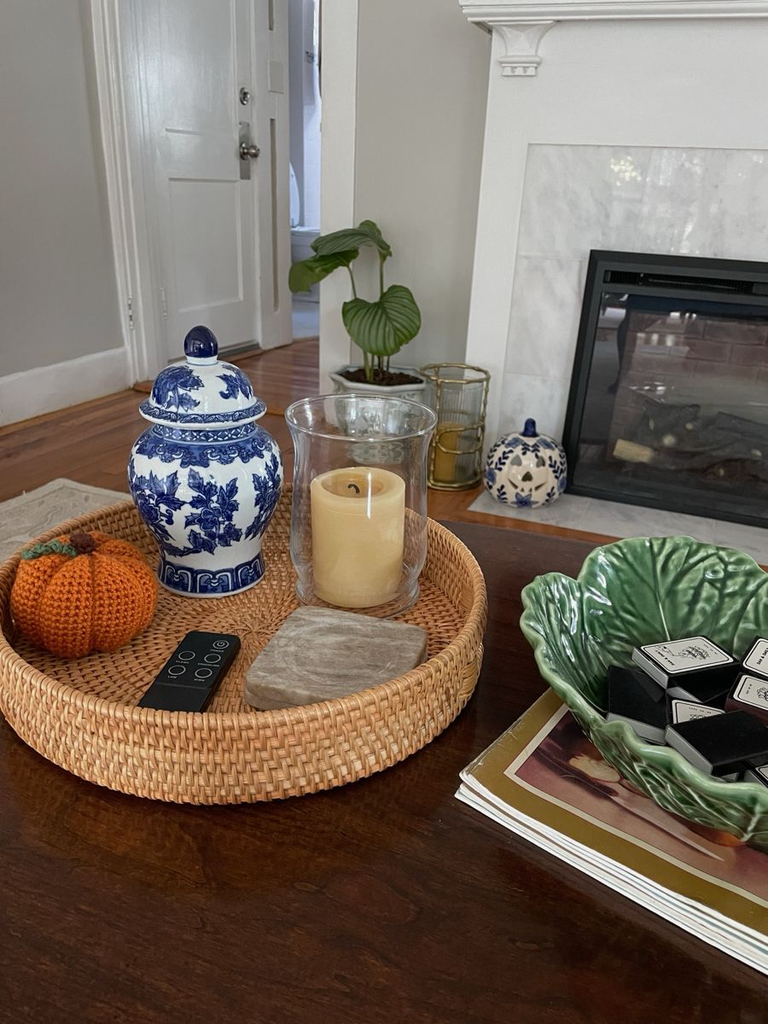
21. Use trays to group small objects on surfaces
A cluster of remote controls, chargers, and keys scattered across a coffee table reads as clutter. The same objects contained in a single tray reads as “styled.” This is a free reorganization if you already own a tray, or a $10 fix if you don’t.
Storage That Doubles as Decor
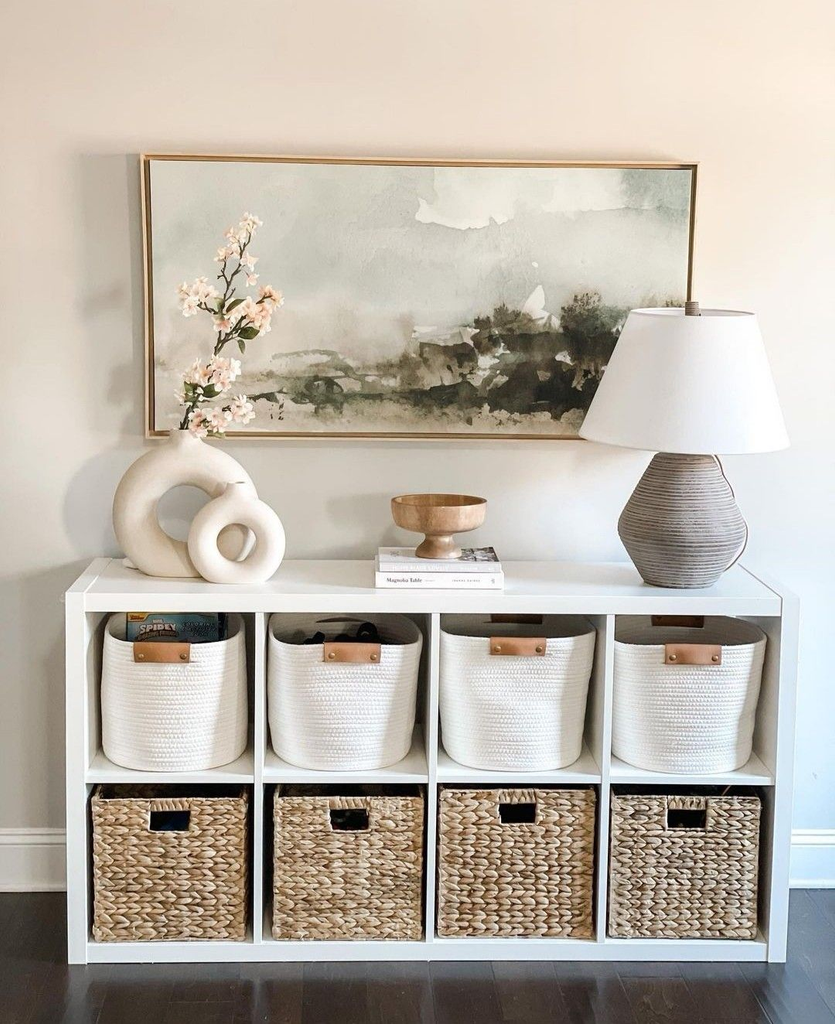
22. Use baskets instead of plastic bins for visible storage
If you need open storage (under a console, on open shelving), woven baskets read as intentional in a way that plastic bins never will, even though they often cost the same or less secondhand.
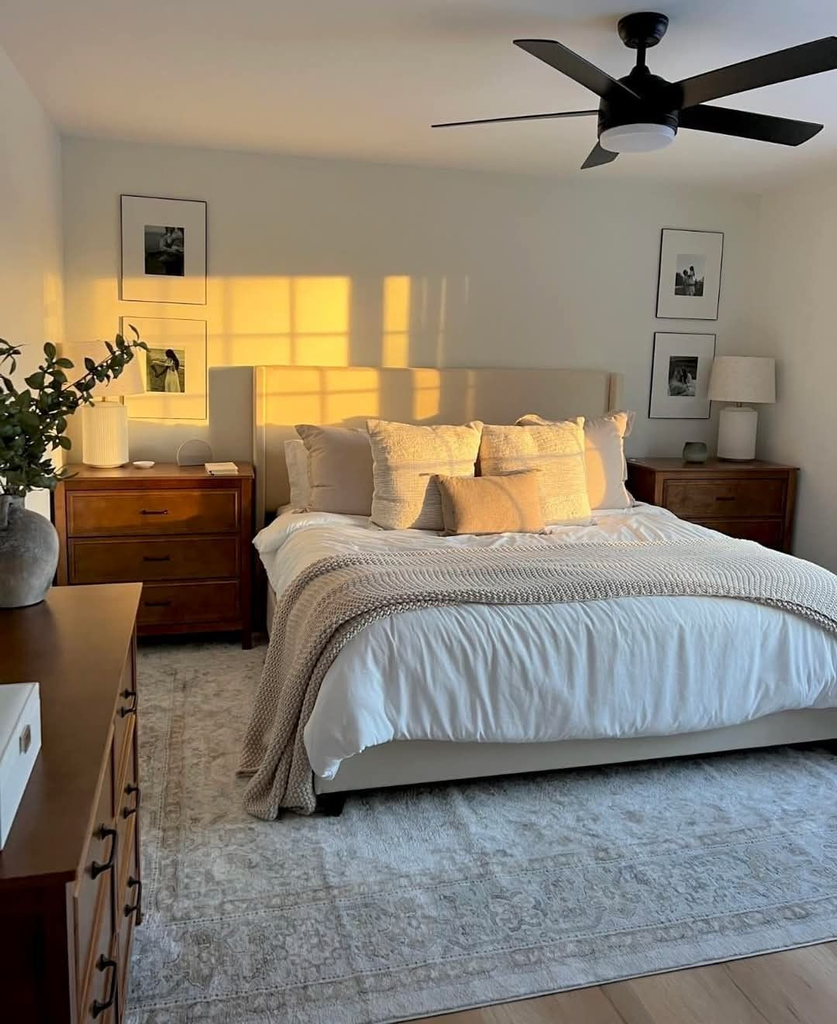
23. Get a bed frame with a headboard, even a cheap one
A mattress on a frame with no headboard is one of the fastest ways a bedroom reads as unfinished, even in a studio where the “bedroom” is really just a corner. A slim upholstered headboard (even a $60 one) anchors the whole sleeping area and makes it read as a real room, not a leftover corner.
24. Curtains that are too short are the fastest way to look cheap
Curtains that stop right at the windowsill, or worse, above it, make ceilings look lower and windows look smaller — this is nearly as common a mistake as the floating rug, and just as fixable.
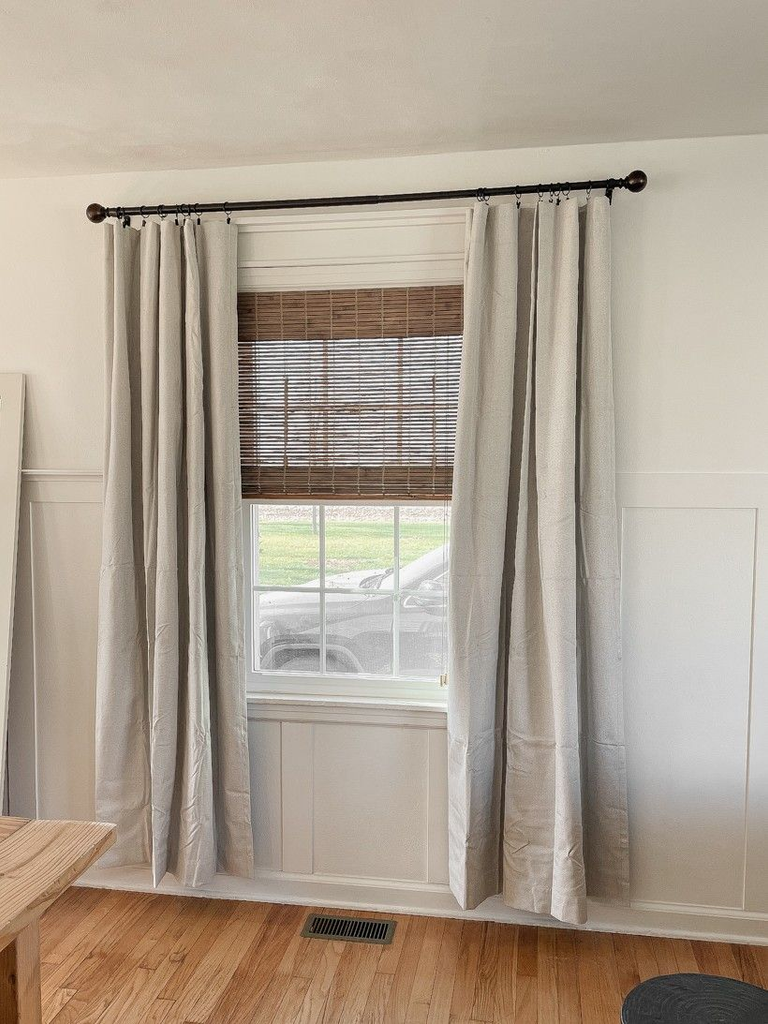
Curtain rods should be mounted as close to the ceiling as your window allows, and panels should graze the floor or puddle slightly, not hover a foot above it.
| Curtain Length Mistake | Visual Effect | Fix |
|---|---|---|
| Rod mounted right above window frame | Makes ceiling look low | Mount rod 4-6″ above frame, or higher |
| Panels stopping at windowsill | Makes window look small, cuts room height | Panels should reach the floor |
| Panels 2-3″ above floor | Reads as “almost right” but still off | Hem or size up so they graze the floor |
25. Repeat one color or material in three places
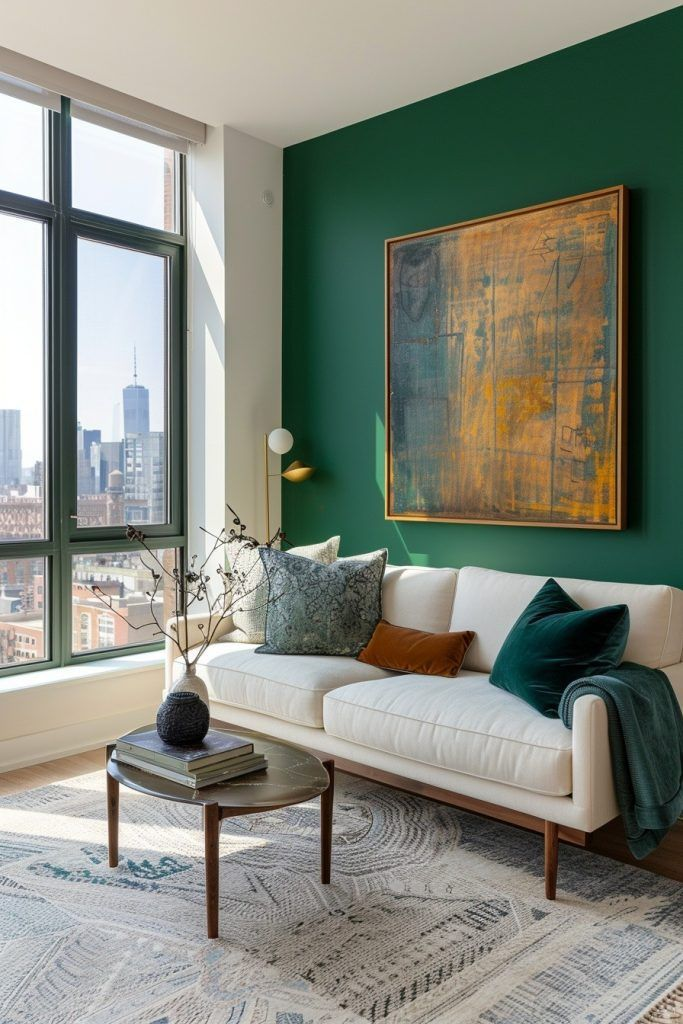
The single fastest way to make a room look “designed” rather than assembled piece-by-piece is to repeat one color, metal finish, or material at least three times around the room — brass in a lamp base, a picture frame, and a drawer pull, for example.
Rooms that feel expensive rarely have more than two or three metals or colors doing the visual heavy lifting; everything else supports them.
What I’d Actually Do First
If I were starting completely over in a new small apartment tomorrow, on a tight budget, I’d do these four things before anything else: swap the ceiling light, get a properly-sized rug, hang art at the right height, and add a floor mirror.
That’s it. Those four changes cost me under $150 combined the last time I did them, and they moved the needle more than the $600 couch ever did. The actual secret, if there is one, isn’t any single item on this list — it’s that expensive-looking rooms have fewer, more deliberate choices instead of more stuff.
Small apartments punish clutter and reward restraint in a way bigger homes don’t, because there’s nowhere for a bad decision to hide. Start with light and scale, add texture, and let one or two pieces actually be nice instead of trying to make everything look nice at once.


Leave a Reply