
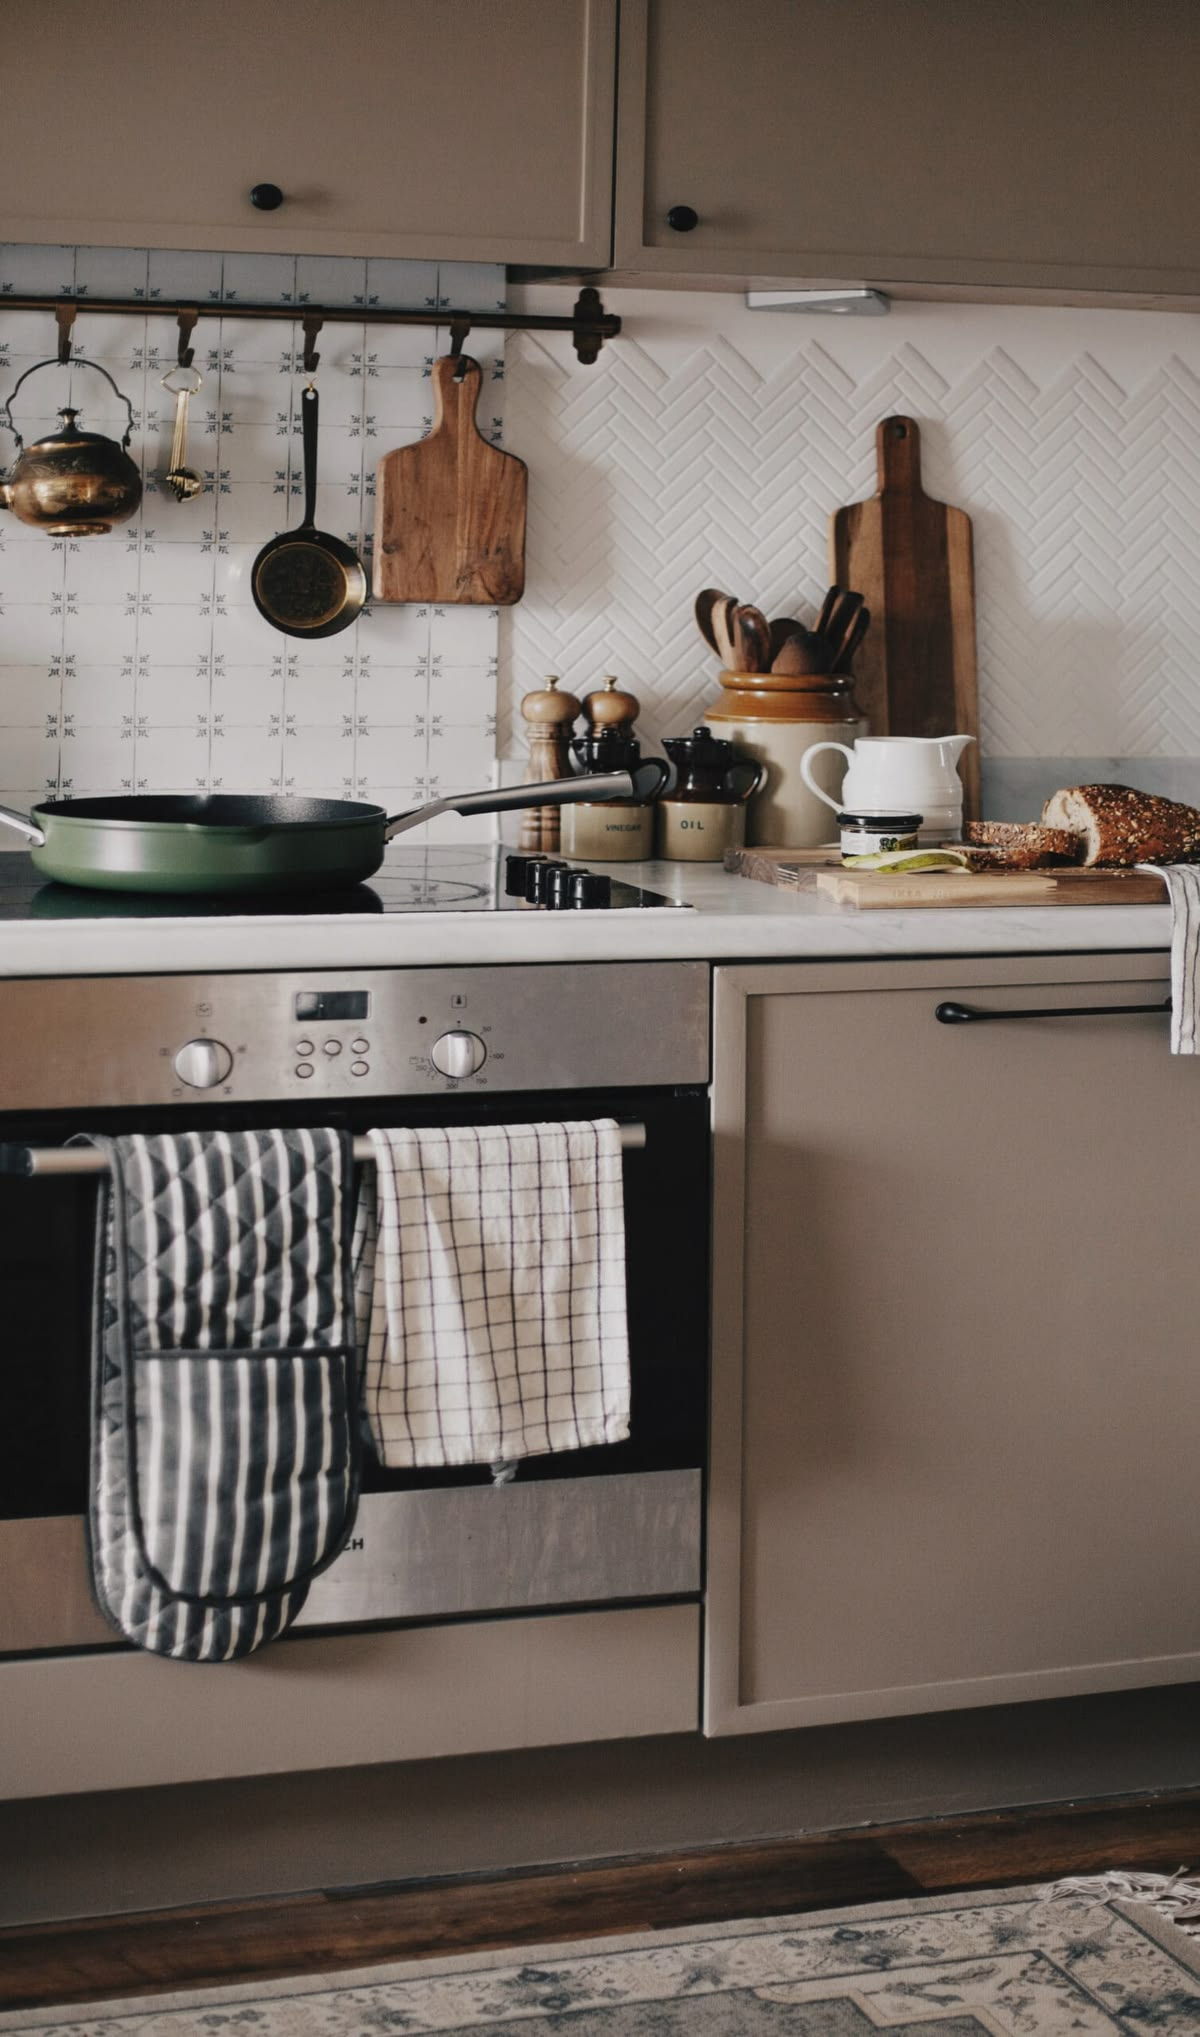
I lived with a kitchen backsplash I genuinely hated for two full years before I found out peel-and-stick tile existed, and I still think about the wasted time every time I walk past it in photos from that apartment.
It was builder-grade beige tile, completely fine, completely not mine, and I’d assumed changing anything about a rental kitchen meant either asking permission I probably wouldn’t get or doing something semi-permanent I’d lose my deposit over.
Neither of those was true, and once I figured that out, my kitchen went from “the landlord’s” to actually feeling like mine in about a weekend.
Renter-friendly kitchen upgrades are honestly one of the most underrated categories of apartment decor, because kitchens get treated like the one room you’re just supposed to live with as-is until you own a place.
That’s a waste, especially since a rental kitchen is usually the room you spend the most cumulative time in, whether or not you love cooking. The upgrades on this list all share one requirement: they come off clean at move-out, whether that means a full security deposit back or just not leaving a mark for the next tenant.
I’ve grouped these by the part of the kitchen they upgrade — backsplash and walls, cabinets and hardware, lighting, storage, countertops, and the smaller finishing details — because most kitchens have two or three of these categories doing the most visual heavy lifting, and it’s worth focusing there before trying to touch everything at once.
Backsplash and Wall Upgrades That Come Off Clean
1. Peel-and-stick backsplash tile
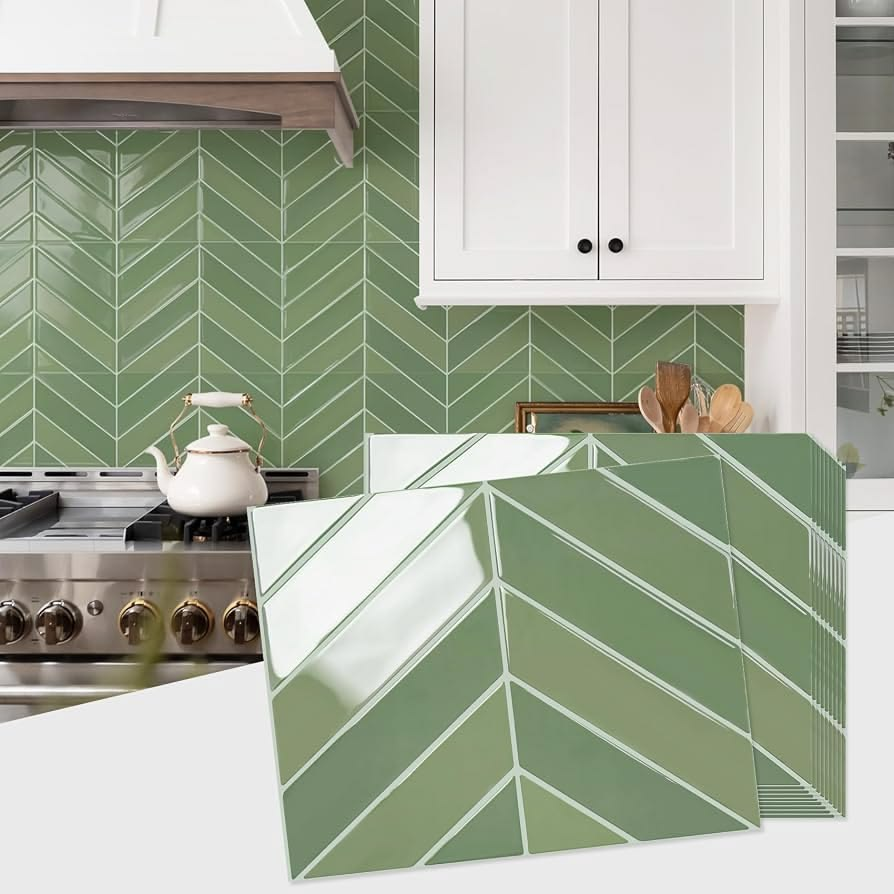
This is the single highest-impact renter-friendly kitchen upgrade on the entire list, and it’s the one that finally fixed my beige-tile situation.
Peel-and-stick tile applies directly over most existing backsplash tile or a painted wall, and a good-quality version can genuinely pass for real tile from a normal viewing distance, which is more than I expected the first time I tried it.
The trade-off is real, though — cheaper peel-and-stick tile can start to lift at the edges near a stove or sink where heat and moisture are highest, so it’s worth spending a bit more for a heat-and-water-resistant version specifically in those zones, even if you go cheaper elsewhere on the wall.
Pro tip: Clean the wall with rubbing alcohol, not just soap and water, before applying any peel-and-stick product — grease buildup near a stove is often invisible to the eye but is the number one reason people report tiles not sticking well or peeling within a few months.
2. Removable wallpaper on an accent wall or pantry door
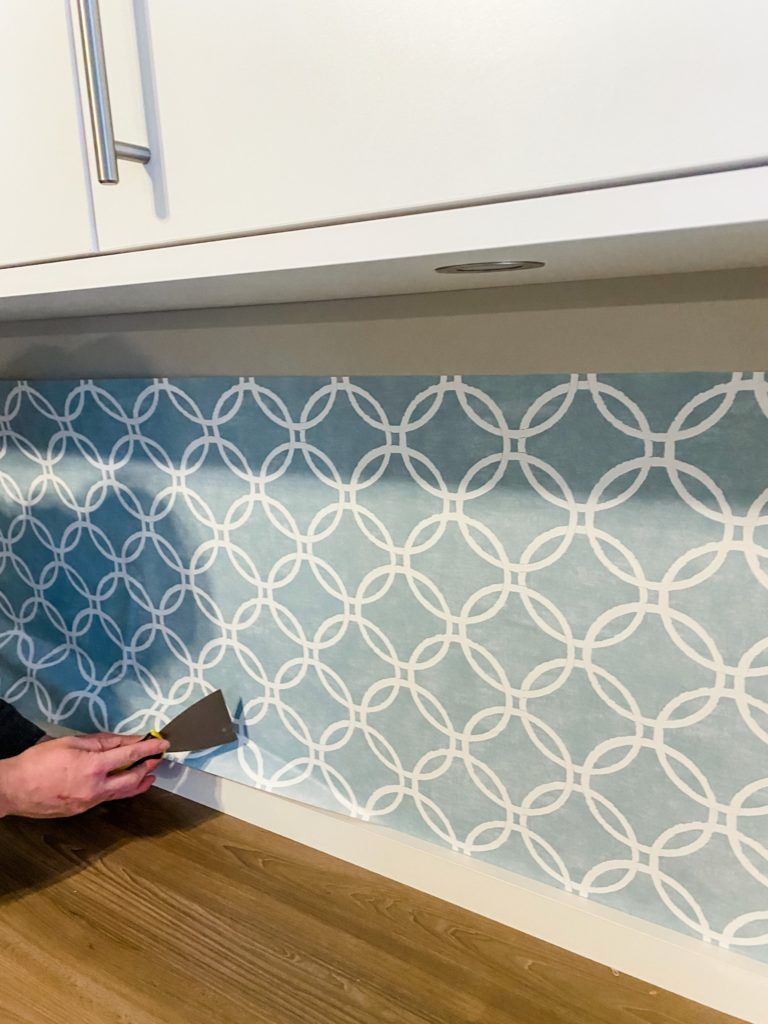
A small section of peel-and-stick wallpaper, applied to a pantry door or a single accent wall, gives a kitchen real pattern and color without committing to paint, which most leases restrict anyway.
This works especially well on the inside of a pantry door, since it’s a low-risk spot to experiment with a bolder pattern than you might choose for a fully visible wall.
3. Window clings for a kitchen window
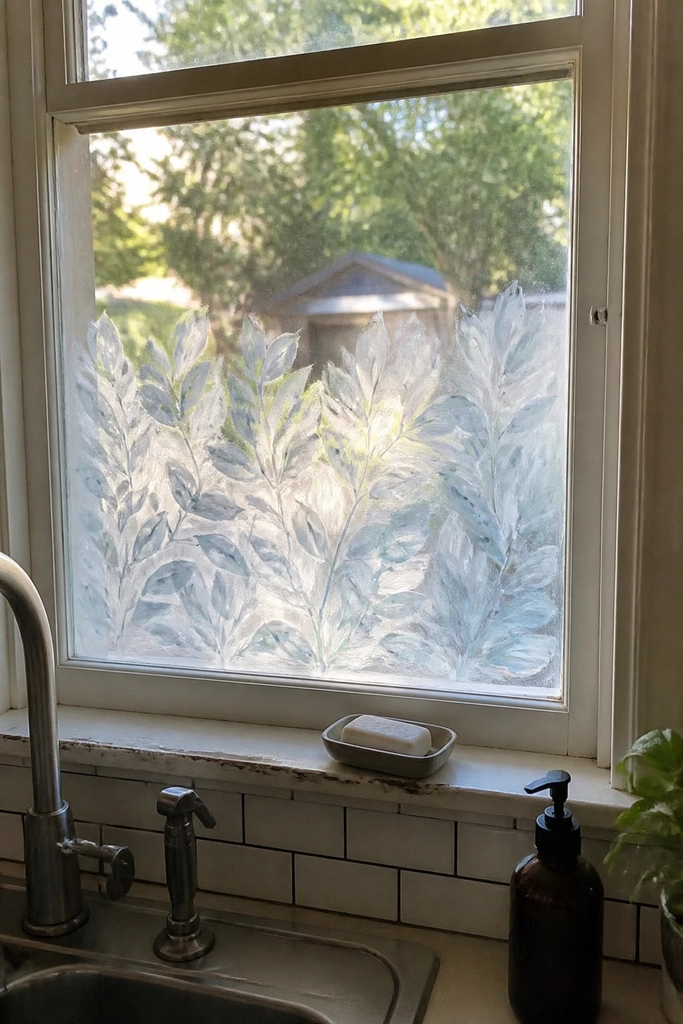
A frosted or patterned window cling adds privacy or just visual interest to a kitchen window without any hardware, curtains, or blinds needed, and it removes in one clean peel at move-out.
This is a good option specifically for a kitchen window that faces a shared hallway or a close neighboring building where you want some visual privacy without blocking natural light entirely.
| Removable Wall/Surface Upgrade | Cost Range | Ease of Removal | Best For |
|---|---|---|---|
| Peel-and-stick backsplash tile | $25-$60 per section | Moderate — some residue possible near heat sources | Full backsplash transformation |
| Removable wallpaper | $15-$40 per roll | Easy, clean peel if applied correctly | Accent walls, pantry doors |
| Window clings | $10-$25 | Very easy, no residue | Privacy or light diffusion |
| Contact paper (shelf liner) | $8-$15 per roll | Easy | Cabinet interiors, drawer lining |
| Cabinet decals | $10-$30 | Easy to moderate | Small accent details on cabinet fronts |
Cabinets and Hardware: The Fastest Visual Transformation
4. Swap-and-save cabinet hardware
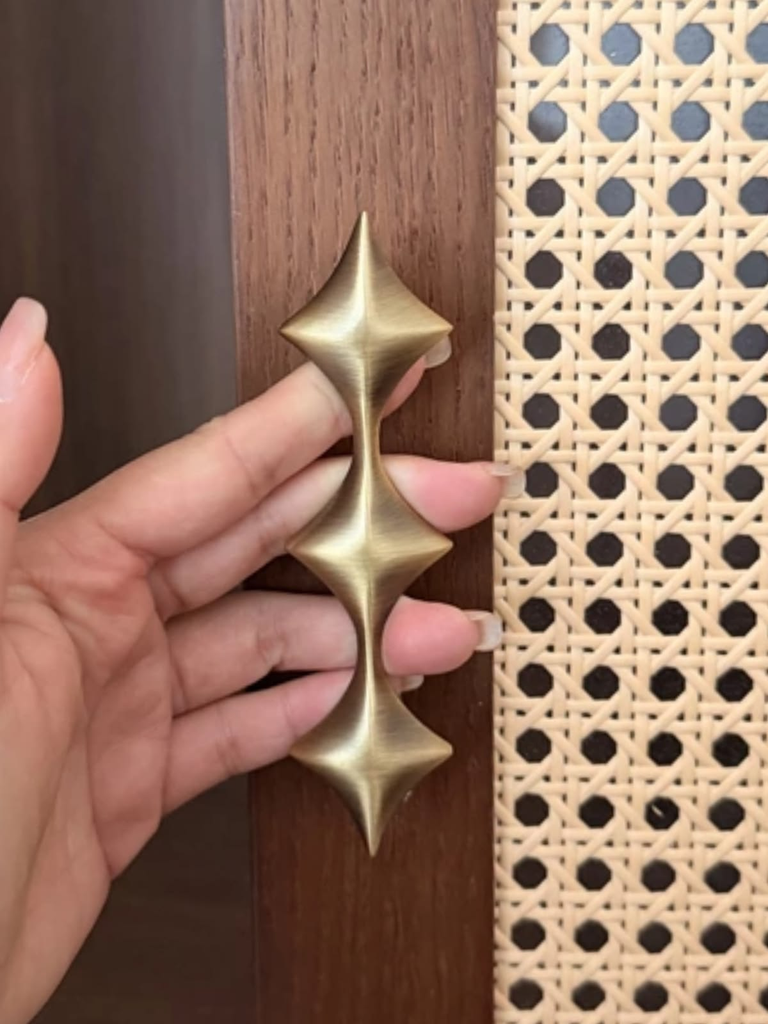
Replacing your cabinet knobs and pulls with a style you actually like is one of the fastest ways to change how an entire kitchen feels, and it’s completely reversible as long as you keep the original hardware in a labeled bag somewhere safe. This is the upgrade with the best ratio of visual impact to effort on this whole list.
My friend Teresa swapped her rental’s brass knobs for matte black pulls in an evening and texted me before-and-after photos that looked like a completely different kitchen, for around $40 total. She still has the original brass knobs in a ziplock bag in a drawer, ready to go back in the day she moves out.
Pro tip: Take a photo of the exact original knob placement and hole spacing before removing anything — if your new hardware uses a different screw spacing, you’ll want that reference to make sure everything lines back up perfectly when you reinstall the originals later.
5. Cabinet door decals or trim accents
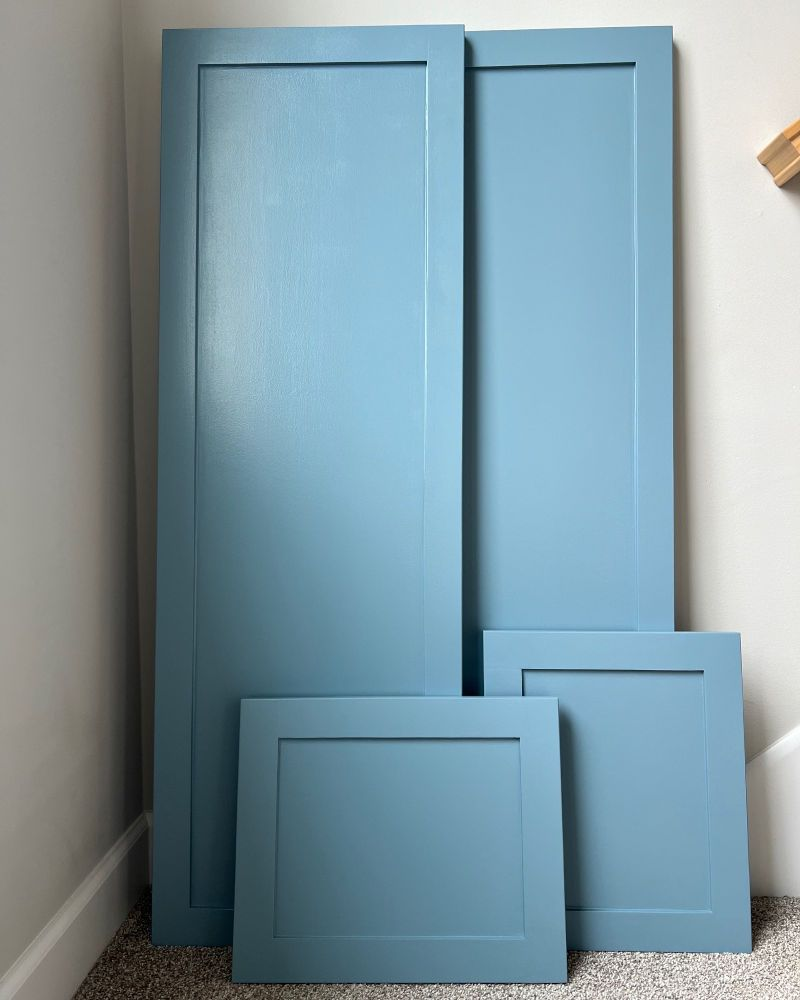
Small adhesive decals or trim pieces applied to plain cabinet fronts can mimic the look of shaker-style or paneled cabinets on flat, builder-grade doors, adding dimension without any actual carpentry or painting.
This is a subtler upgrade than swapping hardware, but it works well layered on top of a hardware swap for a more complete transformation.
6. Adhesive cabinet soft-close bumpers
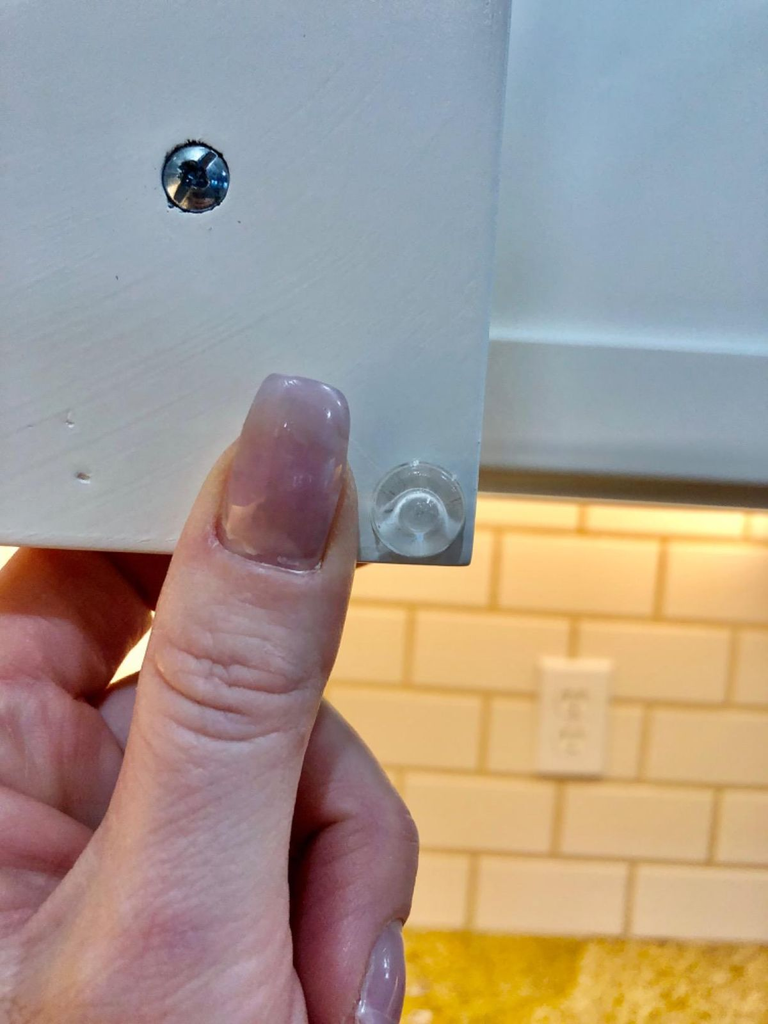
This is less about looks and more about the daily experience of your kitchen — small adhesive bumpers on cabinet doors and drawers stop the loud slamming sound that a lot of rental cabinets have, and they cost almost nothing.
It’s a small, cheap fix that genuinely changes how a kitchen feels to use every single day, which is more than most decor purchases can claim.
Pro tip: Replace bumpers every year or so — the adhesive and the foam itself can wear down faster than people expect with daily use, and a worn-out bumper stops doing its job well before it visibly falls off.
Lighting Upgrades With Zero Wiring Required
7. Stick-on LED under-cabinet lighting
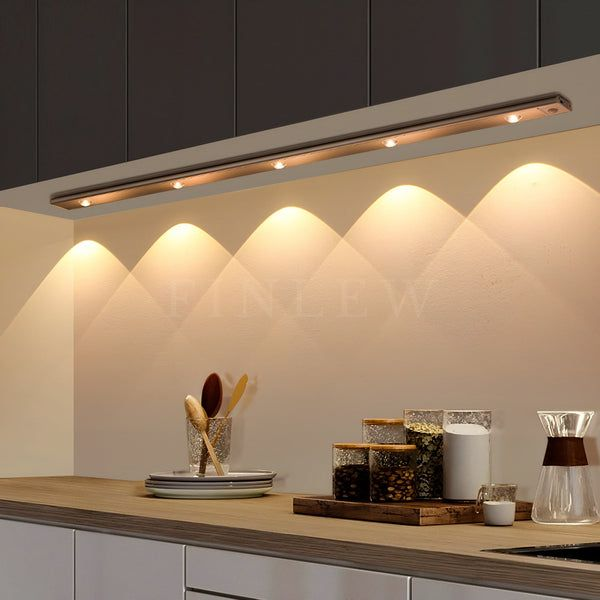
Battery or USB-powered LED strips that stick under upper cabinets add real task lighting over a counter or stove, solving the dim, shadowed counter problem that a lot of rental kitchens have from relying on a single overhead fixture.
These use adhesive mounting, so there’s no electrician or wiring involved, and they peel off clean at move-out.
Pro tip: Get a version with a built-in dimmer or multiple brightness settings rather than a single on-off switch — bright task lighting for chopping vegetables and a softer glow for late-night snacking are genuinely different use cases, and one brightness setting won’t cover both well.
8. A plug-in pendant light kit
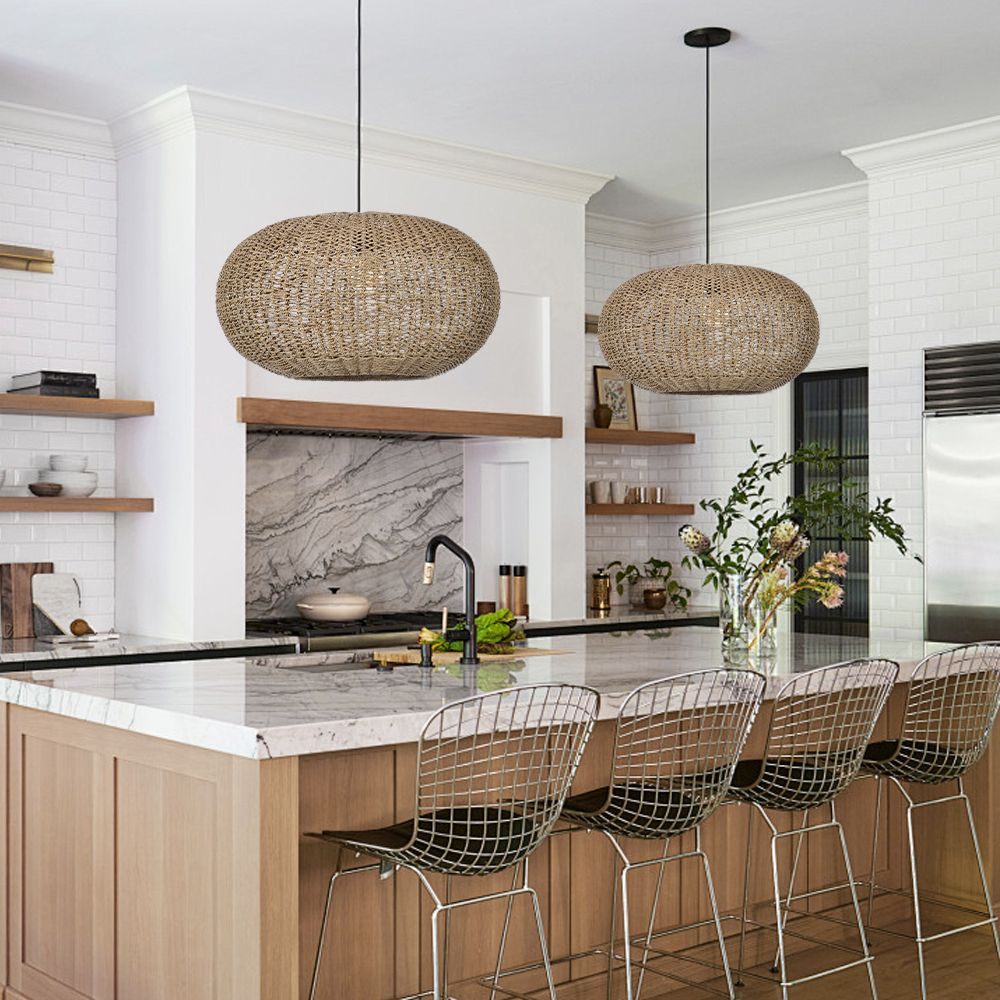
For kitchens with an awkward or nonexistent overhead light source, a plug-in pendant kit lets you hang a real light fixture from a hook, with the cord run along the ceiling to a nearby outlet, without any hardwiring.
It’s a bigger project than the stick-on LED strips, but it solves a genuinely bigger lighting problem for kitchens that only have one weak overhead bulb.
Storage and Organization That Doesn’t Touch a Single Wall
9. A freestanding rolling kitchen island or cart
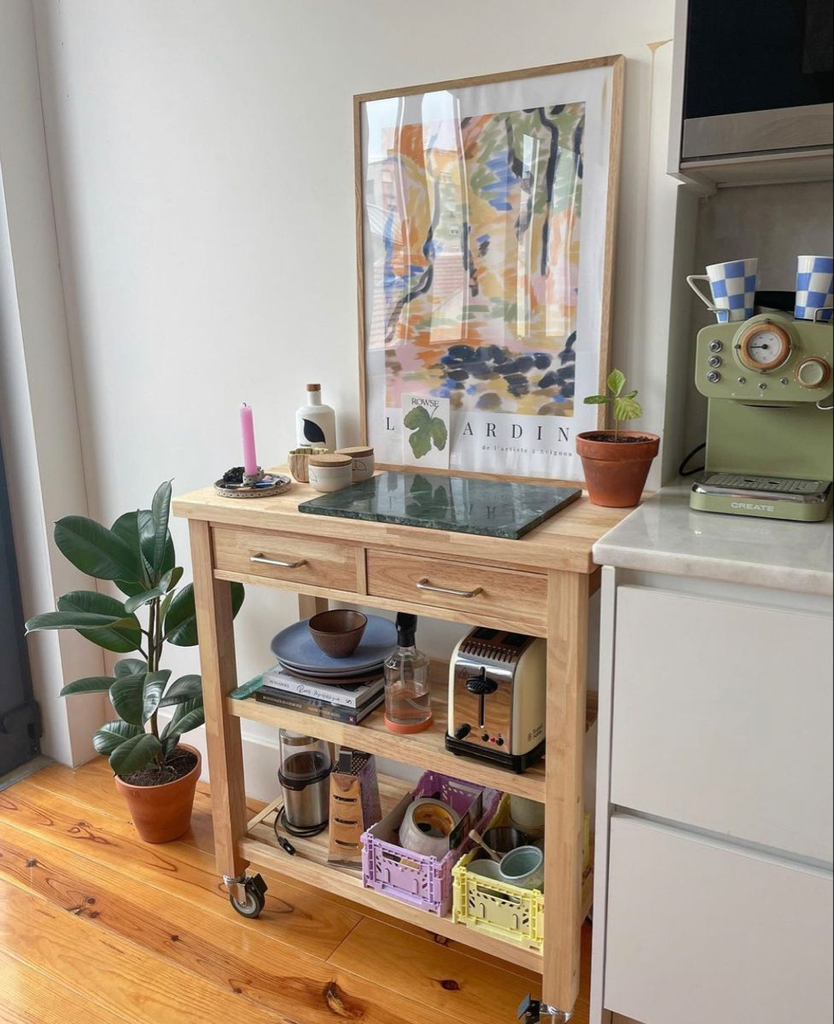
A cart on wheels adds counter space, storage, and sometimes a small built-in cutting surface, all without installing anything, and it rolls wherever you need extra workspace at any given moment.
This is one of the best upgrades for a small rental kitchen specifically, since most rental kitchens are genuinely short on counter space to begin with.
Pro tip: Measure your kitchen’s actual walking clearance before buying a cart, not just the cart’s footprint on paper — a cart that fits when empty can suddenly feel like it’s blocking the whole kitchen once it’s loaded with items and you’re trying to move around it while cooking.
10. A tension rod organizer under the sink
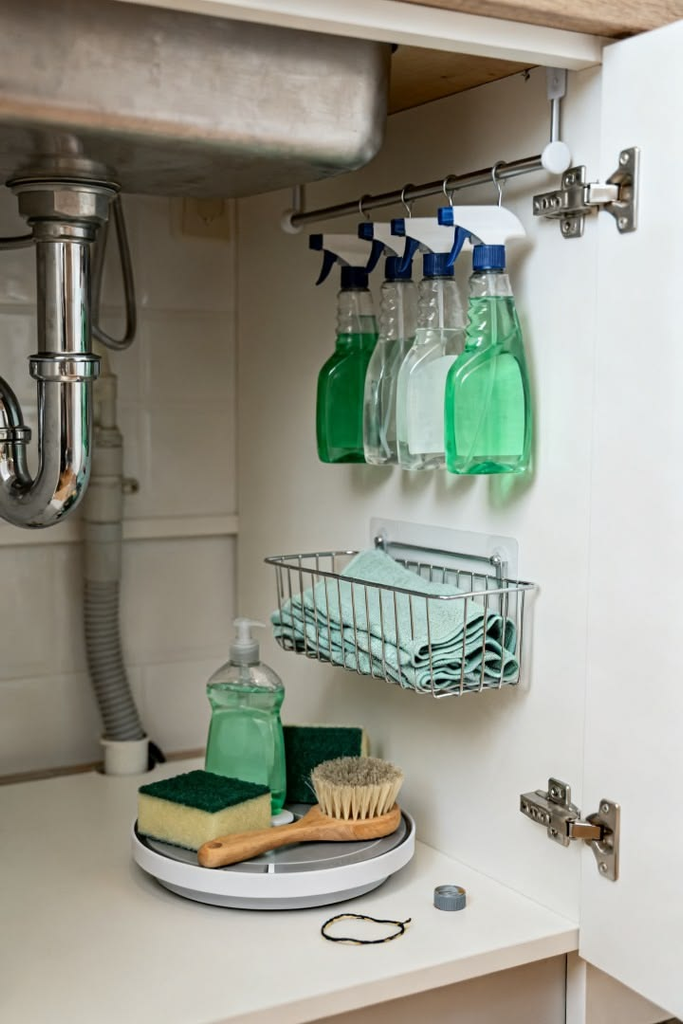
The same tension rod trick that works in a closet or bathroom works just as well under a kitchen sink, creating a second-tier hanging spot for spray bottles so they’re not just piled at the bottom, tipping over every time you reach past them for something else.
11. A tension rod for upright pot lid storage
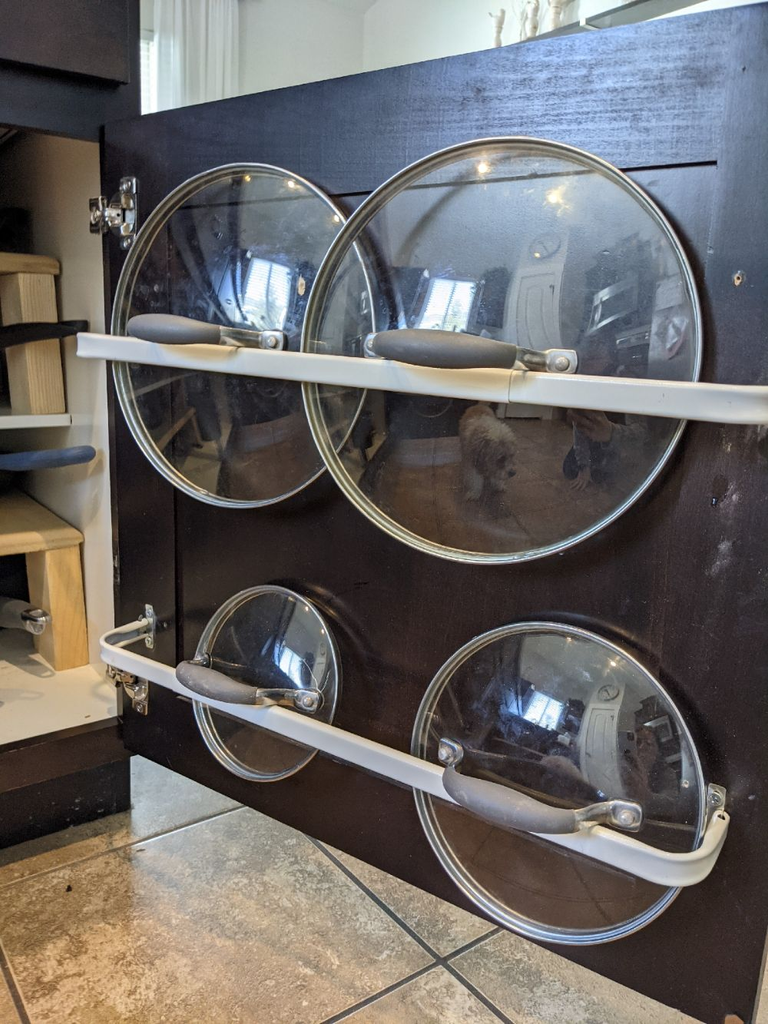
Mounted vertically inside a cabinet, a tension rod can hold pot lids upright and organized instead of stacked loosely and sliding around every time you open the cabinet door.
It’s a two-dollar fix for a genuinely annoying daily frustration in almost every kitchen I’ve ever lived in.
12. A freestanding open shelving unit
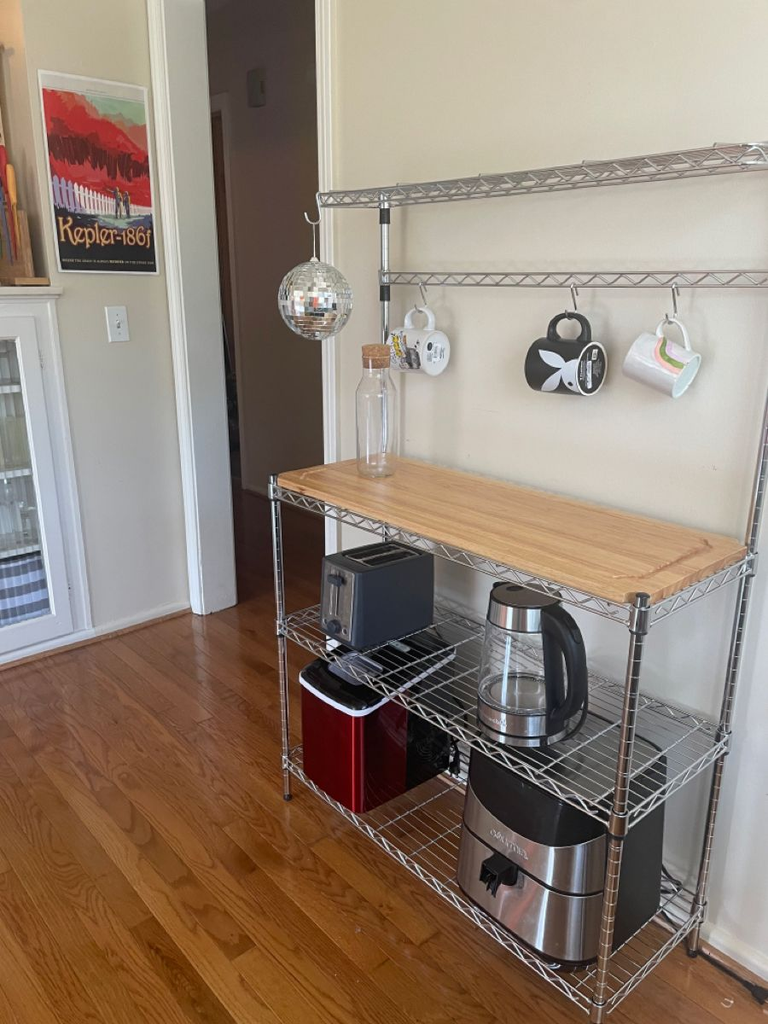
Rather than installing floating shelves that require drilling into the wall, a freestanding shelving unit gives you the same open-shelf aesthetic and extra storage while remaining completely portable — it moves with you, and it never touches the wall at all.
13. A freestanding pantry shelving unit for a kitchen with no pantry
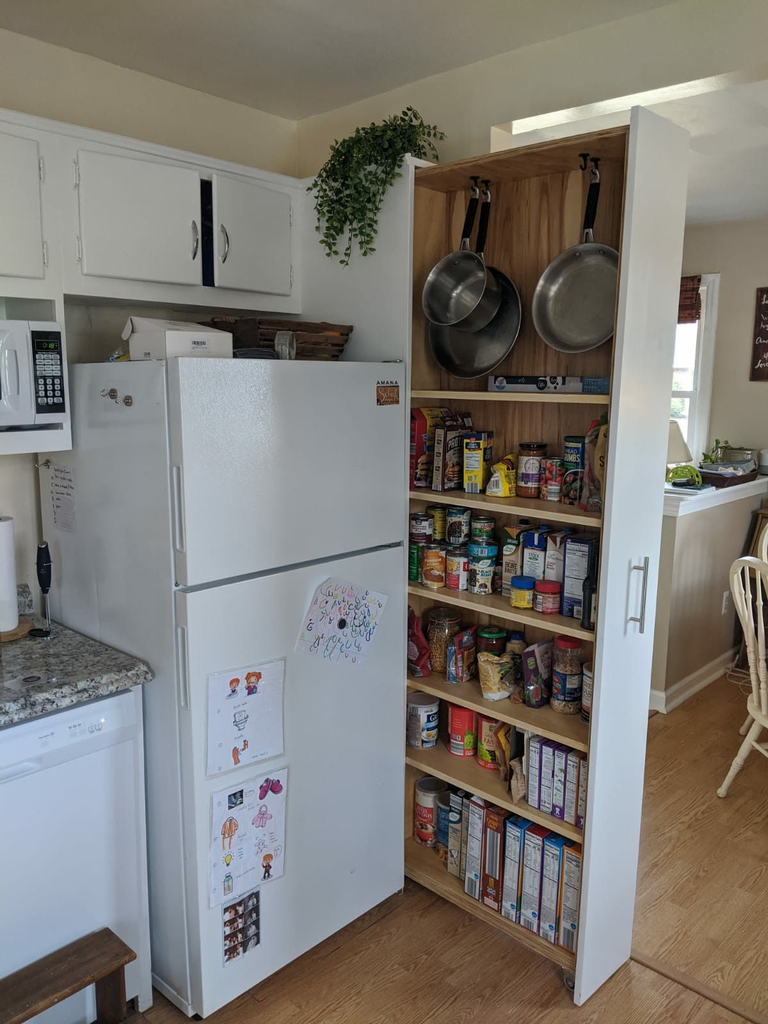
A lot of small rental kitchens don’t have a dedicated pantry closet at all, and a freestanding, narrow pantry-style shelving unit solves that gap without any installation.
It’s specifically worth looking for a narrow, deep version if your kitchen is tight on floor space, since a few extra inches of depth matters less than a few extra inches of width in a cramped kitchen.
14. Non-permanent roll-out drawer organizer inserts
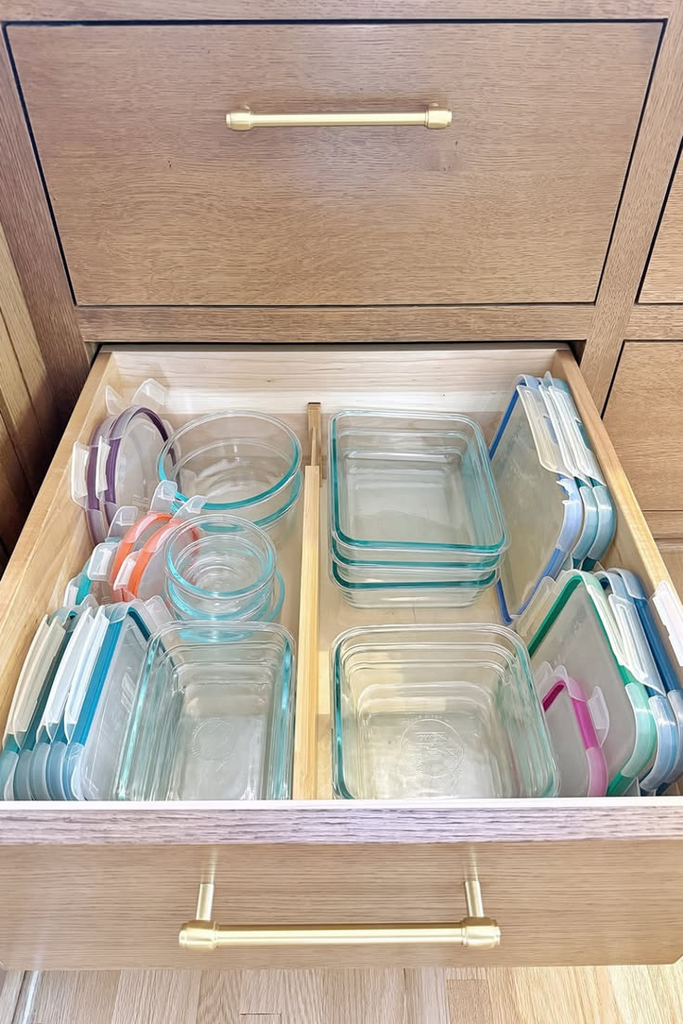
Drop-in drawer dividers and roll-out trays that sit inside your existing drawers rather than being screwed or mounted in place give you real organization without modifying the drawer itself.
These transfer easily to your next kitchen’s drawers as long as the dimensions are reasonably close.
Pro tip: Measure your specific drawer depth, not just width, before buying inserts — a lot of people focus on width fitting and end up with an insert that’s too tall for a shallow drawer to fully close.
Countertop and Surface Upgrades
15. Peel-and-stick countertop contact paper
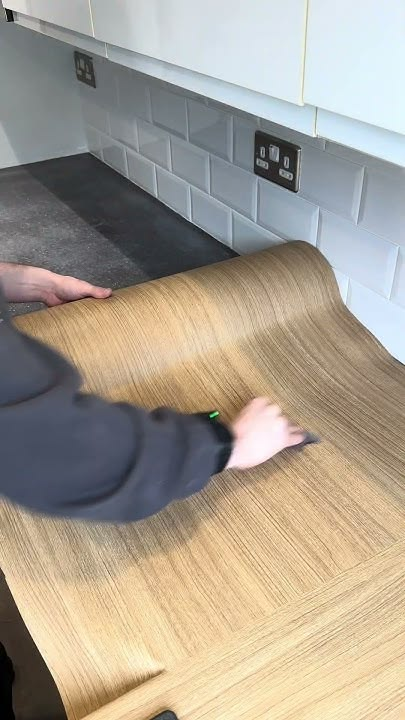
A textured, faux-stone or faux-wood contact paper applied directly over an existing laminate countertop can genuinely change the whole visual feel of a kitchen for very little money, and it removes cleanly at move-out as long as the original countertop surface is in decent condition underneath.
The honest limitation here is durability — this isn’t a surface you should cut directly on or set genuinely hot pans on, so it works best as a look-and-feel upgrade paired with a cutting board and trivets for actual food prep, not a full replacement for careful countertop habits.
Pro tip: Practice your first application on a small, hidden section, like under an overhang or near the back wall, before doing the full visible counter — contact paper application has a real learning curve for avoiding air bubbles, and it’s much better to make that mistake somewhere nobody will see it.
16. A large cutting board that doubles as counter cover
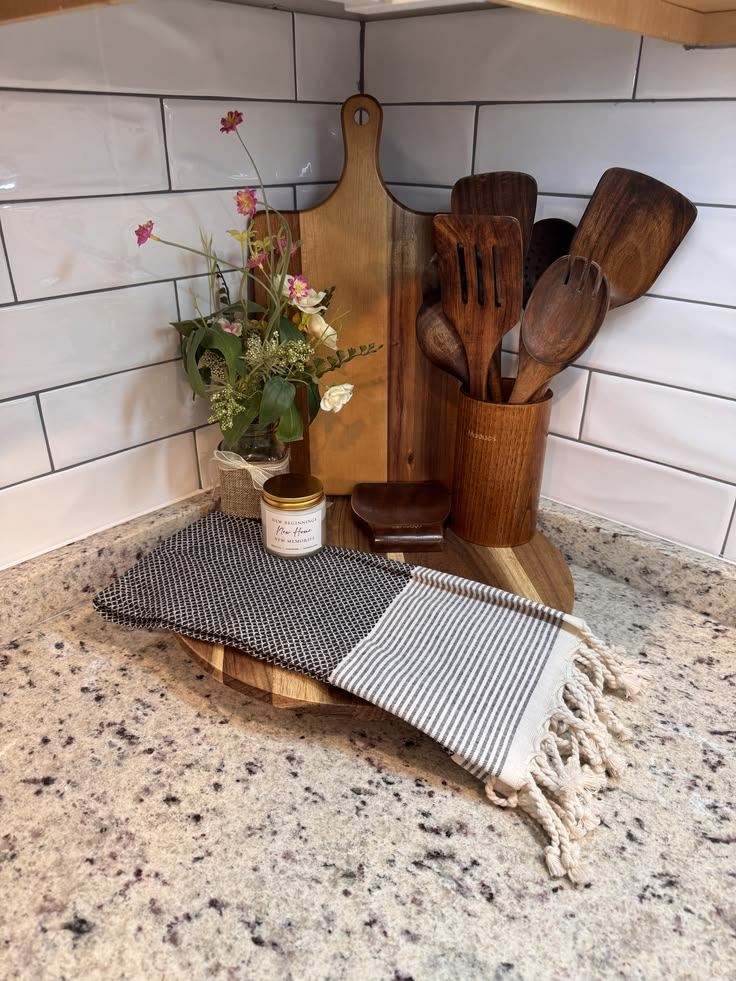
A well-made, oversized wood or bamboo cutting board that spans most of a small section of counter can visually upgrade a worn countertop simply by covering it during the times you’re not actively cooking, functioning as both a display piece and genuine kitchen tool.
Small Fixtures and Finishing Details
17. A faucet aerator or filter attachment
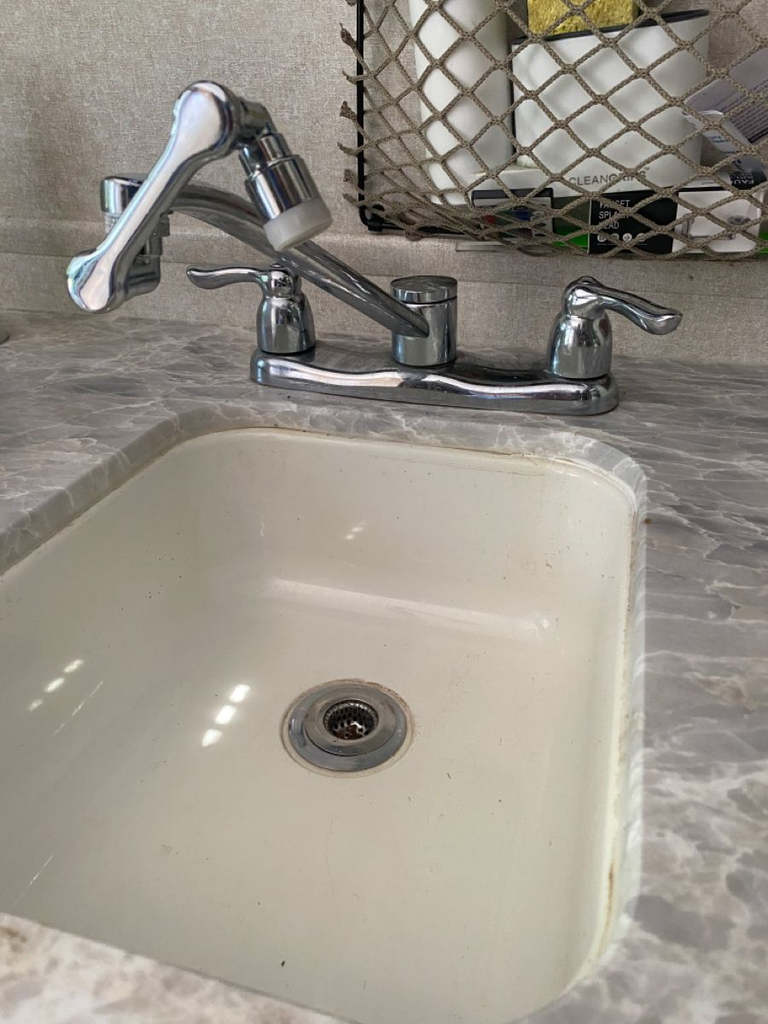
A screw-on aerator or filtration attachment improves water flow or taste without any plumbing work, and it unscrews just as easily when you move out, leaving the original fixture completely untouched underneath.
18. A magnetic knife strip on the side of the fridge
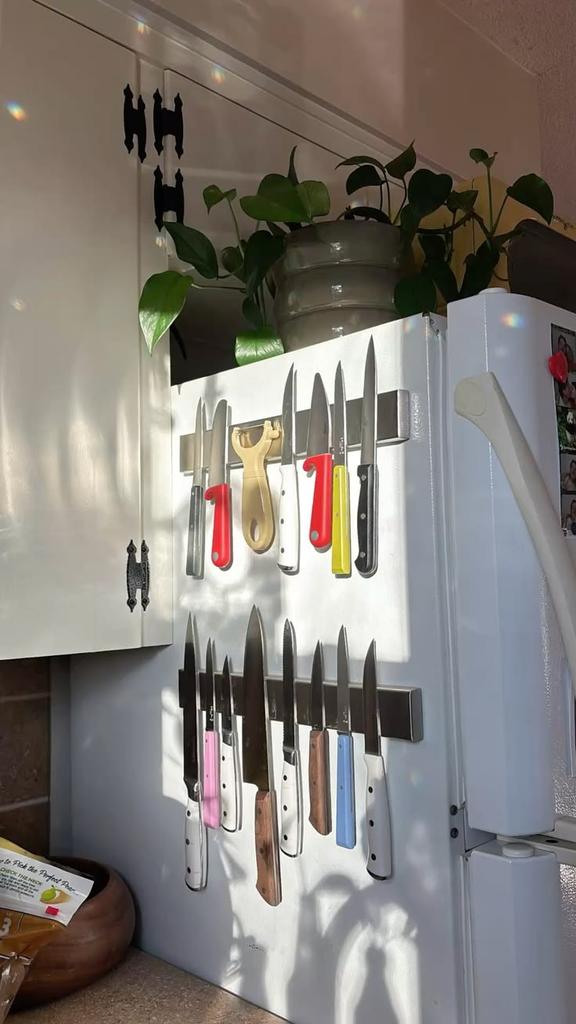
Rather than mounting a magnetic strip to a wall, sticking one to the side of your refrigerator using strong adhesive or a magnetic backing gives you the same accessible knife storage without touching the wall at all, and it moves with the fridge if you ever need to rearrange.
19. A magnetic spice rack for the fridge side
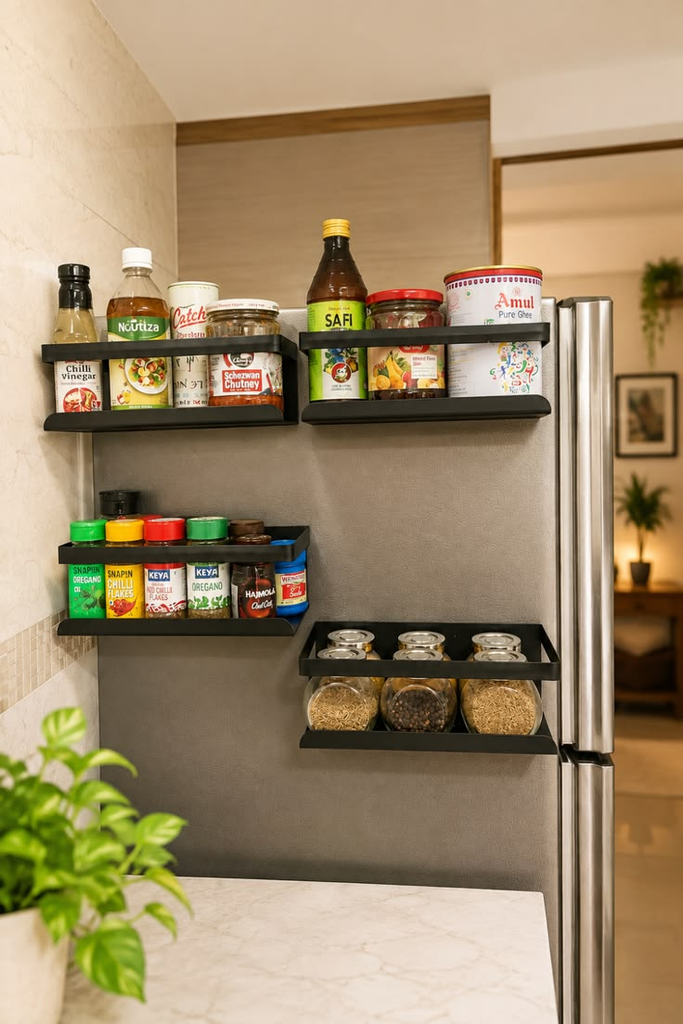
Similarly, a magnetic spice rack applied to the side of a fridge solves a real storage gap in small kitchens with limited cabinet space, using a surface that’s otherwise completely wasted in most kitchen layouts.
Pro tip: Confirm your specific fridge side is actually magnetic before buying — some newer stainless-steel fridge models have a non-magnetic panel on the side specifically, which is an easy detail to miss until your spice rack falls straight to the floor.
20. Interchangeable stove burner covers
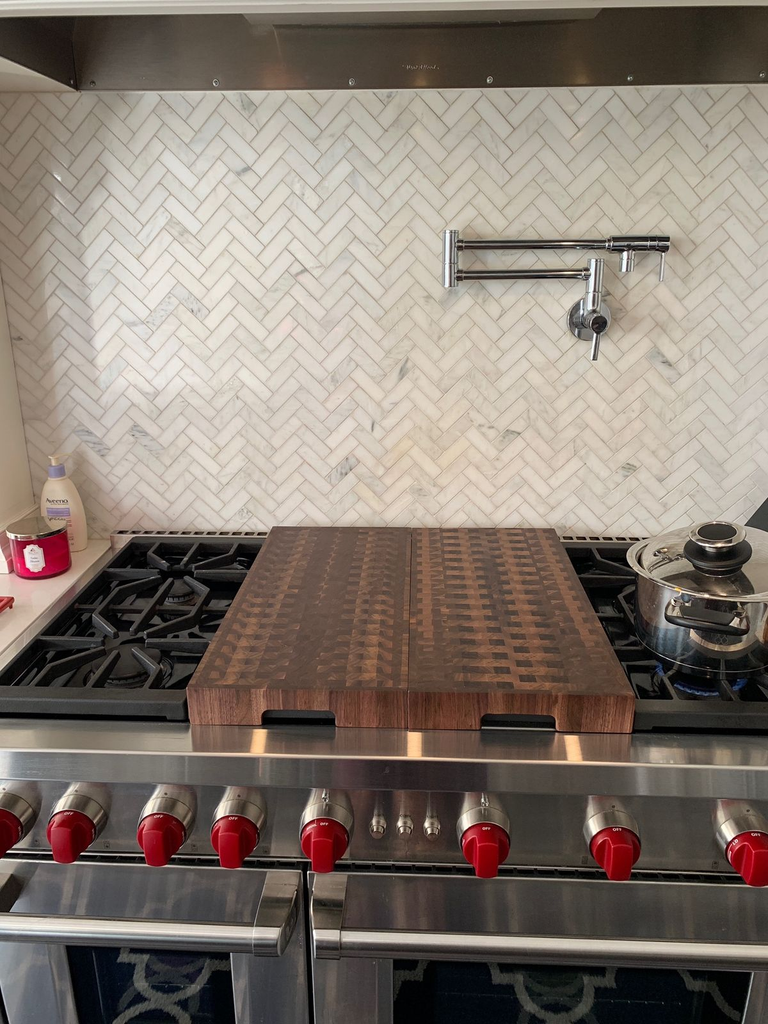
Decorative burner covers that sit over unused stovetop burners add counter-adjacent surface space and a finished look, and they lift right off when you actually need to cook, making this one of the lowest-effort visual upgrades on the entire list.
21. A stylish mat or rug at the sink
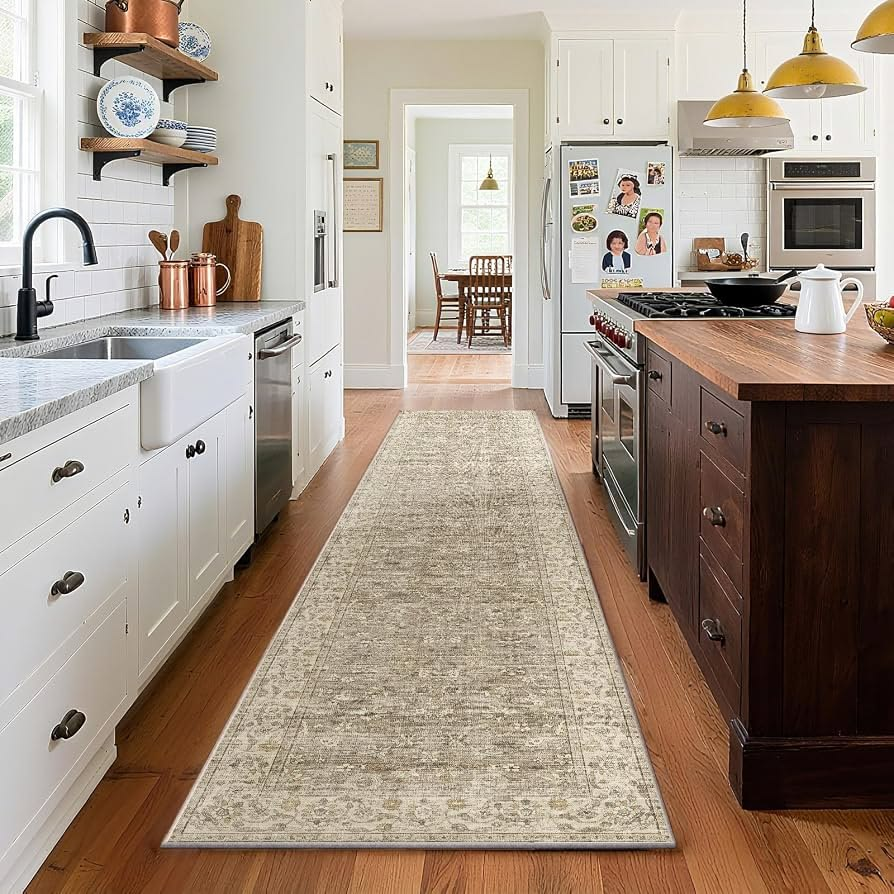
Swapping a plain or worn floor mat for one with a pattern or color you actually like is a small, purely cosmetic upgrade, but it’s also one of the areas your eye lands on most often while doing dishes, so the visual payoff is disproportionate to how simple the swap is.
22. A portable coffee or bar cart station
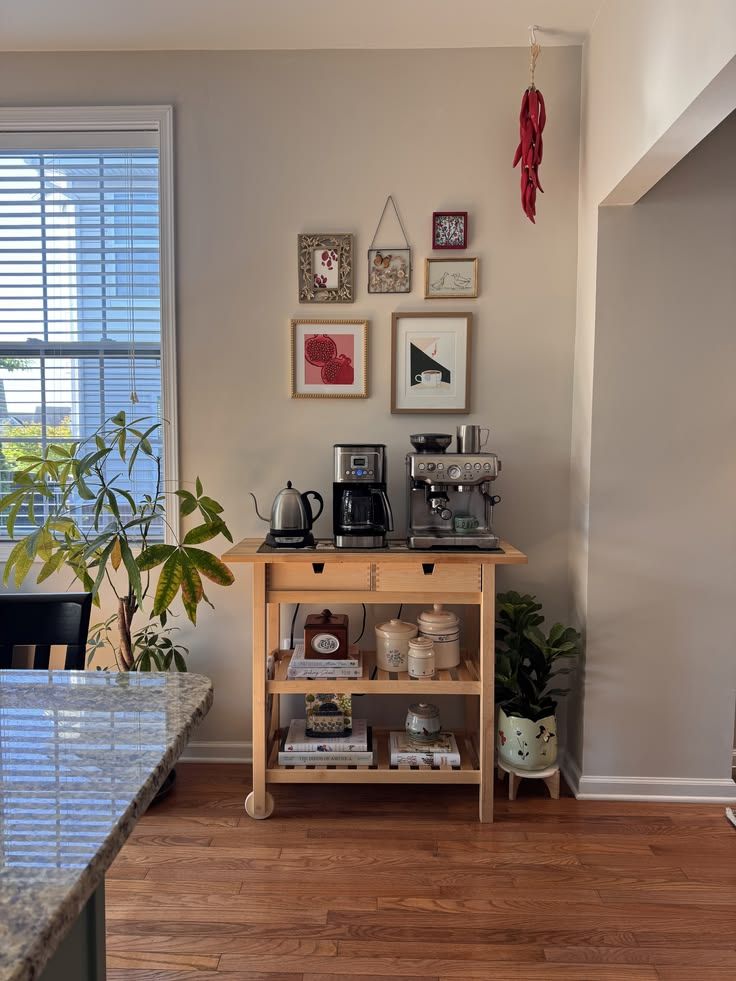
A small dedicated cart for coffee gear or drinks consolidates counter clutter into one mobile station, freeing up your actual cooking counter space while also giving you a designated, decor-worthy spot for the appliances and glassware you use daily.
23. Adhesive drawer and shelf liner in a pattern you like
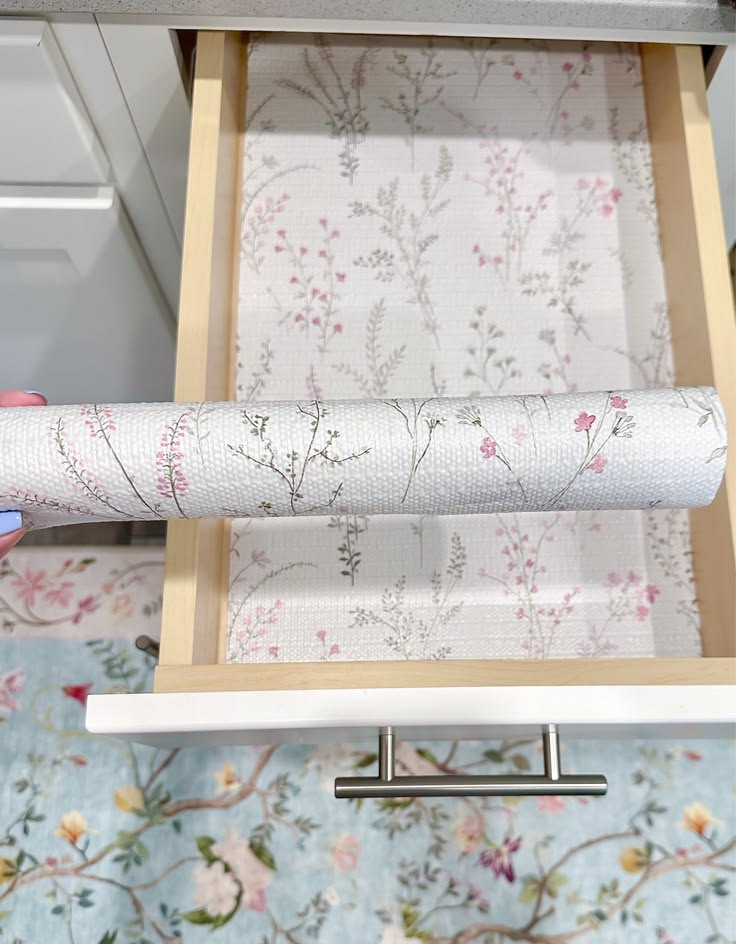
Beyond the practical function of keeping drawers clean, a patterned adhesive liner adds a small hit of personality every time you open a drawer, which is a strange but genuinely enjoyable small detail in an otherwise plain rental kitchen.
What I’d Do First in a New Rental Kitchen
If I moved into a new rental kitchen tomorrow and could only do three things from this list, I’d do the peel-and-stick backsplash first, since it’s the single biggest visual transformation for the effort involved, followed immediately by the hardware swap, since it’s the fastest and cheapest change on the whole list.
After that, I’d add under-cabinet LED lighting, since dim counters are a problem you don’t fully notice until it’s fixed and you realize how much you were squinting before.
The lesson from my two wasted years with that beige backsplash is that “renter-friendly” doesn’t mean “settle for what’s already there.” Almost everything about a rental kitchen that bothers you has a reversible fix, and the only real cost of finding it is the time you spend not knowing it exists yet.


Leave a Reply