
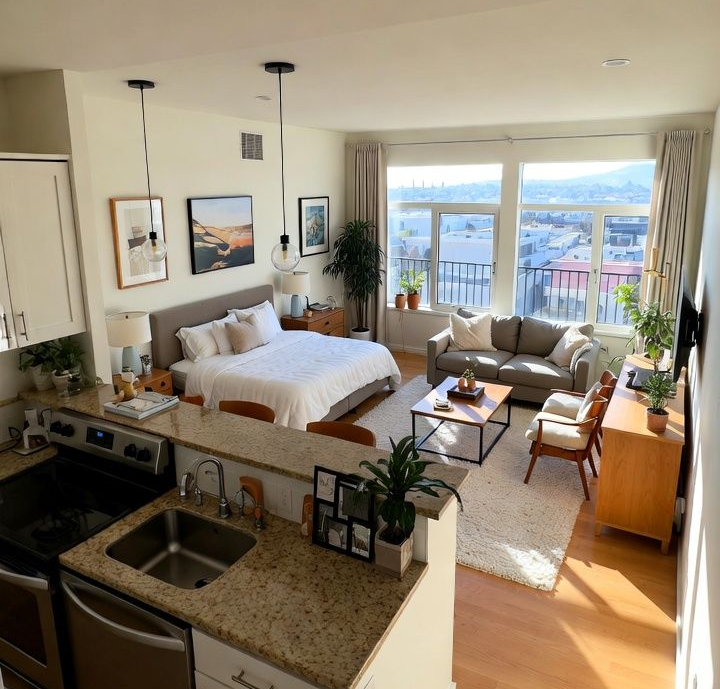
I moved into my first studio at 24 with a truck full of furniture from a two-bedroom apartment, and within a week I’d returned almost half of it. A queen bed frame that ate my walking path. A couch too deep to see around.
A “compact” dresser that was compact for a house, not for 410 square feet with the closet basically functioning as a suggestion. I ended up furnishing that apartment three separate times before it actually worked, and the thing that finally fixed it wasn’t better taste — it was doing things in a different order.
Most studio apartment advice is a list of forty pretty ideas with no sequence to them, which is exactly backwards. Furnishing a studio isn’t about picking cute stuff — it’s about measuring first, zoning second, and buying in an order that keeps you from boxing yourself into a corner (sometimes literally).
This is the order I use now, and the order I’ve walked probably a dozen friends through since — including my friend Priya, who used it for her 340-square-foot studio in Chicago last year and texted me a week in like “why did nobody tell me to do the tape-on-the-floor thing first.”
So that’s where we’re starting.
Step 1: Measure the Room Before You Think About a Single Piece of Furniture
I know this is the boring step and I know you want to skip to the fun part where you pick a couch. Don’t. This is the step that determines whether everything else works.
Get the actual dimensions of your studio apartment — not the square footage from the listing, the actual usable floor dimensions, wall by wall. Note where the outlets are, where the radiator or vents are, which way doors swing open, and how much clearance your closet doors need.
Studio apartments lose real square footage to kitchenettes, entry hallways, and HVAC units that don’t show up clearly on a floor plan, so the number on your lease is basically fiction for planning purposes.
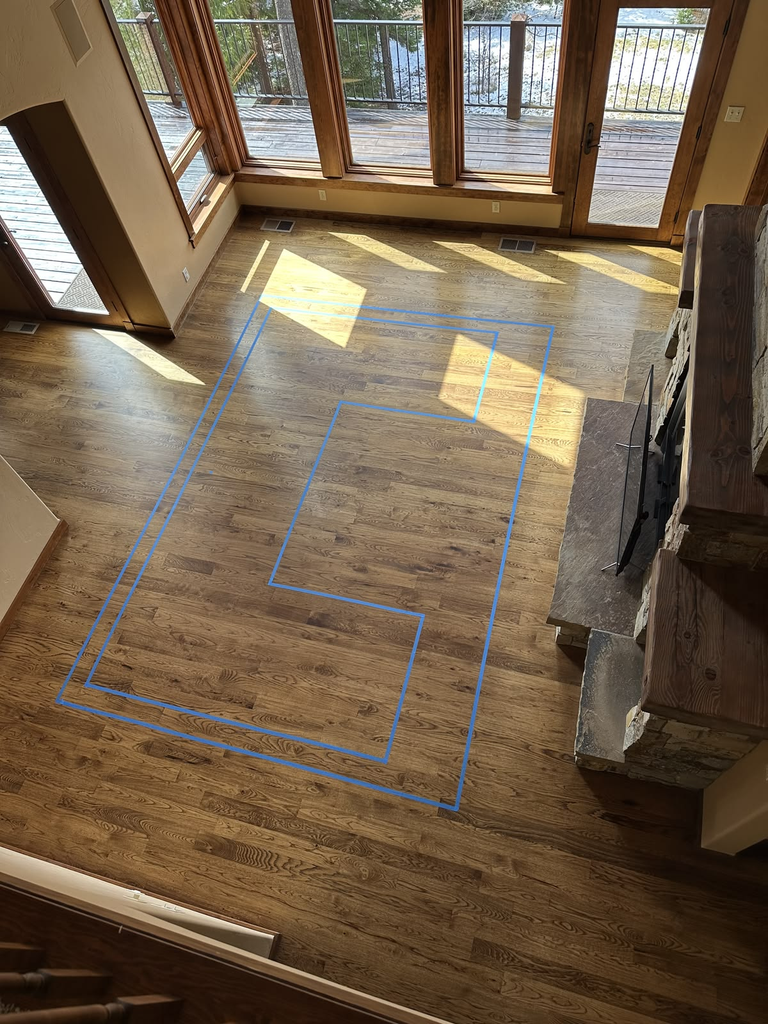
Then do the thing that actually changes how people furnish these spaces: tape out your big pieces on the floor using painter’s tape, at their real dimensions. A bed frame, a couch, a dresser.
This sounds excessive until you do it once and realize the “cozy reading nook” you had planned doesn’t exist because your bed frame eats the space you thought was empty.
Pro tip: Measure your doorways and stairwells too, not just the room. I’ve seen two separate moving days derailed because a couch fit the apartment but not the building’s stairwell turn. If you’re buying anything with a fixed frame — not flat-pack — measure the path from the truck to your final spot, including elevator interior dimensions if you have one.
Step 2: Decide Your Zones Before You Decide Your Furniture
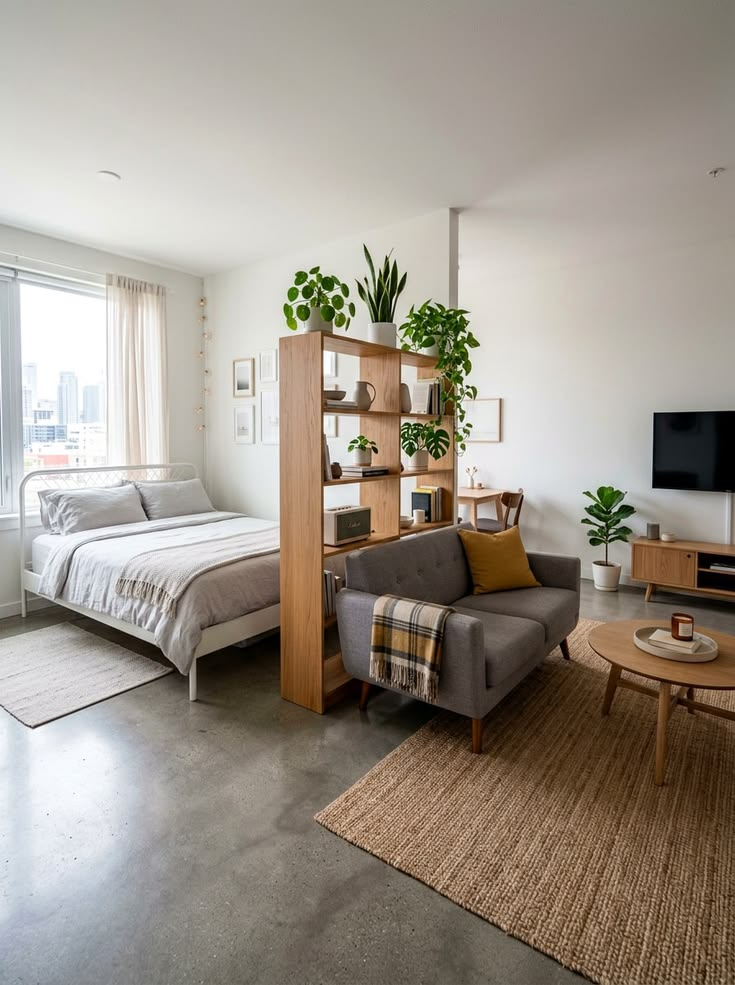
A studio apartment is one room pretending to be four: a sleeping area, a living area, a workspace (increasingly non-negotiable if you work from home even part-time), and a kitchen/dining area. The order you furnish in should follow the order these zones matter to your actual life, not the order a Pinterest board lists them in.
Walk through your day and be honest about it. If you work from home three days a week, your desk setup matters more than a coffee table you’ll use twice a month. If you eat most meals standing at the counter, a full dining set is dead weight you’ll be maneuvering around forever.
I skipped a real desk for my first four months in that studio because I “didn’t need it,” worked from my bed for four months, and my back still remembers it.
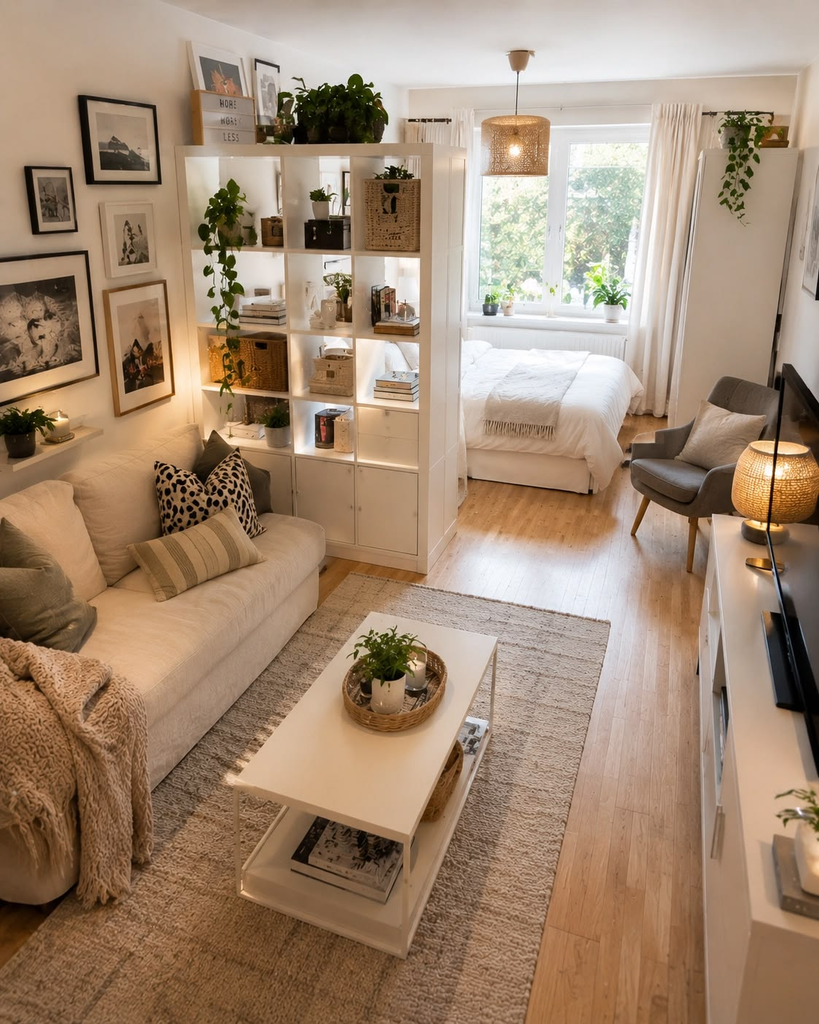
Once you know your zones, decide where visual separation will happen — a rug, a bookshelf turned sideways, a curtain track, a change in lighting — because that decision affects which furniture you buy and in what shape.
A round table works in a layout a rectangular one won’t. An open-back bookshelf can double as a room divider; a closed one blocks light and makes the space feel chopped up.
Pro tip: Don’t put your sleeping zone directly across from your entry door if you can avoid it. It’s a small thing, but psychologically it makes a studio feel like “the bedroom” rather than “an apartment,” which affects how you actually use the space and how it feels to have people over.
Step 3: Buy the Bed First — But Get the Size Right, Not the Size You’re Used To
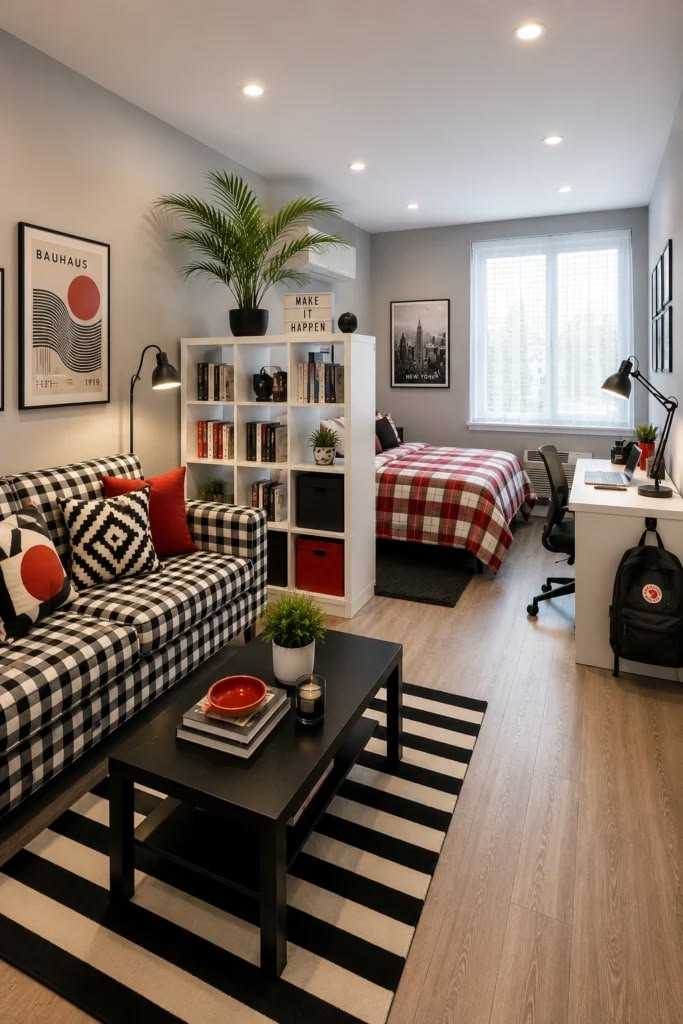
The bed is almost always the single biggest footprint in a studio, so it goes first in your buying order, before the couch, before the desk, before anything else. Once it’s placed, everything else has to work around it — so get the placement and the size right before you spend money elsewhere.
This is where most people, including past me, get it wrong: they keep the bed size they had in their last apartment out of habit. A queen frame is roughly 60 by 80 inches before you add a headboard or nightstands, and in a studio under about 500 square feet, that’s frequently a third or more of your entire usable floor.
A full-size bed saves you real inches in width, and if you’re furnishing solo, it’s genuinely enough space — I switched from a queen to a full in that first studio and did not miss the extra ten inches once.
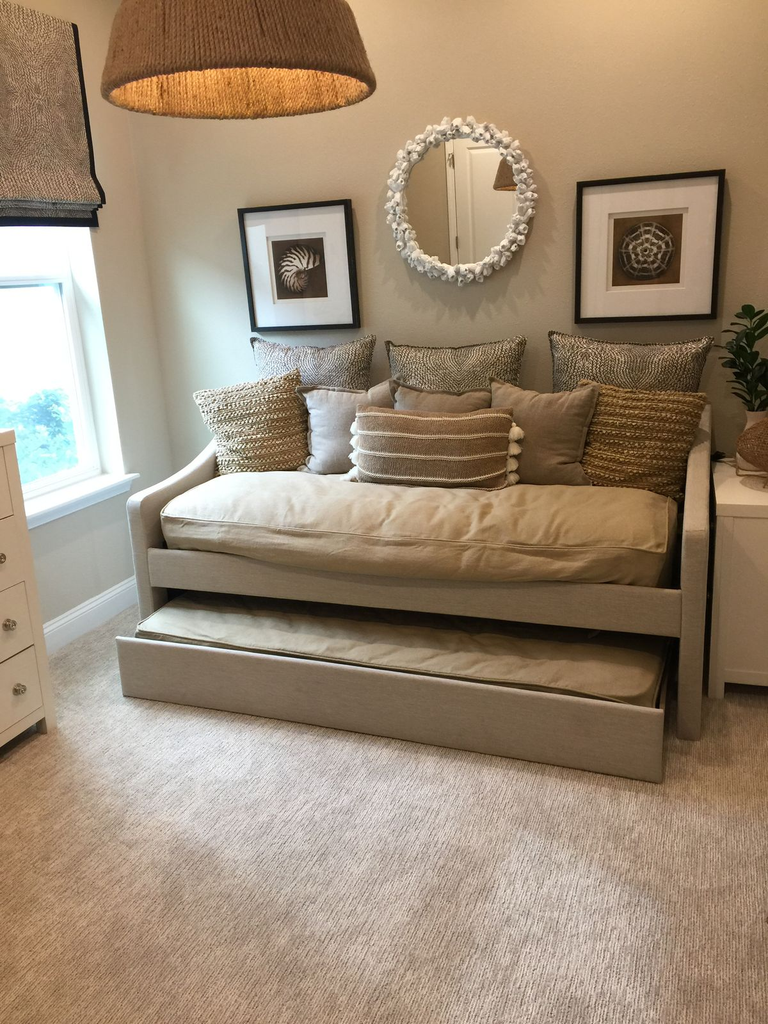
If your studio is small enough that even a full feels aggressive, look at a daybed or a trundle-style frame, which lets the bed double as seating during the day so you’re not buying a separate couch at all. This is one of the few places where a “multifunctional” piece is actually worth the (usually higher) price, because it solves two zones with one purchase instead of being a compromise on both.
Pro tip: Storage bed frames sound great on paper but check the actual drawer clearance before buying — a lot of budget storage frames need 8-10 inches of clearance on the drawer side to open fully, which is a problem if that side of the bed is against a wall. My friend Amelia bought one, got it home, and discovered the drawers only opened three-quarters of the way because her bed frame was wedged between two walls. She uses it as extra flat storage now, not the drawer system it was sold as.
| Bed Option | Best For | Approx. Footprint | Trade-Off |
|---|---|---|---|
| Full-size frame | Solo studio dwellers, most common studio layouts | ~54″ x 75″ | Less room than queen, but usually fits studios far better |
| Daybed/trundle | Very small studios, need seating + sleeping in one zone | Varies, often couch-depth | Firmer mattress feel, less “bed” comfort than a real mattress |
| Murphy/wall bed | Studios where floor space matters more than budget | Folds flat to ~12″ deep | Higher upfront cost, sometimes requires wall mounting/installation |
| Loft bed | Studios with high ceilings, want a true separate zone underneath | Vertical footprint, frees the floor | Not viable with low ceilings, can feel warm/stuffy up top |
Step 4: Furnish the Living Zone With Pieces That Do More Than One Job
Once the bed is placed, you’ll actually be able to see how much floor is left — and it’s usually less than people expect. This is where multifunctional furniture stops being a design trend and starts being a real necessity. A coffee table with storage underneath.
An ottoman that opens up for blankets. A console table behind the couch that also works as a desk if you flip the orientation.
None of these are new ideas, but the mistake I see a lot is people buying the multifunctional version of everything even when they don’t need it, which usually means paying more for a feature they won’t use.
If you have a real closet with shelving, you don’t need a storage ottoman — you need a nice ottoman. Match the multifunction purchases to your actual storage gaps, not to a checklist.
For seating, measure your zone before falling for a couch that’s technically “small” but still too deep for your layout. A lot of “apartment-size” sofas are still built around a 34-36 inch depth, and in a narrower studio that can eat more walking path than you’d think.
A loveseat or a pair of accent chairs sometimes works better than a couch because you can split them across the room instead of committing one long wall to a single piece.
Pro tip: Buy your rug before your couch if you can swing it, not after. A rug defines the living zone boundary, and it’s much easier to buy furniture that fits inside a rug’s edges than to buy a rug that happens to fit furniture you already committed to. I did this backwards in my second furnishing attempt and ended up with a rug that made my “living room” look like it was floating in the middle of nowhere.
Step 5: Build a Workspace That Isn’t an Afterthought
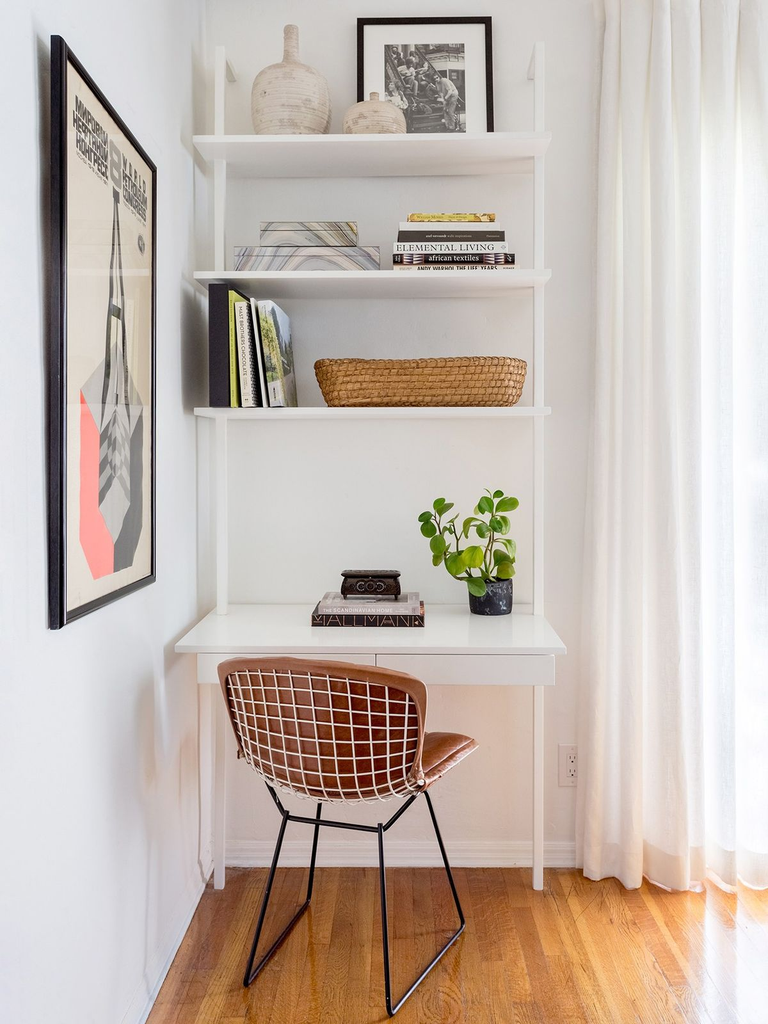
If you work from home even occasionally, your desk deserves real floor plan real estate, not the leftover corner nobody else wanted. A workspace crammed against a wall you can’t get comfortable at is a workspace you’ll abandon for the couch, and then your couch becomes your desk, and then your studio has no relaxing zone left at all — which is exactly what happened to me for those four months.
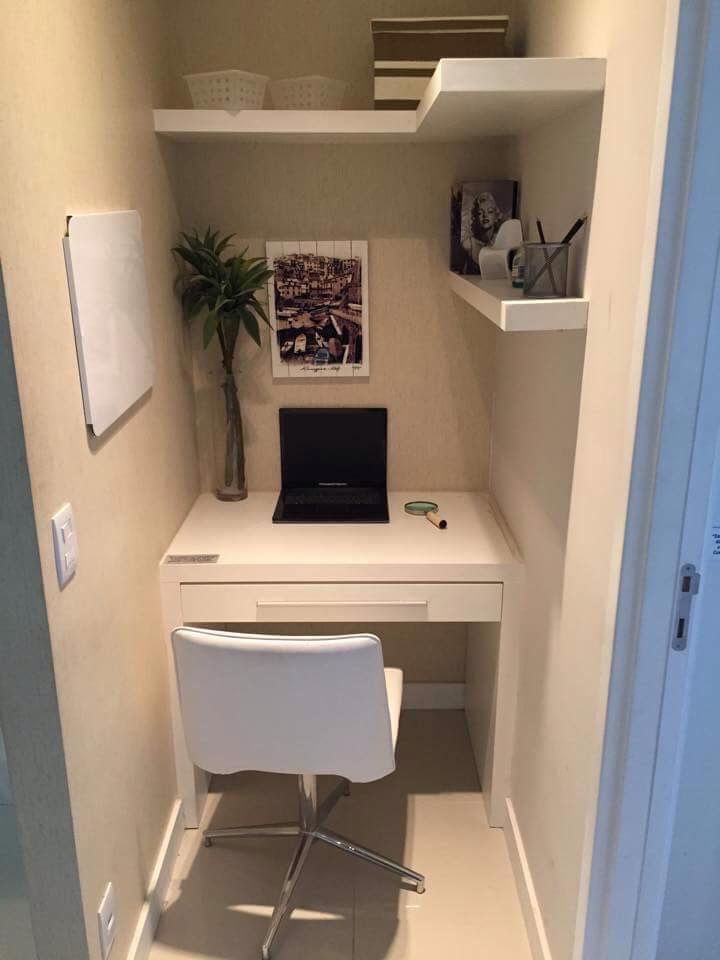
A narrow console desk, 12-16 inches deep, works in a hallway or against a wall that a full desk wouldn’t fit. If you have a closet you’re not using for clothes, a closet desk setup (desk inside, doors that close over it) is one of the better studio hacks I’ve actually seen hold up in real use, not just in a photo — my reader Dana emailed me a picture of hers built into an old coat closet, and it’s genuinely one of the smartest small-space workspace setups I’ve seen.
Lighting matters more here than in any other zone. A desk lamp with real task lighting, not just the room’s overhead light, makes a meaningful difference in whether you actually want to sit there.
Pro tip: If your studio has a windowsill deep enough to hold weight, a fold-down or wall-mounted desk under the window solves the “I need natural light but no floor space” problem better than almost any furniture purchase will.
Step 6: Handle the Kitchen and Dining Zone Last — It’s Usually the Smallest Decision
By the time you get here, most of your floor is already accounted for, and that’s fine — the dining zone in a studio is almost always the piece that flexes the most.
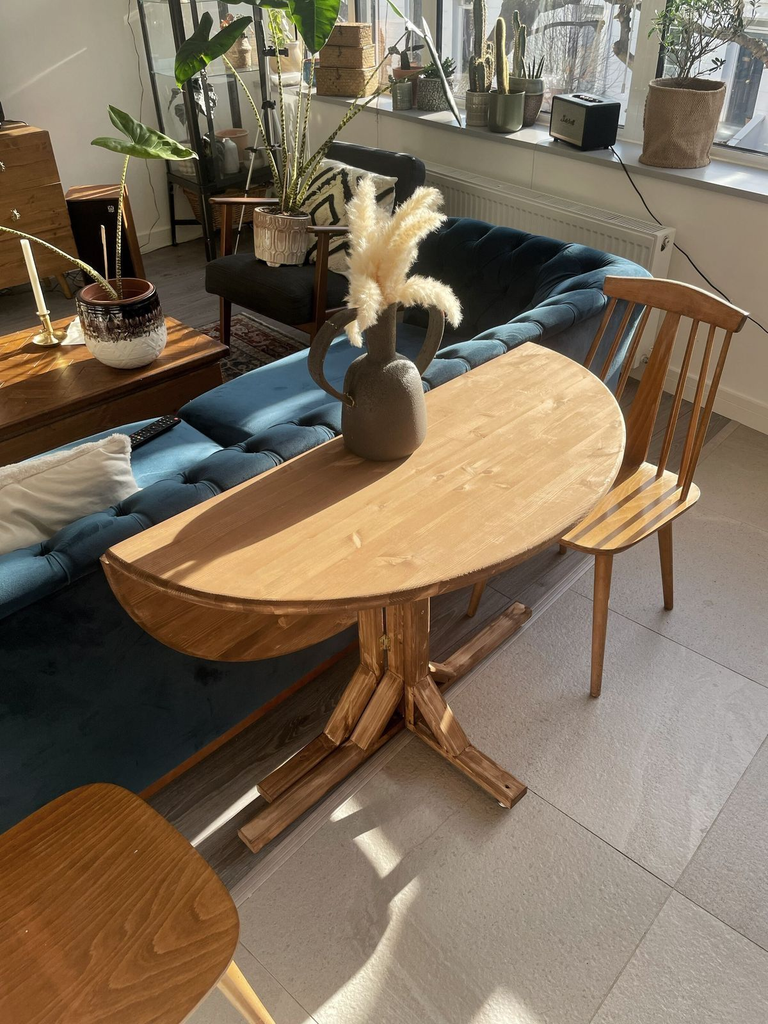
A two-person drop-leaf table that folds down against the wall when you’re not using it, a counter-height bar cart that doubles as extra prep space, or genuinely just two counter stools and no table at all if you mostly eat on the couch anyway (be honest with yourself here).
Don’t buy a dining set sized for entertaining you don’t actually do. I bought a four-person table in that first studio because “what if I have people over,” used it twice in eight months, and spent the rest of the time squeezing past it every single day.
I sold it and bought a drop-leaf that lives folded against the wall 90% of the time, and I’ve genuinely never regretted the trade.
Pro tip: A rolling kitchen cart is one of the highest-value studio purchases nobody talks about enough — it’s counter space, storage, and can relocate to become a bar cart or side table depending on what you’re doing that day.
What This Actually Costs, Roughly
People always want a number, so here’s a rough breakdown by tier — these are ballpark ranges based on furnishing a studio from scratch, not including decor, bedding, or kitchenware:
| Tier | Bed | Living Zone | Workspace | Dining/Kitchen | Rough Total |
|---|---|---|---|---|---|
| Budget (secondhand + flat-pack) | $150-300 | $200-400 | $80-150 | $50-150 | $500-1,000 |
| Mid-range (mix of new + a few investment pieces) | $400-700 | $600-1,200 | $200-400 | $150-350 | $1,400-2,700 |
| Higher-end (mostly new, quality-focused) | $800-1,500+ | $1,500-3,000+ | $400-800 | $350-700 | $3,000-6,000+ |
If you’re on the lower end, secondhand marketplaces are genuinely the move for the bed frame and dresser specifically — the pieces that don’t need to be trendy, just structurally solid. I’d spend new-purchase money on the couch (fabric wear shows fast on used pieces) and save it on frames and case goods.
If I Were Starting Over
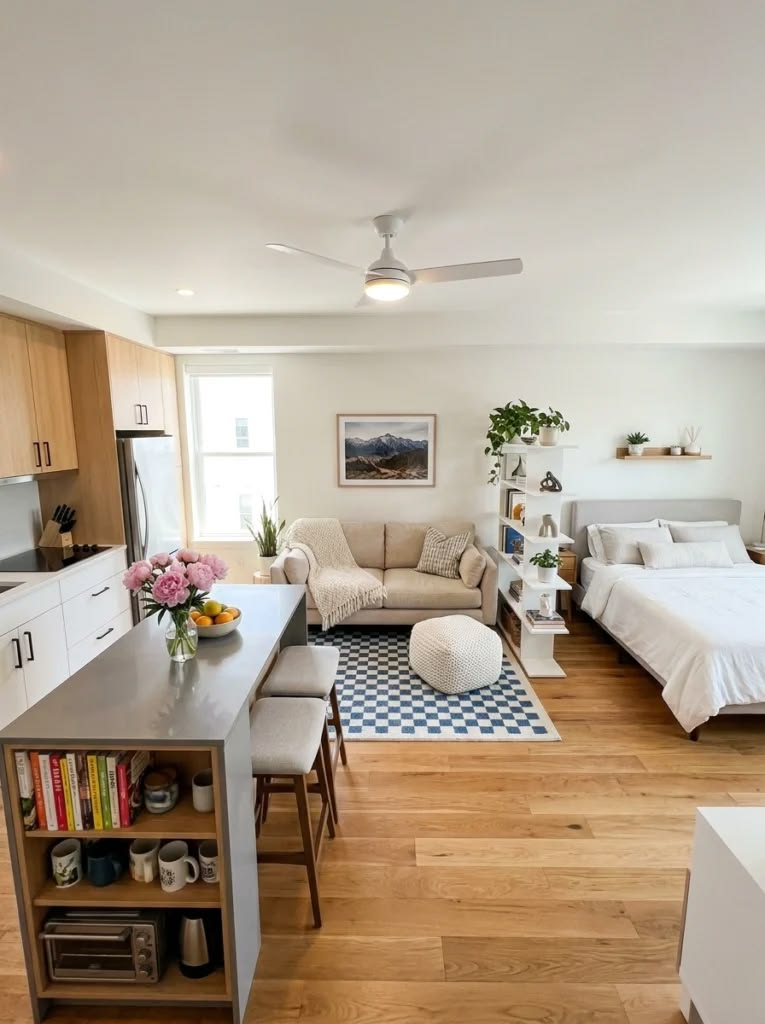
If I were furnishing a studio from zero again, knowing what I know now, I’d tape the floor first, buy the full-size bed frame before anything else, and hold off on the “fun” purchases — the accent chair, the bar cart, the gallery wall — until the functional pieces were placed and I could actually see what space was left.
It’s less satisfying in the moment than walking into a furniture store and buying the pretty thing you saw online, but it’s the difference between furnishing your studio apartment once and furnishing it three times, which is a mistake I made so you hopefully don’t have to.


Leave a Reply