
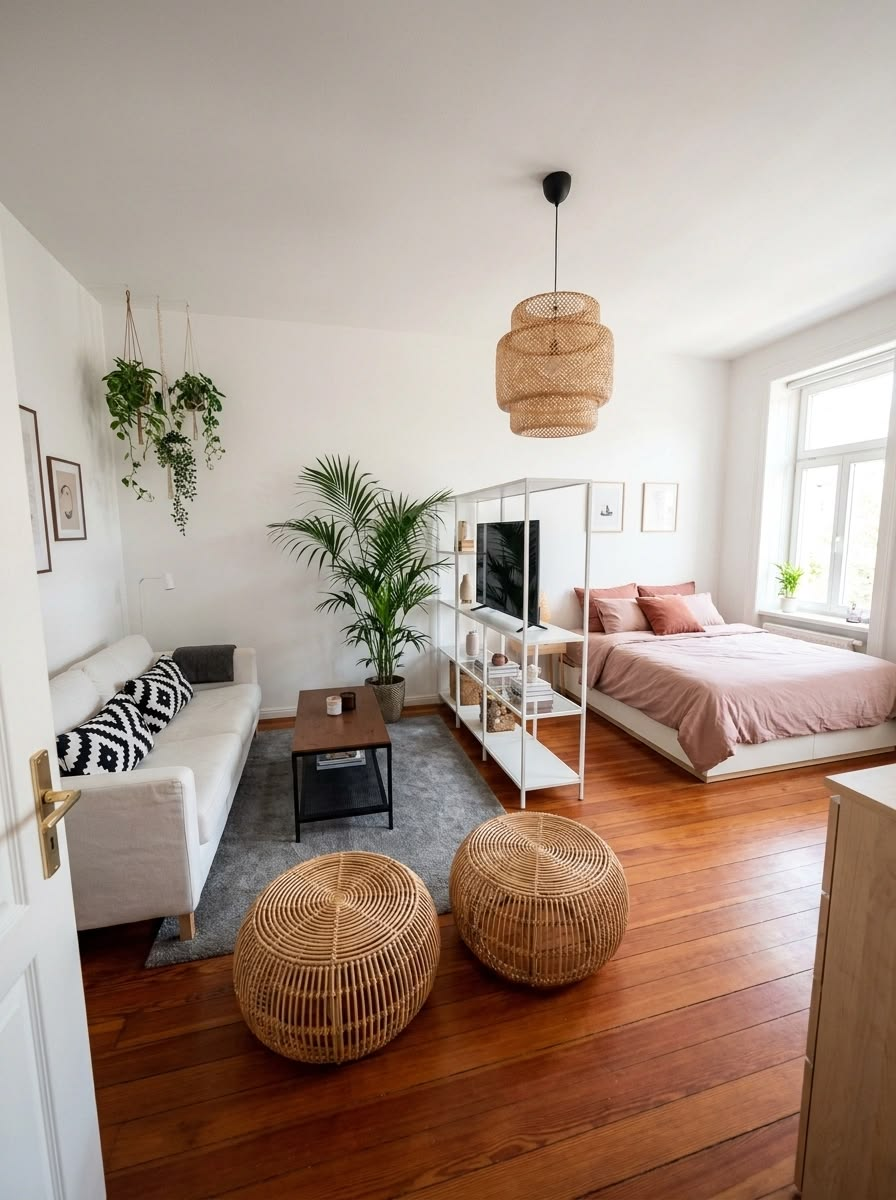
I lived in a 410-square-foot studio for two years before I figured out the thing nobody tells you: the problem isn’t that your apartment is small, it’s that everything in it is having one long, unbroken conversation. Your bed can see your desk can see your kitchen can see your couch, and your brain never gets to switch modes.
You wake up already looking at your inbox. You eat dinner four feet from where you sleep. It’s not that the space doesn’t fit — it’s that nothing in it feels separate, so your nervous system never really clocks out.

Zoning a studio apartment without walls means using furniture, rugs, light, and a few visual tricks to convince your brain (and your eyes) that this is actually three or four rooms, not one. You’re not adding square footage. You’re adding structure.
And once I actually did it — properly, not just “pushed the couch back a little” — my apartment stopped feeling like a dorm room I never left and started feeling like an actual home with a bedroom, a living room, and a kitchen that happened to share a lease.
This post covers the specific techniques that work (and a few that I wasted money on that didn’t), how to pick between them based on your layout and your landlord’s patience for holes in the wall, and roughly what each one costs. If you’re renting — and most studio apartment zoning is a renter’s problem — I’ve flagged what’s actually deposit-safe.
Why Zoning Actually Matters (It’s Not Just Aesthetic)
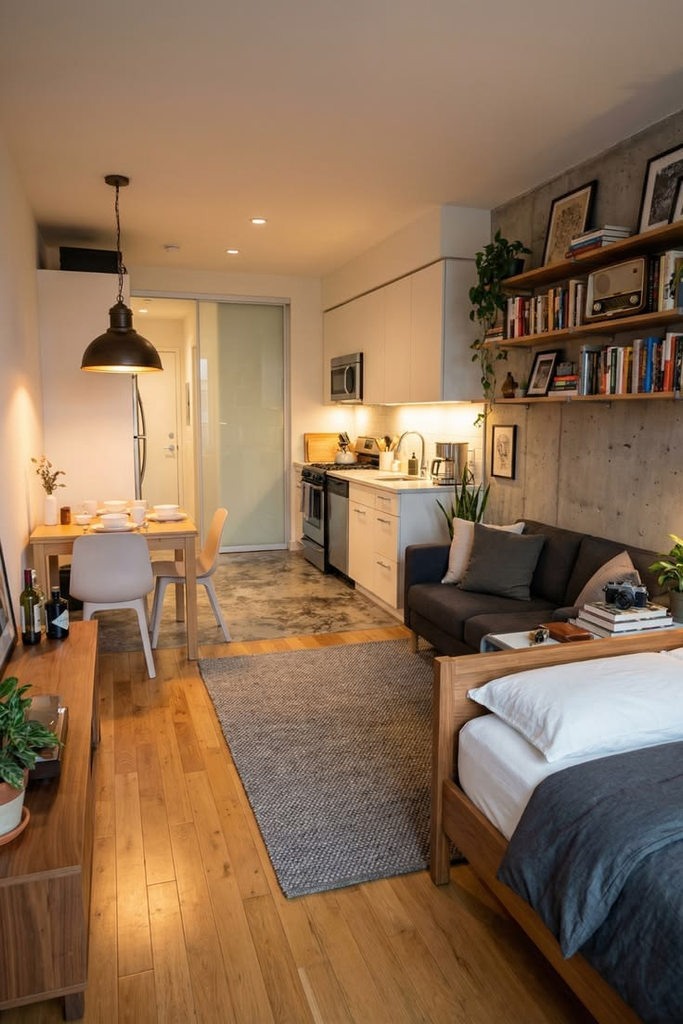
Before we get into the how, it’s worth understanding why this works, because it changes which techniques you’ll bother with. Visual zoning isn’t decorating — it’s giving your brain landmarks. Humans read space through edges, changes in flooring, changes in light, and changes in ceiling height.
When none of that exists in a studio, your brain defaults to treating the whole thing as one undifferentiated zone, which is part of why studios can feel more stressful than their square footage should justify.
The fix isn’t a wall. It’s a boundary — something your eye registers as “here the bedroom starts” even though there’s nothing structurally stopping you from walking straight through it. A rug edge counts. A change in lighting counts. Even the back of a bookshelf counts, as long as it’s tall enough to break your sightline while you’re sitting down.
Pro tip: Sit in your main living spot — couch, chair, wherever — and actually look toward your bed. If you can see your pillows from where you relax, that’s the sightline doing the damage. Fixing that one sightline usually does more than any amount of matching decor.
Method 1: The Rug Boundary (Cheapest, Fastest, Fully Renter-Safe)
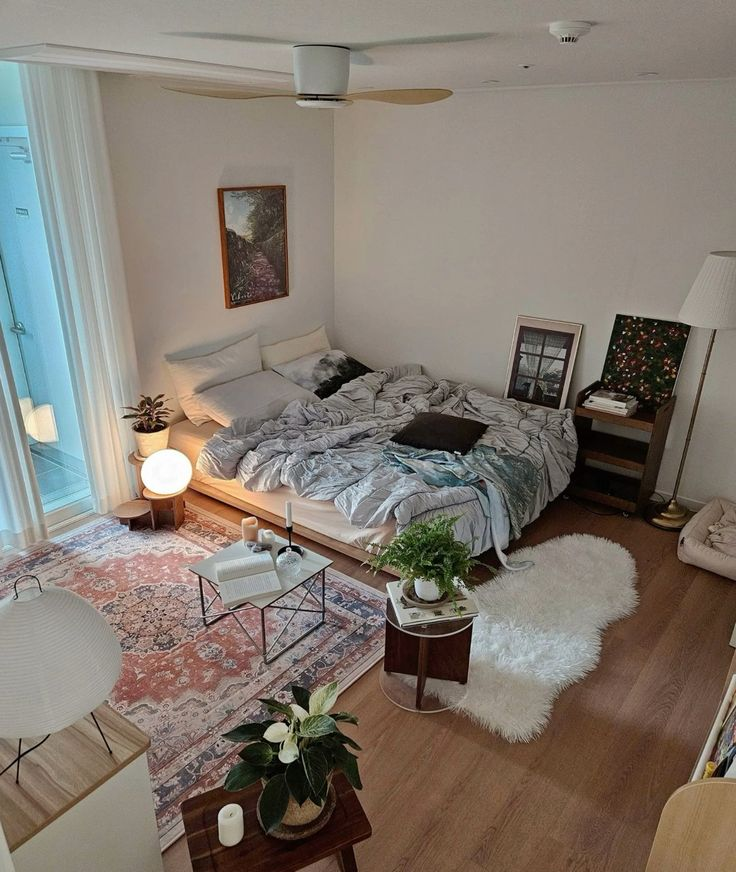
This is the one I’d do first if I were starting over, because it costs nothing structurally and you can undo it in five minutes. A rug under your bed (or just past the foot of it) tells your eye “sleeping zone ends here” without you touching a single screw.
The mistake almost everyone makes, myself included the first time: buying a rug too small. An 8×10 in a studio bedroom “zone” reads as a bath mat under a queen bed — it shrinks the space instead of defining it.
You want the rug extending at least 18-24 inches past the sides and foot of the bed, so it reads as a floor plane, not an accessory.
Do the same in your seating area with a second, visually distinct rug — different texture or tone, not necessarily different color family. That contrast between the two rugs is doing the zoning work; if both rugs are similar neutral tones, your brain won’t register the switch.
Pro tip: Layer a smaller vintage-style rug on top of a larger jute or sisal rug in the living zone. It’s a specific look with almost 40k saves on my own Pinterest board under “studio apartment layering,” and it does double duty — it defines the seating zone and adds the texture contrast that makes the bedroom rug boundary actually register.
Method 2: Furniture as a Soft Divider (No Damage, Real Structure)
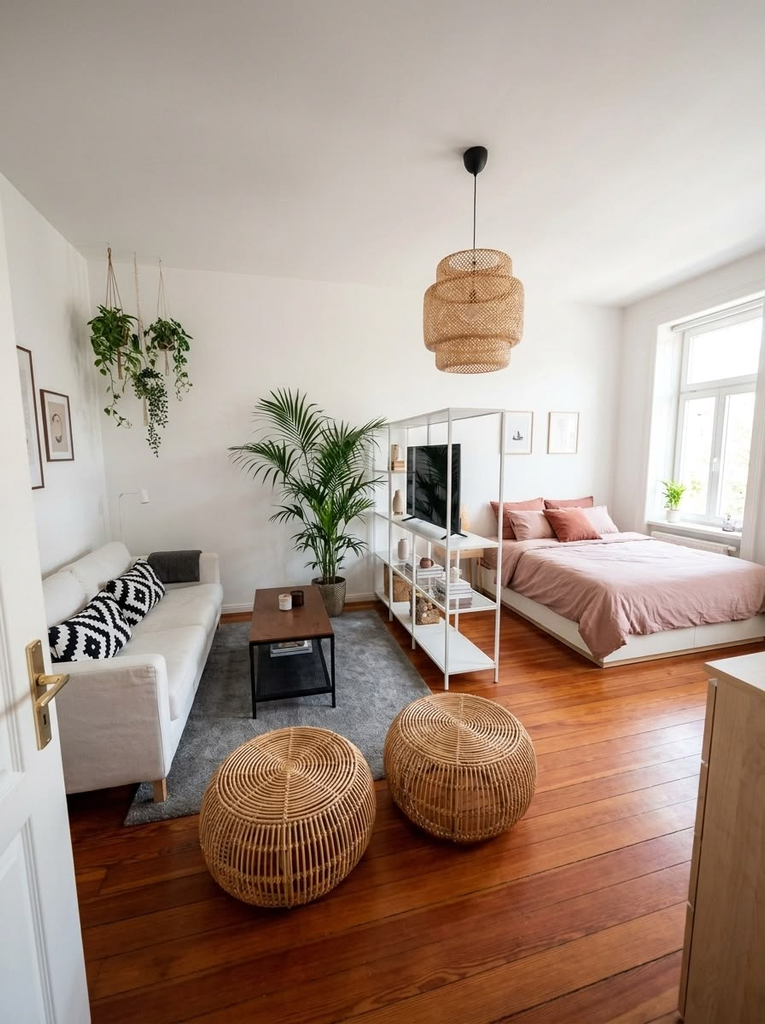
This is the technique that actually changed my apartment the most, and it’s the one people skip because it feels obvious. Positioning a piece of furniture with its back facing the zone it’s separating — instead of pushing everything against the walls — creates a real physical boundary your body respects even though nothing’s stopping you from walking around it.
A couch with its back to the bed, a low bookshelf perpendicular to the wall, or an open shelving unit between the kitchen and the living area all do this. The key detail: the divider needs to sit away from the wall, floating enough to create a walkway behind or beside it, not flush against it like it’s just more storage. That’s the difference between “furniture placement” and “zoning.”
My friend Amelia tried this in her Chicago studio with an IKEA Kallax turned sideways between her bed and her living area — cost her about $90 and a Saturday afternoon, and she says it’s the single thing that made her studio feel like it had a real bedroom instead of “the corner where the bed is.”
She uses the back of it as a headboard-adjacent nightstand shelf, which solved a second problem she didn’t even go in trying to fix.
The trade-off: this eats floor space. If your studio is under 350 square feet, a floating divider might not be worth the square footage it costs you, and you’re better off with the rug method or a curtain instead.
Method 3: Curtain or Track Divider (Best for Real Privacy)
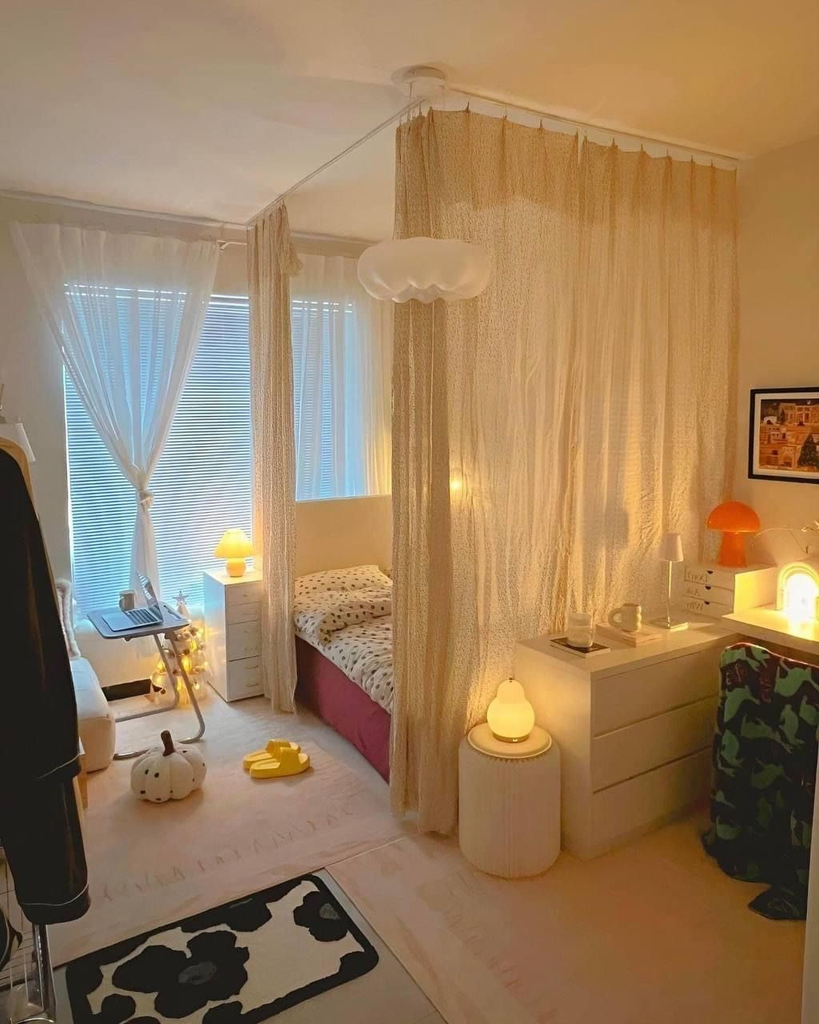
If you need actual visual privacy — not just a “this is the bedroom” cue, but genuinely not being seen from your kitchen — a ceiling-mounted curtain track is the move. This is the one that gets closest to a wall without being one, and it’s still fully removable if your lease requires it.
Ceiling track curtain dividers run a track (tension-mounted or screwed into the ceiling, depending on what your landlord allows) with a heavy curtain that you can pull fully closed at night and fully open during the day.
This is genuinely popular in studio living right now — not in a vague “trending on Pinterest” way, but specifically because more landlords in older buildings are allowing tension-mounted tracks since they leave zero holes.
I tried the over-the-door tension rod version first, thinking it’d be a cheaper way to fake this — it fell within a week under the weight of a blackout curtain. If you want an actual curtain divider, budget for a real ceiling track and a curtain with enough weight to hang straight; the lightweight version isn’t worth the money you’ll spend twice.
Pro tip: Go with a curtain in a color that matches your wall, not your bedding. A wall-colored curtain reads as architecture when it’s closed and disappears when it’s open. A patterned or bedding-matched curtain reads as “I hung a shower curtain in my living room” even when it’s expensive.
Method 4: Lighting Zones (The One Nobody Thinks About)
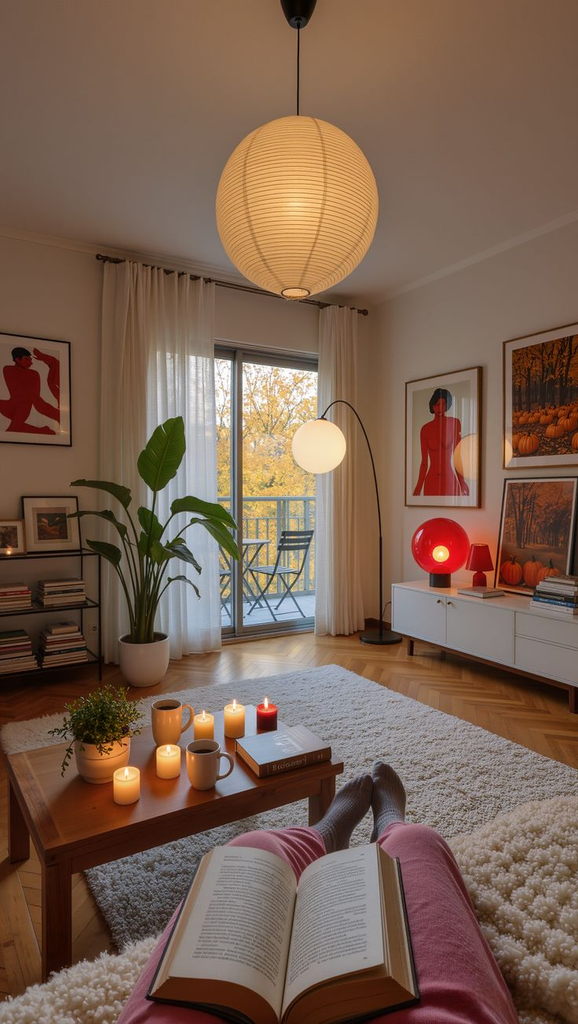
This is the cheapest fix on this list and probably the most underrated. One overhead light means one mood, all day, everywhere in your apartment. Adding a floor lamp in your living zone, a small lamp or clip light at your desk, and a dimmer or warm bulb near your bed does more zoning work than most people expect, because light quality is one of the strongest spatial cues your brain reads.
The rule of thumb: every zone should have its own light source that you can turn on independently of the others. If flipping one switch lights your whole apartment, you don’t have zones — you have one room with furniture arranged hopefully.
A reader left a comment on an old post of mine that’s stuck with me: she swapped her single overhead fixture for three plug-in lamps on smart plugs, controlled through one app, so she could “turn off the office” and “turn on the living room” without physically walking anywhere.
Total cost was under $60 for three lamps and smart plugs, and she said it did more for how the apartment felt than the $200 room divider she’d bought and returned.
Method 5: Ceiling and Color Tricks (For When You Can’t Add Furniture)
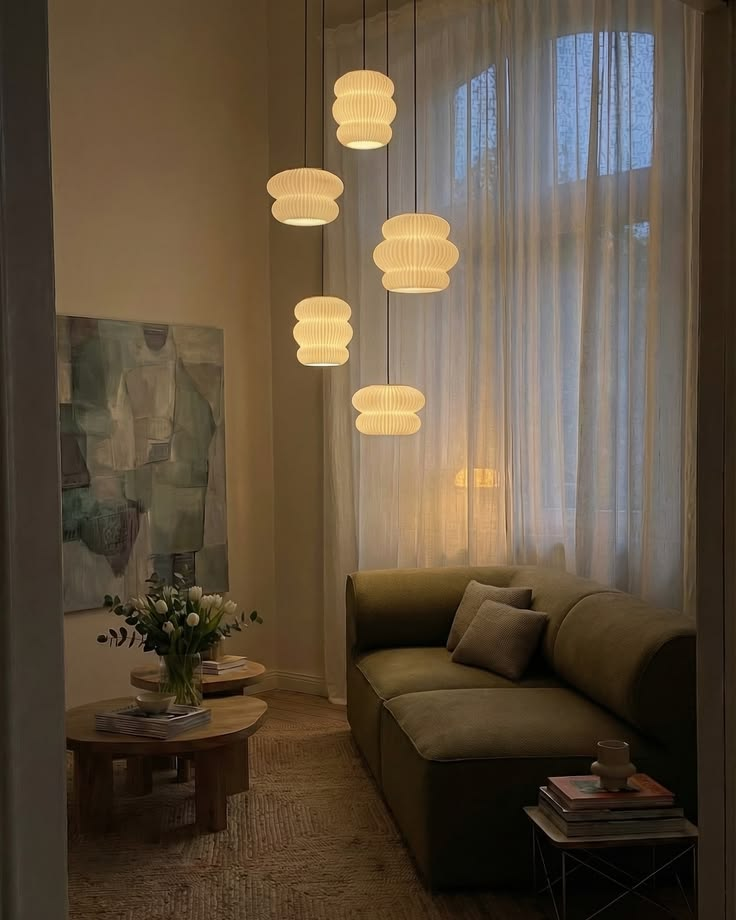
If your studio genuinely can’t spare the floor space for a divider — think under 300 square feet — you can still zone vertically. A pendant light hung specifically over your bed or your dining spot creates a “ceiling zone” that doesn’t cost you an inch of floor.
Same with a piece of art or a mirror hung to mark the start of a different area; your eye reads a change in wall treatment the same way it reads a change in flooring.
Color works similarly but needs a lighter touch than people think. You don’t need to paint an accent wall (and in most rentals, you can’t).
A different-colored bedding set, a distinct throw blanket family in the living zone, or even just grouping your warm-toned decor in one area and cooler tones in another creates a subtle color boundary that reads as intentional zoning rather than “I decorated in sections because I ran out of matching stuff.”
Comparing Your Options
| Method | Approximate Cost | Renter-Safe | Privacy Level | Floor Space Used |
|---|---|---|---|---|
| Rug boundary | $50–150 | Yes, fully | Visual only | None |
| Furniture divider (bookshelf/couch) | $80–300 | Yes, if freestanding | Visual + partial sound | Moderate |
| Ceiling track curtain | $60–250 | Yes, with tension track | Full visual privacy | Minimal |
| Lighting zones | $30–100 | Yes, fully | None (mood only) | None |
| Ceiling/color accents | $20–80 | Yes, fully | None (visual only) | None |
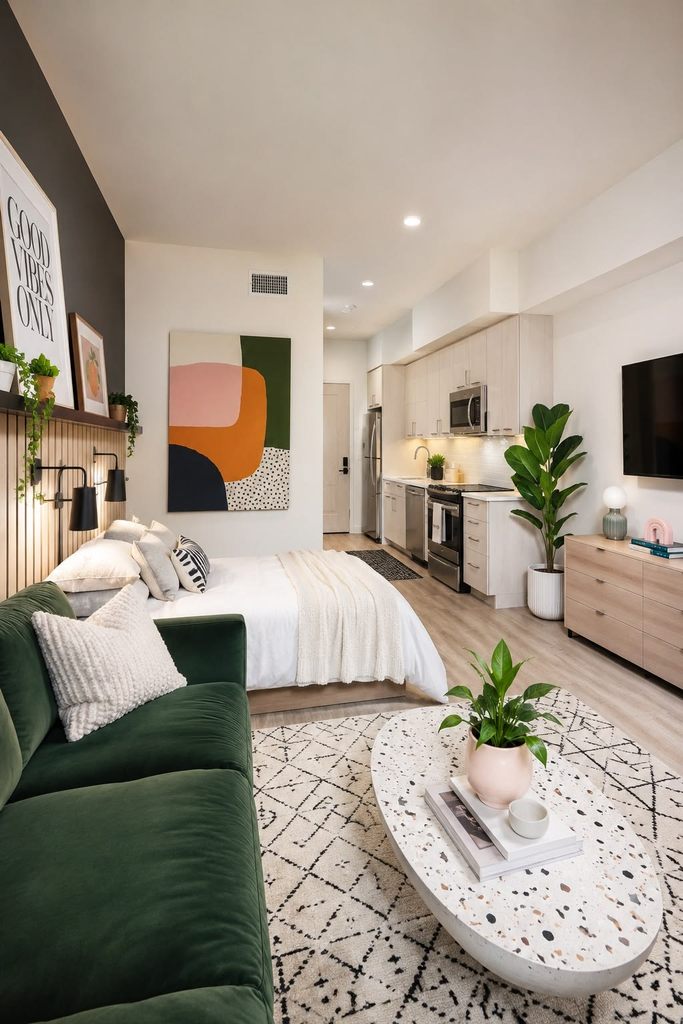
If you only do one thing, do the rug and the lighting together — they’re the cheapest, the most reversible, and honestly the two that gave me the most noticeable difference for the least effort. Everything else is worth adding once you know the layout is actually working for you.
What I’d Do First, Starting Over
If I were moving into a new studio tomorrow, I’d measure my sightlines before I unpacked a single box — sit where the couch will go, figure out what I can see, and fix that one line of sight before anything else.
Then I’d do the rug boundary immediately, since it’s cheap and instant, and layer in a floating shelf divider only once I knew how the walking paths actually worked in daily life, not how they looked on moving day.
The curtain and the lighting zones came later for me, almost as an afterthought, and in hindsight they were doing more of the actual work than the “real” furniture divider I’d spent the most money on.
Zoning a studio without walls isn’t about buying the right divider — it’s about giving every activity in your apartment its own edge, its own light, and its own floor. Once you’ve got that, the square footage stops being the story.


Leave a Reply