
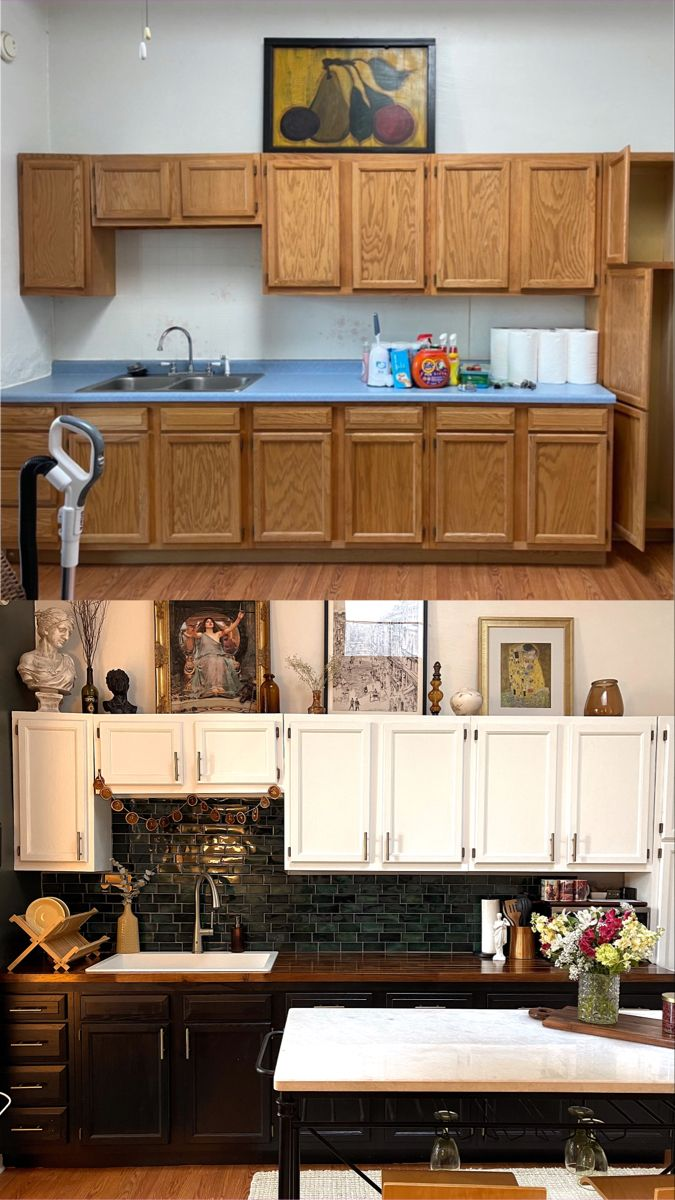
I swapped my rental kitchen’s brass knobs for brushed nickel pulls in one evening, and it wasn’t until I was standing in the kitchen a week later, admiring how different everything looked, that I realized I had absolutely no idea where I’d put the original brass hardware.
It took me a genuinely stressful twenty minutes of searching before I found the bag shoved in the back of a junk drawer, and that near miss is the entire reason I’m as obsessive as I am now about the documentation step in this process, which most quick tutorials skip completely.
Updating cabinet hardware without permanent changes is one of the highest-impact, lowest-cost upgrades you can make to a rental kitchen or bathroom, and it’s also one of the easiest to get wrong in a way that either costs you your deposit or leaves you unable to put the original hardware back cleanly.
The actual swap is simple. The part that trips people up is everything around it — matching hole spacing, handling hardware that doesn’t line up with your existing holes, and keeping track of the originals well enough to actually reinstall them months or years later.
I’m walking through this in the order that actually prevents problems: what to measure and document before you touch a single screw, how to handle a hole spacing mismatch if your new hardware doesn’t match your old holes exactly, the removal and installation process itself, and then how to store everything so future-you isn’t digging through a junk drawer in a mild panic like I was.
Before You Touch a Single Screw: Measuring and Documenting
Measure your existing hole spacing first
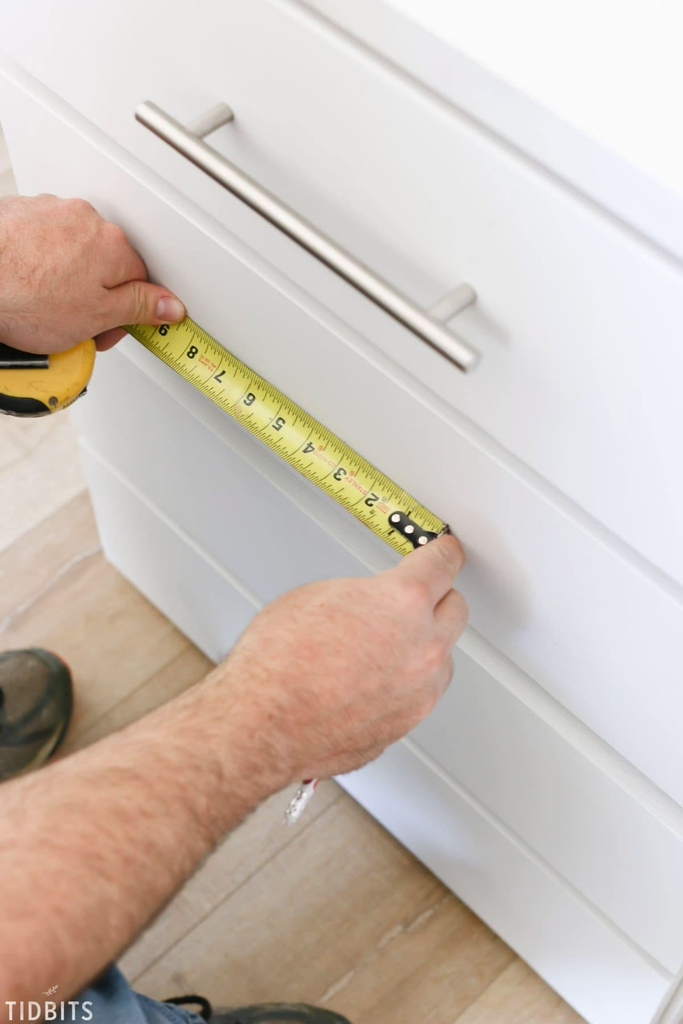
The distance between the two screw holes on a cabinet pull, called the hole spacing or center-to-center measurement, is the single most important number in this entire project.
Measure it with a ruler or tape measure, center to center, on a few different cabinets, since it’s not unusual for slightly different pieces of hardware to have been installed at different points over a cabinet’s life, especially in an older rental.
Standard hole spacings for pulls typically run in specific increments — commonly 3 inches, 3.75 inches, 4 inches, 5 inches, and 6.25 inches — while knobs use a single center hole and don’t have this measurement to worry about at all.
Knowing your exact existing spacing before you shop means you can buy replacement hardware that lines up with your current holes exactly, which is the single easiest way to avoid the whole mismatched-spacing problem in the first place.
Pro tip: If you’re switching from knobs to pulls, or your cabinets currently have single-hole knobs, you have far more flexibility than someone matching existing pull spacing, since you’re only working around one existing hole rather than trying to match two.
Photograph every cabinet’s exact hardware placement
Before removing anything, take a clear, well-lit photo of each cabinet door and drawer with its hardware in place, including a tape measure in the frame showing the hardware’s position relative to the edge of the door or drawer front.
This sounds excessive until you’re the person trying to remember, at move-out a year later, whether that top-left cabinet’s knob was centered or offset toward one corner.
| Documentation Step | Why It Matters | Skip This and Risk… |
|---|---|---|
| Measure hole spacing | Determines what replacement hardware will fit | Buying hardware that doesn’t align with existing holes |
| Photograph hardware placement | Records exact positioning for reinstallation | Guessing at placement when putting originals back |
| Label hardware by cabinet location | Keeps left/right, upper/lower pieces sorted | Mismatched or asymmetrical reinstallation |
| Store screws with matching hardware | Prevents lost or mismatched fasteners | Needing to buy replacement screws that don’t fit properly |
| Keep a written inventory list | Confirms nothing is missing before move-out | Discovering a missing piece during a final walkthrough |
Handling Hole Spacing Mismatches
When your new hardware doesn’t match your existing holes
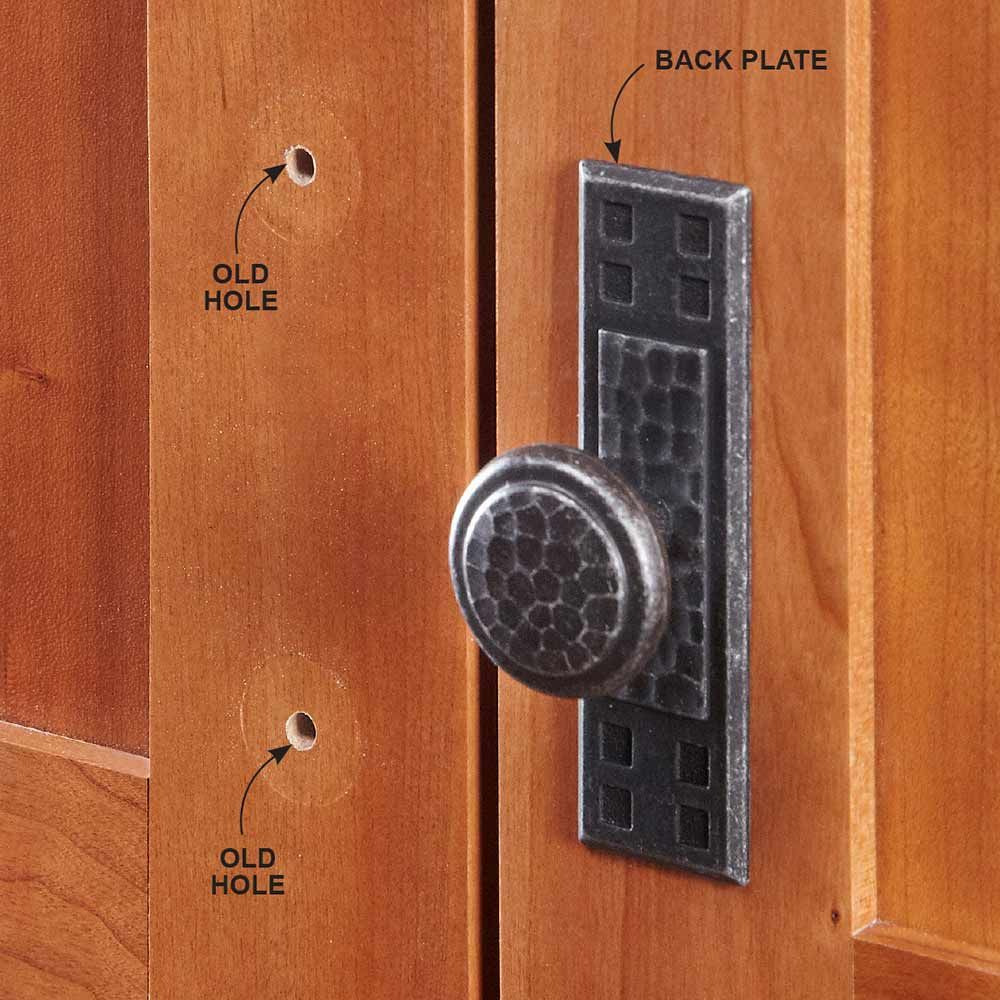
This is the scenario that stresses people out most, and it’s genuinely common, since a lot of trendy hardware styles come in spacing that doesn’t match older, more traditional cabinet holes.
You have a few real options here, and which one you pick depends on how committed you are to a specific style versus how much you want to avoid any new holes at all.
The simplest option is buying hardware specifically in your existing spacing, even if it limits your style choices somewhat — most major spacings have at least a few style options available, so this is more restrictive than limiting.
The second option is using a backplate, a decorative metal plate that sits behind the pull and covers a wider footprint than the hardware itself, which can visually hide a spacing mismatch or old paint discoloration around the original holes even if you do end up drilling new ones slightly offset.
Pro tip: If you do need new holes because your desired hardware simply doesn’t match any reasonable existing spacing, drill them in a spot where a backplate will fully cover both the old and new holes — this keeps your kitchen looking clean during your tenancy and gives you a legitimate, non-obvious way to patch and cover multiple holes at move-out.
Using adhesive hardware as a zero-hole alternative
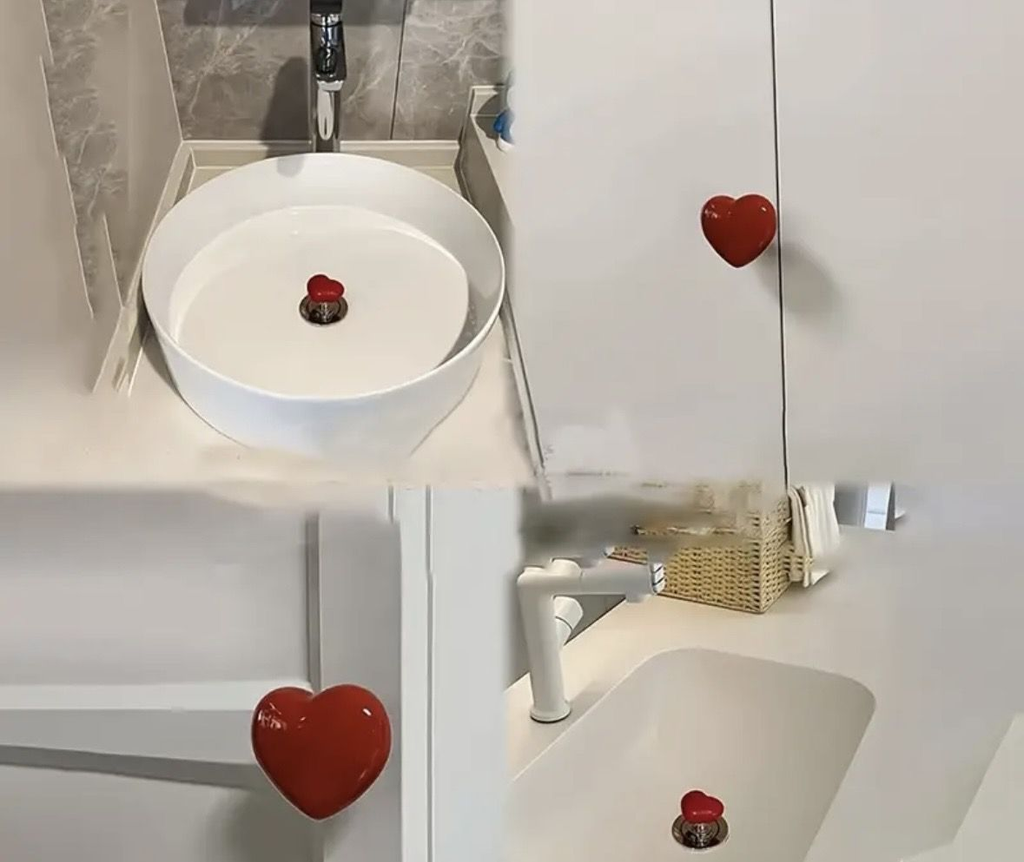
For situations where you want to avoid any new holes whatsoever, including situations where your existing spacing genuinely doesn’t work with any hardware style you like, heavy-duty adhesive-backed knobs and pulls exist specifically for this use case.
These skip the screw-mounting process entirely, relying on strong adhesive bonding instead.
The honest trade-off is durability — adhesive hardware generally can’t handle the same daily pulling force as screwed-in hardware over the long term, and it’s more suited to lighter-use cabinets, like a display cabinet, than heavily used everyday drawers in a kitchen.
Removing the Original Hardware
The actual removal process
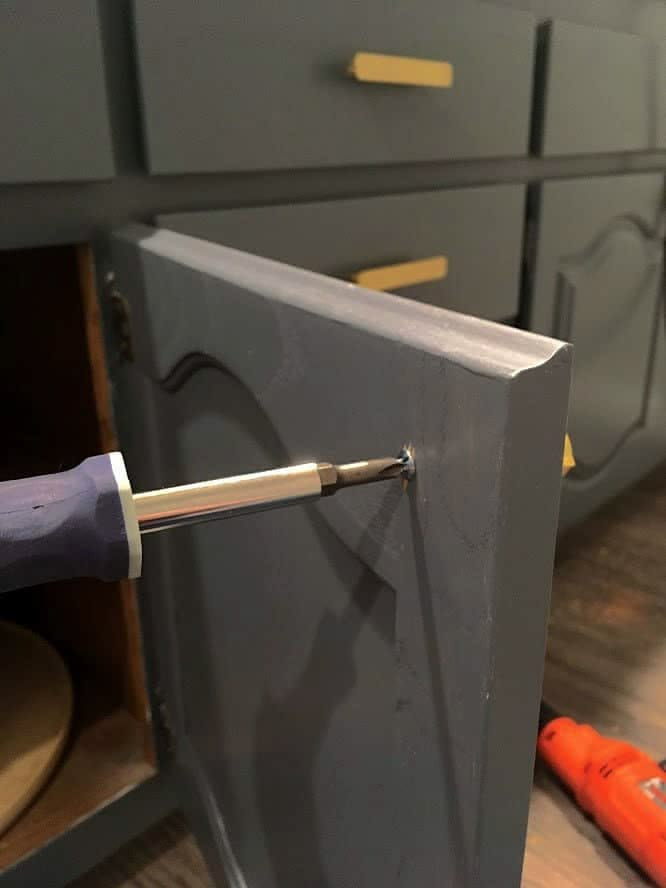
Once you’ve measured and photographed everything, removing existing hardware is usually as simple as unscrewing it from the inside of the cabinet or drawer front with a screwdriver matching the screw head type.
Keep the screws grouped with their matching hardware piece immediately, rather than tossing all the screws into one pile, since screw lengths can vary slightly between different hardware pieces even within the same kitchen.
Pro tip: Use a small piece of painter’s tape to label each hardware and screw set with its cabinet location as you remove it — writing directly on the tape with “upper left cabinet” or “third drawer from left” takes ten extra seconds per piece and completely eliminates the sorting confusion I ran into with my own brass hardware.
Installing the New Hardware
Getting placement right on the first try
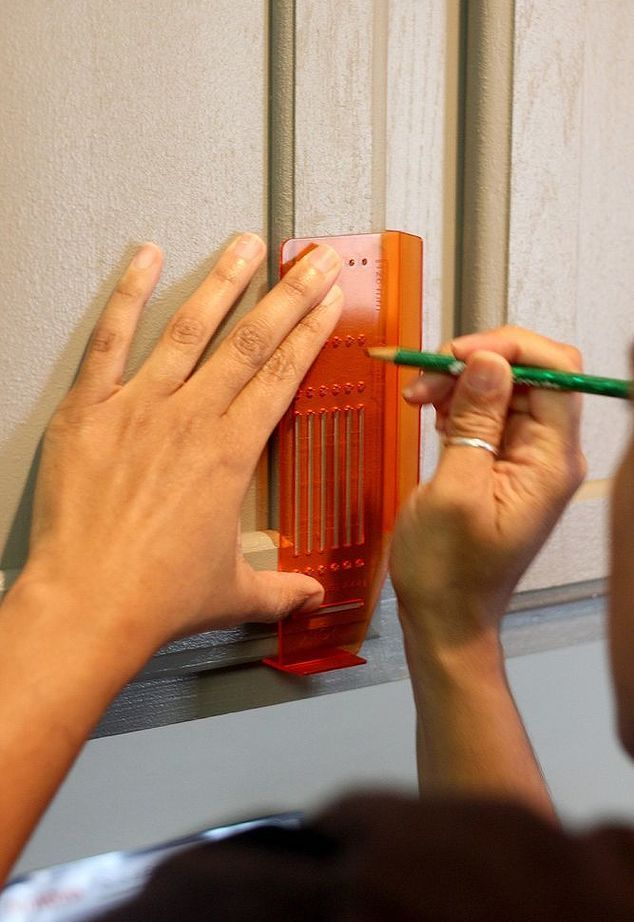
Using your photos and measurements as a reference, mark your new hardware’s screw positions with a pencil before drilling anything, and double-check the mark against a level or a straightedge, especially on pulls where a slightly crooked installation is much more visually obvious than it would be on a single-hole knob.
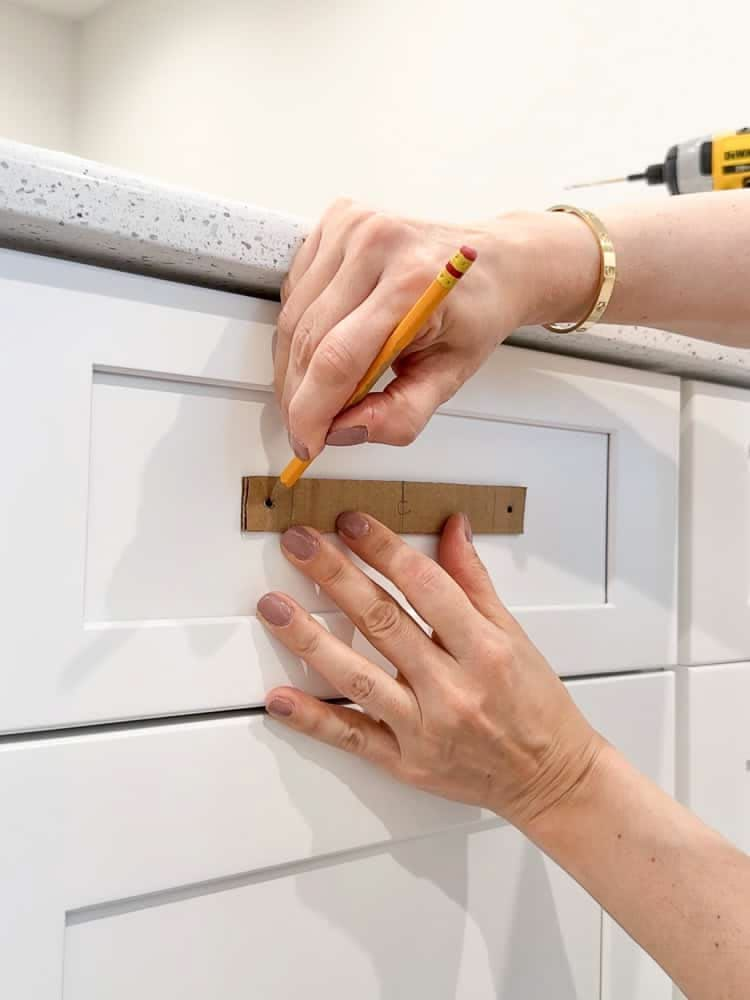
Pro tip: Use a template, either a purchased hardware jig or a simple piece of cardboard with holes marked at your exact spacing, especially if you’re installing more than a handful of pieces — doing the math and measuring fresh on every single cabinet door invites small inconsistencies that become noticeable once you step back and look at the whole kitchen.
Tightening without stripping
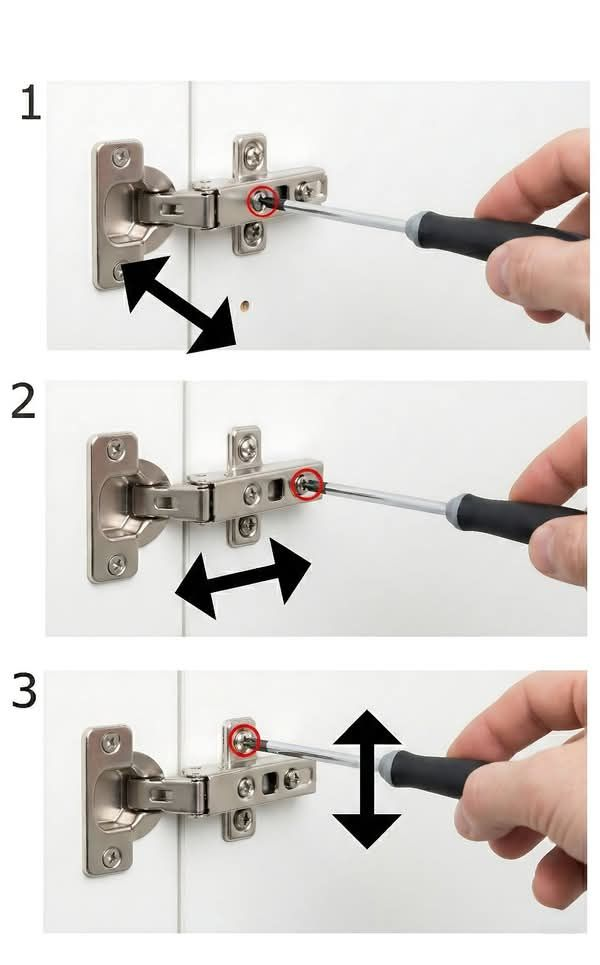
Hand-tighten screws until they’re snug, then give a final quarter turn with a screwdriver rather than cranking them down with full force.
Overtightening is a common mistake that can strip the screw threads in the cabinet material, especially in older or lower-quality cabinet doors, which makes the hardware wobble loosely no matter how much you tighten it afterward.
Storing the Originals So You Can Actually Find Them Later
Building a system you’ll actually maintain
The mistake I made — tossing everything into a random junk drawer — is genuinely the most common failure point in this entire process, more common than any installation mistake.
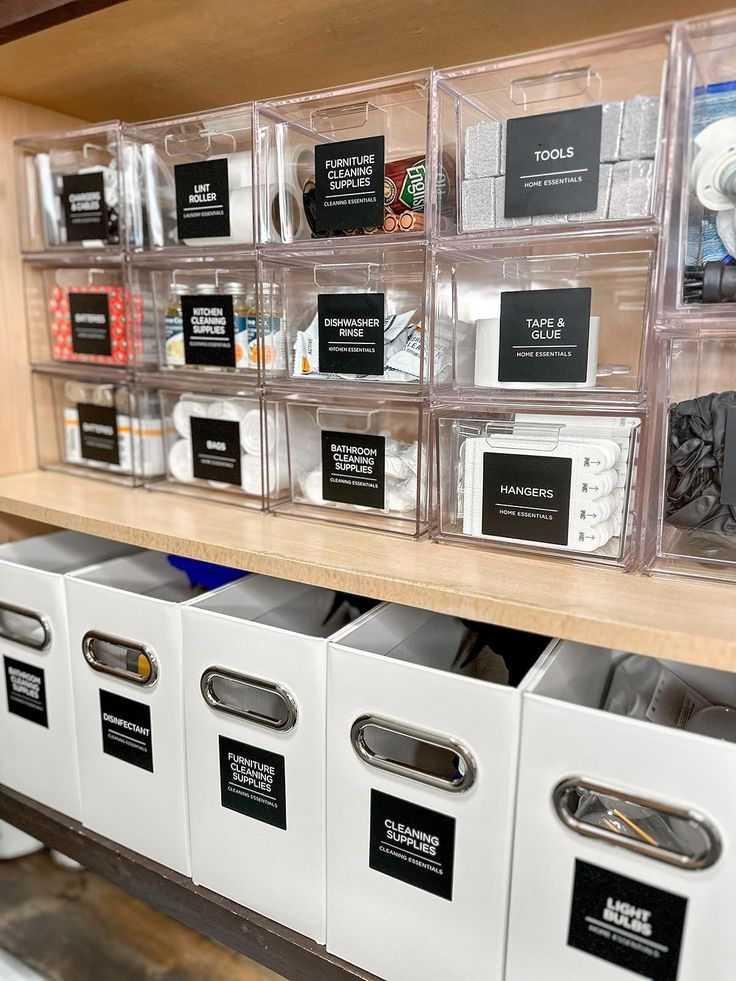
Use a labeled zip-top bag or small container for each cabinet’s original hardware and screws, write the cabinet location directly on the bag, and store all the bags together in one consistent spot, ideally somewhere you won’t accidentally use for anything else over the following months or years.
Pro tip: Store the bag of originals with a printed or written copy of your documentation photos, not just the hardware itself — by move-out, especially if it’s a year or more later, you may not remember exactly which bag corresponds to which cabinet without that visual reference to double-check against.
Reinstalling at move-out
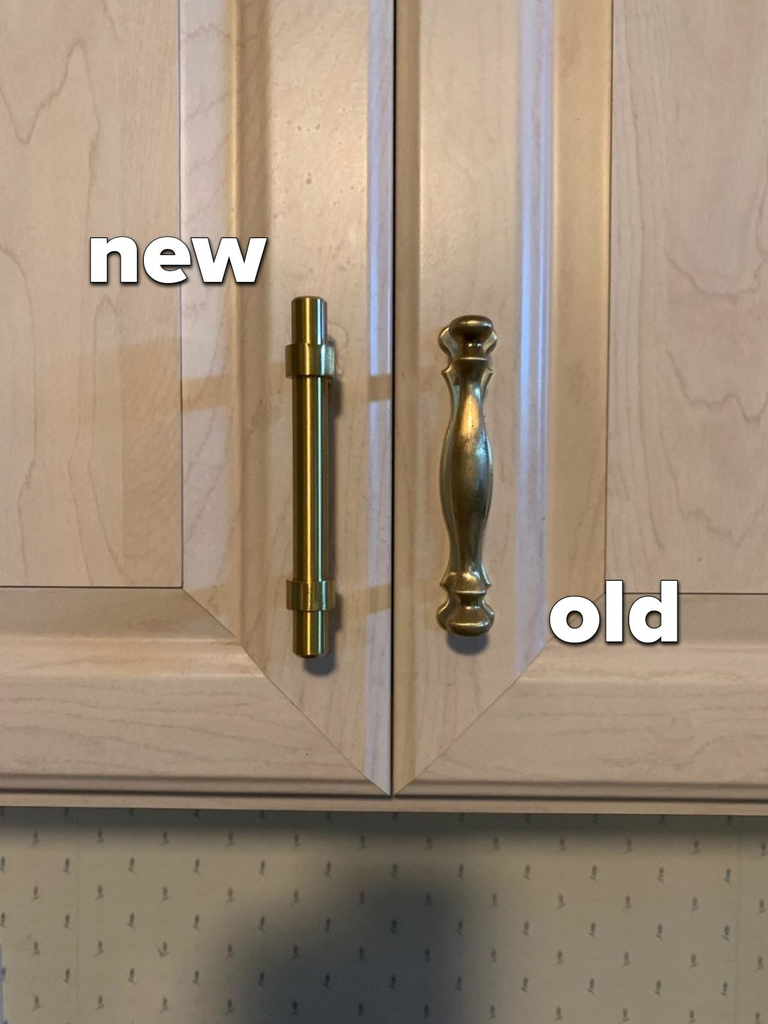
When it’s time to move, reverse the entire process: remove your updated hardware, reinstall the originals using your stored screws and your documentation photos as a placement guide, and do a final walkthrough comparing the kitchen against your original move-in photos if you took any.
If you used a backplate over slightly mismatched new holes, this is also the moment to fill and touch up paint over any holes that won’t be covered once the original hardware is back in place.
What I’d Do Differently Looking Back
If I were doing my own hardware swap again, knowing what caused that stressful twenty-minute search a week later, I’d build the labeling and storage system before removing a single knob, not as an afterthought once everything was already off and mixed together in a pile.
The actual installation went fine on the first try; it was entirely my own disorganization afterward that turned a simple project into a minor panic.
Cabinet hardware is genuinely one of the best upgrades available to a renter specifically because it’s so reversible when it’s done with even a small amount of care up front.
My brass hardware is still safely bagged and labeled, sitting exactly where it should be, ready to go back in without a single guess required whenever I eventually move out.


Leave a Reply