

I signed a lease with a strict no-holes clause and then spent an entire weekend convinced I’d have to live with the flimsy paper blinds that came with my apartment, because every curtain rod I looked at online seemed to assume you’d just drill straight into the wall like it was your own house.
It took way more searching than it should have to find out that hanging curtains without drilling is not only possible, it’s honestly not that much harder than the drilled version once you know which method actually fits your specific window and wall.
Learning how to hang curtains without drilling into rental walls comes down to picking the right no-drill method for your specific situation, because there isn’t one universal solution that works for every window.
A window with a deep enough frame calls for a different approach than a window flush against the wall, and getting that match wrong is the number one reason people end up disappointed with a no-drill curtain setup and assume the whole category just doesn’t work well.
I’m going through the actual no-drill methods in order of how sturdy and versatile they are, what kind of window each one works best for, and the specific installation steps for each, because “just use Command hooks” is advice that works great in some situations and fails within a week in others.
Understanding Your Window Before You Choose a Method
Measure your window frame depth first
Before picking any no-drill hanging method, measure the depth of your window frame or trim — the flat surface running around the window opening.
A frame with at least an inch and a half of depth opens up tension rod and inside-mount options that a flush, frameless window simply can’t support. This single measurement determines which methods are even viable before you spend money on the wrong one.
Pro tip: Measure at a couple of different points along the frame, not just one — older buildings especially can have slightly uneven trim depth from one side of a window to the other, and a method that fits perfectly on one side can be too tight or too loose on the other.
Weigh your curtain fabric before choosing a hardware weight rating
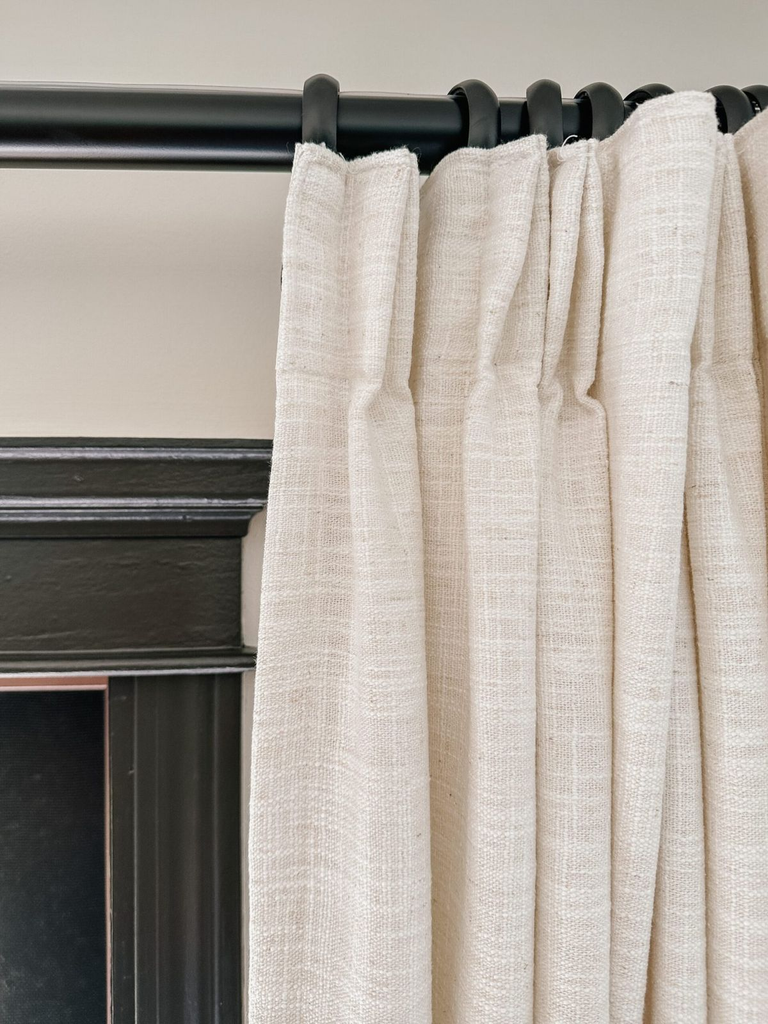
Heavy blackout curtains put significantly more ongoing strain on adhesive hooks and tension hardware than lightweight sheer panels do, and this is the detail most people skip entirely when picking a no-drill method.
Weigh your actual curtain panels, or check the manufacturer’s listed weight if you haven’t bought them yet, and choose hardware rated meaningfully above that weight, not just barely at it.
| No-Drill Method | Weight Capacity | Works Best For | Setup Difficulty |
|---|---|---|---|
| Tension rod (inside frame) | Light to moderate curtains | Windows with deep enough frame depth | Easy |
| Adhesive hook brackets | Light to moderate, check rating | Flush windows, no deep frame | Easy-moderate |
| Magnetic curtain rod | Light curtains only | Metal window frames or doors | Easy |
| Adhesive-mounted rod brackets | Light to moderate | Most window types with flat wall space | Moderate |
| Command large hooks (ceiling-mount curtain) | Light to moderate | Floor-to-ceiling drapes | Easy |
Method 1: Tension Rods Inside the Window Frame
Why this is the sturdiest no-drill option
A tension rod that wedges directly inside the window frame itself, rather than mounted to the surrounding wall, is genuinely one of the most secure no-drill options because the pressure is distributed against solid frame material rather than relying on adhesive strength alone.
This is the method I ended up using in my no-holes apartment, and it’s held up without a single issue for over two years now.
The limitation is real, though: this only works if your window frame has enough depth to actually fit a tension rod inside it, and it positions your curtains inside the window opening rather than extending them wider than the frame, which is a specific look, not the “wall-to-wall drapery” style a lot of people are actually going for.
Pro tip: Choose a tension rod with a rubber or silicone grip on the ends, not a bare metal tip — the rubber grip both protects your window frame’s paint finish from scratches and provides meaningfully better grip than metal against most painted wood or vinyl frames.
Step-by-step: installing an inside-frame tension rod
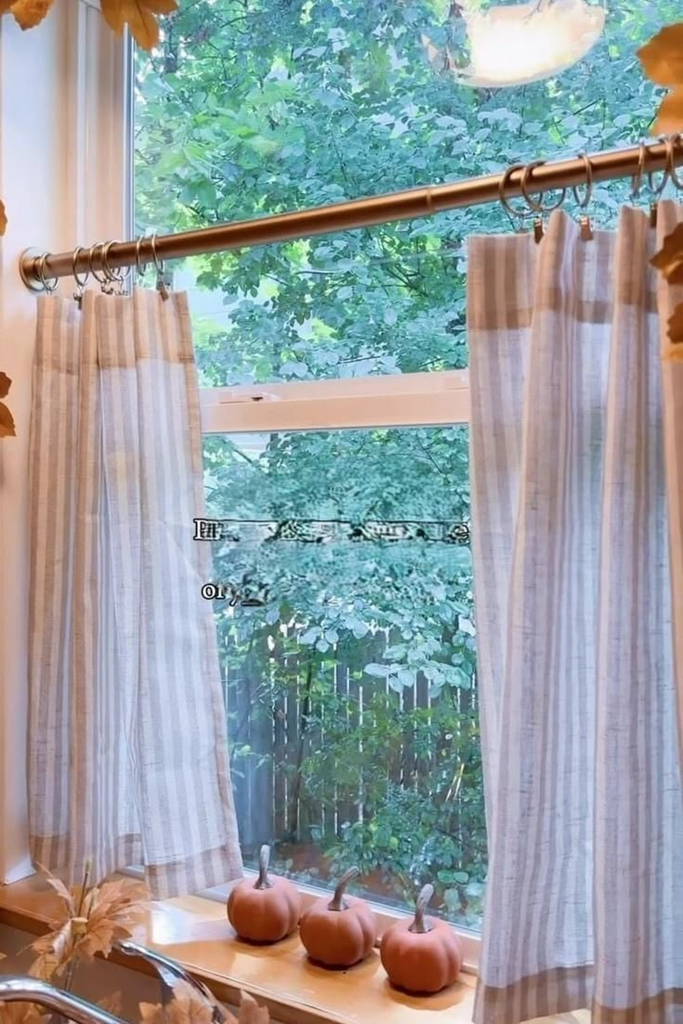
Measure the exact inside width of your window frame at the height you want the rod, then choose a tension rod rated for a width range that includes your measurement with a little room to spare, not one at the very top of its extended range where it’ll be under maximum strain.
Extend the rod to slightly beyond your measured width, position it at your chosen height inside the frame, and compress it in place while checking it’s level. Give it a firm tug test before hanging any curtains to confirm it’s genuinely secure.
Method 2: Adhesive Hook Brackets for Flush Windows
Why this is the go-to for windows without deep frames
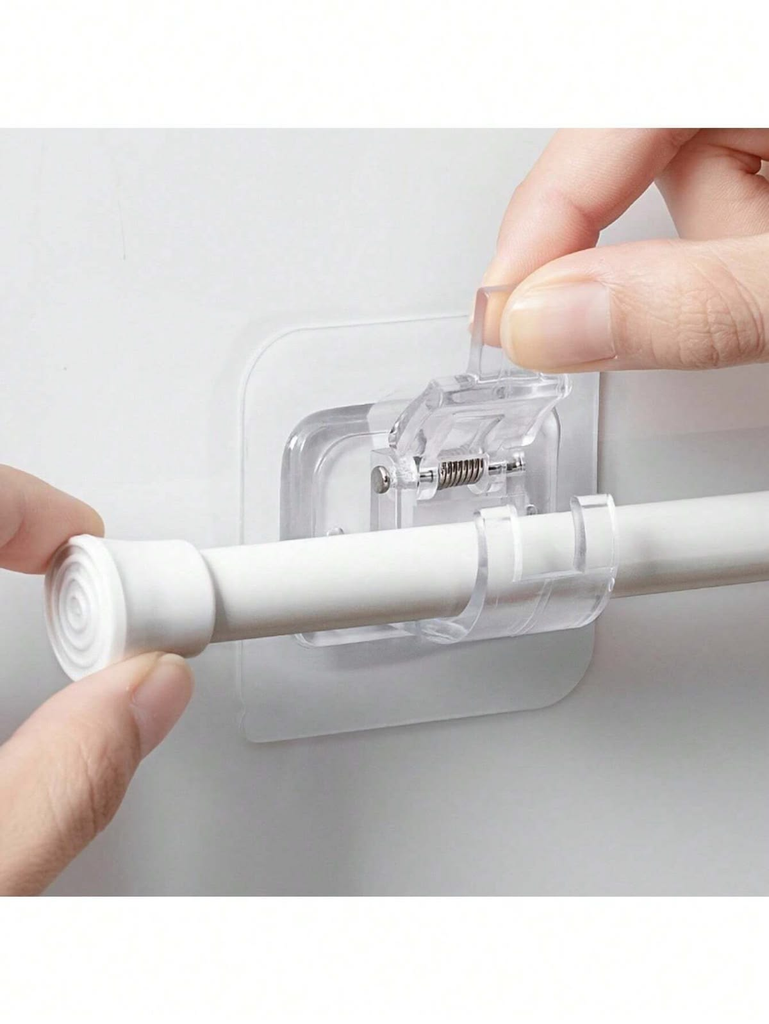
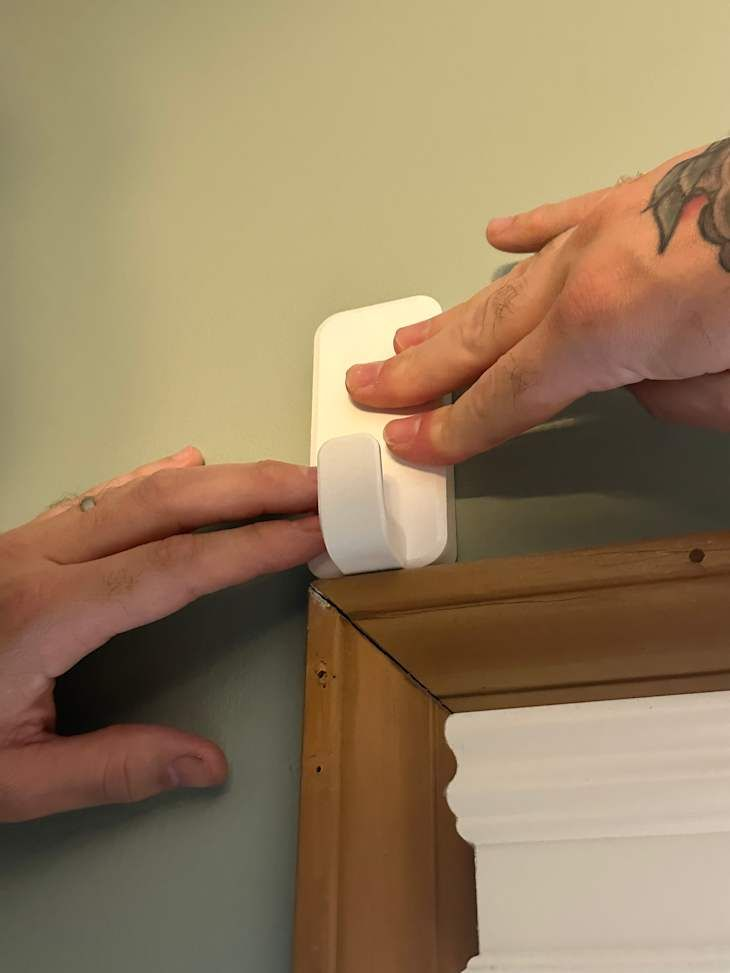
When a window sits flush against the wall with no real frame depth to work with, adhesive-backed hook brackets mounted directly to the wall on either side of the window become the more practical option.
These brackets hold a standard curtain rod the same way a drilled bracket would, but the mounting itself relies on strong adhesive rather than a screw into drywall.
My roommate Priya used this exact method for our shared living room windows, which had almost zero frame depth, and specifically chose brackets rated for double her curtains’ actual weight after her first, more lightweight set of hooks failed within a week under a pair of medium-weight curtains.
Pro tip: Let the adhesive cure for the full time listed on the packaging — usually 24 hours — before hanging any curtains on it, even though it’ll feel stuck much sooner than that. Hanging weight too early, before the adhesive has fully cured, is one of the most common reasons these brackets fail.
Step-by-step: installing adhesive hook brackets
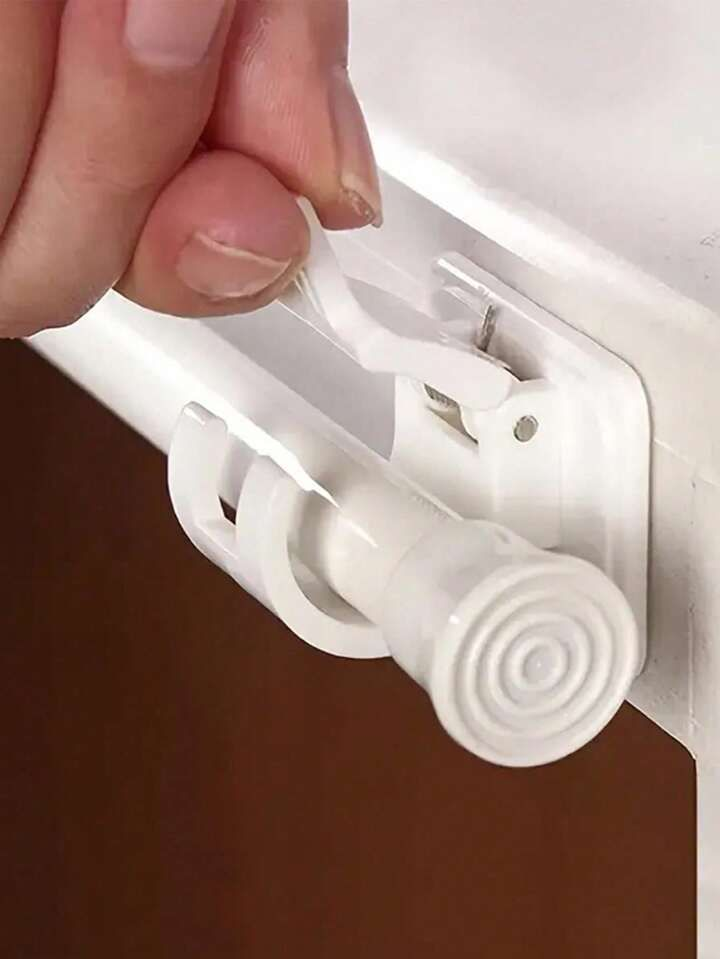
Clean the wall surface thoroughly with rubbing alcohol and let it dry completely, since any dust, oil, or old paint residue significantly weakens the adhesive bond.
Mark your bracket positions using a level, ensuring both sides are at the same height, then press each bracket firmly against the wall for the full time recommended on the packaging, typically 30-60 seconds of firm, continuous pressure. Wait the full cure time before adding your curtain rod and any curtains.
Method 3: Magnetic Curtain Rods for Metal Frames
When this specific method actually applies

If your window has a metal frame, or you’re hanging curtains on a metal door or a metal-framed sliding glass door, a magnetic curtain rod is a genuinely elegant no-drill solution that most people don’t even realize exists, since it’s a narrower use case than the other methods on this list.
The rod has magnetic end caps that attach directly to the metal frame with real holding strength, no adhesive or tension mechanism required at all.
Pro tip: Test the magnet strength against your specific frame before buying curtains to go with it — magnetic strength can vary noticeably between brands, and a weak magnet against a thicker metal frame won’t hold as securely as the product listing might suggest.
Method 4: Adhesive-Mounted Rod Brackets for a Wider, Wall-to-Wall Look
Getting the “expensive drapery” look without drilling
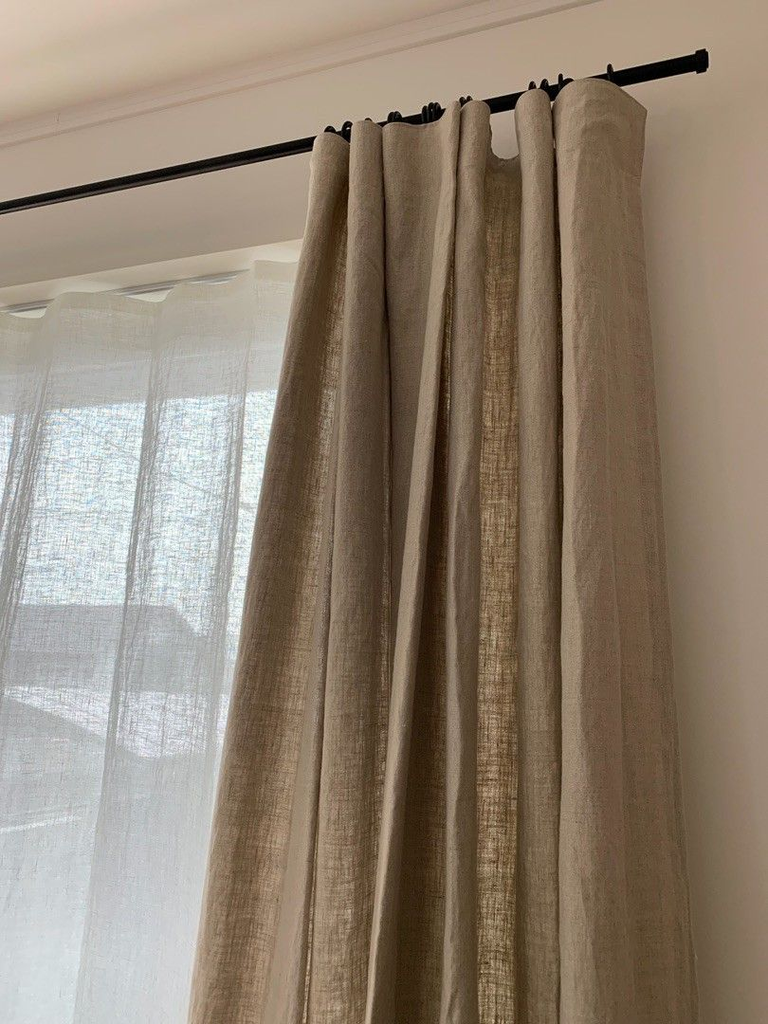
If you want curtains that extend beyond the window frame itself — the wider, floor-to-ceiling drapery look that reads as more high-end — adhesive-mounted brackets positioned on the wall beyond the window’s edges, rather than directly on the frame, let you achieve that wider spread without a single hole.
This is worth the slightly more involved setup if the finished look matters to you, since curtains hung exactly at frame width can read as a bit plain compared to a wider spread.
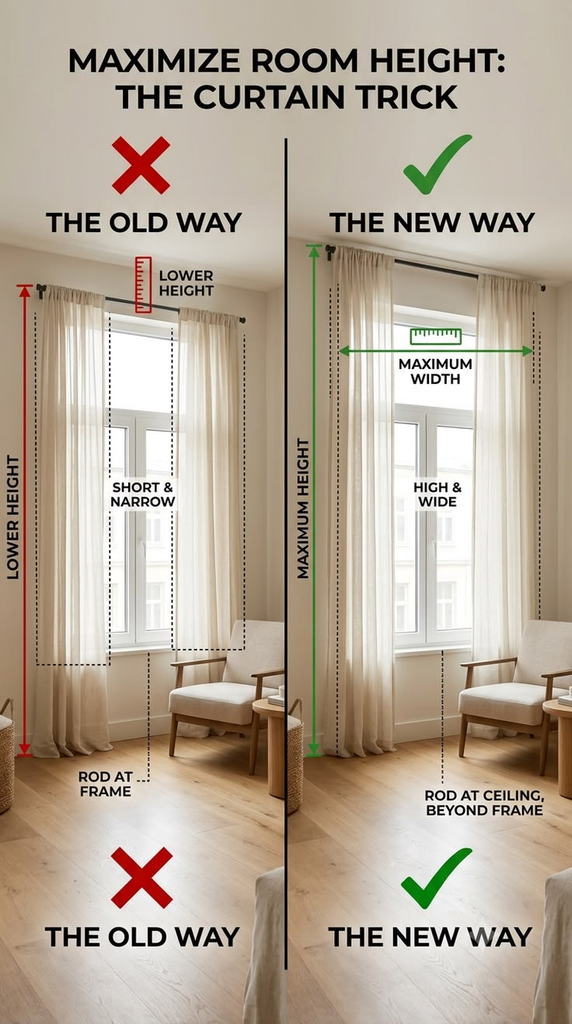
Pro tip: Position your brackets 4-6 inches beyond each side of the window frame, and hang the rod itself close to the ceiling rather than right above the window — both of these choices elongate the wall visually and make the window, and by extension the whole room, look larger than it actually is.
Step-by-step: mounting brackets for a wider curtain spread
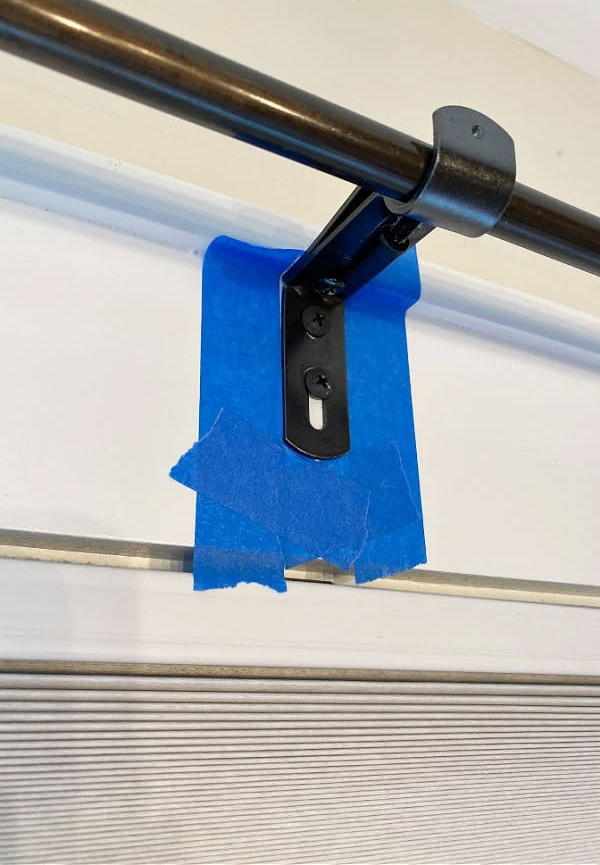
Decide your final bracket placement first, using painter’s tape to mark the exact spot and stepping back to check it looks right before committing any adhesive.
Clean both wall spots thoroughly, apply the adhesive-backed bracket with firm, sustained pressure, and let the full cure time pass before hanging your rod.
Balance the curtain weight evenly across both brackets once hung, and periodically check the adhesion over the following weeks, since a wider spread puts slightly more torque on each bracket than a rod mounted at exactly frame width would.
Method 5: Ceiling-Mounted Hooks for Floor-to-Ceiling Drapes
When you want the curtain to start above the window entirely
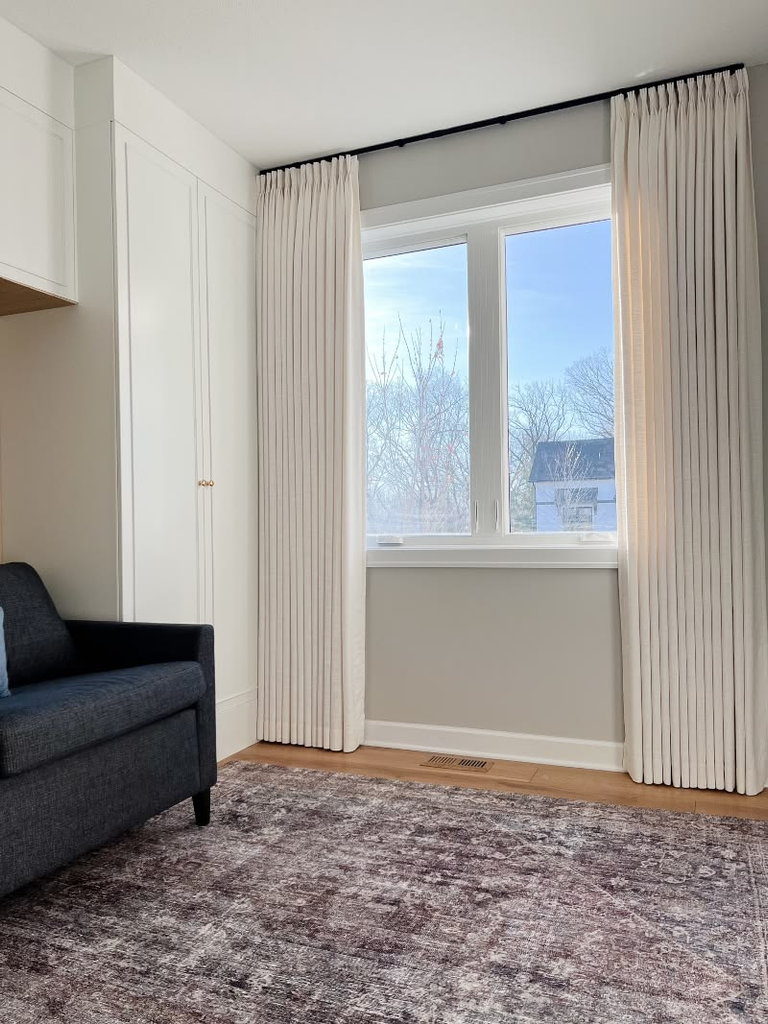
For a true floor-to-ceiling drape effect, heavy-duty adhesive hooks mounted to the ceiling, just above and outside the window frame, let you hang a curtain track or rod that starts well above the window itself.
This creates height and drama that a wall-mounted rod at standard height simply can’t replicate, and it’s a specific favorite look for making a room with a low ceiling feel taller than it is.
Pro tip: Confirm your specific ceiling material can support adhesive hooks before committing to this method — textured or popcorn ceilings, common in a lot of older rental buildings, don’t bond with adhesive as reliably as a smooth painted ceiling does, and this is worth testing on a small hidden spot first.
Getting the Finished Look Right, No Matter Which Method You Use
Hang your curtains higher than feels intuitive
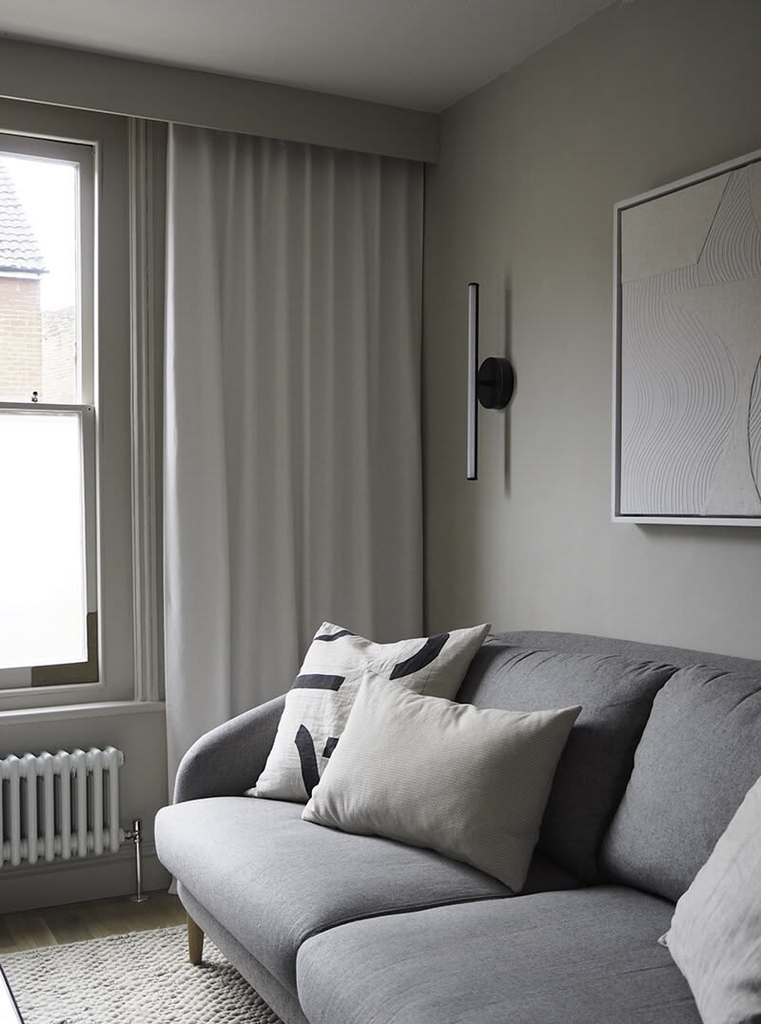
Regardless of which no-drill method you choose, positioning your rod closer to the ceiling than to the top of the window frame is one of the simplest ways to make a room feel bigger and your curtains look more intentional, rather than like an afterthought squeezed in right above the glass. This costs nothing extra and works with every single method on this list.
Choose curtain length carefully to avoid strain on lighter-duty hardware
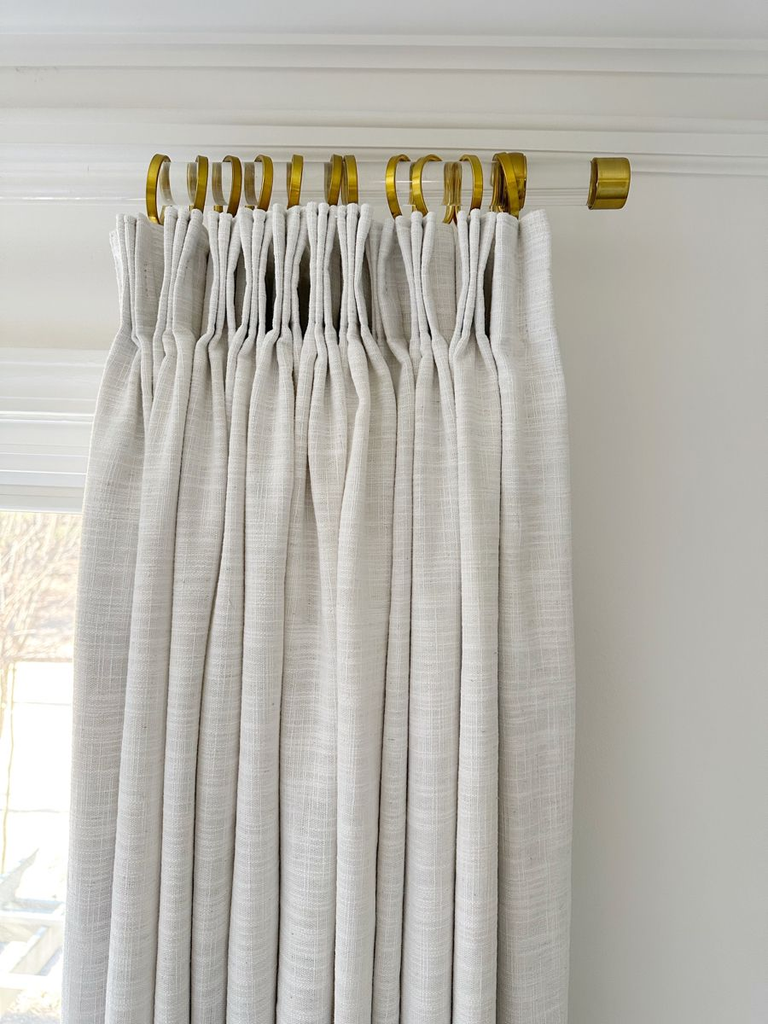
Curtains that pool slightly on the floor look elegant, but that extra fabric adds real weight that lighter no-drill methods weren’t necessarily designed to hold long-term.
If you’re using an adhesive-based method rather than the sturdier inside-frame tension rod, consider a length that just grazes the floor rather than pools, to keep the ongoing weight strain lower.
What I’d Do Differently If I Were Setting This Up Again
If I were solving this problem again from scratch, I’d measure my window frame depth before doing anything else, since that single measurement would have saved me the entire weekend I spent comparing curtain rods online without knowing which category actually applied to my window.
Everything downstream of that measurement gets a lot simpler once you know whether you’re working with an inside-frame method or an adhesive-based one.
Two years into my own no-drill curtain setup, the thing that’s actually held up best isn’t the fanciest-looking hardware I considered buying — it’s the plain tension rod wedged inside my window frame, doing exactly the one job it was designed for, without a single screw or hole in a wall I never actually owned in the first place.


Leave a Reply