
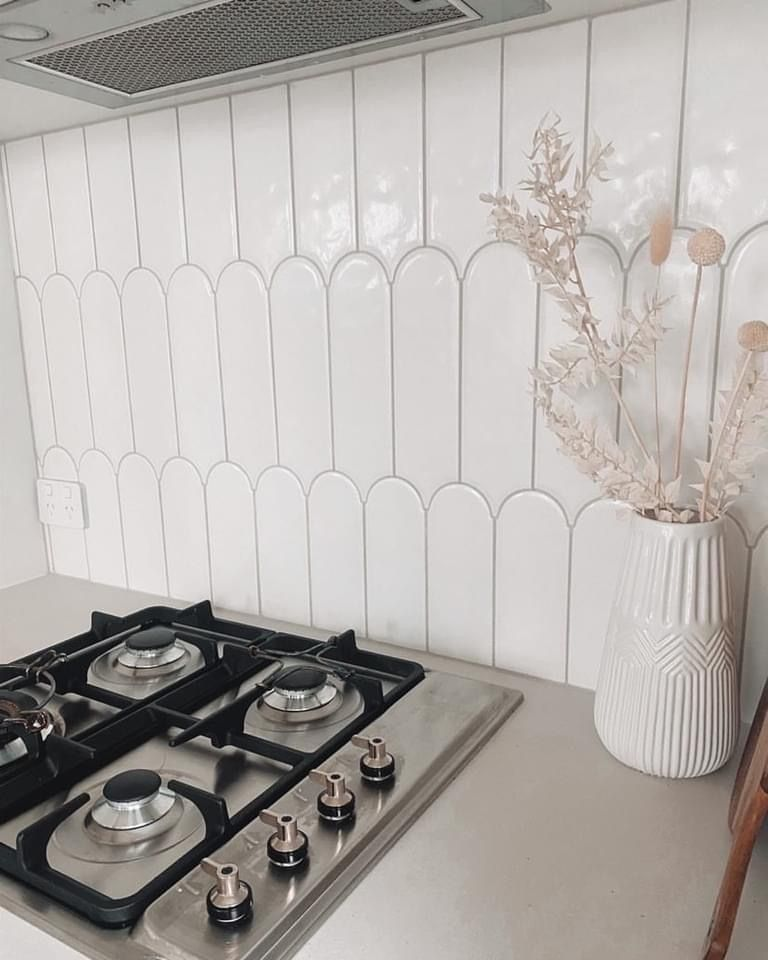
My first attempt at a peel and stick backsplash lasted about six weeks before one entire strip started peeling up at the corner near my stove, curling away from the wall a little more every day until I finally gave up and ripped the whole thing off out of embarrassment before anyone could see it happening.
My second attempt, on the same wall, using the same brand of tile, is still up three years and one move later. The tile wasn’t the problem the first time. I was.
Learning how to install peel and stick backsplash the right way is less about the product itself and more about the handful of prep steps that almost every quick tutorial video glosses over, because they’re not visually interesting enough to film.
Wall cleaning, temperature, and how you handle heat-adjacent areas near a stove matter more to whether your backsplash survives the first six months than which specific brand of tile you buy.
I’m walking through this in the actual order that matters — what you need before you start, prepping the wall properly, the measuring and cutting that prevents the most common mistakes, the actual application process, and then how to handle the tricky spots like outlets and corners that trip up almost everyone on their first try.
What You Actually Need Before You Start
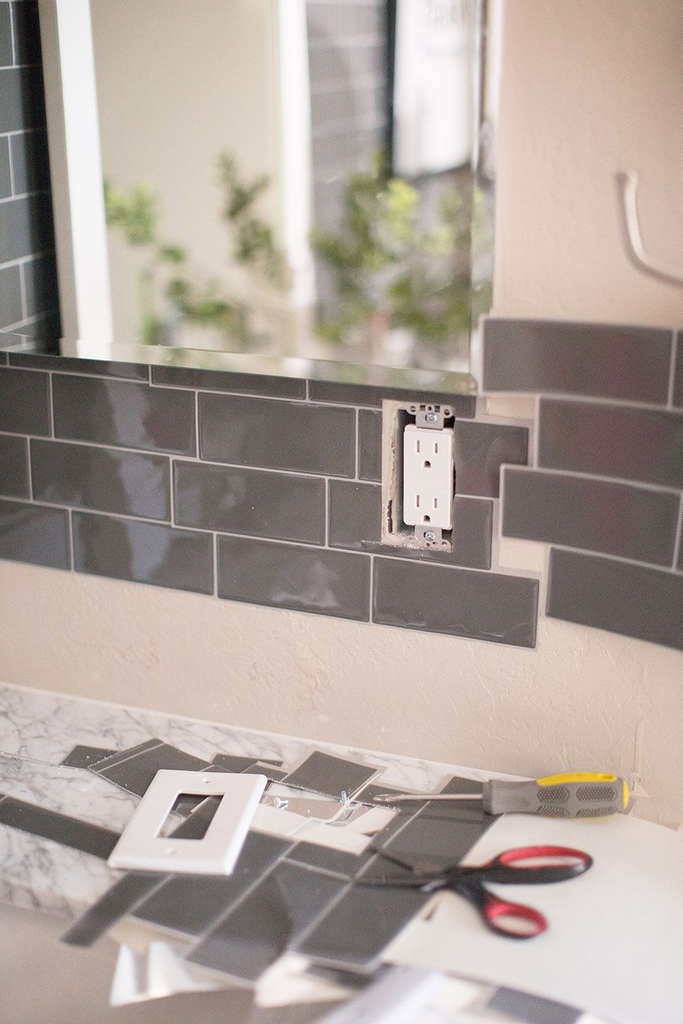
Tools and materials for a peel and stick backsplash installation
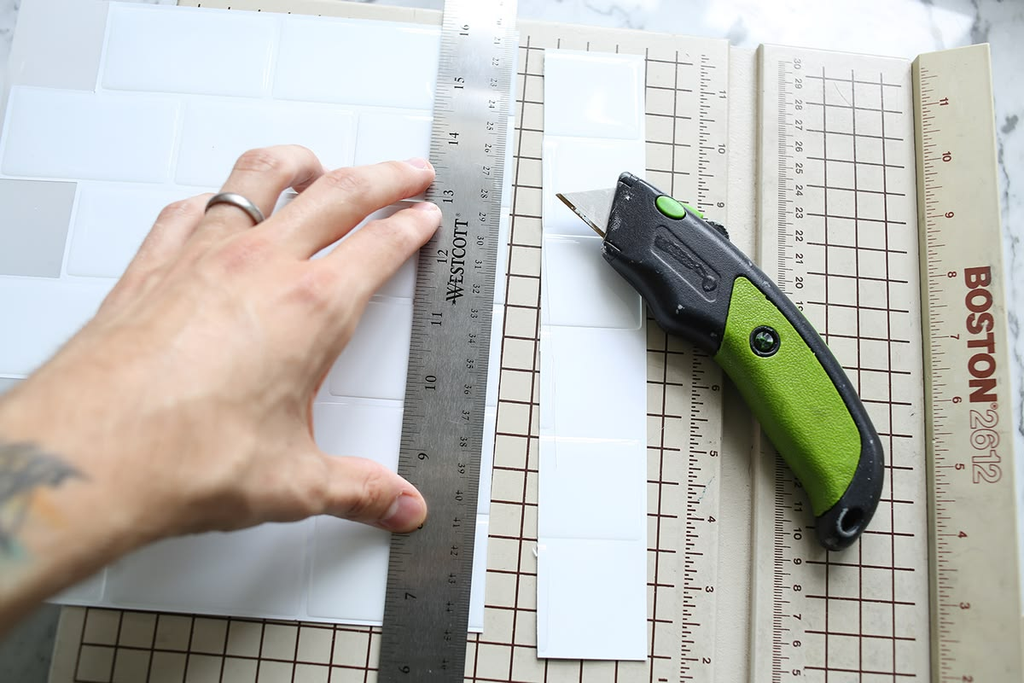
Beyond the tile itself, you’ll want a few tools that most people don’t already have lying around: a straightedge or metal ruler, a sharp utility knife with extra blades, a smoothing tool (a plastic putty knife or a dedicated wallpaper smoother both work), painter’s tape, rubbing alcohol, a lint-free cloth, and a tape measure.
A small level is worth having too, even though a lot of tutorials skip it — the human eye is worse at spotting a slightly crooked first row than you’d think.
Pro tip: Buy an extra utility knife blade or two before you start, not after — a dull blade is one of the most common reasons people end up with jagged, torn edges on their cuts, and swapping to a fresh blade mid-project makes an immediate, noticeable difference in cut quality.
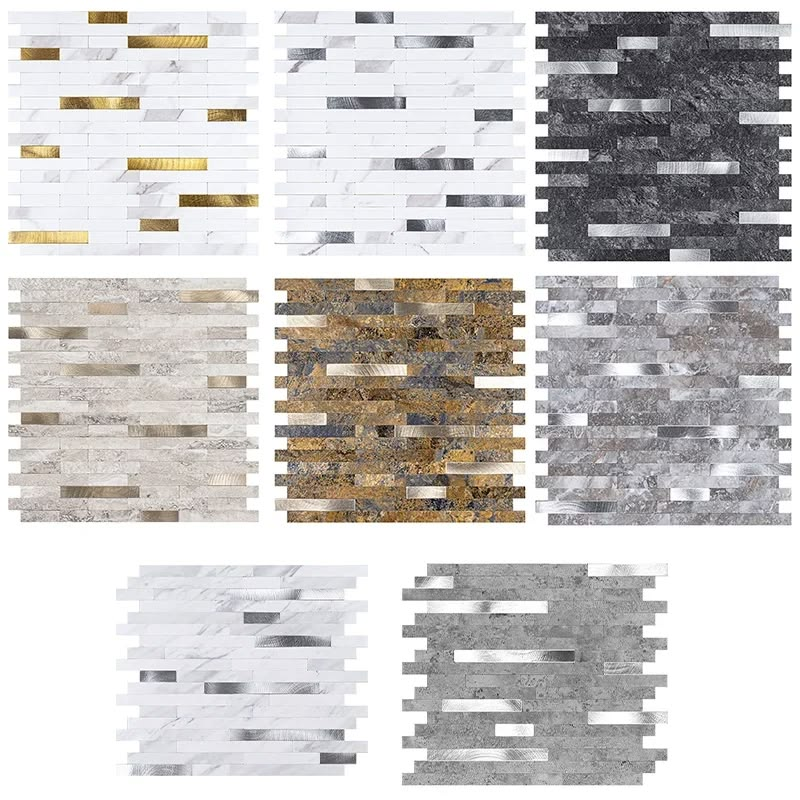
Choosing the right type of peel and stick backsplash for your kitchen
Not all peel and stick tile is built the same, and the differences matter more in a kitchen specifically than they would on a bedroom accent wall, because kitchens involve heat, grease, and moisture that a lot of budget products aren’t actually rated to handle well.
| Backsplash Type | Heat Resistance | Best Placement | Typical Cost |
|---|---|---|---|
| Vinyl peel-and-stick tile | Low-moderate | Away from direct stove heat | $20-$40 per section |
| Metal-look peel-and-stick | Moderate-high | Behind stove, near heat sources | $30-$55 per section |
| Glass-look peel-and-stick | Moderate | General counter areas | $35-$60 per section |
| Gel/resin peel-and-stick tile | High | Directly behind stove or cooktop | $40-$70 per section |
| Faux subway tile sheets | Low-moderate | Sink backsplash, low-heat zones | $25-$45 per section |
Pro tip: Splurge on a heat-rated gel or metal-look product specifically for the section directly behind your stove, even if you use a cheaper vinyl option everywhere else — this is the one spot on your whole backsplash where cutting costs is most likely to cause an early failure.
Prepping the Wall: The Step Almost Everyone Rushes
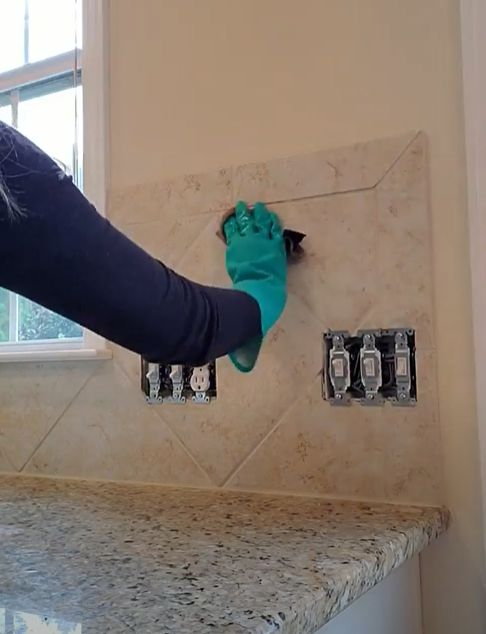
Clean the wall thoroughly, twice
This is the single step that made the difference between my failed first attempt and my successful second one. Wipe the wall down with a degreaser or rubbing alcohol, let it dry completely, and then do it again.
Kitchen walls accumulate a thin, often invisible layer of cooking grease over time, even on walls that look perfectly clean, and that residue is the number one reason peel and stick adhesive fails to bond properly.
Pro tip: Run your clean, dry hand flat across the wall after cleaning — if it feels even slightly tacky or you can see a faint smudge afterward, clean it again. Your eyes will tell you the wall looks clean well before your hand tells you it actually is.
Check the room temperature before applying anything
Peel and stick adhesive bonds best in a moderate room temperature, generally somewhere in the 65-75°F range.
Applying tile in a cold kitchen, or right after cooking when the wall near the stove is still warm, can affect how well the adhesive sets. If you’ve just finished cooking, give the space time to return to a normal temperature before starting.
Do a full dry layout before removing a single adhesive backing
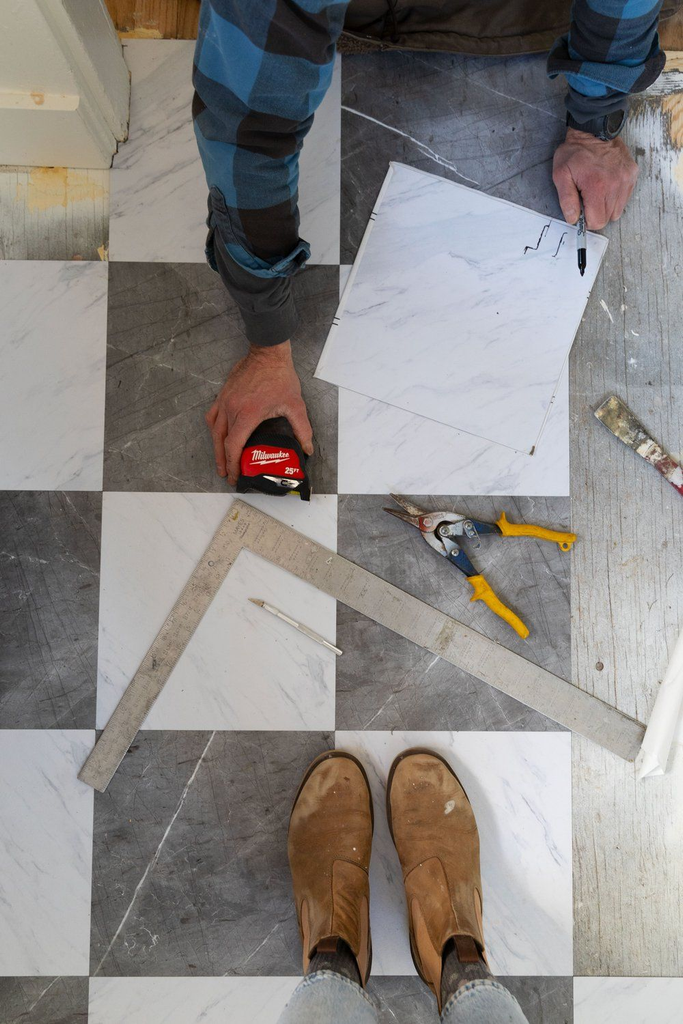
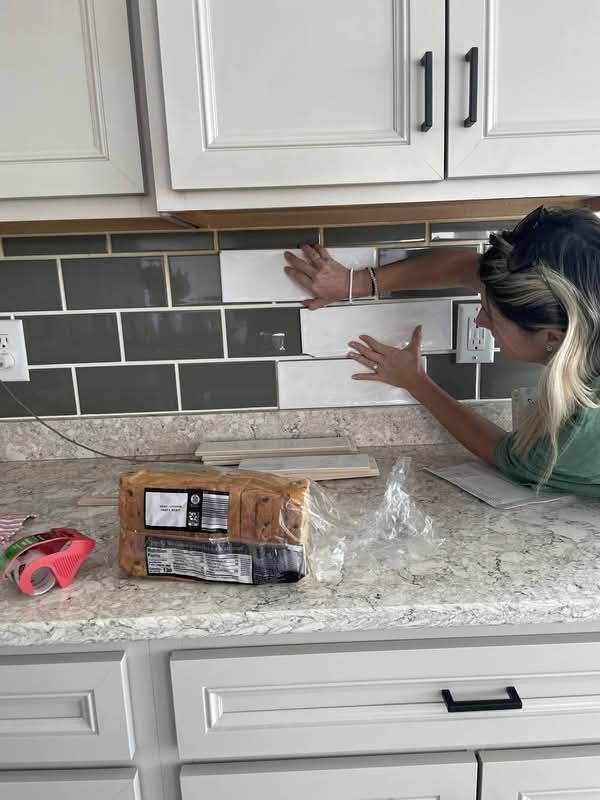
Lay out your tiles, without removing any backing paper, directly on the wall or on the floor in front of it, in the exact pattern you’re planning to install.
This is the step I skipped entirely on my first attempt, and it’s the reason my pattern ended up slightly off-center in a way that bothered me every time I looked at it for six weeks.
Pro tip: Take a photo of your dry layout from a few feet back before starting — it’s much easier to spot an off-center pattern or an awkward small sliver of tile at the edge in a photo than while you’re standing right up against the wall mid-project.
Measuring and Cutting Without Wasting Tile
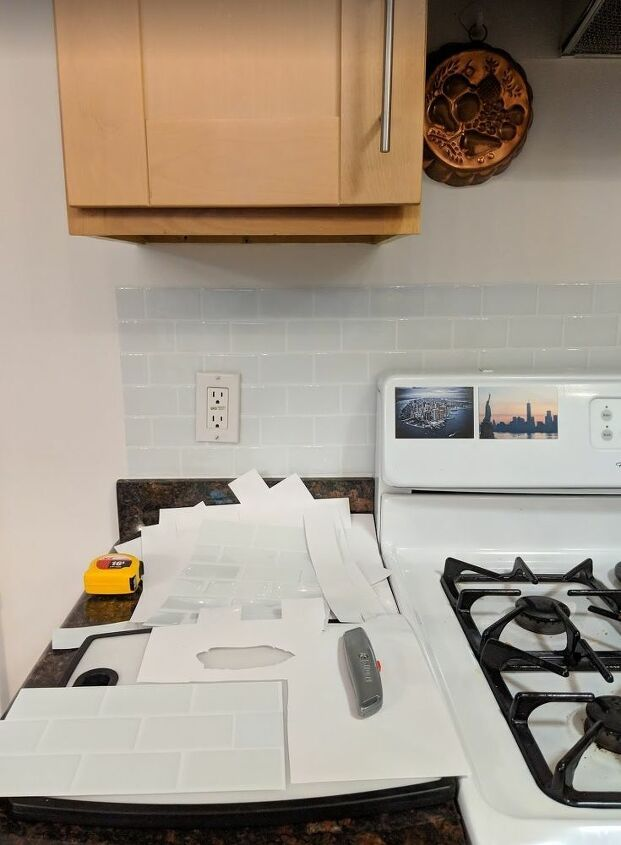
Measure your total backsplash area accurately
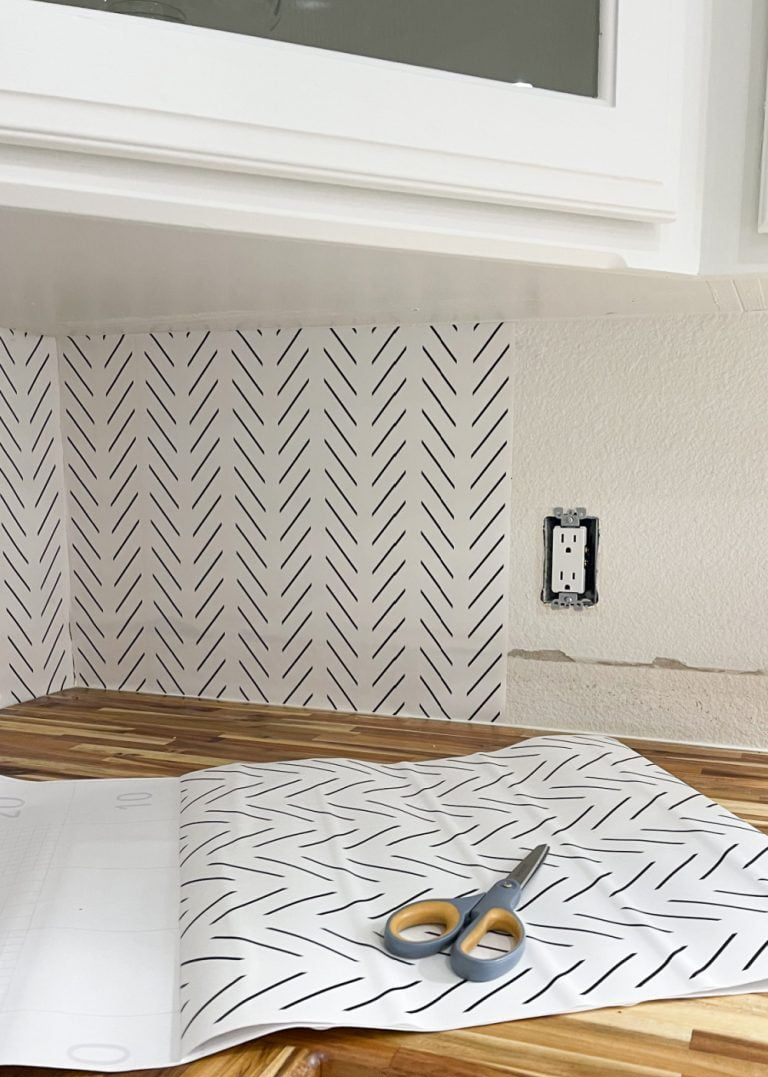
Measure the full height and width of the area you’re covering, including any sections around outlets, switches, or under cabinets, and add roughly 10% extra to your total tile order to account for cutting waste and mistakes.
Running short mid-project and waiting on a reorder, potentially from a different dye lot with a slightly different shade, is a frustration worth avoiding with a bit of extra buying up front.
Start your first row from the most visible point, not from a corner
Most tutorials tell you to start in a corner, but the better approach for a visually clean result is starting your first row of full, uncut tiles at the most visible section of the backsplash — often centered under a window or directly behind your stove — and working outward from there, letting any necessary small cut pieces fall at the less visible ends near a corner or under a cabinet edge.
Pro tip: If your backsplash run isn’t a clean multiple of your tile’s width, do the math before you start so you know exactly where the cut pieces will land — nobody wants to discover three-quarters of the way through that their last row is an awkward, tiny sliver in the most visible spot on the wall.
Cutting tile cleanly around outlets and switches
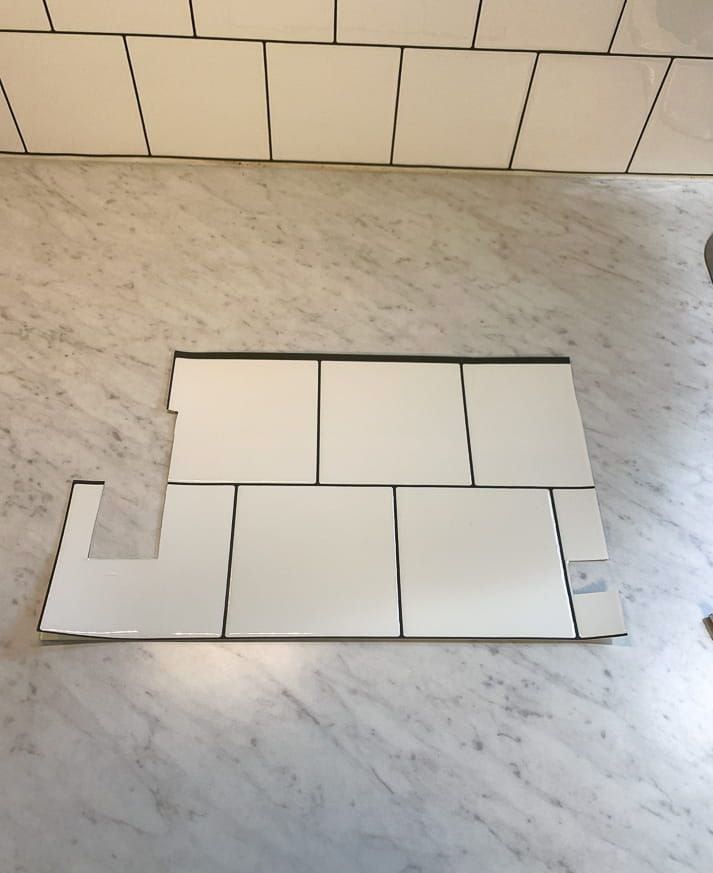
Turn off power to any outlets in your work area at the breaker before removing outlet covers, then measure the exact outlet opening and mark it clearly on the back of your tile piece before cutting.
Cut from the back side of the tile whenever possible, since this gives you a cleaner front-facing edge once it’s applied, and always cut slightly smaller than your measurement rather than slightly larger — a small gap around an outlet cover is far less noticeable than tile that’s fighting to fit and buckling at the edge.
Applying the Tile: Where Technique Actually Matters
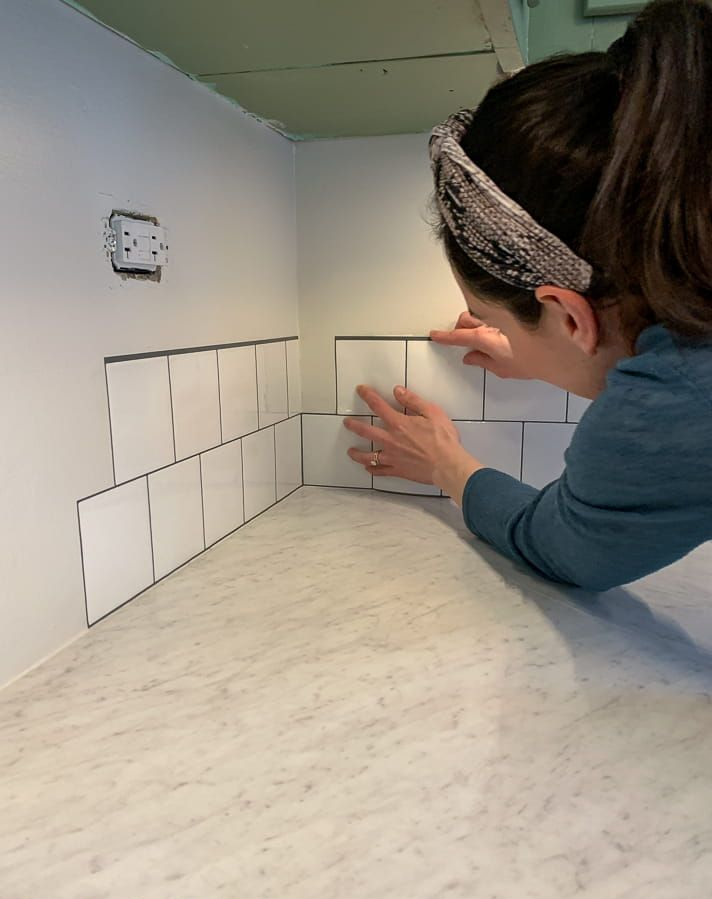
Peel a small section of backing at a time, not all at once
Rather than pulling the entire backing paper off a large tile sheet before applying it, peel back just a couple of inches at a time, pressing that section into place before continuing to peel and apply progressively across the tile.
This single technique prevents the most common beginner mistake — the tile folding onto itself or misaligning because too much adhesive was exposed and unmanageable at once.
Smooth from the center outward on every piece
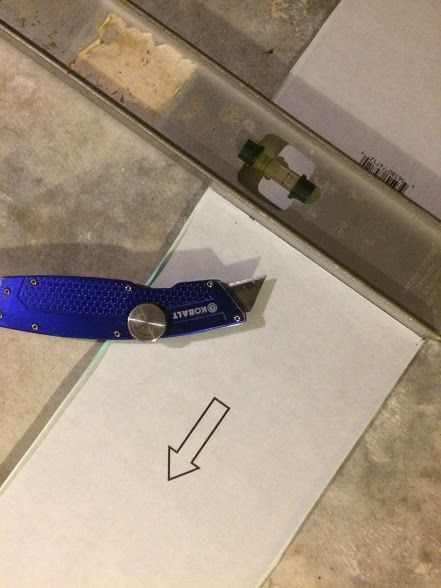
Using your smoothing tool, work from the center of each tile piece outward toward the edges, pressing firmly to eliminate air bubbles as you go.
Working from an edge inward tends to trap air in the middle of the tile, creating a bubble that’s much harder to work out after the fact than one caught immediately during application.
Pro tip: If you do trap an air bubble, use a pin to make a tiny puncture at the bubble’s edge, then smooth the air out through that small hole — trying to lift and reapply a section that’s already bonded usually does more damage to the adhesive than just puncturing and smoothing the small bubble out.
Handle inside and outside corners with overlap, not a butted seam
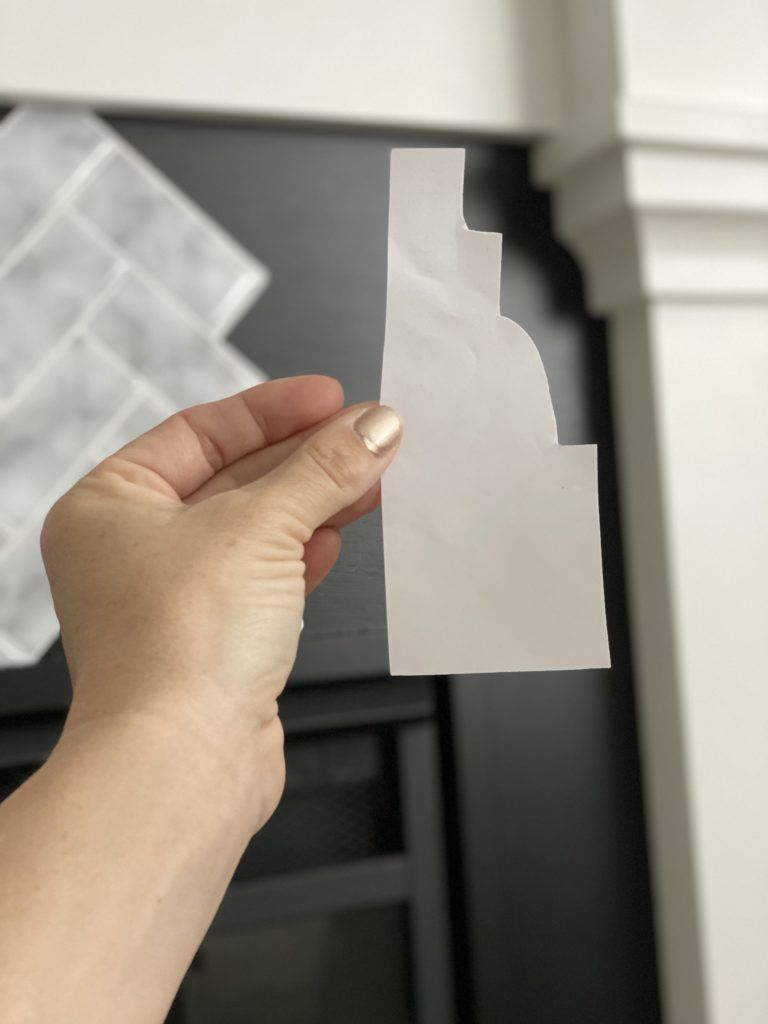
At inside corners, slightly overlap your tile onto the adjacent wall rather than trying to create a perfectly butted seam, since a tight seam at a corner is one of the most common spots for peeling to start first.
At outside corners, a small trim piece or a carefully mitered cut gives a cleaner finished look than trying to wrap a single flat tile sheet around an edge.
Finishing Touches and Long-Term Care
Seal vulnerable edges with clear caulk
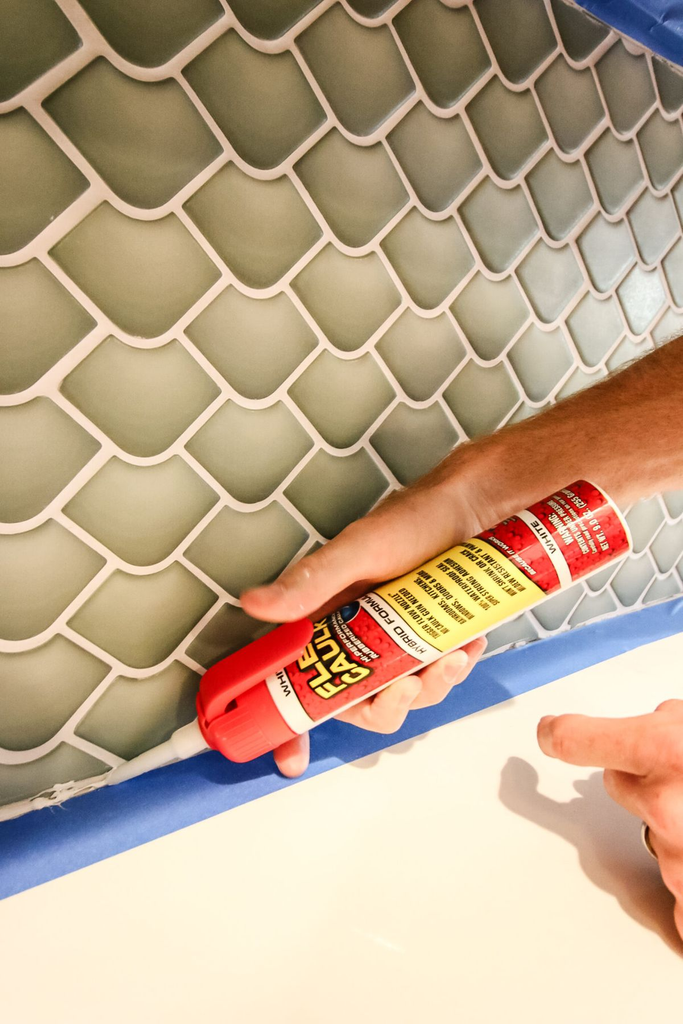
Along the top edge where your backsplash meets the underside of your upper cabinets, and along any edge that sees regular water exposure near a sink, a thin bead of clear silicone caulk gives you extra insurance against the edges catching and lifting over time, without being visible once it’s applied and smoothed.
Pro tip: Choose a caulk that specifically states it’s removable or paintable, not a permanent construction-grade adhesive caulk — this keeps your entire backsplash genuinely reversible at move-out, which is the whole point of choosing peel and stick tile in the first place.
Clean it like you would real tile, gently
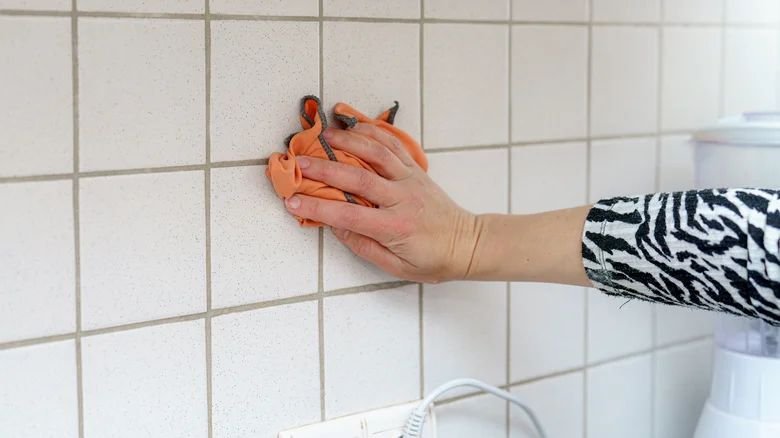
Wipe your peel and stick backsplash down with a damp cloth and mild soap regularly, and avoid abrasive scrubbers or harsh chemical cleaners, which can degrade the surface print or the adhesive underneath faster than normal wear would.
Regular gentle cleaning, especially near the stove where grease accumulates fastest, extends how long your installation looks genuinely good rather than just technically still attached.
How to remove it cleanly when you move out
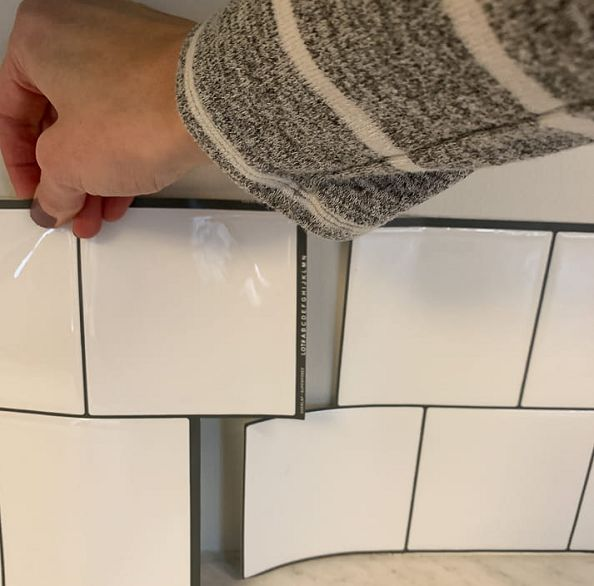
At move-out, warm the tile gently with a hairdryer on a low setting before peeling, working slowly from a corner.
The heat softens the adhesive and makes for a cleaner removal with far less residue left behind than trying to peel a cold tile off in one aggressive pull. Any remaining adhesive residue typically comes off with a bit of rubbing alcohol on a cloth.
What I’d Do Differently, Looking Back
If I were installing a peel and stick backsplash again for the first time, knowing what caused my first attempt to fail, I’d spend far more time on the wall cleaning step and the dry layout than I originally did, and correspondingly less time worrying about whether I had the “right” pattern or color picked out.
The material choice mattered less than I expected going in; the prep work mattered more.
Three years into my successful second attempt, the backsplash still looks the way it did on day one, and the whole difference between that and the six-week failure of my first try really does come down to a clean wall, a proper dry layout, and being patient enough to peel the backing a few inches at a time instead of rushing the whole sheet on at once.


Leave a Reply